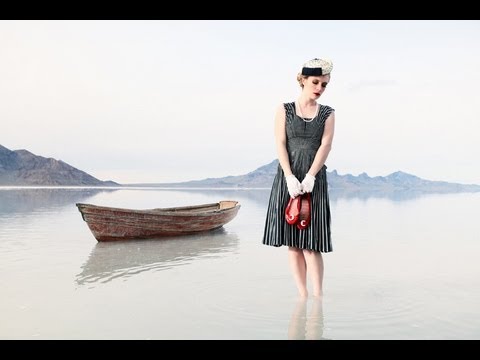
Shooting on location in bright daylight is where a lot of photographers quietly abandon their strobes. The ambient is overpowering, the math feels backwards, and half the time you fire your flash and can’t even tell it’s doing anything. I’ve been there. I’ve also stood on a sun-baked location with a client waiting and a strobe that might as well have been a paperweight for all I could see it contributing. The problem isn’t the gear. It’s not having a reliable method for understanding what your lights are actually doing before you commit to a frame.
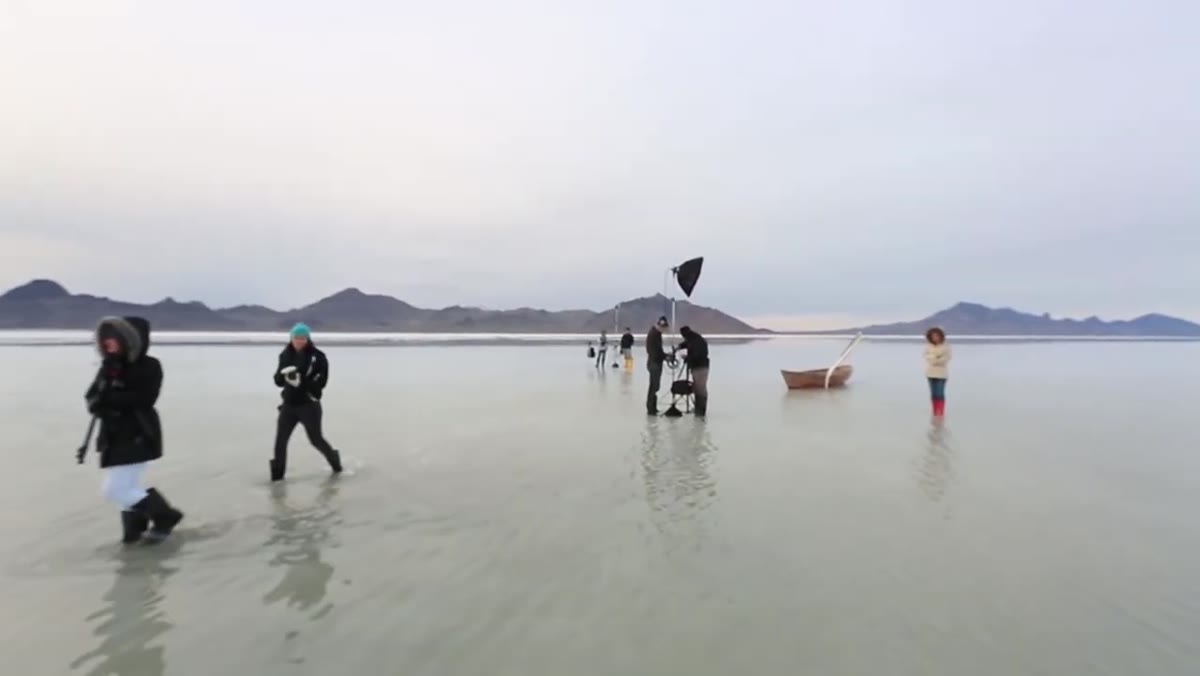
In this The Slanted Lens tutorial, Jay P. Morgan shoots at the Bonneville Salt Flats with a model, a wooden boat, and battery-powered strobes against brutal open-sky light. The tutorial covers two setups: one that strengthens existing sunlight with a single strobe, and one that introduces a diagnostic method for isolating and placing your strobes before bringing the ambient back in. That second technique is the one I’ve started using on every outdoor shoot, and it changed the way I read my exposures in the field.
What makes this tutorial worth your time is that it treats strobe and daylight as two separate exposure systems that you’re choosing to merge, not one messy combined problem. Once you think about it that way, the whole process gets cleaner.
Step 1: Scout for Light Direction Before You Scout for Background
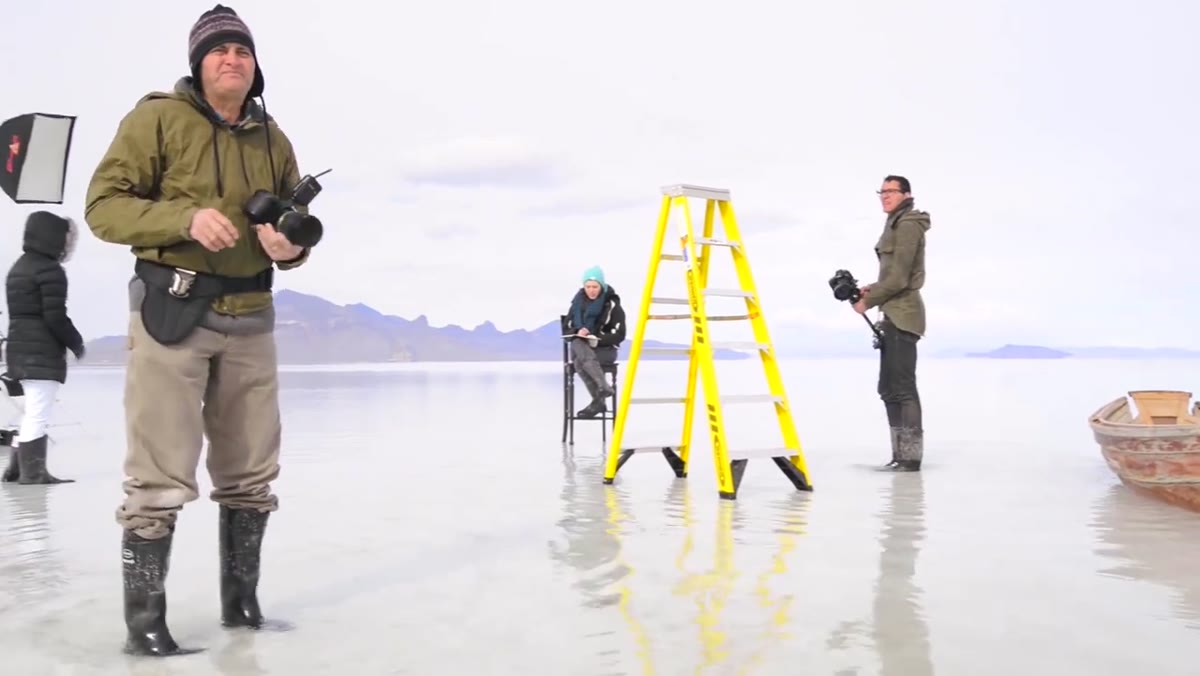 Photographer describing sun position relative to subject
Most location scouts focus on what’s behind the subject. This one starts with where the sun is. The goal is to find a composition where the natural sunlight already falls on your subject from a believable direction, and then park your strobe on that same axis to strengthen it, not replace it. At the Salt Flats, the sun sits camera-left, creating a soft highlight on the model’s face. The strobe goes camera-left too. When both sources come from the same direction, the result reads as one coherent light, not two competing ones fighting for control of your shadows.
Photographer describing sun position relative to subject
Most location scouts focus on what’s behind the subject. This one starts with where the sun is. The goal is to find a composition where the natural sunlight already falls on your subject from a believable direction, and then park your strobe on that same axis to strengthen it, not replace it. At the Salt Flats, the sun sits camera-left, creating a soft highlight on the model’s face. The strobe goes camera-left too. When both sources come from the same direction, the result reads as one coherent light, not two competing ones fighting for control of your shadows.
If your sun is coming from behind the subject and you put your strobe from the front, every photoreceptor in your viewer’s brain will register that something is off, even if they can’t name it. Match the angle first. Background second.
Step 2: Establish Your Ambient-Only Baseline
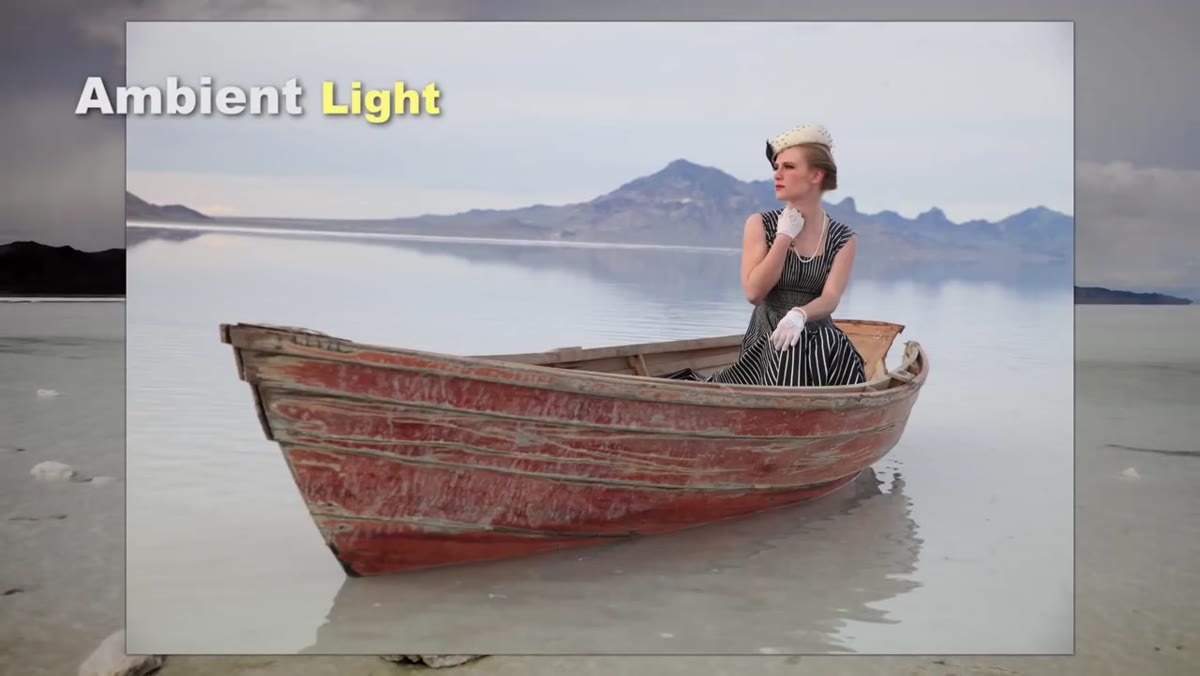 Shot of model lit by sunlight alone, no strobe
Before any strobe gets switched on, shoot a frame with ambient light only. This isn’t just a test shot. It’s your reference point. You need to know what the scene looks like without your intervention so you can make intentional choices about what you’re adding and why. In this tutorial, the ambient-only frame is actually serviceable, but the highlight on the model’s face is soft and lacks definition. That gap is exactly what the strobe is going to fill.
Shot of model lit by sunlight alone, no strobe
Before any strobe gets switched on, shoot a frame with ambient light only. This isn’t just a test shot. It’s your reference point. You need to know what the scene looks like without your intervention so you can make intentional choices about what you’re adding and why. In this tutorial, the ambient-only frame is actually serviceable, but the highlight on the model’s face is soft and lacks definition. That gap is exactly what the strobe is going to fill.
Expose for the ambient in this frame as you want it to look in the final image. Do not underexpose the ambient here and plan to “fix it later” with the strobe. The strobe is not your ambient fill card. It has one job: strengthen what the natural light is already doing.
Step 3: Add Your Key Strobe on the Sun’s Axis
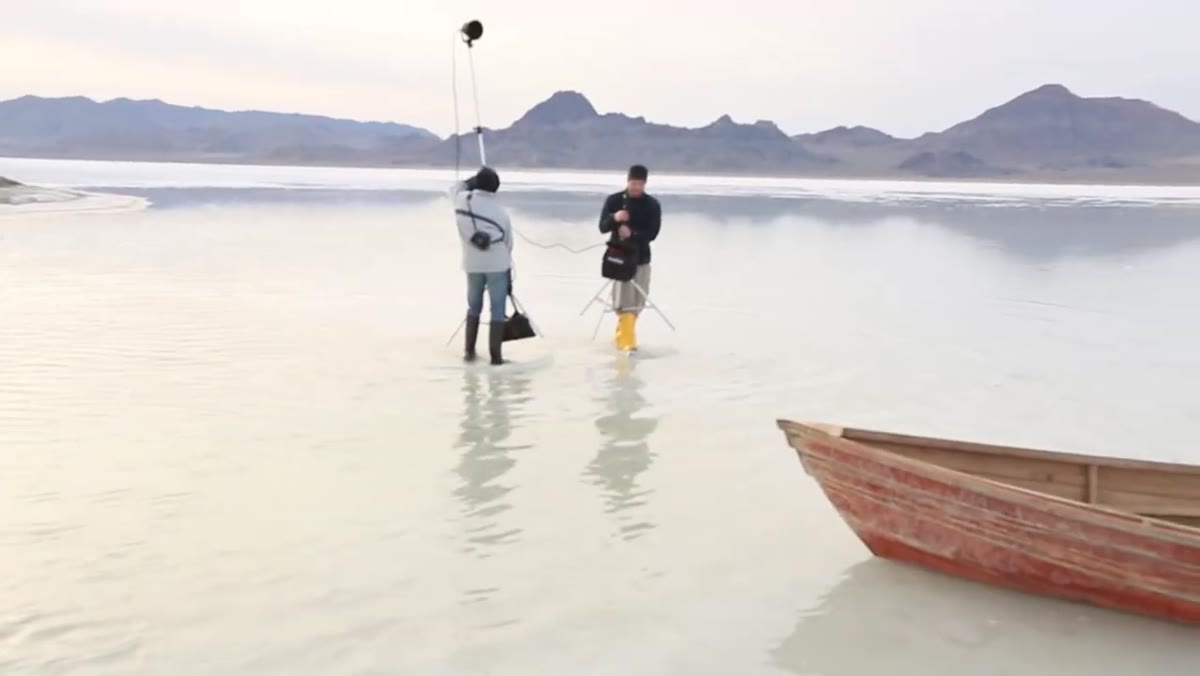 Strobe positioned camera-left with softbox over water
A medium softbox on a battery-powered strobe goes camera-left, aligned with the sun. The softbox keeps the quality of light consistent with the slightly diffused daylight from a hazy sky. If the sun were harsh and direct, you might use a smaller modifier or bare reflector. Here, soft matches soft. The strobe adds punch to the facial highlight without introducing a hard shadow edge that would contradict the ambient.
Strobe positioned camera-left with softbox over water
A medium softbox on a battery-powered strobe goes camera-left, aligned with the sun. The softbox keeps the quality of light consistent with the slightly diffused daylight from a hazy sky. If the sun were harsh and direct, you might use a smaller modifier or bare reflector. Here, soft matches soft. The strobe adds punch to the facial highlight without introducing a hard shadow edge that would contradict the ambient.
One practical note on location power: the tutorial uses the Dyno battery system with the power pack on one stand and the head on another. I do something similar with my Profoto B10s when I’m working on uneven terrain or in water. Separating the weight means you can reposition the head without dragging the whole rig.
Step 4: Use the “Dark Frame” Method to Isolate Your Strobes
 Underexposed scene showing only strobe-lit areas
This is the technique I’ve written about in my lighting journal three times now because it keeps proving its value. Here is how it works: set your aperture to match your strobe’s output at full power (in this case, f/8), then use your shutter speed to underexpose the ambient by two full stops. Your scene will look very dark. Almost nothing is visible from the ambient. Now fire your strobe.
Underexposed scene showing only strobe-lit areas
This is the technique I’ve written about in my lighting journal three times now because it keeps proving its value. Here is how it works: set your aperture to match your strobe’s output at full power (in this case, f/8), then use your shutter speed to underexpose the ambient by two full stops. Your scene will look very dark. Almost nothing is visible from the ambient. Now fire your strobe.
What you see in that dark frame is exactly what your strobe is doing, with no ambient interference. You can see where the light lands on the body, where the shadow falls on the ground, and whether your modifier angle is producing the shape you want. It’s like being able to turn off the sun temporarily. I use this method every time I work outdoors with strobes. It takes ninety seconds and saves a lot of guessing.
Step 5: Add a Second Strobe as a Rim or Background Accent
 Second strobe head with bare reflector positioned behind subject on boat
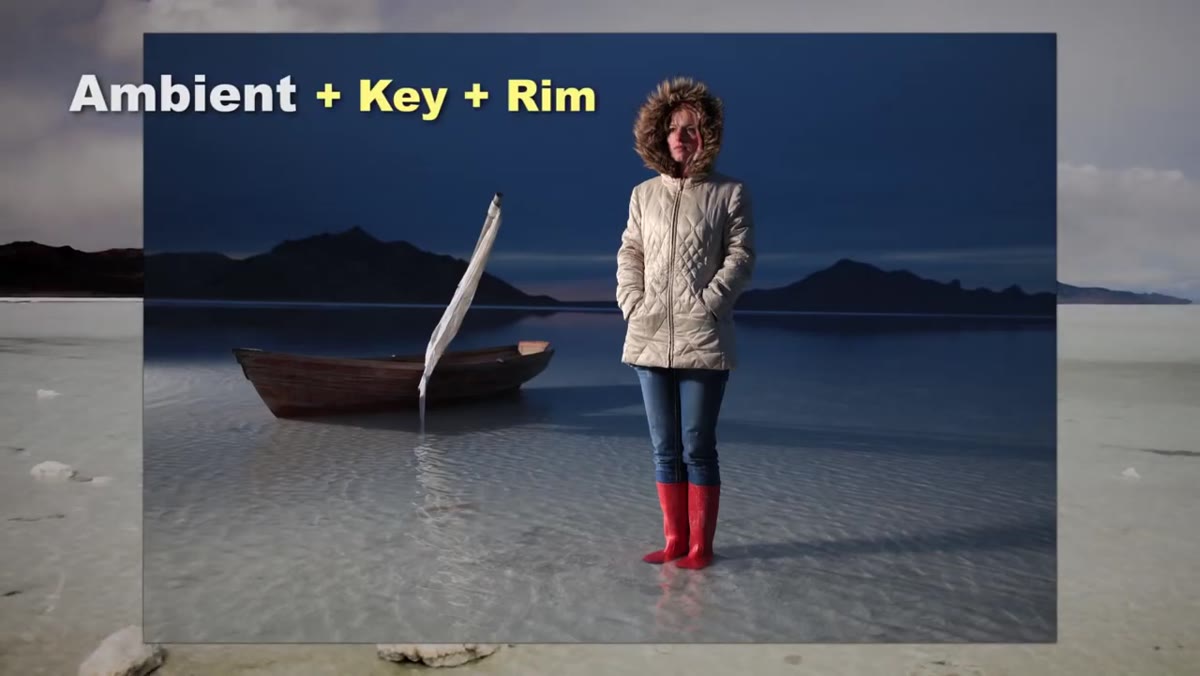
Once the key strobe placement is confirmed, a second head with a bare reflector goes behind the subject, positioned on the boat. This creates a rim separation that lifts her off the darker background and adds depth to the frame. The bare reflector produces a harder edge of light, which is intentional here because it mimics the quality of direct sunlight catching a surface at a low angle.
Second strobe head with bare reflector positioned behind subject on boat
Once the key strobe placement is confirmed, a second head with a bare reflector goes behind the subject, positioned on the boat. This creates a rim separation that lifts her off the darker background and adds depth to the frame. The bare reflector produces a harder edge of light, which is intentional here because it mimics the quality of direct sunlight catching a surface at a low angle.
Use the dark frame method again after adding this second head to check the rim. Make sure it’s not spilling onto the background in a way that looks unintentional, and make sure it’s producing separation at the shoulder and hairline, not just blowing out one side of the frame.
Step 6: Raise the Shutter Speed in Increments to Blend the Ambient Back In
 Exposure being adjusted incrementally to balance strobes with sky
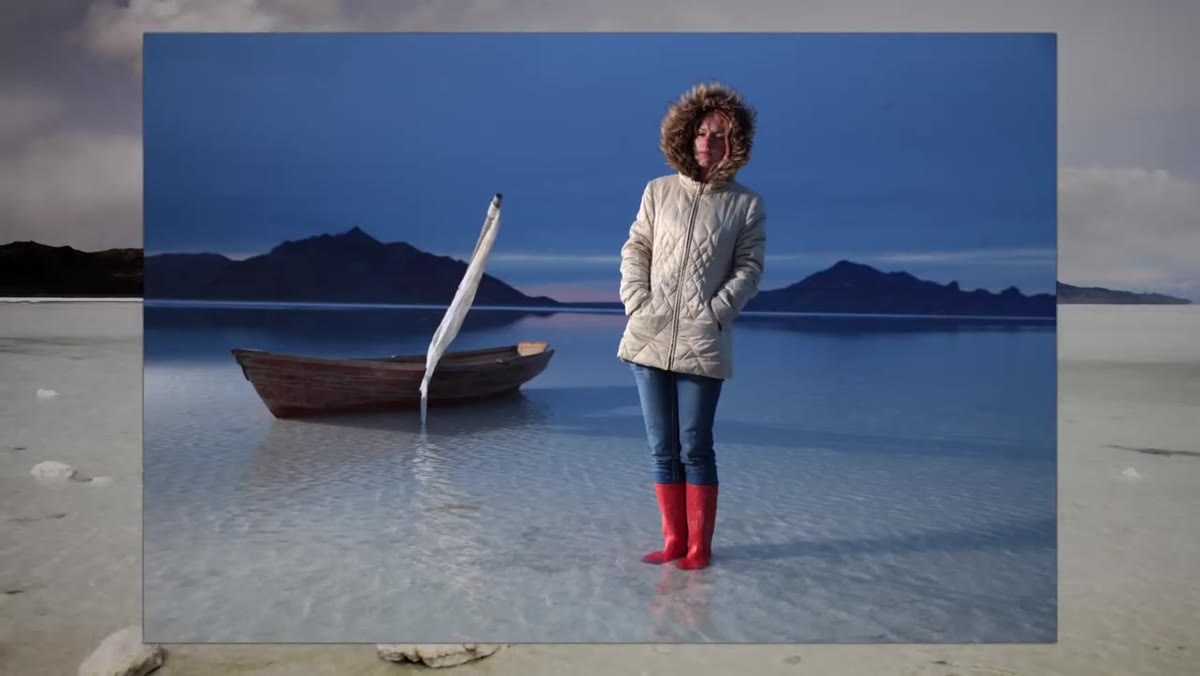
Now comes the blend. Starting from your dark diagnostic frame, raise your shutter speed one stop at a time and evaluate the balance after each adjustment. The strobes stay consistent because aperture isn’t changing. The ambient comes back in controlled increments. In the tutorial, two stops of adjustment bring the background sky back to a level that feels cohesive with the strobe-lit subject. The strobes stop reading as “obvious flash” and start reading as “sunlight coming from camera-left,” which is the entire goal.
Exposure being adjusted incrementally to balance strobes with sky
Now comes the blend. Starting from your dark diagnostic frame, raise your shutter speed one stop at a time and evaluate the balance after each adjustment. The strobes stay consistent because aperture isn’t changing. The ambient comes back in controlled increments. In the tutorial, two stops of adjustment bring the background sky back to a level that feels cohesive with the strobe-lit subject. The strobes stop reading as “obvious flash” and start reading as “sunlight coming from camera-left,” which is the entire goal.
The session also brings in a haze machine toward the end of the first setup, which softens the background and adds atmosphere. If you have access to one, haze almost always makes outdoor strobe work look more cinematic by scattering both the ambient and the strobe output.
What I Do Differently on Commercial Shoots
The tutorial keeps things clean with one key and one rim. For editorial and beauty work, I often add a third light specifically for the background, keeping it completely separate from the subject exposure system. This lets me control the tonal relationship between subject and environment as two independent decisions. I sketch this out before every location shoot using a lighting diagram app I built for my own workflow, and it forces me to commit to the logic of the setup before I’m standing in a field with the clock running.
The other thing I always do before a location shoot is check color temperature match between my strobes and the ambient. I ruined an early editorial job by ignoring this, and I’ve been meticulous about it since. If you’re shooting golden hour, gel your strobes with a warming CTO gel to keep the skin tones consistent across both light sources.
The single most important idea in this tutorial is that strobes and daylight are not opponents. They are two controllable variables in the same exposure, and the dark frame method gives you a way to understand each one on its own terms before you ask them to work together. That shift in thinking alone is worth the watch time.
Watch the full tutorial on YouTube to see both setups from start to finish, including the final frames from each look.
Comments
Leave a Comment