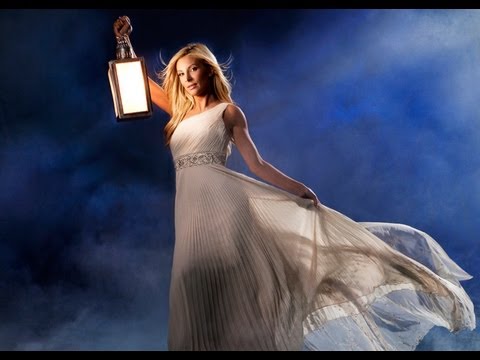
Every so often a technique crosses my feed and I immediately think: I’ve been solving this the wrong way for years. That’s exactly what happened when I sat down with this tutorial from JP Morgan over at The Slanted Lens. The goal of the shoot sounds almost theatrical - a model standing on a fiberglass rock floating in a pool, smoke curling across the water’s surface, a massive painted backdrop behind her. But the underlying problem is one I run into constantly in commercial work: how do you control atmospheric smoke so it behaves like a surface element instead of just billowing up and filling the frame like a fog machine at a middle school dance?
The answer is a device called a chill box, and the build is simpler than I expected. Once I understood the physics - cool the smoke rapidly and it becomes denser than the surrounding air, so it sinks and spreads horizontally rather than rising - the whole setup clicked into place. I’ve sketched the full layout in my lighting journal and I’ll walk you through it here the same way I’d explain it to an assistant before a shoot. Watch the full tutorial on YouTube alongside this breakdown if you want to see the smoke behavior in real time.
Step 1: Gather Your Materials Before You Touch Anything
 Tools and parts for the chill box laid out on a workbench
This is a short parts list, which I appreciate. You need a standard foam cooler, two dryer vents, a metal grill that fits inside the cooler, a handful of short lengths of 2x4, a drill with a 3/4-inch bit, a jigsaw, and drywall screws. That’s it. The cooler is your smoke chamber. The dryer vents are your intake and exhaust. The grill and the 2x4 blocks are what keep the dry ice elevated so smoke can travel underneath and across it rather than just pooling in one spot.
Tools and parts for the chill box laid out on a workbench
This is a short parts list, which I appreciate. You need a standard foam cooler, two dryer vents, a metal grill that fits inside the cooler, a handful of short lengths of 2x4, a drill with a 3/4-inch bit, a jigsaw, and drywall screws. That’s it. The cooler is your smoke chamber. The dryer vents are your intake and exhaust. The grill and the 2x4 blocks are what keep the dry ice elevated so smoke can travel underneath and across it rather than just pooling in one spot.
Before you start cutting, identify which end of your cooler faces toward your Rosco smoker and which faces your subject. It matters for positioning on set. I label both ends with masking tape before I start drilling - old habit, but it saves confusion once you’re working fast.
Step 2: Cut and Mount the Dryer Vents
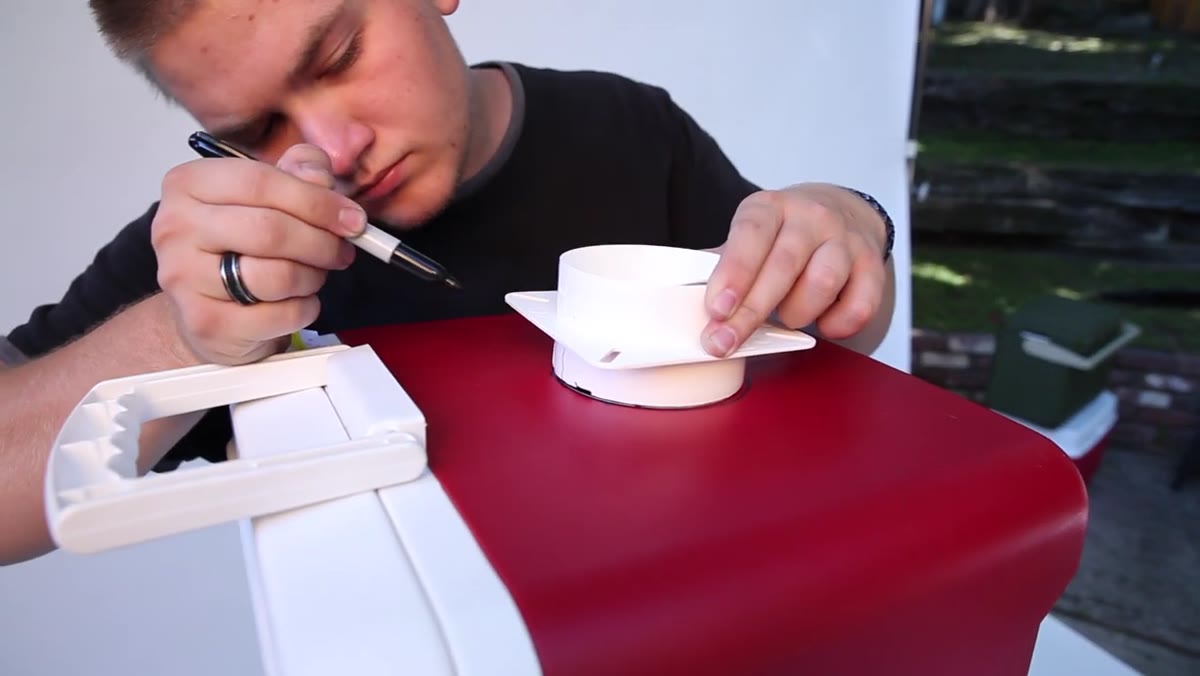 Tracing the dryer vent circle on the cooler end with a marker
Trace the dryer vent opening onto one end of the cooler with a marker, centered on the panel. Drill a starter hole with the 3/4-inch bit right on the traced line - this gives your jigsaw blade somewhere to enter. Cut the full circle out with the jigsaw, insert the dryer vent, remove its airflow valve so nothing restricts airflow, and secure it with four short drywall screws at the corners. Repeat identically on the opposite end.
Tracing the dryer vent circle on the cooler end with a marker
Trace the dryer vent opening onto one end of the cooler with a marker, centered on the panel. Drill a starter hole with the 3/4-inch bit right on the traced line - this gives your jigsaw blade somewhere to enter. Cut the full circle out with the jigsaw, insert the dryer vent, remove its airflow valve so nothing restricts airflow, and secure it with four short drywall screws at the corners. Repeat identically on the opposite end.
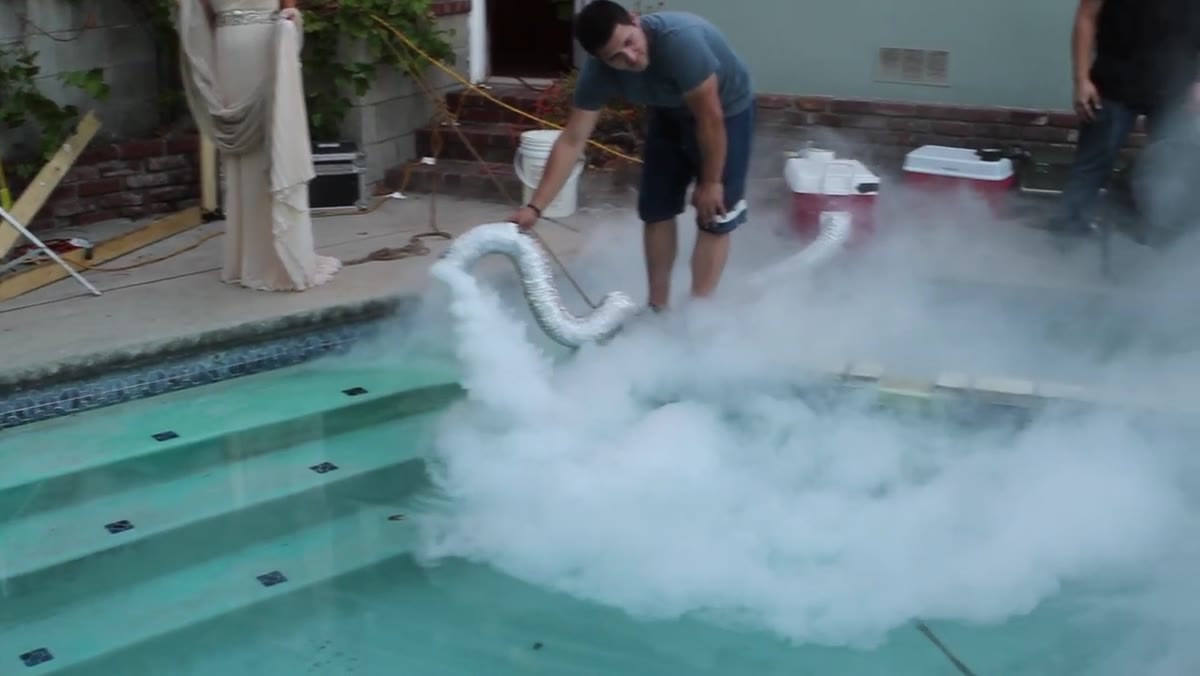
The reason you remove the airflow valve is important: the Rosco smoker needs clear passage in, and the smoke needs unrestricted flow out toward your subject. Any restriction in the exhaust slows the smoke down and it starts to rise before it exits. You want it moving fast enough to travel, slow enough to settle.
Step 3: Elevate the Dry Ice Inside the Cooler
 Short 2x4 blocks placed in each corner of the cooler interior
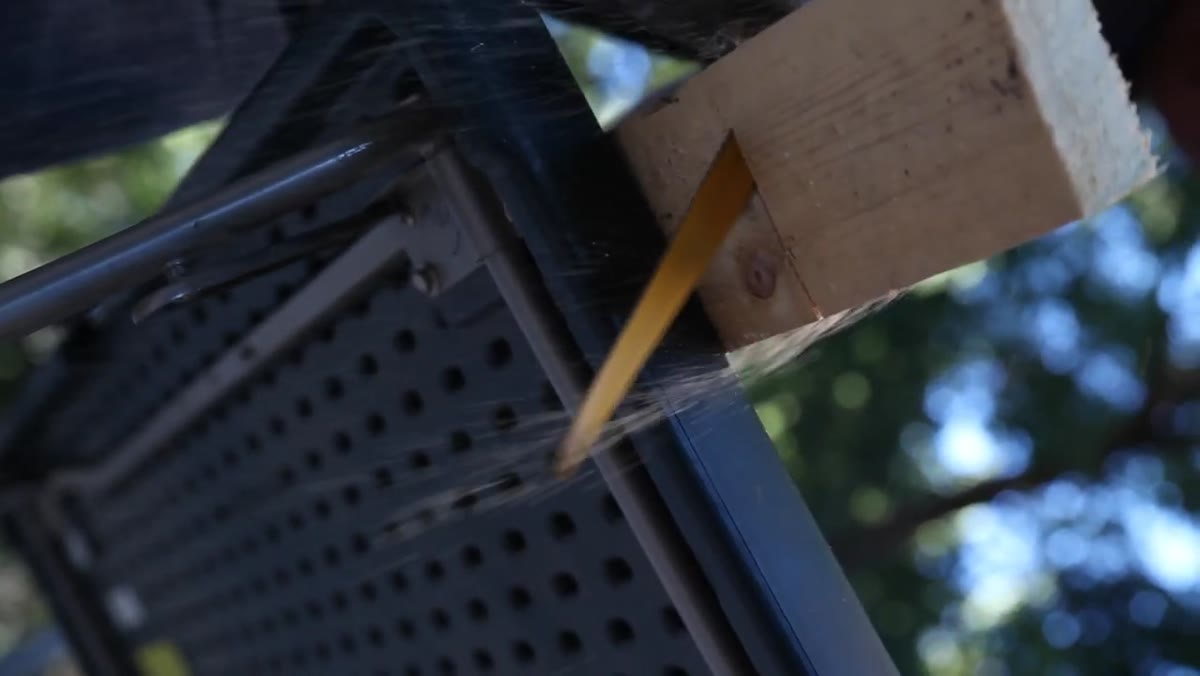
Cut four pieces of 2x4, each about six inches long, and place one in each corner of the cooler. Set your grill on top of these blocks. The dry ice sits on the grill. This is the detail that makes the whole system work - the smoke from the Rosco unit has to travel through the chilled air mass around and beneath the dry ice, not just skim over the top of a block sitting on the cooler floor. That contact is what drops the smoke temperature fast enough to make it dense.
Short 2x4 blocks placed in each corner of the cooler interior
Cut four pieces of 2x4, each about six inches long, and place one in each corner of the cooler. Set your grill on top of these blocks. The dry ice sits on the grill. This is the detail that makes the whole system work - the smoke from the Rosco unit has to travel through the chilled air mass around and beneath the dry ice, not just skim over the top of a block sitting on the cooler floor. That contact is what drops the smoke temperature fast enough to make it dense.
When you’re loading dry ice during a shoot, handle it in shifts. Dry ice sublimates constantly, so you’ll be refreshing it between setups. Budget more dry ice than you think you need.
Step 4: Direct the Rosco Smoker Into the Intake
 Smoke being directed into the cooler intake through a screen tube
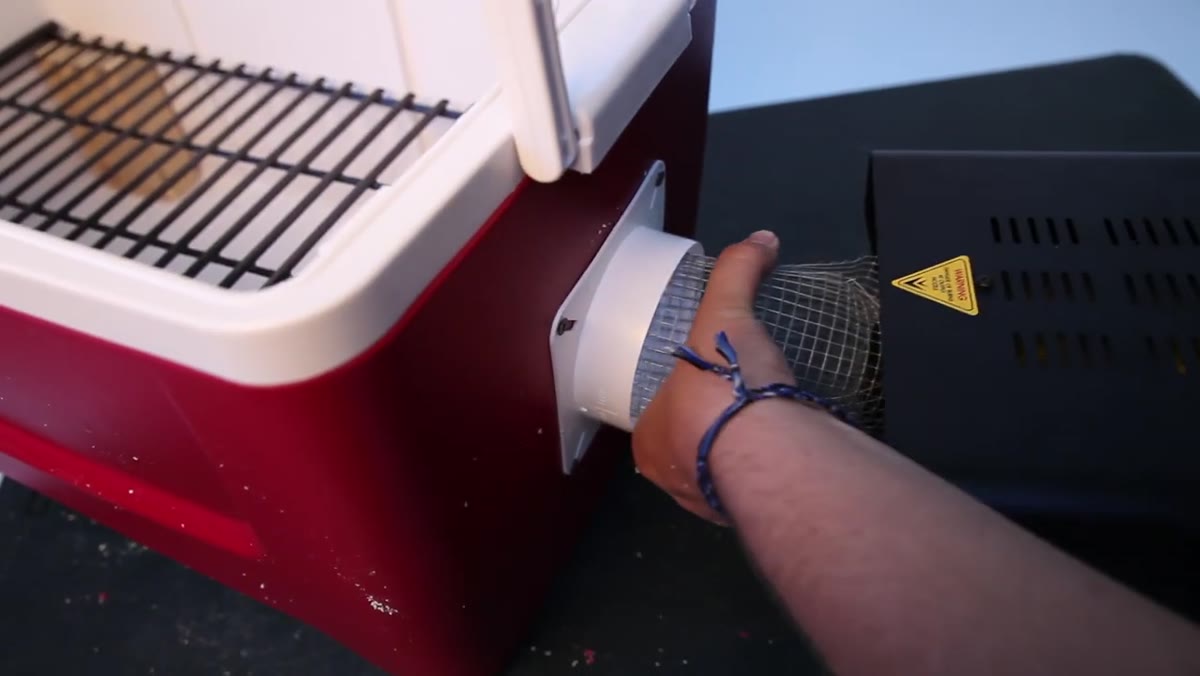
JP uses a screen tube from a previous tutorial to channel the smoker output directly into the cooler’s intake vent. The key point he makes here is that the smoke fluid needs air mixed in before it enters the cooler - that’s what produces actual smoke rather than just vapor. The Rosco smoker handles this, but you have to make sure the intake end of your chill box is positioned to receive the output cleanly, without the nozzle pressing flush against the vent and cutting off airflow.
Smoke being directed into the cooler intake through a screen tube
JP uses a screen tube from a previous tutorial to channel the smoker output directly into the cooler’s intake vent. The key point he makes here is that the smoke fluid needs air mixed in before it enters the cooler - that’s what produces actual smoke rather than just vapor. The Rosco smoker handles this, but you have to make sure the intake end of your chill box is positioned to receive the output cleanly, without the nozzle pressing flush against the vent and cutting off airflow.
On the exit side, watch where the smoke exits the cooler. If it’s billowing upward immediately, your dry ice either isn’t cold enough or is sitting too low in the cooler. Adjust the 2x4 block height or add dry ice before you start shooting.
Step 5: Set Your Exposure for Strobe, Not Ambient
 Camera settings being discussed, strobes visible in background
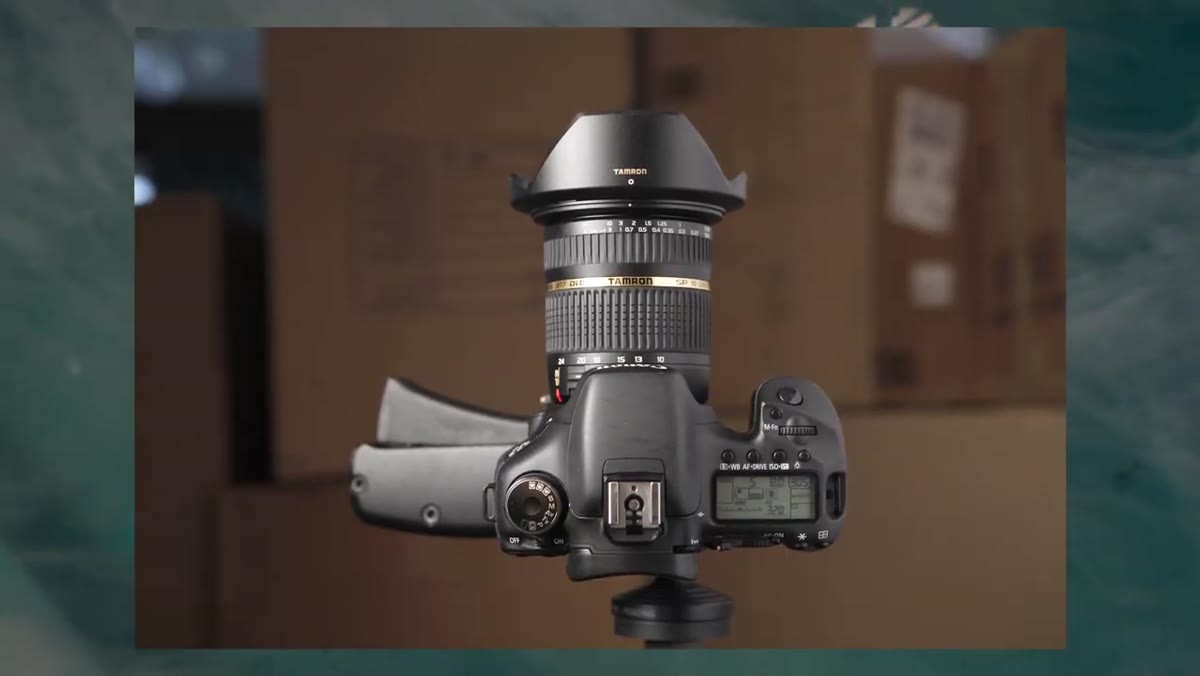
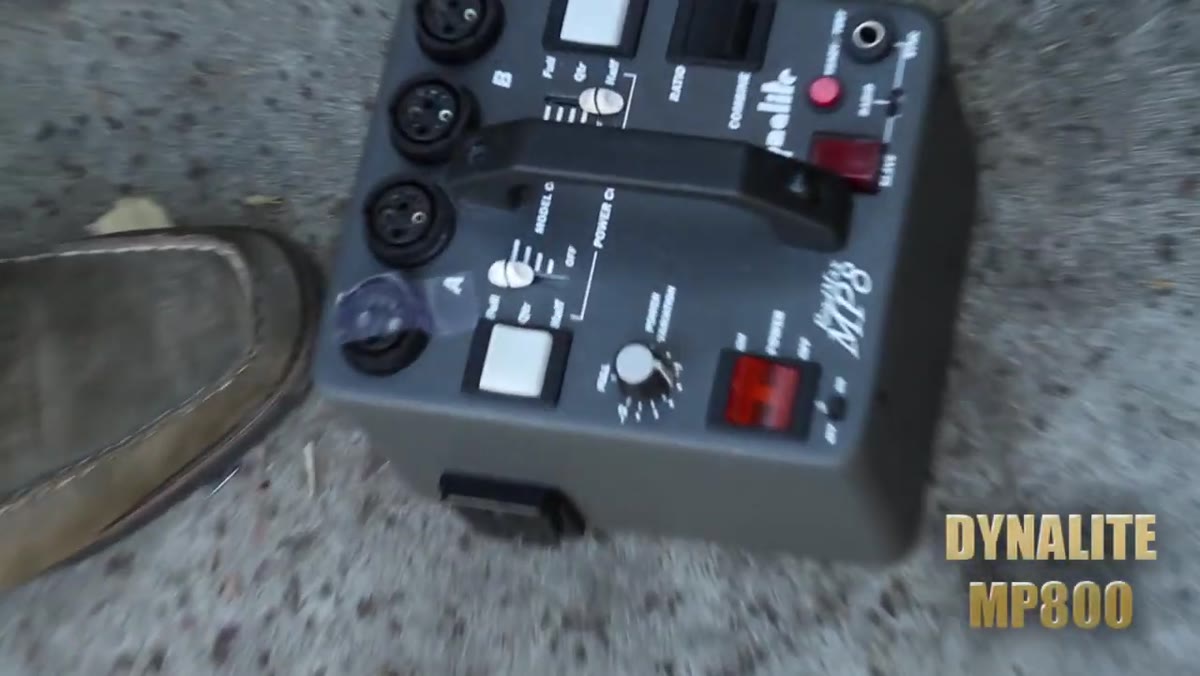
The shoot runs on Dynalite strobes with the camera locked at f/14, 1/60th of a second, ISO 160. That tight aperture is doing two things: controlling depth of field on a complex scene with a lot of layers, and limiting how much ambient light from the pool environment bleeds into the exposure. At ISO 160 and f/14, the strobes are doing almost all the work.
Camera settings being discussed, strobes visible in background
The shoot runs on Dynalite strobes with the camera locked at f/14, 1/60th of a second, ISO 160. That tight aperture is doing two things: controlling depth of field on a complex scene with a lot of layers, and limiting how much ambient light from the pool environment bleeds into the exposure. At ISO 160 and f/14, the strobes are doing almost all the work.
If you’re recreating this indoors in a studio pool or tank, you have more control over ambient. But the principle holds - expose for your strobes first, then adjust ambient separately if needed.
Step 6: Build the Lighting Layer by Layer
 Lantern with pencil light being used as key light on subject’s face
This is where the setup gets interesting and where I spent the most time in my notes. The key light is a Dynalite pencil light rigged inside a practical lantern prop. Several layers of diffusion plus CTO gel on the camera-facing side keep it warm and controlled. It’s doing the work of a beauty key while reading as a practical in the frame.
Lantern with pencil light being used as key light on subject’s face
This is where the setup gets interesting and where I spent the most time in my notes. The key light is a Dynalite pencil light rigged inside a practical lantern prop. Several layers of diffusion plus CTO gel on the camera-facing side keep it warm and controlled. It’s doing the work of a beauty key while reading as a practical in the frame.
From there, a Photoflex octodome is added as a rim light on camera right. This is the most important light in the setup for the smoke effect specifically - it backlights the smoke and gives it visible texture and depth. Without it, smoke on water reads as a flat gray haze. With a rim behind it, you see every tendril. Two heads with double blue gels hit the background, with the camera-right side dialed up brighter than camera left so the background gradates from bright to dark. The brightness on the right keeps that zone of the image open and readable where the smoke will be most concentrated. A final beauty dish with a grid adds a touch of fill on the subject’s upper body to keep her from going too dark against the lit backdrop.
What I’d Do Differently on a Controlled Studio Shoot
The outdoor pool setup introduces variables that are hard to manage - wind, ambient color temperature shifts, the fact that the rock kept trying to float. In a studio setting, I’d use a shallow black tank and add a subtle underlight beneath the water surface to give the smoke that slightly luminous quality from below. I’d also add a second chill box on the opposite side and feed both simultaneously, which gives you a symmetrical smoke spread that’s much easier to work with compositionally. One box tends to pull the eye toward the source side of the frame.
The rim light placement is non-negotiable regardless of setting. I learned years ago - after a shoot where the atmospheric effect was completely invisible in final selects - that smoke and haze only exist on camera when there’s a light source positioned to catch the particles from behind or from the side. Frontlit smoke disappears. Keep that rule in your back pocket.
The single most important thing this tutorial teaches is that controlling smoke is a physics problem before it’s a lighting problem. Get the temperature right and the smoke behaves. Get the lighting right and the smoke becomes visible. Both have to be solved, in that order.
Watch the full tutorial on YouTube to see the smoke behavior and the full before-and-after of each lighting layer - seeing how the rim light transforms the smoke in real time is worth the watch alone.
Comments (2)
Applied this to my portfolio shots and the improvement is noticeable.
Just subscribed. If the rest of your content is this good, I'm in.
Leave a Comment