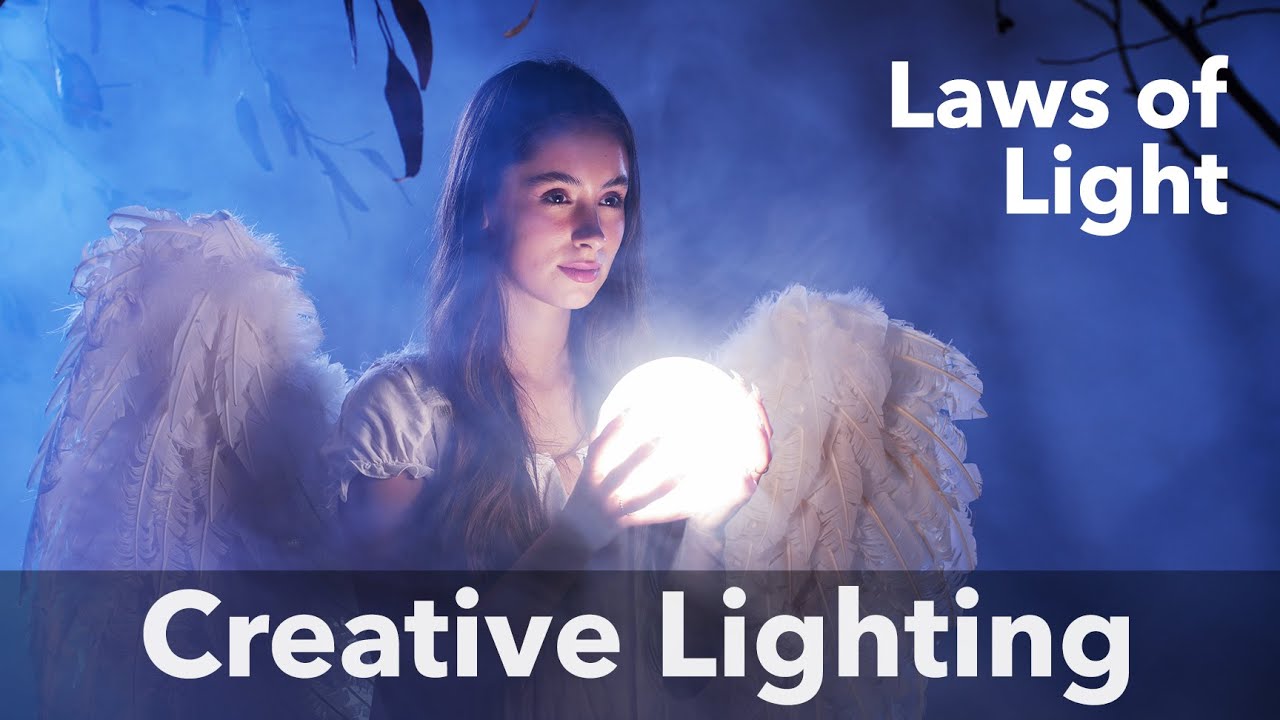
There’s a specific problem I run into constantly with seamless backdrops: they look like seamless backdrops. No matter how careful I am with background lights, there’s a flatness to white paper that fights against any mood I’m trying to create. I’ve painted backgrounds, projected textures, composited in post — all of it works, but none of it is fast or repeatable on a commercial shoot day when time is money. So when I came across this technique in this The Slanted Lens tutorial by Jay P. Morgan, I immediately sketched it into my lighting journal. The setup is smarter than it looks.
The concept is a fantasy-style portrait built around an optical spot used as a background projector rather than a key light — paired with a rim light, colored gels, a smoke machine, and what he calls a “motivated key light” held directly by the subject. I’ve since run a version of this in my own studio and it held up. Here’s the full breakdown, step by step.
Step 1: Choose Your Camera and Lens for the Environment
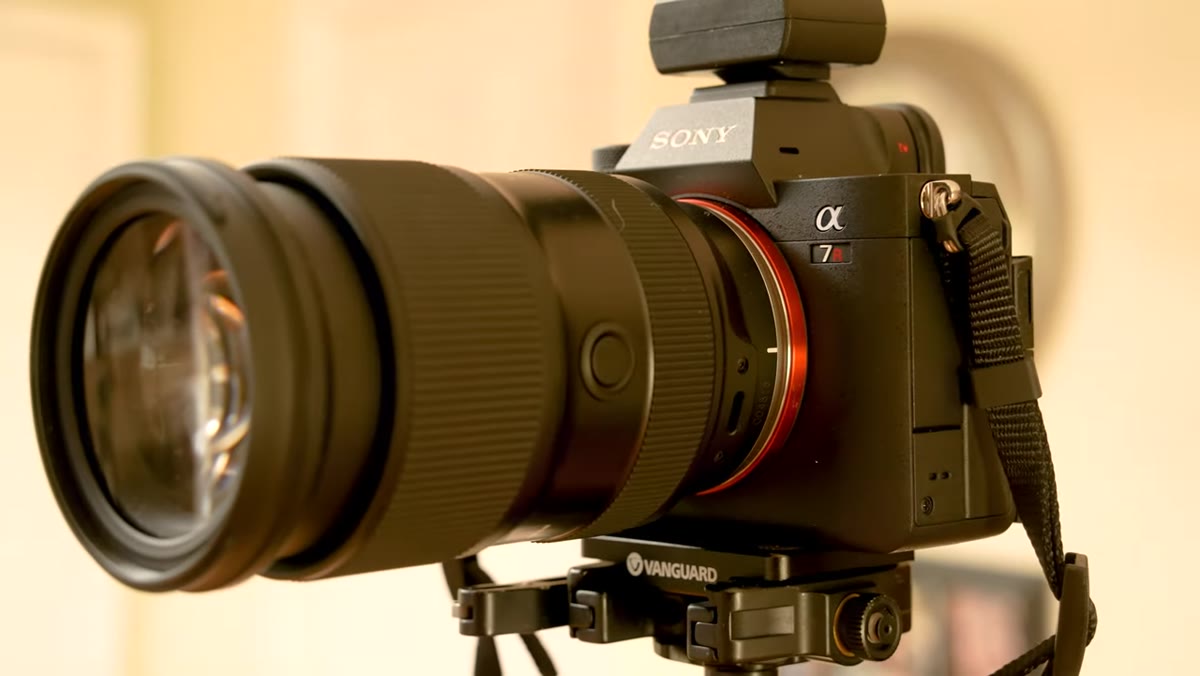
 Camera body and lens setup described on set
Jay shoots this on a Sony a7R V, a 61-megapixel body, paired with a Tamron 28-75mm f/2.8 G2. The critical decision here is focal length: he shoots toward the long end, around 75mm, to get portrait-appropriate compression and avoid distorting the wings or the background depth he’s about to build. With 61 megapixels, you can shoot horizontal and crop tighter in post without losing print resolution — which matters if you’re delivering to an editorial client who might want both a full-frame horizontal and a tighter vertical from the same shot. In a smoke-filled environment, the autofocus system earns its keep. You don’t need a camera that fires 30 frames per second when you’re on studio strobes. You need one that locks focus reliably through haze.
Camera body and lens setup described on set
Jay shoots this on a Sony a7R V, a 61-megapixel body, paired with a Tamron 28-75mm f/2.8 G2. The critical decision here is focal length: he shoots toward the long end, around 75mm, to get portrait-appropriate compression and avoid distorting the wings or the background depth he’s about to build. With 61 megapixels, you can shoot horizontal and crop tighter in post without losing print resolution — which matters if you’re delivering to an editorial client who might want both a full-frame horizontal and a tighter vertical from the same shot. In a smoke-filled environment, the autofocus system earns its keep. You don’t need a camera that fires 30 frames per second when you’re on studio strobes. You need one that locks focus reliably through haze.
Step 2: Build the Background With an Optical Spot and Gobo
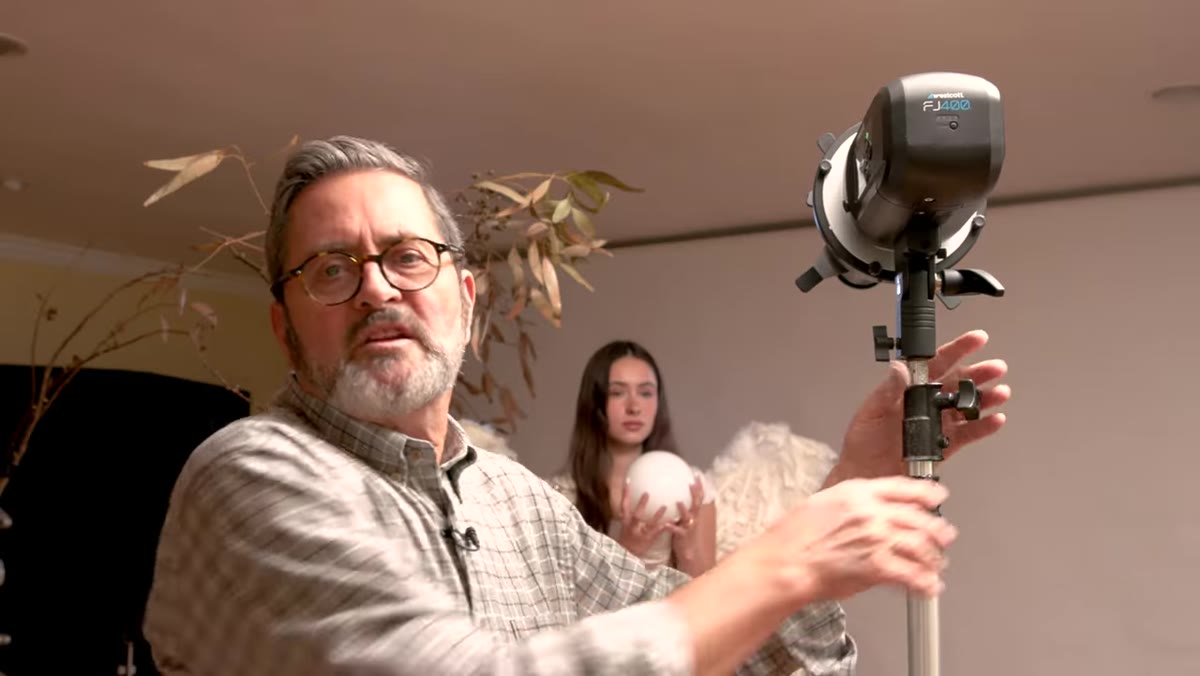 Westcott Optical Spot mounted on FJ400 strobe
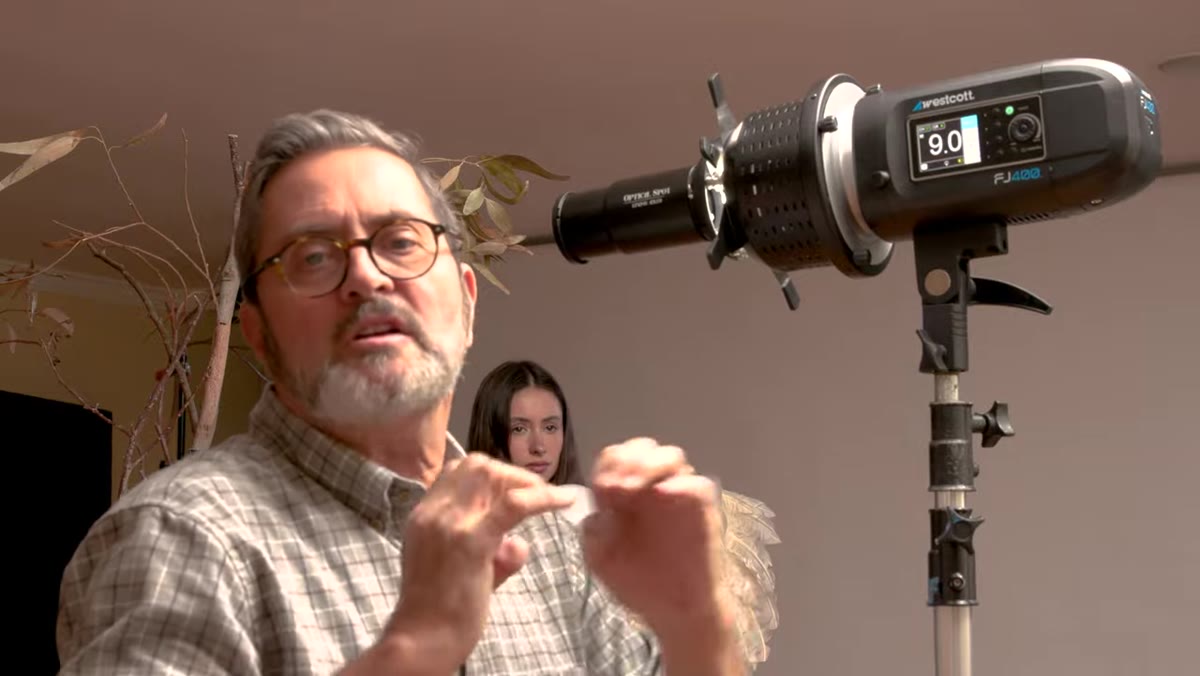
This is the centerpiece of the whole setup. The Westcott Optical Spot mounts to a Westcott FJ400 strobe via a Bowens mount adapter, slides into a locking position, and projects a hard, focused beam of light. The key insight Jay demonstrates is using the optical spot not as a face light but as a background projector. He inserts a metal gobo — a cut-out pattern — into the optical spot’s filter slot, and the result transforms plain white seamless paper into what reads on camera as a deep, dark forest environment. Because you can adjust the focus of the optical spot, defocusing it slightly softens the gobo’s shadow edges, which makes the background feel further away and more dimensional. He adds a blue gel to the front of the optical spot to shift the entire background into a cooler, more atmospheric tone. The mental model here: you’re not lighting a background, you’re building a set.
Westcott Optical Spot mounted on FJ400 strobe
This is the centerpiece of the whole setup. The Westcott Optical Spot mounts to a Westcott FJ400 strobe via a Bowens mount adapter, slides into a locking position, and projects a hard, focused beam of light. The key insight Jay demonstrates is using the optical spot not as a face light but as a background projector. He inserts a metal gobo — a cut-out pattern — into the optical spot’s filter slot, and the result transforms plain white seamless paper into what reads on camera as a deep, dark forest environment. Because you can adjust the focus of the optical spot, defocusing it slightly softens the gobo’s shadow edges, which makes the background feel further away and more dimensional. He adds a blue gel to the front of the optical spot to shift the entire background into a cooler, more atmospheric tone. The mental model here: you’re not lighting a background, you’re building a set.
Step 3: Set the Rim Light With a Grid and Matching Gel
 Rim light with 7-inch reflector and 40-degree grid positioned camera right
On camera right, Jay adds a rim light using an FJ400 fitted with a 7-inch reflector and a 40-degree grid. The grid keeps the light directional without letting it spill across the entire background or onto the camera-left side of the subject. This light does two things: it separates the subject’s edge from the background, and more importantly, it opens up the smoke on that side of the frame. Smoke reads beautifully against a backlit rim, and that’s where the “fantasy” atmosphere actually lives. To tie it into the blue background, he adds a CTO gel — he calls it a “full blue” — to this rim light as well. Now the rim and the background share the same color temperature, which makes the subject feel embedded in the scene rather than pasted onto it.
Rim light with 7-inch reflector and 40-degree grid positioned camera right
On camera right, Jay adds a rim light using an FJ400 fitted with a 7-inch reflector and a 40-degree grid. The grid keeps the light directional without letting it spill across the entire background or onto the camera-left side of the subject. This light does two things: it separates the subject’s edge from the background, and more importantly, it opens up the smoke on that side of the frame. Smoke reads beautifully against a backlit rim, and that’s where the “fantasy” atmosphere actually lives. To tie it into the blue background, he adds a CTO gel — he calls it a “full blue” — to this rim light as well. Now the rim and the background share the same color temperature, which makes the subject feel embedded in the scene rather than pasted onto it.
Step 4: Design the Key Light as a Motivated, In-Scene Source
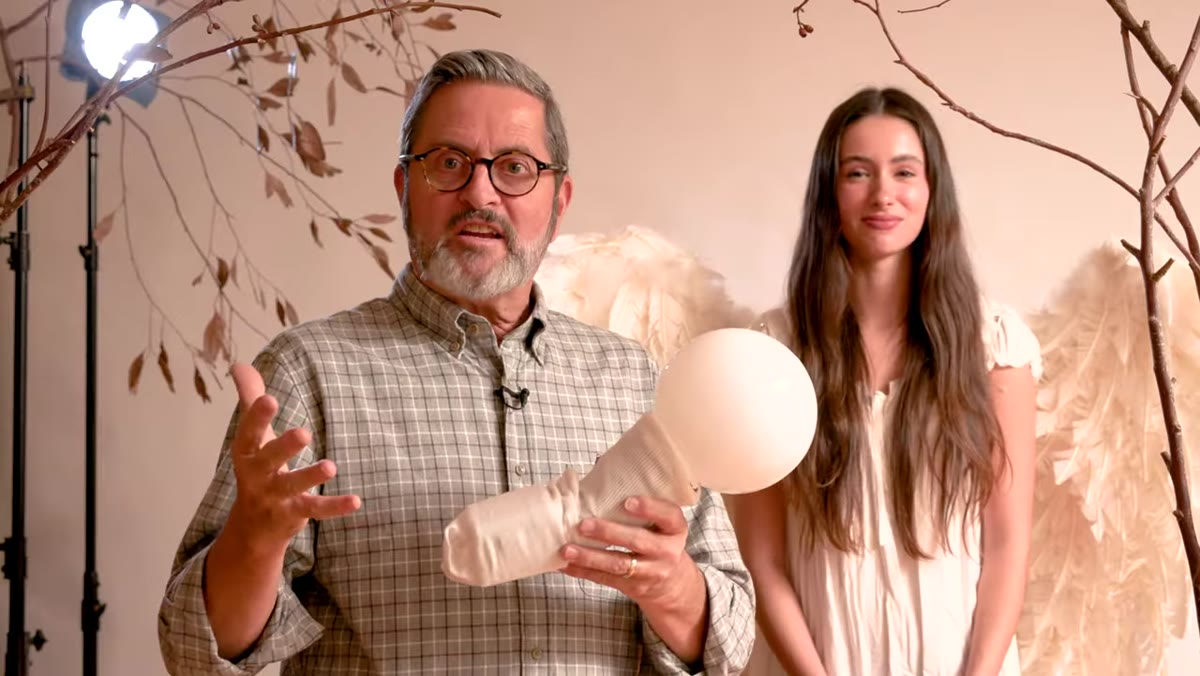 FJ80 with diffusion sock held by subject against dress
Here’s the detail I hadn’t seen done quite this way before. The key light is a Westcott FJ80 — a small, battery-powered strobe — fitted with a diffusion sock. The subject, Miranda, holds it directly against her body, pressed against her dress. The sock serves two purposes: it softens the light for a more flattering spread across her face, and it helps the unit blend visually into the fabric of her dress so it looks less like she’s holding a flash and more like light is emanating from within the costume. Jay describes this as a “motivated” key light, meaning it has an in-scene justification. The light appears to come from something she could plausibly be holding, which suspends disbelief even in a stylized, clearly constructed image. For retouching purposes, the sock’s softer shape is also far easier to clone or mask out than a bare reflector would be.
FJ80 with diffusion sock held by subject against dress
Here’s the detail I hadn’t seen done quite this way before. The key light is a Westcott FJ80 — a small, battery-powered strobe — fitted with a diffusion sock. The subject, Miranda, holds it directly against her body, pressed against her dress. The sock serves two purposes: it softens the light for a more flattering spread across her face, and it helps the unit blend visually into the fabric of her dress so it looks less like she’s holding a flash and more like light is emanating from within the costume. Jay describes this as a “motivated” key light, meaning it has an in-scene justification. The light appears to come from something she could plausibly be holding, which suspends disbelief even in a stylized, clearly constructed image. For retouching purposes, the sock’s softer shape is also far easier to clone or mask out than a bare reflector would be.
Step 5: Introduce Smoke and Shoot
 Smoke filling the set with subject posed in wings
With all three light sources dialed in, the smoke machine runs continuously between frames. Smoke is the element that makes every light visible as a physical volume rather than just a patch of brightness. The rim light carves through it on one side. The optical spot’s blue background glows through it from behind. The key light from the FJ80 creates a warm bloom around the subject’s face and chest. Jay is shooting through all of this on strobes, so the flash duration freezes the smoke regardless of what the ambient shutter speed would do. He’s not worried about frame rate because the strobes themselves are the limiting factor. Shoot, let the smoke settle and shift, shoot again. Each frame gives you a different atmospheric configuration.
Smoke filling the set with subject posed in wings
With all three light sources dialed in, the smoke machine runs continuously between frames. Smoke is the element that makes every light visible as a physical volume rather than just a patch of brightness. The rim light carves through it on one side. The optical spot’s blue background glows through it from behind. The key light from the FJ80 creates a warm bloom around the subject’s face and chest. Jay is shooting through all of this on strobes, so the flash duration freezes the smoke regardless of what the ambient shutter speed would do. He’s not worried about frame rate because the strobes themselves are the limiting factor. Shoot, let the smoke settle and shift, shoot again. Each frame gives you a different atmospheric configuration.
What I Do Differently in My Own Studio
I’ve run a version of this setup, and the one thing I’d add for anyone working with a smaller space: distance between your optical spot and the background is not optional. I tried compressing the setup in a shallow studio and the gobo projection got too crisp and too large, reading more like a spotlight on a stage than a forest environment. You need at least 12 feet between the optical spot and the paper to get the defocused, environmental feel Jay achieves here. If you don’t have that depth, defocusing the spot aggressively helps, but it also softens the gobo pattern into near-abstraction. Test the distance before your subject is in hair and makeup. This is exactly the kind of thing I now test the afternoon before a shoot rather than discovering it on the day.
The biggest lesson in this entire tutorial is architectural: build your background first, then build your lighting around it. Most photographers do the opposite. They light the subject and treat the background as an afterthought. When you start with the background, every subsequent light decision is made in service of integrating the subject into a world that already exists. That’s what separates a portrait from a fantasy portrait.
Watch the full tutorial on YouTube to see Jay’s full set tour, hear his real-time exposure decisions, and watch the shots come together frame by frame.
Comments
Leave a Comment