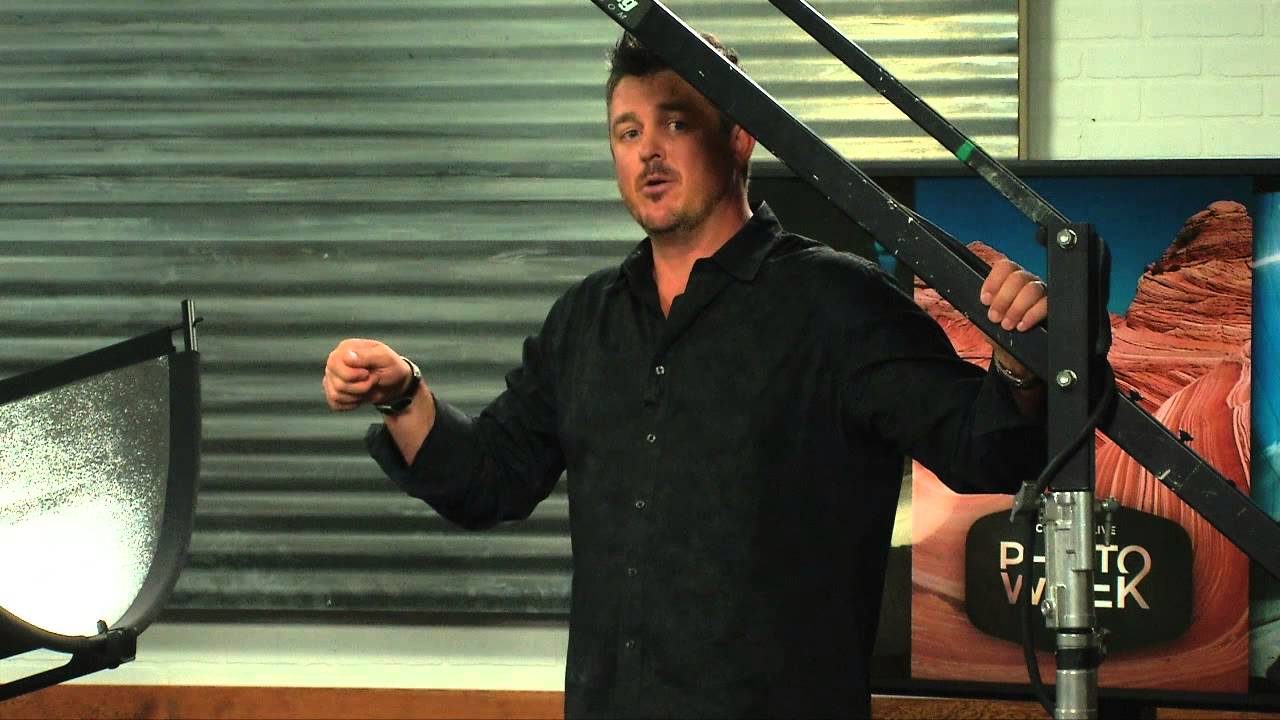
There’s a particular kind of client who walks into my studio and immediately goes stiff. Shoulders square to the camera, chin slightly raised, arms rigid at their sides. They’ve decided, somewhere between parking the car and stepping onto my seamless, that “professional” means “motionless and symmetrical.” Getting them out of that posture without making them feel self-conscious is half the job of a headshot session. The other half is making sure the light is already dialed in before they sit down, so I’m not fiddling with power packs while they lose whatever momentum we built in the first five minutes. That’s exactly why I keep coming back to this CreativeLive tutorial on headshot posing and lighting. Watch the full tutorial on YouTube. The instructor works through a full setup live, explaining each decision out loud, and there’s real value in hearing a working pro narrate their own reasoning rather than just their results.
What I appreciate most about this tutorial is the sequencing. The instructor doesn’t start with the camera. He starts with the person, then the light, then the camera. That order matters more than most beginners realize, and it matches the way I’ve worked since I started keeping a lighting journal where I sketch every setup after each shoot. The mistakes I made early in my career almost always came from reversing that order. This walkthrough gives you a framework you can repeat, not just a pretty result to admire.
Step 1: Position Your Subject at an Angle Before You Touch a Light
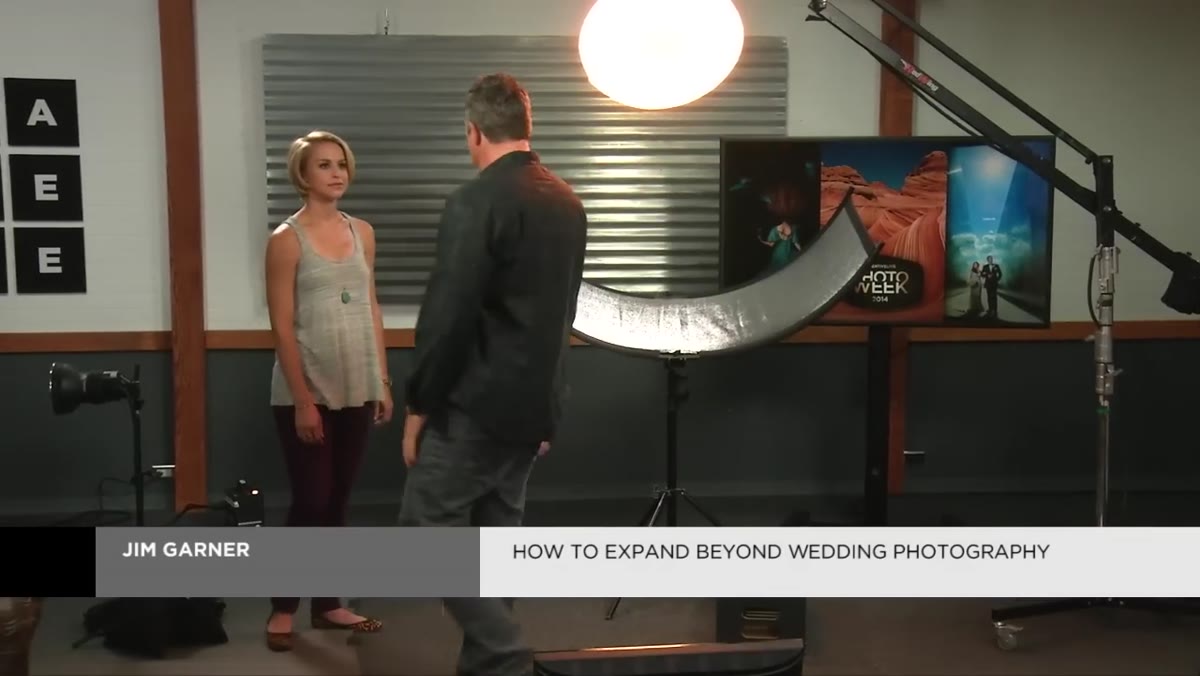 Instructor directing subject to turn feet at an angle
The first thing the instructor does is physically place the subject. Feet turned toward him, body at an angle to the camera, never squared up front-on. He’s explicit about this: frontal posing in a business portrait almost never works. The body angle means every shot is framed over the shoulder, which slims the frame and gives the face a natural three-quarter orientation. He notes that subjects have a “better side,” often determined by where their hair parts, and that both sides need to be shot to find which reads better on camera. His practice is to start on one side, shoot 10 to 15 frames to establish a rhythm, then move to the other side.
Instructor directing subject to turn feet at an angle
The first thing the instructor does is physically place the subject. Feet turned toward him, body at an angle to the camera, never squared up front-on. He’s explicit about this: frontal posing in a business portrait almost never works. The body angle means every shot is framed over the shoulder, which slims the frame and gives the face a natural three-quarter orientation. He notes that subjects have a “better side,” often determined by where their hair parts, and that both sides need to be shot to find which reads better on camera. His practice is to start on one side, shoot 10 to 15 frames to establish a rhythm, then move to the other side.
The practical implication: mark the floor with tape before your subject arrives. I use colored gaffer tape, one mark per position. When the subject steps on the mark and turns their feet toward the camera position, the body angle is already correct. You’re not asking them to hold something abstract. You’re asking them to look at a piece of tape.
Step 2: Use Your Voice to Drive Facial Expression
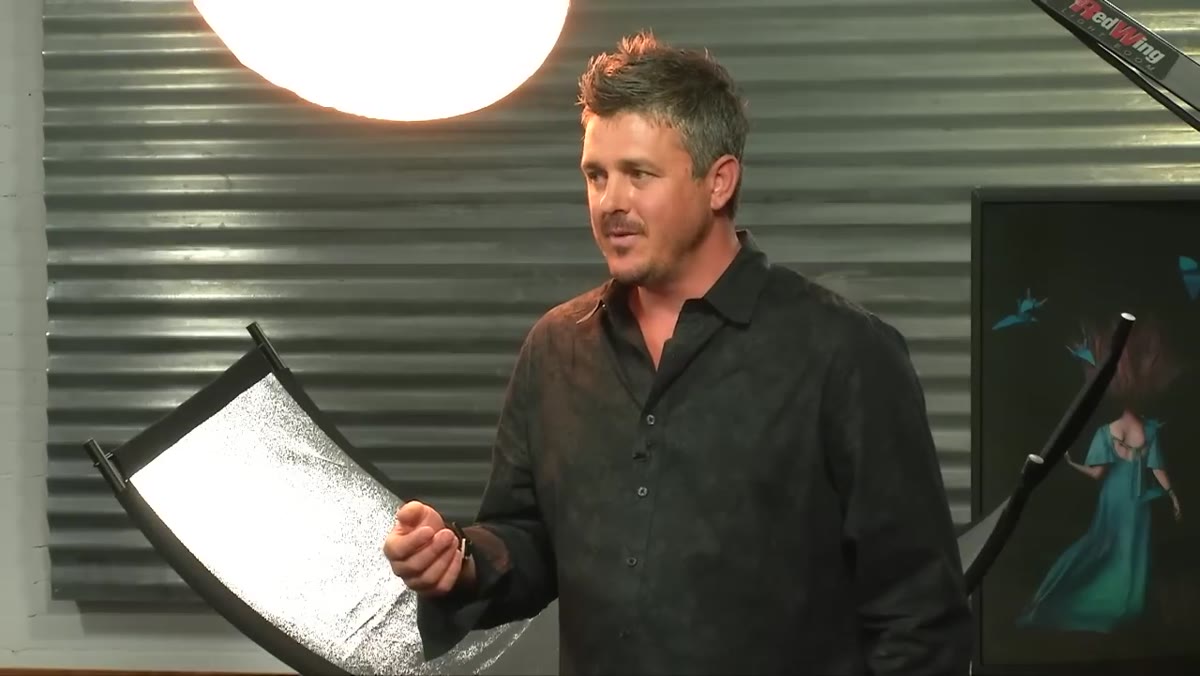 Instructor speaking to subject to elicit natural expression
Once the body is placed, the instructor shifts to expression. He talks through how he uses his voice to move a subject’s face, ranging from deliberate nonsense to prompts tied to the client’s profession. The goal is to cycle between a relaxed smile and what he calls “the serious look,” a neutral, composed expression without any forced grin. He emphasizes knowing in advance what the client actually needs, because some people want warmth and some want authority, and those require different prompts and different lighting ratios.
Instructor speaking to subject to elicit natural expression
Once the body is placed, the instructor shifts to expression. He talks through how he uses his voice to move a subject’s face, ranging from deliberate nonsense to prompts tied to the client’s profession. The goal is to cycle between a relaxed smile and what he calls “the serious look,” a neutral, composed expression without any forced grin. He emphasizes knowing in advance what the client actually needs, because some people want warmth and some want authority, and those require different prompts and different lighting ratios.
My own version of this is to ask the client about a project they’re proud of right before I fire the shutter. People’s faces do something specific when they talk about work they care about. It’s not a smile, exactly. It’s engagement. That’s the frame that usually makes the edit.
Step 3: Set the Background Light First, Then the Key Light
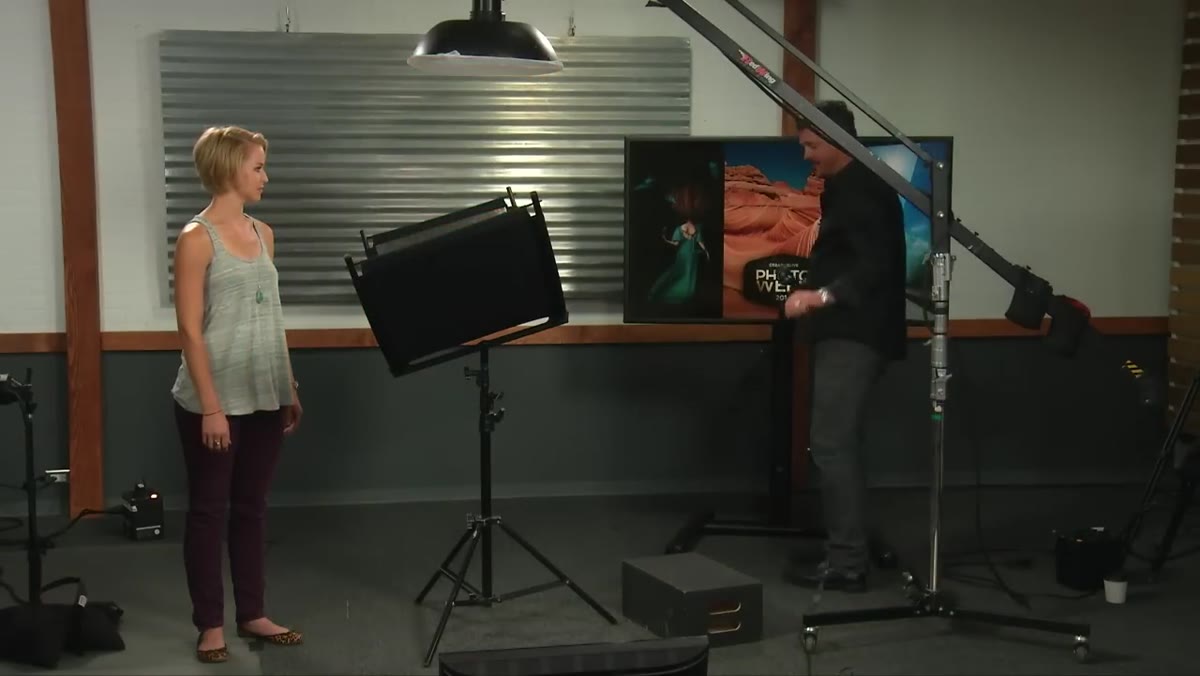 Background halo visible with front key light switched off
Here’s where the tutorial gets technically specific and genuinely useful. The instructor turns off his key light (a beauty dish) to show the background light working on its own. With the subject in silhouette, you can see the halo effect the background light creates, a circular bloom of light centered behind the subject’s head. He evaluates the halo on its own before the key light is introduced, adjusting power until the effect looks right in isolation.
Background halo visible with front key light switched off
Here’s where the tutorial gets technically specific and genuinely useful. The instructor turns off his key light (a beauty dish) to show the background light working on its own. With the subject in silhouette, you can see the halo effect the background light creates, a circular bloom of light centered behind the subject’s head. He evaluates the halo on its own before the key light is introduced, adjusting power until the effect looks right in isolation.
The discipline here is the important part. Evaluate each light source independently before you combine them. I learned this the hard way early in my career when I ruined my first big editorial shoot by not calibrating each source separately. I was balancing lights by eye while they were all firing at once, and what looked fine on location was a mess in post. Now I work exactly the way this instructor does: one light at a time, confirm it, then add the next.
Step 4: Dial in the Key Light at F8 and Adjust the Background to Match
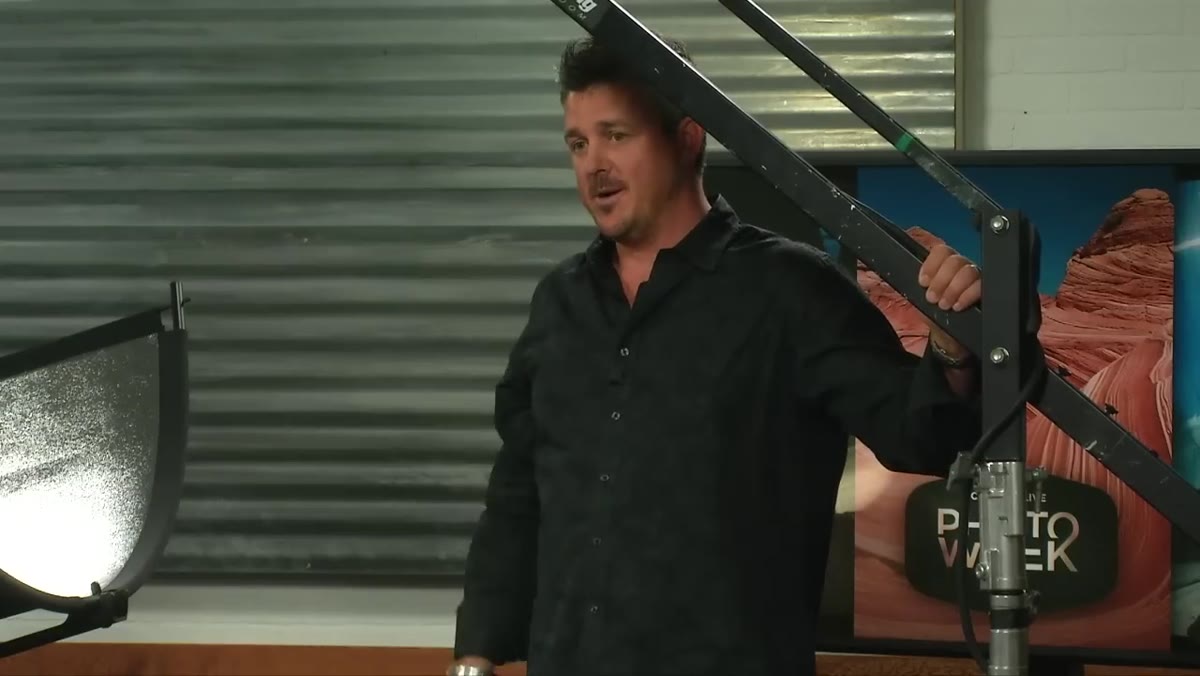 Key light firing with subject lit, background halo integrated
With the halo confirmed, the instructor brings in the key light. He’s set it to F8, a setting he’d confirmed during test shots before the session began. The background light is set slightly weaker than the key. His language here is useful: sometimes the background runs a stop or two above the key, sometimes below, depending on the look. In this case, he wants separation without blowing out the backdrop, so the background is pulling back slightly.
Key light firing with subject lit, background halo integrated
With the halo confirmed, the instructor brings in the key light. He’s set it to F8, a setting he’d confirmed during test shots before the session began. The background light is set slightly weaker than the key. His language here is useful: sometimes the background runs a stop or two above the key, sometimes below, depending on the look. In this case, he wants separation without blowing out the backdrop, so the background is pulling back slightly.
The number F8 isn’t arbitrary. It’s giving him enough depth of field to keep the eyes sharp if the subject shifts slightly forward or back, while still producing a quality falloff on the shoulders. If you’re shooting headshots on a full-frame body, F8 with a 85mm to 105mm lens at a working distance of about six to eight feet puts you in a very workable zone.
Step 5: Add a Lower Reflector for Consistent Fill Across All Clients
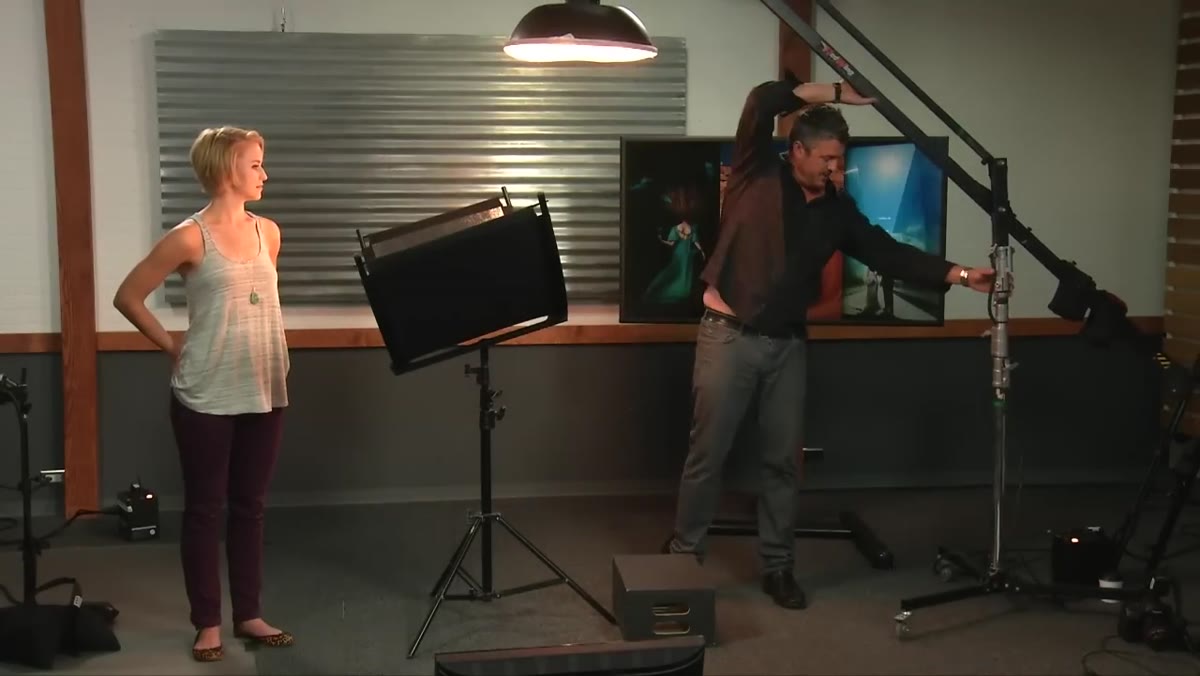 Lower reflector positioned below subject’s face for fill light
The instructor positions a reflector below the subject’s chin to bounce the key light back up and fill the shadows under the jaw and neck. He notes that his subject doesn’t necessarily need it because of her skin tone and the way she’s lit, but he keeps it in the setup anyway. The reason is consistency. When you’re running back-to-back headshot sessions, you need a rig that produces reliable results across different faces, different skin tones, and different bone structures. The lower reflector is insurance.
Lower reflector positioned below subject’s face for fill light
The instructor positions a reflector below the subject’s chin to bounce the key light back up and fill the shadows under the jaw and neck. He notes that his subject doesn’t necessarily need it because of her skin tone and the way she’s lit, but he keeps it in the setup anyway. The reason is consistency. When you’re running back-to-back headshot sessions, you need a rig that produces reliable results across different faces, different skin tones, and different bone structures. The lower reflector is insurance.
Angle matters here. Light reflects at the same angle it hits the reflector. To get the fill into the face, the reflector needs to be angled so it’s catching the spill from the key light and redirecting it upward. Small adjustments, a degree or two in tilt, make a visible difference in how much shadow relief you’re getting under the chin.
What I’d Add: Test the Halo Position Against the Subject’s Hair
The tutorial demonstrates this setup with one subject. In my experience, the background halo needs repositioning any time a subject changes significantly in height or has very dark or very light hair. I keep a strip of masking tape on the back of each light in my studio with its last-used power setting written in marker. When I’m doing a multi-client day, I photograph a gray card after every subject change and re-evaluate the halo separately. Takes thirty seconds and catches drift before it costs you usable frames.
The single most important thing this tutorial reinforces is that headshot lighting isn’t about a beautiful one-off setup. It’s about a repeatable system you can trust when the session pressure is on. Nail the angle, build the lights one at a time, and use the lower reflector even when you think you don’t need it.
Watch the full tutorial on YouTube to see the complete live demo, including how the instructor adjusts each light in real time while narrating his decision-making.
Comments
Leave a Comment