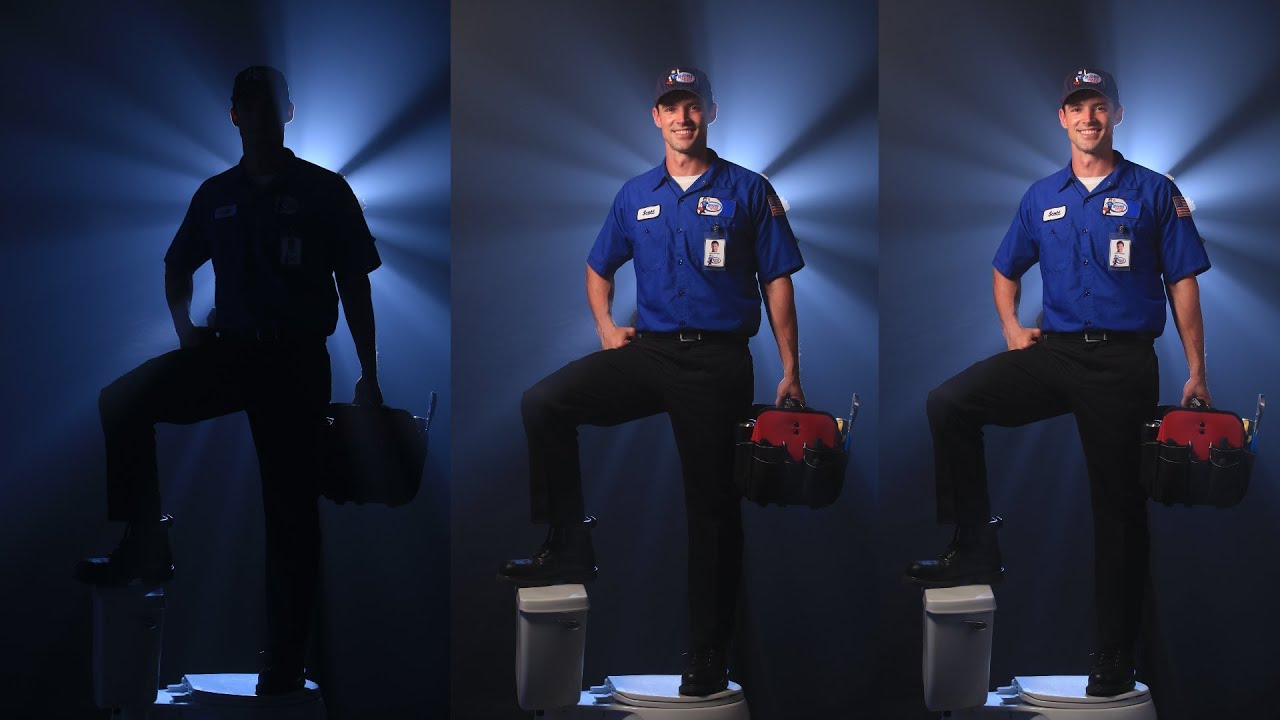
There’s a category of commercial photography problem that I call the “button shot” problem. The client needs a punchy, cinematic closing image, something that reads instantly as heroic or dramatic, and they need it built inside a studio with a modest rig. No motion picture budget, no art department, just you and your lights and whatever foam core you can find. These are exactly the shots that separate photographers who understand light from photographers who just point it. When I came across this The Slanted Lens tutorial by Jay P Morgan, I recognized the problem immediately, and I watched it twice before I even touched my equipment.
The concept is simple on paper: a plumber superhero character, standing on a toilet, backlit with a 1K tungsten light shaped through a handmade cookaloris, with Rosco smoke filling the scene. Watch the full tutorial on YouTube and you’ll see how quickly what sounds like a silly commercial gag turns into a legitimate lesson in rim lighting, light shaping, and practical effects. What follows is my working breakdown of the technique, written so you can replicate it without the video running in the background.
Step 1: Build Your Black Background Without a Visible Seam
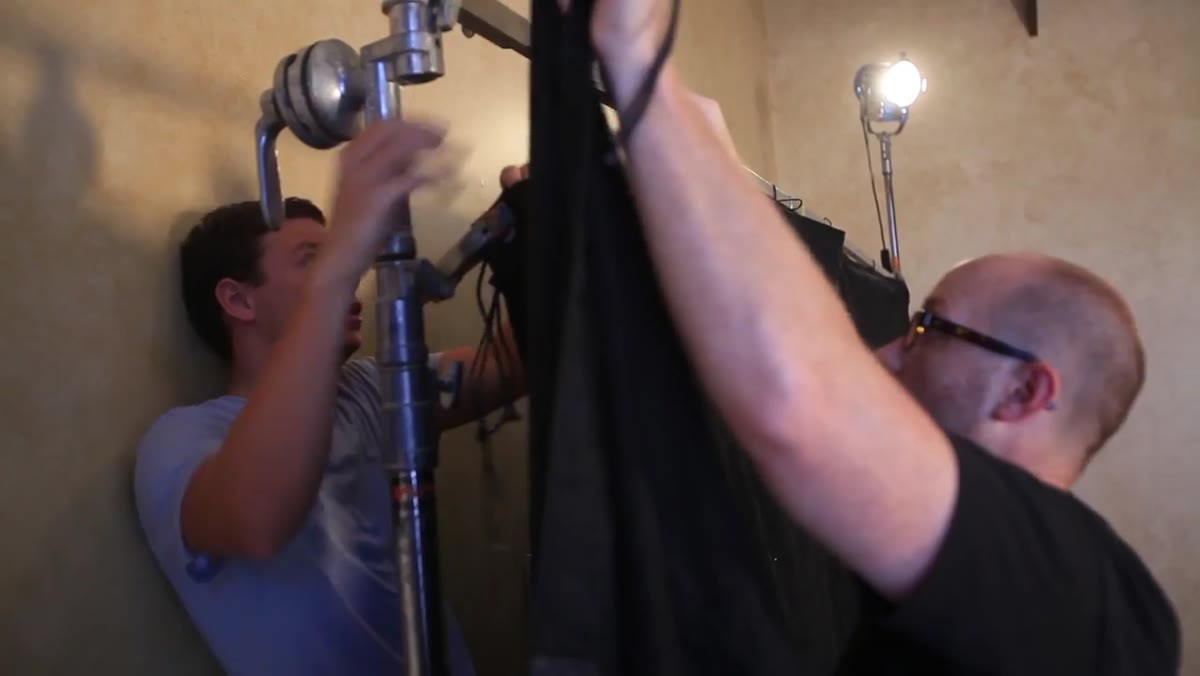 Two large duvateens rigged side by side as black background
Two 12x12 duvateens hung side by side give you enough width for a full-body hero shot with room to spare. The critical detail is the seam. Where the two grommeted edges meet in the center, rotate them away from camera and clip them together at the back. This keeps the seam from catching light and reading as a line on camera. When you add smoke later, the seam disappears entirely anyway, but getting it right from the start means you’re not problem-solving in post.
Two large duvateens rigged side by side as black background
Two 12x12 duvateens hung side by side give you enough width for a full-body hero shot with room to spare. The critical detail is the seam. Where the two grommeted edges meet in the center, rotate them away from camera and clip them together at the back. This keeps the seam from catching light and reading as a line on camera. When you add smoke later, the seam disappears entirely anyway, but getting it right from the start means you’re not problem-solving in post.
I label every stand and flag in my studio with masking tape, so when I build this kind of set I also mark which side of each duvatee faces front. Duvateens have a slight texture difference side to side, and under hard backlight that difference can show up. Small thing, but worth noting.
Step 2: Position Your 1K as the Primary Backlight
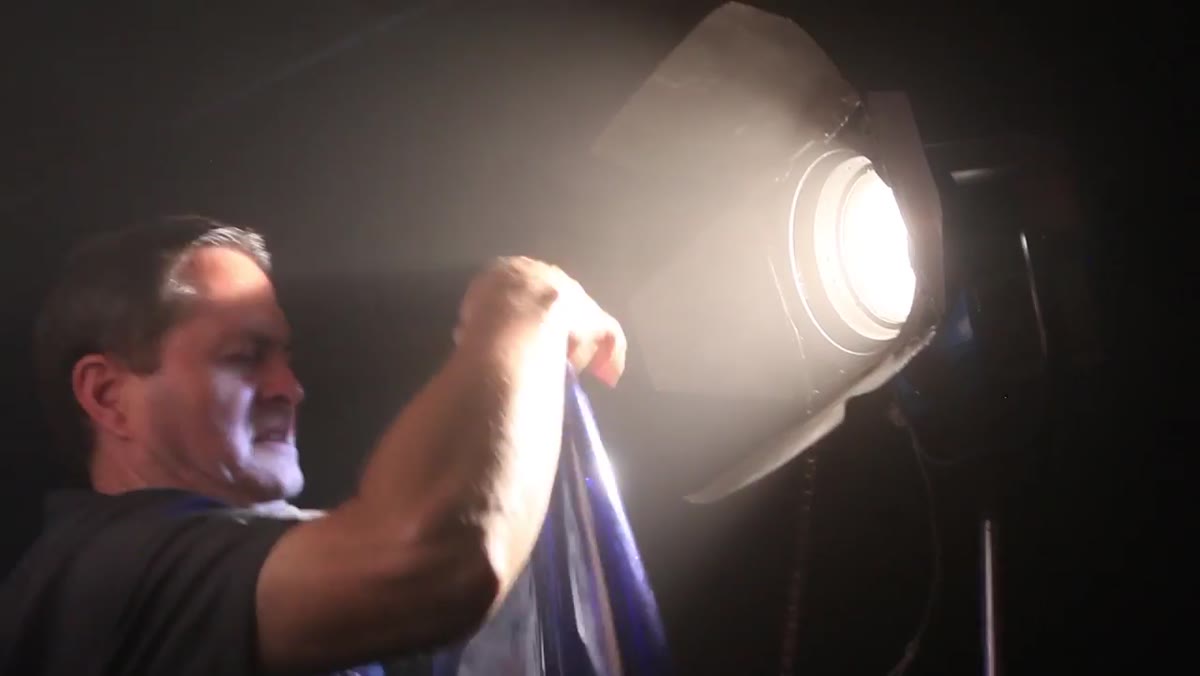 1K light aimed directly at talent’s back from behind
The 1K tungsten light goes directly behind your subject, aimed straight at camera. Your talent’s body physically blocks the fixture from lens view, which is what creates the rim-light silhouette effect. This is not a subtle hair light. This is a full-power continuous source that your subject is standing in front of, and everything else in the frame, including the smoke and the cookie shapes, depends entirely on how this light is positioned.
1K light aimed directly at talent’s back from behind
The 1K tungsten light goes directly behind your subject, aimed straight at camera. Your talent’s body physically blocks the fixture from lens view, which is what creates the rim-light silhouette effect. This is not a subtle hair light. This is a full-power continuous source that your subject is standing in front of, and everything else in the frame, including the smoke and the cookie shapes, depends entirely on how this light is positioned.
Get this light placed and powered before you touch anything else. It is the engine of the entire setup. The height, the spread, and the angle of this single fixture will determine whether your smoke reads as atmospheric haze or muddy gray nothing.
Step 3: Cut Your Cookaloris from Foam Core
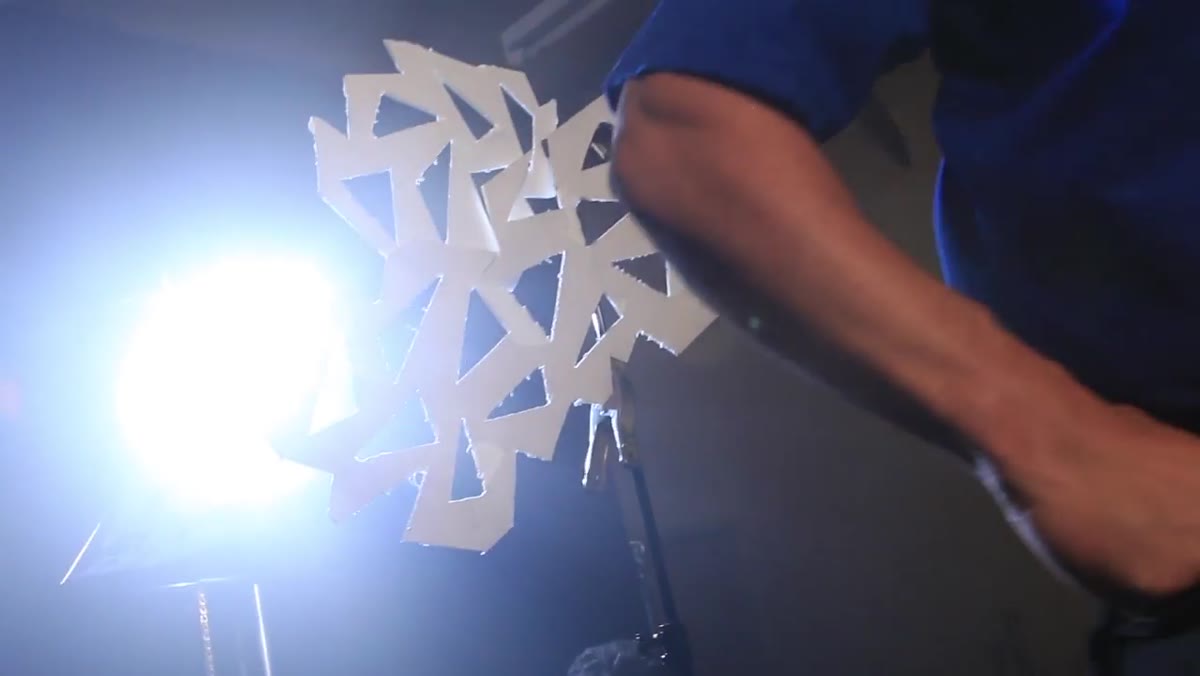 Foam core being cut to create light-shaping cookie
A cookaloris, or cookie, is a flat panel with cutouts that breaks up a light source into irregular patterns and shafts. For this setup, Jay P Morgan’s team cut theirs from foam core on location, which is exactly what I would do. The first instinct was to cut long triangular spokes radiating from a center point, like a starburst. It didn’t work. The shapes were too regular and the light read as artificial.
Foam core being cut to create light-shaping cookie
A cookaloris, or cookie, is a flat panel with cutouts that breaks up a light source into irregular patterns and shafts. For this setup, Jay P Morgan’s team cut theirs from foam core on location, which is exactly what I would do. The first instinct was to cut long triangular spokes radiating from a center point, like a starburst. It didn’t work. The shapes were too regular and the light read as artificial.
The approach that worked was cutting random, irregular holes and assembling multiple pieces together with clamps. This is the honest truth about cookies: there is no formula. You cut, you check, you cut more. If an area has too much light, tape a piece of foam core over part of the opening. If you need more light to push through, remove material. Keep the smoke running while you adjust so you’re seeing the effect in real time, not guessing.
Step 4: Shape the Light Streaks Around Your Subject
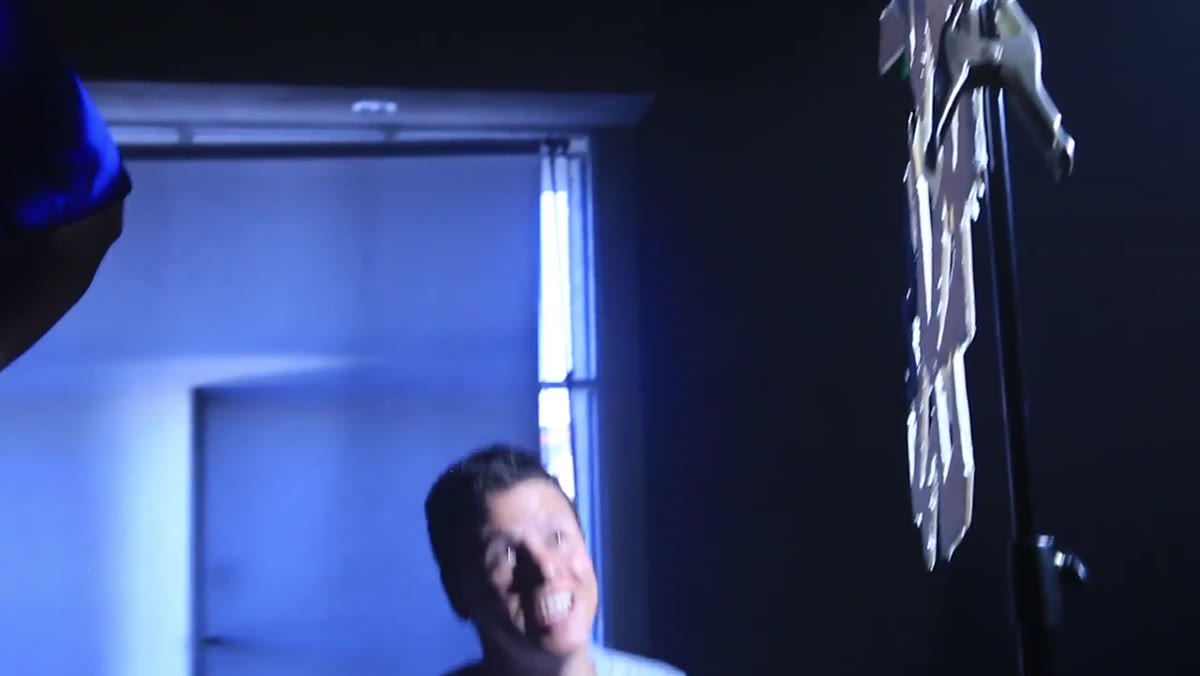 Cookie shaping light beams around silhouetted talent
The goal of the cookie here is specific: light streaks that radiate around the talent’s silhouette and give the impression that this person is surrounded by energy. Think of it as sculpting with negative space. The foam core blocks the light, the gaps become beams, and the smoke makes those beams visible.
Cookie shaping light beams around silhouetted talent
The goal of the cookie here is specific: light streaks that radiate around the talent’s silhouette and give the impression that this person is surrounded by energy. Think of it as sculpting with negative space. The foam core blocks the light, the gaps become beams, and the smoke makes those beams visible.
Clamp several pieces together rather than trying to cut one perfect panel. This gives you flexibility to swap sections without starting over. When a streak feels too centered or too wide, shift the cookie slightly rather than cutting. A quarter-inch of movement on the cookie translates to a meaningful change in the beam position on your subject.
Step 5: Test All Three Smoke Fluids Before You Commit to One
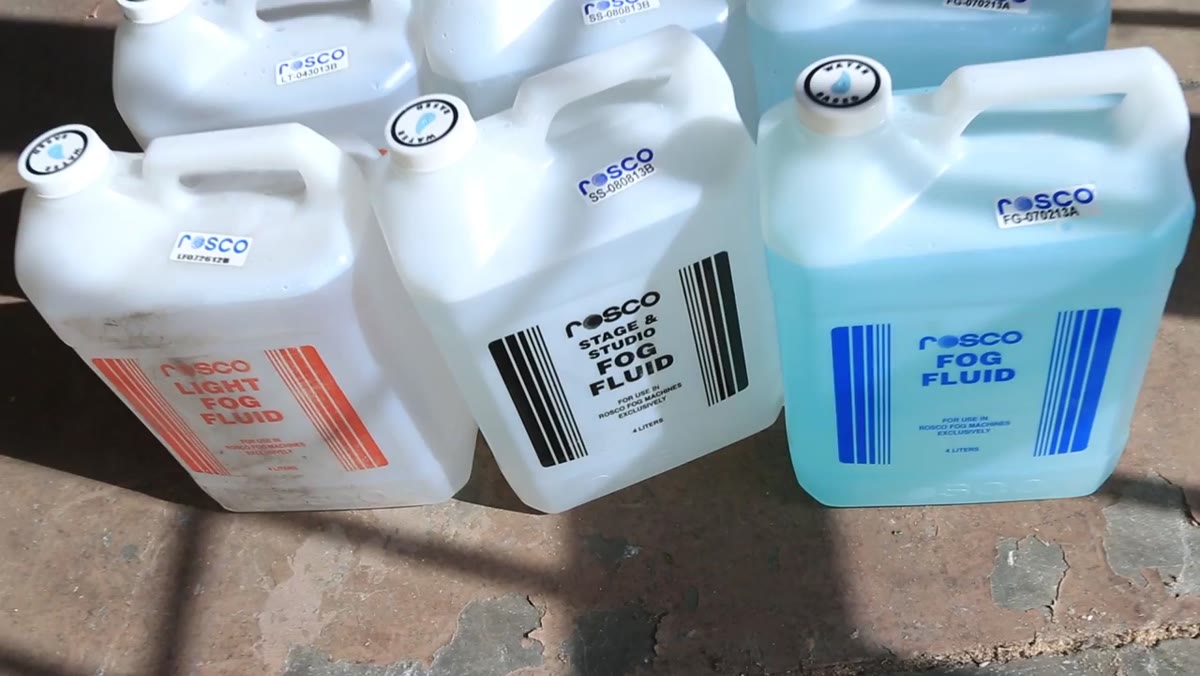 Rosco smoker being prepared for fluid comparison test
Rosco makes three different smoke fluids, and they behave differently enough that using the wrong one will cost you either time or the shot. Jay P Morgan’s team ran a structured test: they bled the machine completely between each fluid, then ran each one for exactly one minute and filmed the result with a time-lapse to see how long the smoke held and how dense it built.
Rosco smoker being prepared for fluid comparison test
Rosco makes three different smoke fluids, and they behave differently enough that using the wrong one will cost you either time or the shot. Jay P Morgan’s team ran a structured test: they bled the machine completely between each fluid, then ran each one for exactly one minute and filmed the result with a time-lapse to see how long the smoke held and how dense it built.
This is the kind of disciplined testing I keep records of in my lighting journal, because smoke behavior changes with room temperature and airflow. What works in my climate-controlled studio in Los Angeles in July may behave completely differently in a location with an open loading dock. Test on the day, in the space, with the lights at temperature, and you’ll know exactly what you’re working with before talent is on set.
Step 6: Time Your Special Effect to the Action
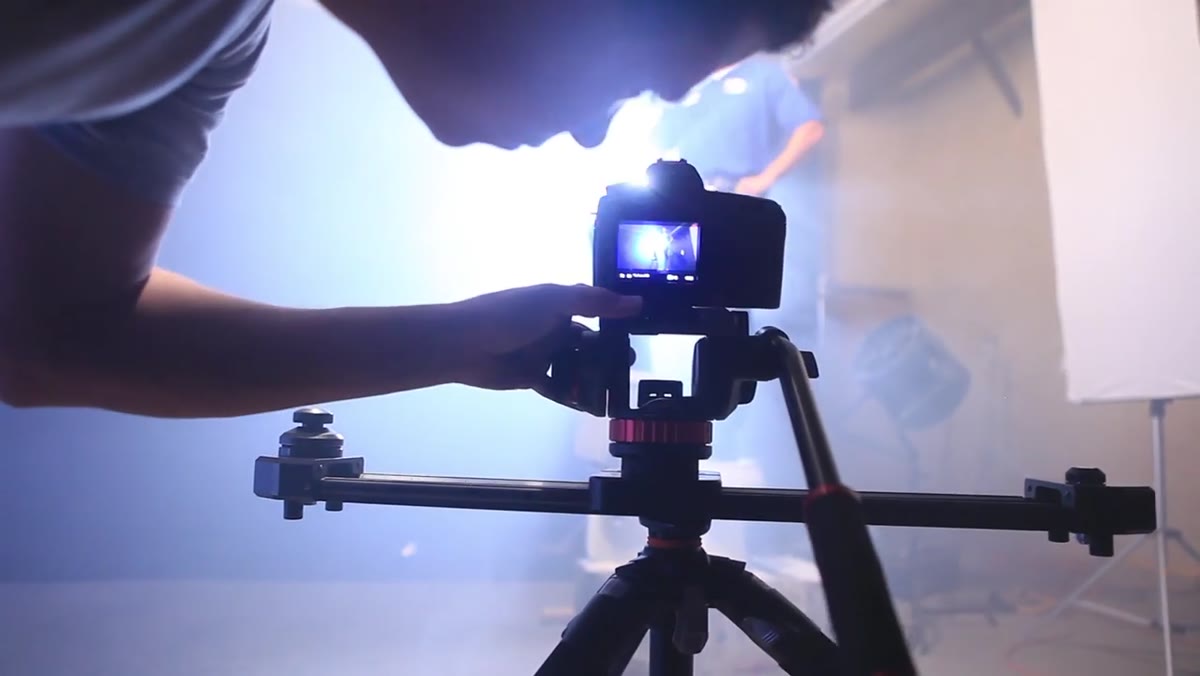 Cape being released as lights build for hero reveal
The final element is the practical effect: the cape. It starts draped and static as the subject stands in full silhouette, then gets released as the lights build into the full setup. This kind of timed reveal works because the camera has already established the shape of the hero in darkness, so the moment the cape lifts and the smoke swirls, the audience reads it as powered-up energy rather than just wind.
Cape being released as lights build for hero reveal
The final element is the practical effect: the cape. It starts draped and static as the subject stands in full silhouette, then gets released as the lights build into the full setup. This kind of timed reveal works because the camera has already established the shape of the hero in darkness, so the moment the cape lifts and the smoke swirls, the audience reads it as powered-up energy rather than just wind.
For photography rather than video, you’d shoot this as a sequence: a frame of the silhouette, then the reveal frame with the cape caught mid-movement. A second shooter or an assistant on the cape release matters here. You want the release clean and consistent, not reactive.
What I’d Do Differently on a Still Shoot
The tutorial is built for video, which means continuous lights throughout. For a still shoot, I’d supplement the 1K backlight with a strobe rim on either side, kept well below the continuous source in power so the tungsten character stays dominant. The strobe adds edge separation on the shoulders without killing the dramatic quality of the practical light. I’d also bracket the smoke density, shooting frames from light wisps through to thick fill, because the ideal density for a single still image is usually thinner than what looks right on video.
The single most important thing this tutorial reinforced for me is that the cookie is not a product you buy, it’s a decision you make in the room. The most effective one Jay P Morgan’s team used was improvised from scrap foam core and adjusted by eye with the smoke running. No lighting diagram captures that process. You have to be willing to cut, test, clamp, and cut again until the light does what you want it to do.
Watch the full tutorial on YouTube and pay close attention to the smoke comparison section. That alone is worth your time before your next shoot involving atmospheric effects.
Comments
Leave a Comment