
There’s a category of shot that clients request constantly but rarely know how to describe. They send you a Pinterest board full of images where the subjects are sharp and beautifully lit, and the background dissolves into warm, glowing circles of light. They call it “dreamy.” What they mean is bokeh, combined with deliberate strobe work on the subject. These two things are often treated as separate disciplines, and that gap is exactly what causes photographers to either nail the background and blow out the subject, or light the subject perfectly and lose the background entirely. Getting both right in a single frame requires understanding how they interact, not how they work in isolation.
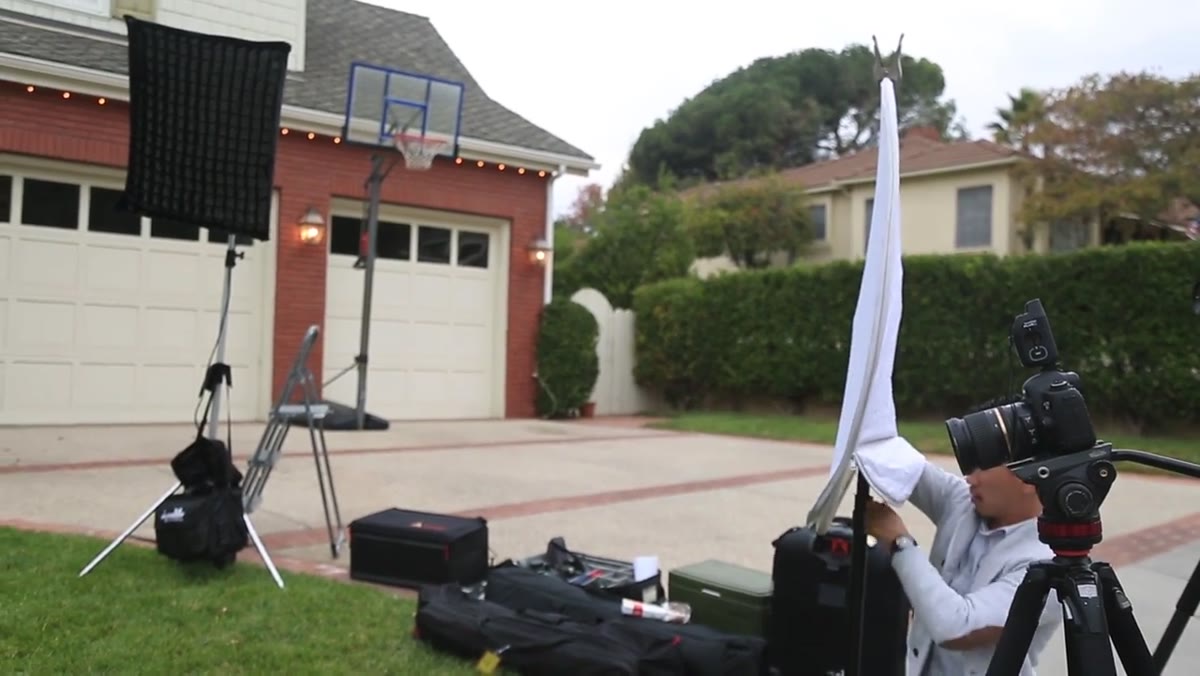
In this The Slanted Lens tutorial, Jay P. Morgan works through a complete two-light rim-key setup paired with a bokeh-heavy background, shooting a couple outdoors against a tree hung with large Christmas bulbs. Watch the full tutorial on YouTube before or after reading this breakdown. What I appreciate about his approach is that he doesn’t just show you the finished image. He builds the shot layer by layer and then pulls the focal length progressively wider so you can see exactly what each lens choice does to the bokeh. I’ve sketched this setup into my lighting journal because it’s a clean, repeatable framework I can adapt to almost any location with ambient light sources in the background.
The technique also solves a real problem I run into on lifestyle and editorial shoots: clients want a “natural” feel, but available light alone rarely gives you the subject separation and control you need for a deliverable image. This setup gives you that control while making the whole thing look effortless.
Step 1: Design Your Background First
 Large Christmas bulbs hanging in trees behind couple
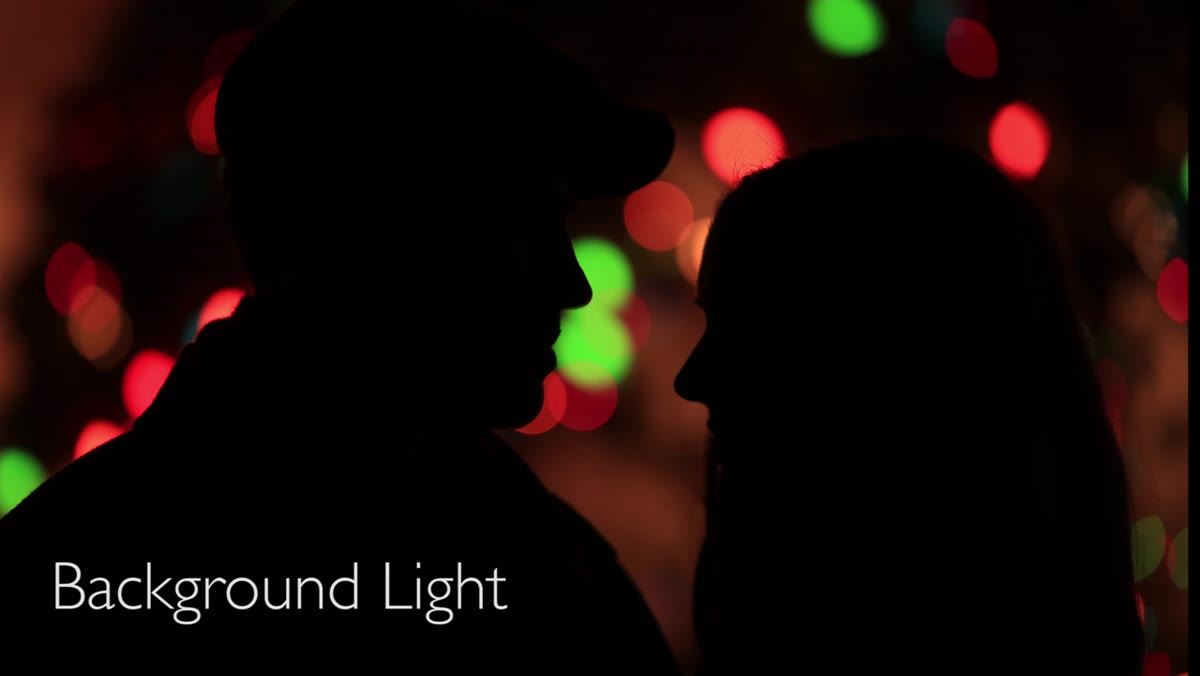
Before a single strobe fires, build your background. Morgan hangs large Christmas bulbs in the trees behind his subjects, and the choice of large bulbs is deliberate. Bigger light sources produce bigger bokeh circles and they’re brighter, which gives you more exposure flexibility when you’re pushing a long lens and shooting wide open. The distance between your subjects and those background lights is the variable that controls how dissolved those circles become. The farther the subjects stand from the background, the more out of focus those lights fall.
Step 2: Set Your Distance and Choose a Long Focal Length
 Couple positioned far from background lights, 200mm lens mounted
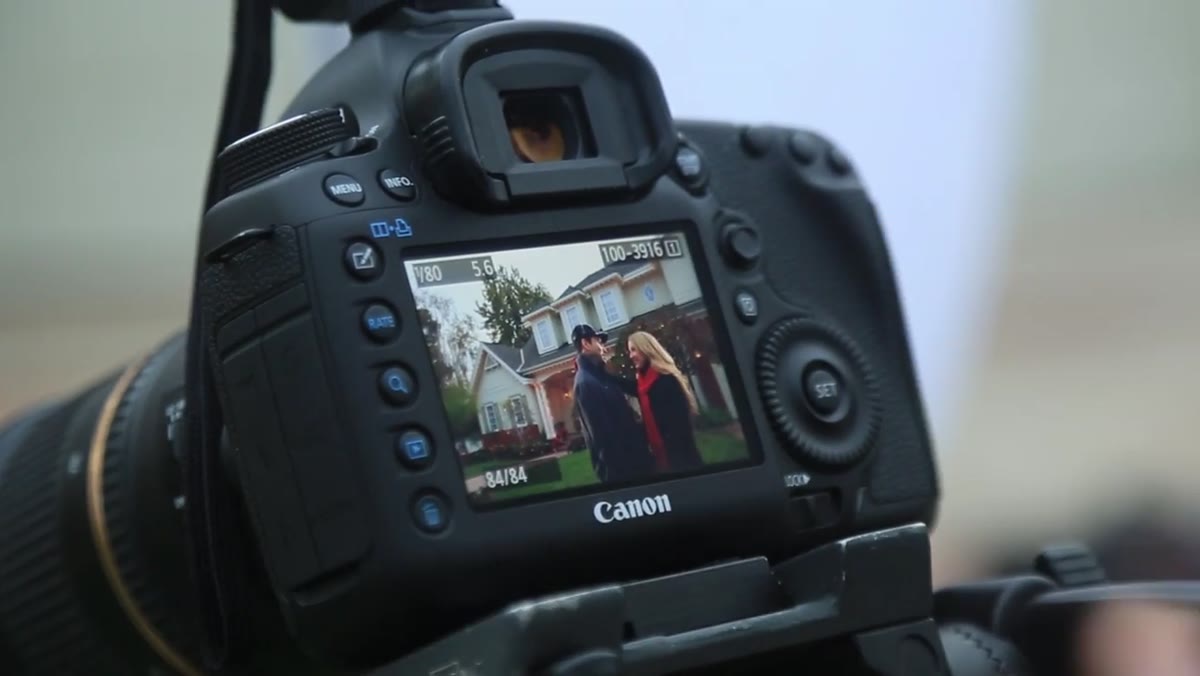
Morgan positions his couple well away from the background and reaches for a 200mm lens. At 200mm, the compression between subject and background becomes dramatic. The bokeh circles grow larger, the background feels closer even though it’s far away, and the whole image takes on a cinematic quality that wider lenses simply can’t replicate. His starting exposure is f/2.8 at 1/100 second, ISO 640. That combination keeps the background lights as soft, round shapes while giving the strobes enough working room to properly expose the subjects.
Step 3: Add a Fill Light to Open the Shadows
 LED panel with battery placed in front of couple
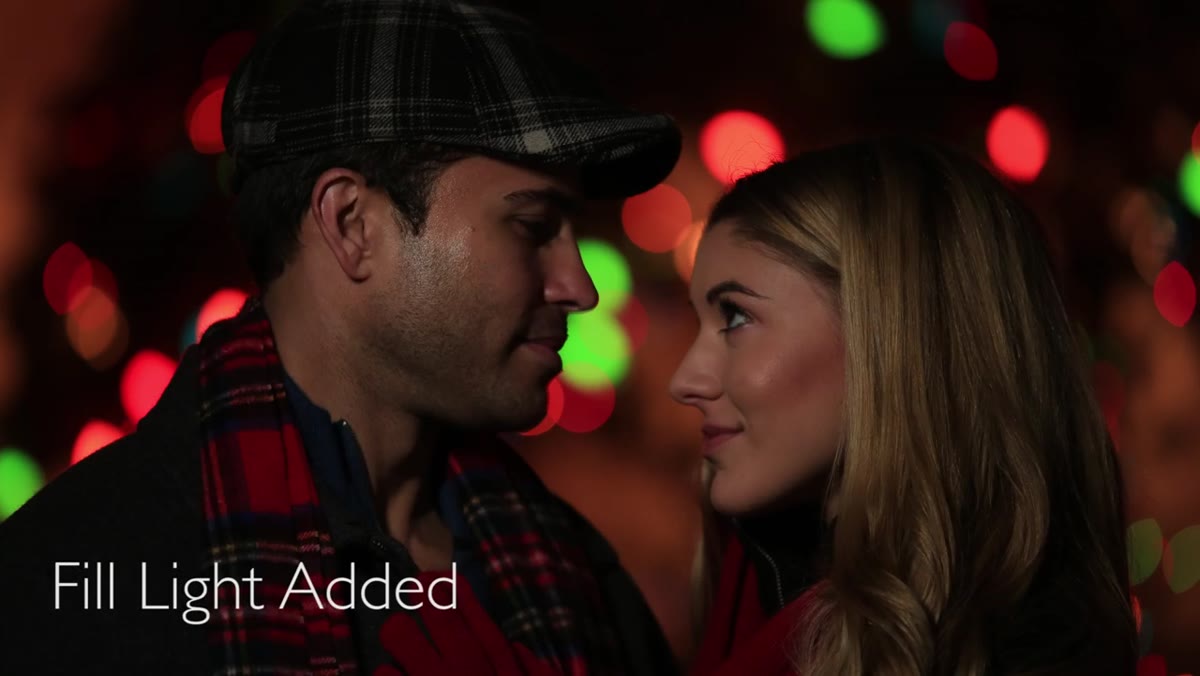
With just the background bokeh established, the subjects are underexposed. Morgan’s first light addition is a battery-powered LED panel positioned at the front to lift the shadows on both faces. This is a practical move on location where you need to move fast. An LED with a battery is portable and immediate. The goal here isn’t to create shape or drama. It’s just to bring the shadow values up enough that the strobes can do their job without fighting a dark base exposure. Think of this light as setting a floor, not a ceiling.
Step 4: Add the First Rim-Key Light from Camera Left
 Single strobe firing from camera left, rimming the male subject
Here is where the image starts to have real structure. A strobe placed on camera left does two jobs at once: it rims the male subject, wrapping light around his far edge, and it keys the female subject by hitting her as the primary light source from her illuminated side. This dual-purpose positioning is the core of the rim-key concept. You’re not wasting a light on a single function. Each strobe is simultaneously creating separation for one subject and modeling the face of the other. After this light alone, the image is workable but still feels one-dimensional.
Step 5: Add the Second Rim-Key Light from Camera Right
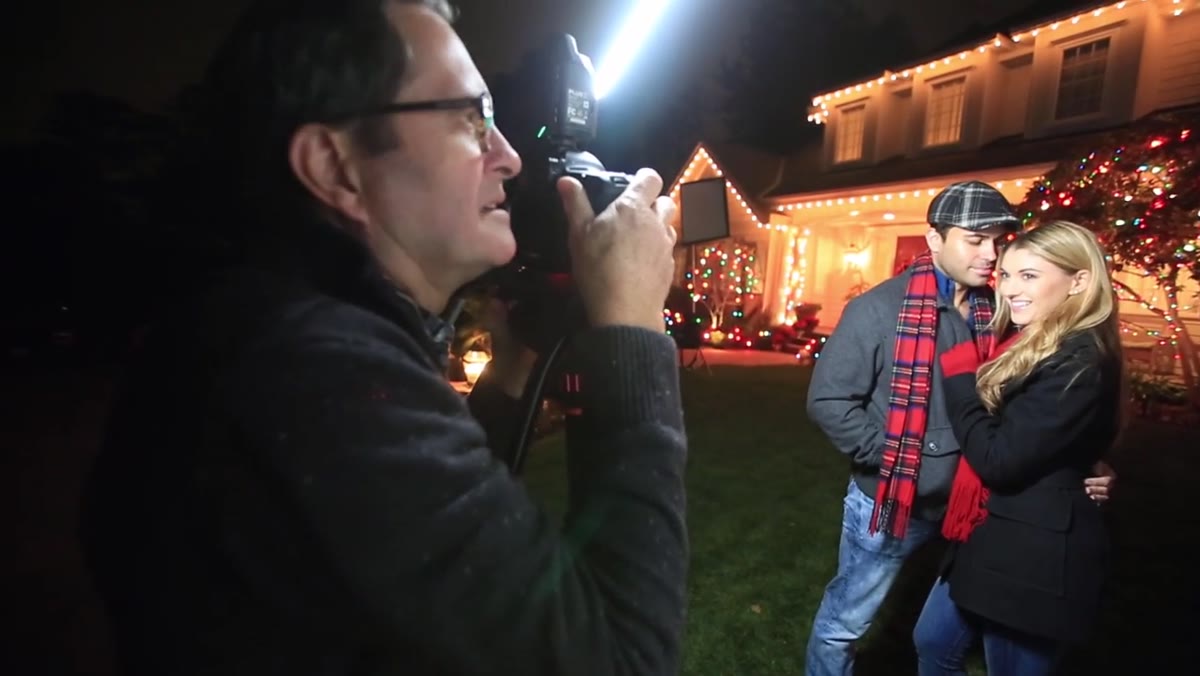
 Second strobe added from camera right, completing the rim-key setup
The second strobe mirrors the first from camera right, reversing the function. Now it rims the female subject and keys the male. The result is a lighting setup where both subjects have a clean, bright rim separating them from the background, and each subject’s face receives directional light from the opposite side. The background bokeh reads clearly behind them because the rim light creates contrast at the edges of both figures. This is the complete setup, and it works because the geometry is symmetric. If your two rim-key lights are roughly the same power and placed at equivalent angles, the balance between them will feel natural.
Step 6: Experiment with Focal Length and Watch What Changes
 Side-by-side comparison beginning as lens changes from 200mm to 70mm
Once the lighting is locked, Morgan methodically steps down through focal lengths: 200mm, 70mm, 50mm at f/1.2, and finally 35mm. Each change reveals something specific. At 70mm the background starts to show more context and the bokeh circles shrink. At 50mm the circles shrink further and the crop feels less flattering on the couple. At 35mm, shot at f/5.0 and 1/13 second at ISO 800, the bokeh nearly disappears entirely and you’re left with a wide environmental portrait that balances the ambient light with the Christmas lights in a completely different way. None of these are wrong. They’re just different creative answers to the same scene.
What I’d Add: Subject-to-Background Distance Is Your Real Control Knob
The variable Morgan demonstrates through lens choice is actually a product of two things working together: focal length and subject-to-background distance. When I’ve run this type of setup in the studio using bare bulb strobe heads on light stands as the background elements, I’ve found that moving the subjects closer to or farther from the background changes the bokeh character more dramatically than swapping lenses does. If you’re at 50mm and the bokeh looks weak, move your subjects forward six feet before you reach for a longer glass. It’s faster, and sometimes the wider field of view with genuinely soft bokeh gives you a more interesting composition than a compressed 200mm frame. Keep this in mind when you’re locked into a tight location and can’t back up to make a long lens work.
The single most important insight in this tutorial is that bokeh and strobe lighting are not competing forces. They’re complementary layers, and you build them in sequence: background first, fill second, rim-key third, then refine with focal length. Master that order and the technique becomes repeatable anywhere you can find a background with points of light.
Watch the full tutorial on YouTube to see each lighting layer added in real time alongside the resulting images.
Comments
Leave a Comment