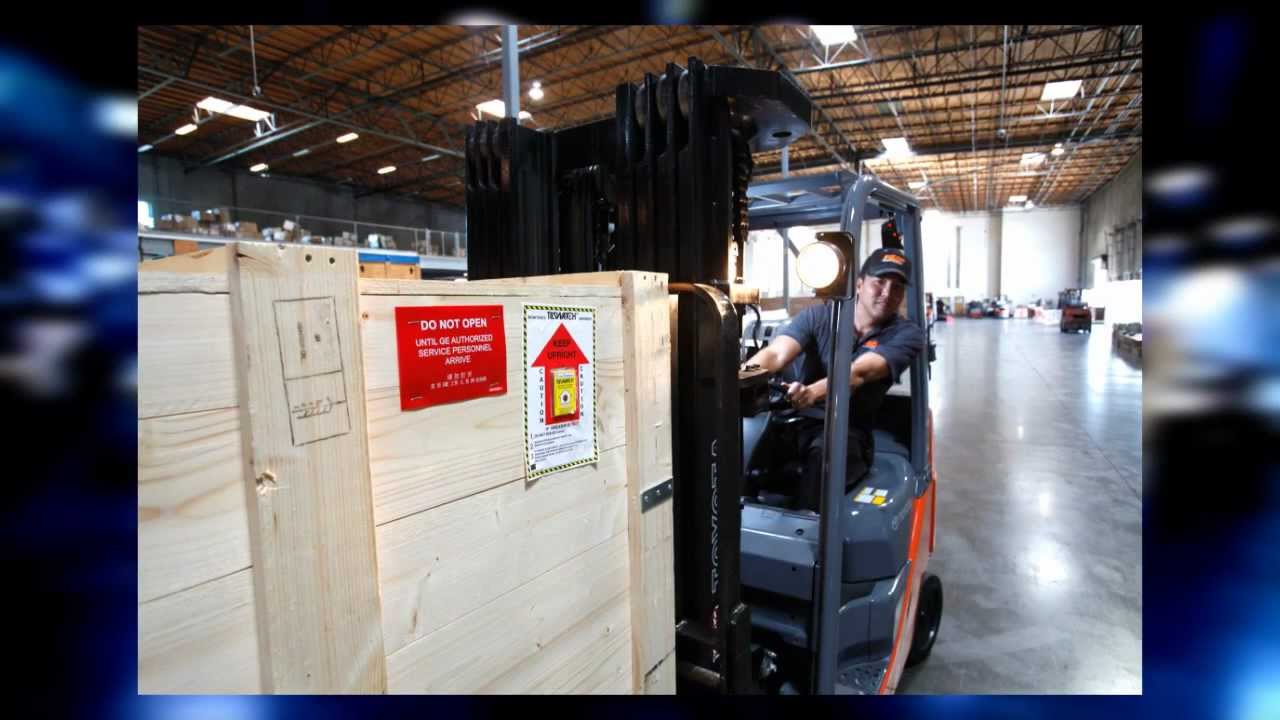
There’s a specific kind of shoot dread that sets in when you’ve photographed the same location a dozen times. I know that warehouse. I know that corner. I’ve already made the good picture here. That’s the problem The Slanted Lens walks into at the start of this tutorial, and the solution they land on is genuinely clever: instead of moving the camera past the subject, you move the camera with the subject, keeping both locked together on a piece of moving equipment. The background blurs. The subject stays sharp. The result looks kinetic and expensive, and the setup is more manageable than you’d expect.
Watch the full tutorial on YouTube
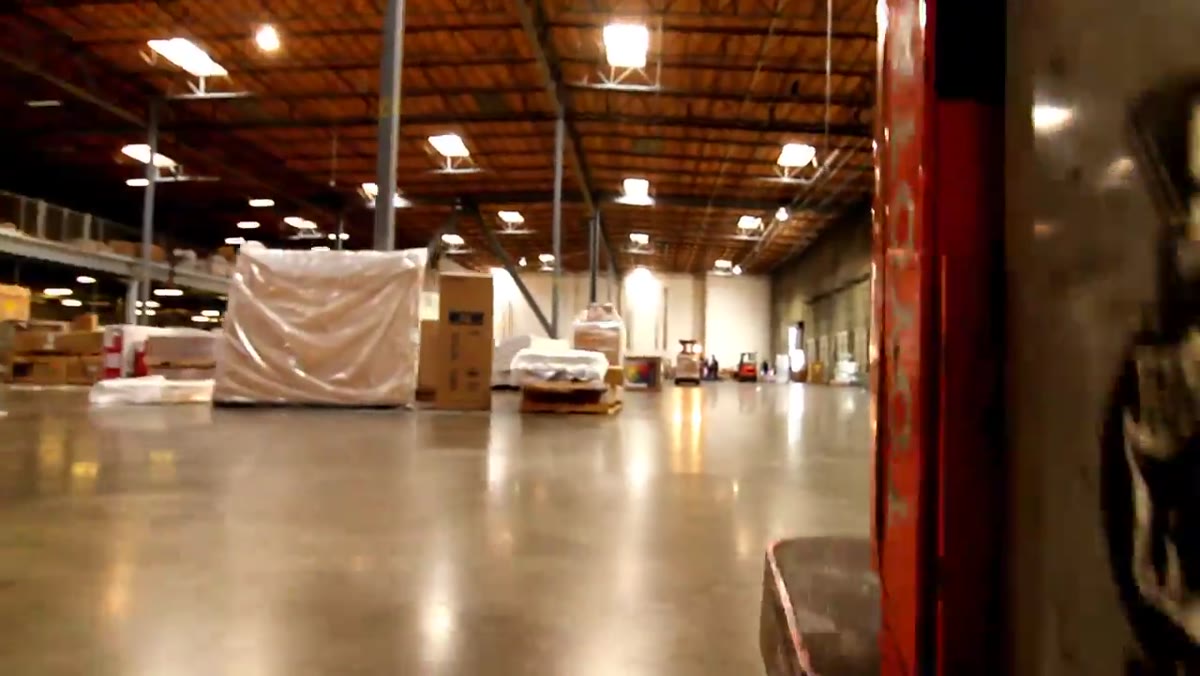
In this The Slanted Lens tutorial, the vehicle in question is a forklift. The principle, though, works on a boat, a car, a bike, a ferris wheel, anything where camera and subject can travel at the same speed in the same direction. What you get is controlled motion blur from a stationary background passing behind two stationary subjects: the driver and the lens. I sketched this one into my lighting journal the same evening I watched it, because the core idea transfers directly to commercial work where a client wants energy in an otherwise static product or environment shot.
Step 1: Mount the Camera to the Moving Object
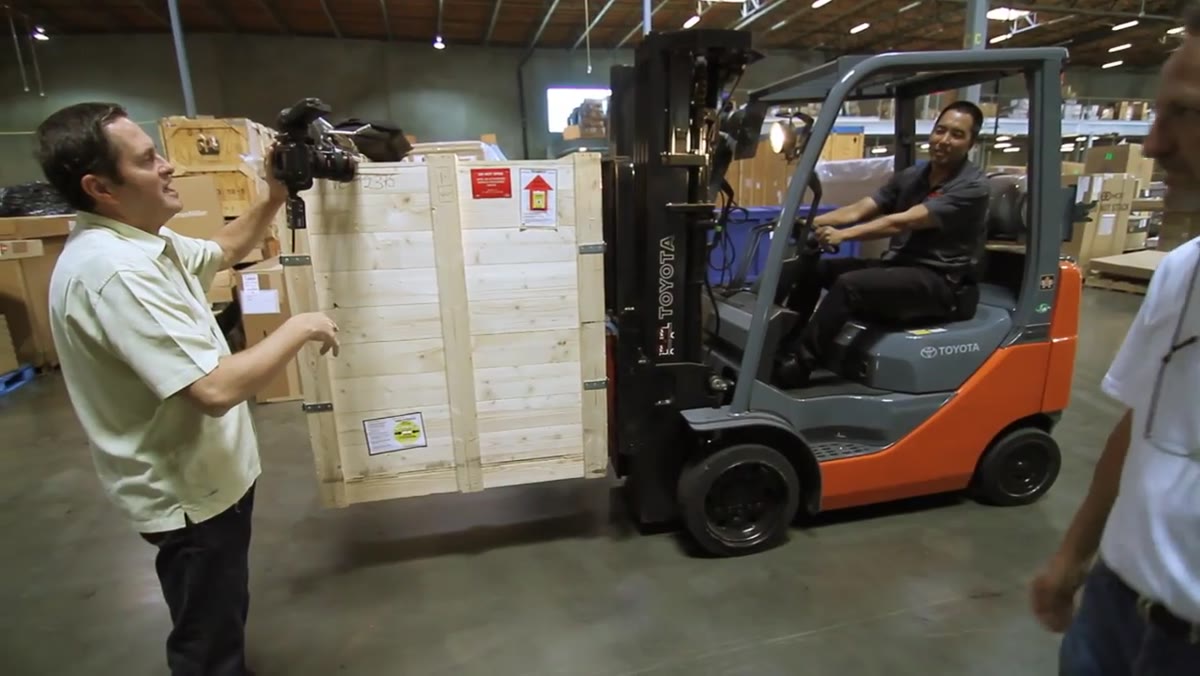 Tripod with sandbag clamped to forklift platform
Secure a tripod directly to the vehicle with sandbags or clamps, making sure there’s zero independent movement between the camera and the subject. Any wobble between those two points destroys the illusion, because it introduces motion blur on the subject itself rather than just the background. In this setup, the tripod is extended out to frame both the driver and the cargo crate at the front of the forklift. The camera ends up inverted, which feels awkward the first time but becomes manageable quickly. The non-negotiable here is rigidity: the camera-to-subject relationship has to behave as a single fixed unit.
Tripod with sandbag clamped to forklift platform
Secure a tripod directly to the vehicle with sandbags or clamps, making sure there’s zero independent movement between the camera and the subject. Any wobble between those two points destroys the illusion, because it introduces motion blur on the subject itself rather than just the background. In this setup, the tripod is extended out to frame both the driver and the cargo crate at the front of the forklift. The camera ends up inverted, which feels awkward the first time but becomes manageable quickly. The non-negotiable here is rigidity: the camera-to-subject relationship has to behave as a single fixed unit.
Step 2: Set Your White Balance for a Mixed-Light Environment
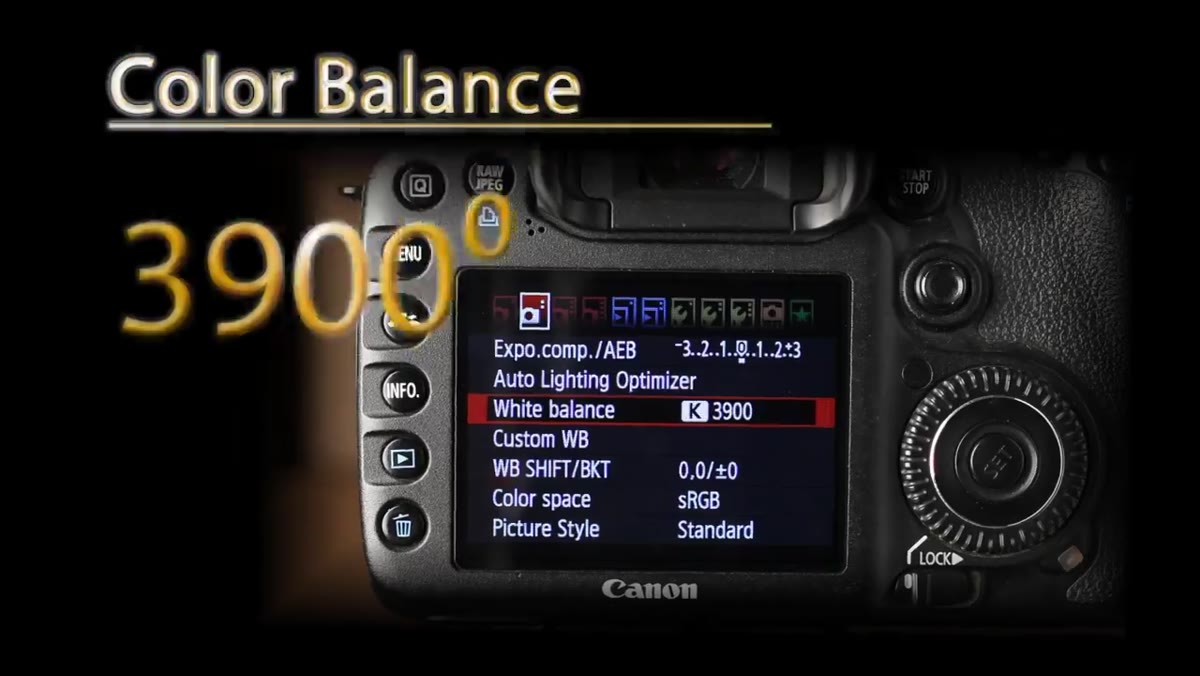 Camera LCD showing color temperature setting at 3900K
On-location shoots almost always have competing light sources, and this warehouse had three running simultaneously: fluorescent overhead fixtures, tungsten practicals, and the strobe lights that would be added later. The Slanted Lens sets color temperature manually at 3900K, landing in a middle zone that keeps the mixed sources from pulling in radically different directions. I’ve been burned by this before. On an early editorial job I left the camera on auto white balance and let it chase the fluorescents, which meant my strobes read cold and blue and the whole shoot had to be corrected in post at significant cost to shadow detail. Set a manual Kelvin value before you add any artificial light, and commit to it.
Camera LCD showing color temperature setting at 3900K
On-location shoots almost always have competing light sources, and this warehouse had three running simultaneously: fluorescent overhead fixtures, tungsten practicals, and the strobe lights that would be added later. The Slanted Lens sets color temperature manually at 3900K, landing in a middle zone that keeps the mixed sources from pulling in radically different directions. I’ve been burned by this before. On an early editorial job I left the camera on auto white balance and let it chase the fluorescents, which meant my strobes read cold and blue and the whole shoot had to be corrected in post at significant cost to shadow detail. Set a manual Kelvin value before you add any artificial light, and commit to it.
Step 3: Dial In ISO, Aperture, and Shutter Speed for Background Blur
 Camera settings showing ISO 320, f/8, 1/5 second
This is where the technique lives or dies. ISO is set to 320, which gives enough sensitivity to work at a moderate aperture without requiring an extremely slow shutter. Aperture lands at f/8, providing enough depth of field to keep the subject sharp across the frame rather than having one eye soft and one sharp. Shutter speed is set to 1/5 of a second. That relatively long exposure is what streaks the background into motion during the forklift’s travel. The Slanted Lens notes that the client preferred a slightly shorter exposure so background details remained partially legible, while a longer shutter would push the environment into pure abstraction. Both are valid choices, but decide before the shoot which feeling the image needs. Changing shutter speed mid-run while operating a remote means you’re negotiating with a moving vehicle, and that’s not the moment for experimentation.
Camera settings showing ISO 320, f/8, 1/5 second
This is where the technique lives or dies. ISO is set to 320, which gives enough sensitivity to work at a moderate aperture without requiring an extremely slow shutter. Aperture lands at f/8, providing enough depth of field to keep the subject sharp across the frame rather than having one eye soft and one sharp. Shutter speed is set to 1/5 of a second. That relatively long exposure is what streaks the background into motion during the forklift’s travel. The Slanted Lens notes that the client preferred a slightly shorter exposure so background details remained partially legible, while a longer shutter would push the environment into pure abstraction. Both are valid choices, but decide before the shoot which feeling the image needs. Changing shutter speed mid-run while operating a remote means you’re negotiating with a moving vehicle, and that’s not the moment for experimentation.
Step 4: Add the Key Light, Mounted Directly to the Vehicle
 Strobe head clamped to forklift beside the driver
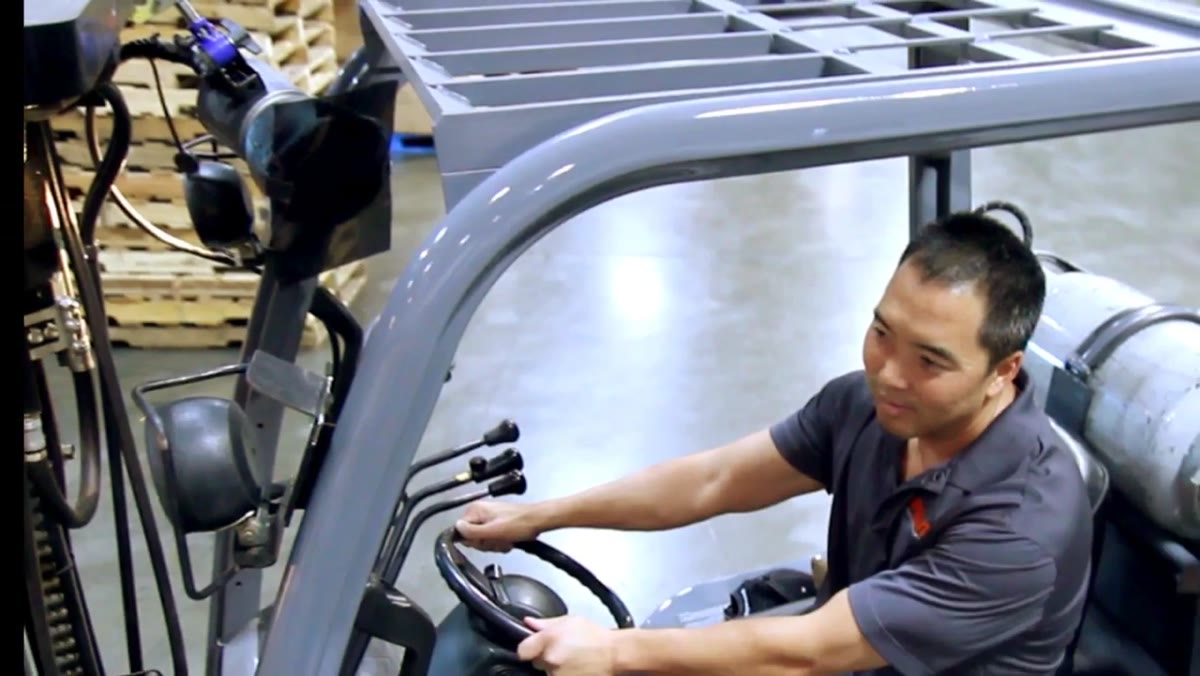
The first test frame without additional light shows the problem immediately: the ambient exposure blurs the background correctly, but the driver’s face is underexposed and lacking definition. The solution is a strobe mounted to the forklift itself, so it travels with the subject and fires at the moment of exposure. In this case it’s a Hensel Porty pack with two stops of ND filtration dialed in to bring the strobe output down to match the ambient exposure balance. The head is clamped directly to the forklift frame next to the driver. Because the strobe freezes the subject within the longer shutter duration, the driver’s face reads sharp even though the shutter is open for 1/5 of a second. The ND is critical here. Without it, a strobe at working power would overpower the ambient and you’d get a sharp subject against a gray, motion-free background. The blur comes from ambient; the sharpness comes from strobe. You need both working at the right ratio.
Strobe head clamped to forklift beside the driver
The first test frame without additional light shows the problem immediately: the ambient exposure blurs the background correctly, but the driver’s face is underexposed and lacking definition. The solution is a strobe mounted to the forklift itself, so it travels with the subject and fires at the moment of exposure. In this case it’s a Hensel Porty pack with two stops of ND filtration dialed in to bring the strobe output down to match the ambient exposure balance. The head is clamped directly to the forklift frame next to the driver. Because the strobe freezes the subject within the longer shutter duration, the driver’s face reads sharp even though the shutter is open for 1/5 of a second. The ND is critical here. Without it, a strobe at working power would overpower the ambient and you’d get a sharp subject against a gray, motion-free background. The blur comes from ambient; the sharpness comes from strobe. You need both working at the right ratio.
Step 5: Add a Handheld Fill Light
 Second strobe being handheld alongside moving forklift
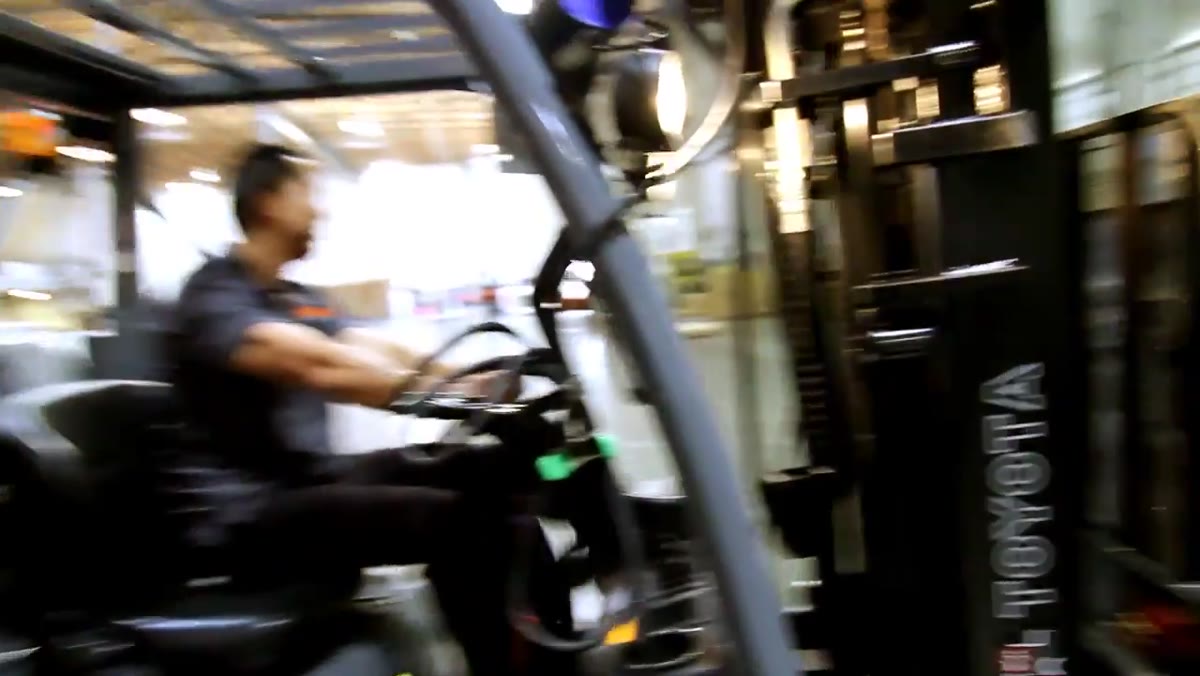
The key light alone produces a single-source look: defined shadows on the opposite side of the face that read as harsh in the finished image. A fill light would normally get clamped to the vehicle as well, but the forklift offers no practical mounting point on the fill side. The fix is straightforward if slightly unconventional: a second strobe is handheld by an assistant walking alongside the forklift during each pass. The assistant stays in frame-relative position while the vehicle moves, keeping the fill consistent from shot to shot. A Canon wireless remote fires the camera, so the photographer can walk with the setup and trigger at the end of each pass. It’s worth noting that this only works because the exposure duration is long enough that minor position variation in the handheld fill doesn’t read as a hard shift in the final frame.
Second strobe being handheld alongside moving forklift
The key light alone produces a single-source look: defined shadows on the opposite side of the face that read as harsh in the finished image. A fill light would normally get clamped to the vehicle as well, but the forklift offers no practical mounting point on the fill side. The fix is straightforward if slightly unconventional: a second strobe is handheld by an assistant walking alongside the forklift during each pass. The assistant stays in frame-relative position while the vehicle moves, keeping the fill consistent from shot to shot. A Canon wireless remote fires the camera, so the photographer can walk with the setup and trigger at the end of each pass. It’s worth noting that this only works because the exposure duration is long enough that minor position variation in the handheld fill doesn’t read as a hard shift in the final frame.
Step 6: Finish the Image in Post
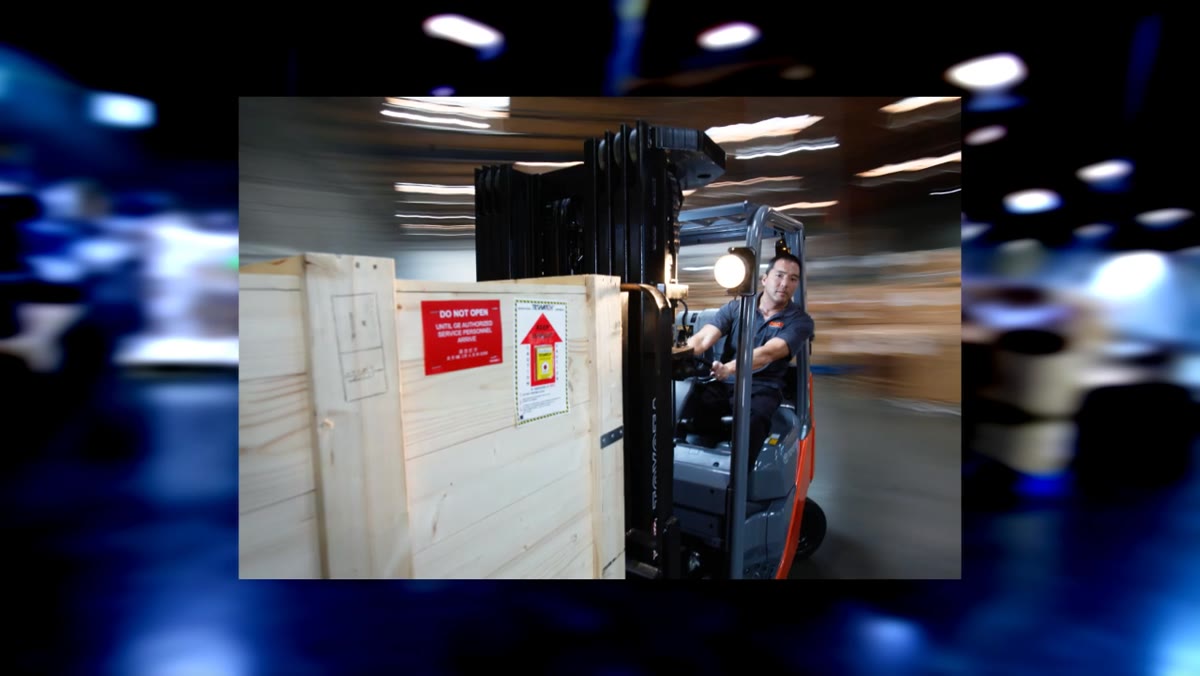 Image open in Nik Software with contrast adjustments applied
The raw capture comes back needing contrast and texture work to match the industrial environment. The Slanted Lens runs the image through Nik Color Efex Pro to deepen the blacks and then into Viveza to lift structural detail in the highlights of the crate and the dark panels of the forklift. The goal isn’t heavy processing. It’s making the image feel physically present in the space, which flatter contrast undermines. I approach this stage the same way I label my lights with masking tape: methodically, one adjustment at a time, checking against the original at each step so I’m not chasing corrections.
Image open in Nik Software with contrast adjustments applied
The raw capture comes back needing contrast and texture work to match the industrial environment. The Slanted Lens runs the image through Nik Color Efex Pro to deepen the blacks and then into Viveza to lift structural detail in the highlights of the crate and the dark panels of the forklift. The goal isn’t heavy processing. It’s making the image feel physically present in the space, which flatter contrast undermines. I approach this stage the same way I label my lights with masking tape: methodically, one adjustment at a time, checking against the original at each step so I’m not chasing corrections.
One Caveat from Commercial Shoots
The shutter speed range that produces attractive background blur (roughly 1/15 to 1/4 of a second) is also the range where any independent vibration in the vehicle becomes visible in the subject. I tested a version of this technique on a golf cart at a corporate campus shoot and discovered that the cart’s motor produced a low-frequency vibration that showed up as micro-blur on the client’s logo, even though the subject’s face was clean. Before committing to this approach on a paid job, do a test run at the actual vehicle speed and inspect at 100 percent. Forklifts are relatively smooth. Not every vehicle will be.
The single most important principle in this entire technique is that the blur comes from the ambient exposure and the sharpness comes from the strobe, and they only work together when their output levels are carefully balanced. Get that ratio right and the image sells itself.
Watch the full tutorial on YouTube
Comments
Leave a Comment