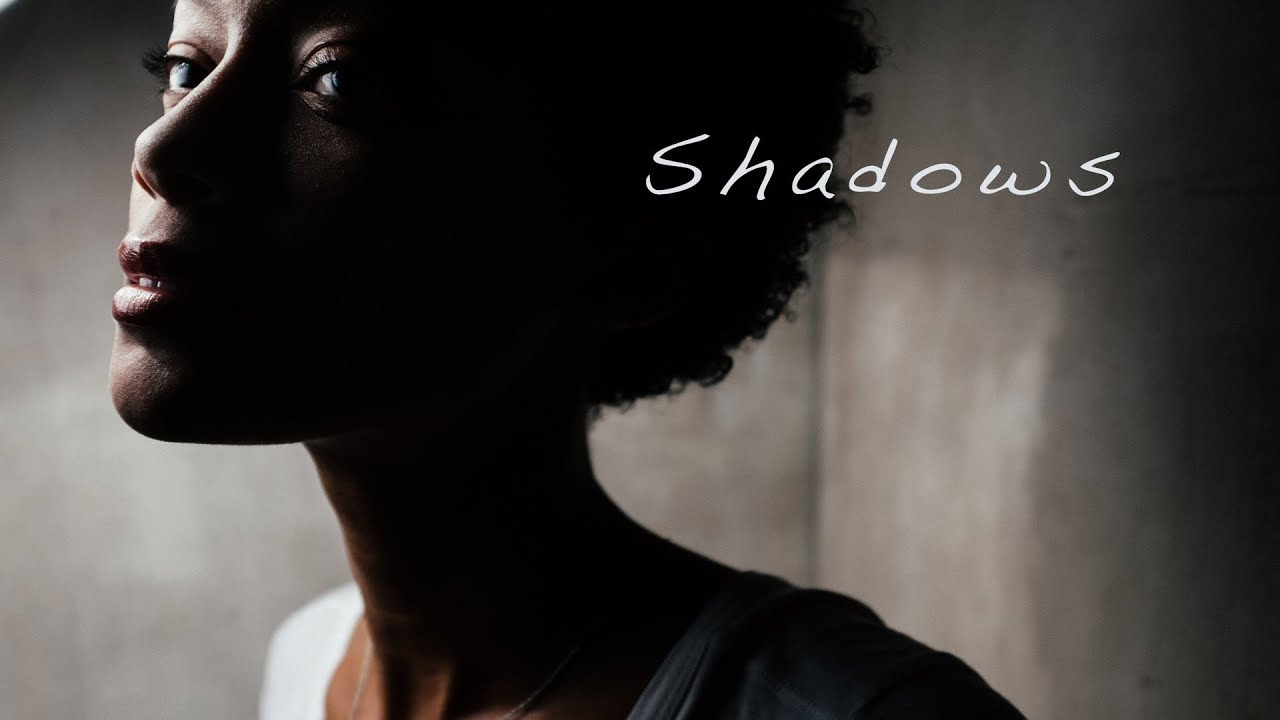
Every few months a client emails me something like: “I love your dramatic work, but I’m self-conscious about my skin — will that lighting make it worse?” It’s a fair question, and for a long time I didn’t have a clean answer. Hard light rakes across texture. Scars cast tiny shadows. Acne that looks invisible in a mirror can look like a topographical map under a bare strobe. I used to mentally file these shoots under “handle carefully” without a clear system for handling them.
In this Daniel Norton Photographer tutorial, Watch the full tutorial on YouTube, Norton works through exactly this problem: how to preserve the drama and mood of a strong lighting setup while controlling how much skin texture actually reads in the final frame. He approaches it from two directions simultaneously — the philosophical and the technical — and both are worth your time.
What struck me watching it is that Norton’s solution isn’t “switch to soft light and retouch later.” It’s more precise than that. He argues that dramatic lighting and hard lighting are not the same thing, and that where you place your light relative to the subject matters as much as which modifier you choose. That distinction is genuinely useful on set.
Step 1: Reframe What You’re Actually Solving
 Daniel Norton speaking to camera about covering imperfections
Before touching a light stand, Norton asks a question worth sitting with: are we trying to hide something, or are we trying to direct attention? The distinction shapes every decision downstream. If a subject has acne scarring, those scars are part of their face. Trying to eliminate them with lighting alone usually produces flat, lifeless images because you end up fighting the light instead of using it.
Daniel Norton speaking to camera about covering imperfections
Before touching a light stand, Norton asks a question worth sitting with: are we trying to hide something, or are we trying to direct attention? The distinction shapes every decision downstream. If a subject has acne scarring, those scars are part of their face. Trying to eliminate them with lighting alone usually produces flat, lifeless images because you end up fighting the light instead of using it.
The more productive approach is to identify what IS compelling about the subject. Intense eyes. Strong jaw. A particular expression. If you light the image to lead the viewer toward that feature, the scars don’t disappear — they just stop being what the eye lands on first. This is not a retouching shortcut. It’s a compositional strategy that begins during lighting setup, not in post.
Step 2: Separate “Dramatic” from “Hard”
 Explanation of hard light versus dramatic light placement
This is the core technical insight in the video and the one I’d underline twice. Most photographers conflate dramatic lighting with hard lighting — bare bulb, small modifier, high contrast shadows. Hard light does create drama, but it also rakes across any surface irregularity and makes it visible. A scar is a raised or recessed area of skin. Hard light hits the raised edge, casts a shadow into the recess, and suddenly it’s all you see.
Explanation of hard light versus dramatic light placement
This is the core technical insight in the video and the one I’d underline twice. Most photographers conflate dramatic lighting with hard lighting — bare bulb, small modifier, high contrast shadows. Hard light does create drama, but it also rakes across any surface irregularity and makes it visible. A scar is a raised or recessed area of skin. Hard light hits the raised edge, casts a shadow into the recess, and suddenly it’s all you see.
Dramatic lighting, by contrast, is about contrast ratios, shadow depth, and mood — none of which require a hard source. A large octabox at a steep angle can produce deep, moody shadows on the background and strong falloff across the body while still wrapping softly around the face. You get the visual weight of dramatic work without the texture-amplifying effect of a small, hard source. The modifier size relative to the subject is what controls texture rendering, not the “drama level” of the image.
Step 3: Control Light Direction Relative to Skin
 Discussion of light direction and which parts of the subject are illuminated
Norton makes a point here that I think gets overlooked in discussions about modifier choice: direction matters as much as size. A large soft source placed directly in front of the subject and slightly above — closer to flat lighting — will minimize texture because the shadows fall directly behind surface irregularities rather than across them. Move that same large source 90 degrees to the side, and suddenly you’re raking light across the skin, and all that texture comes back regardless of how soft the modifier is.
Discussion of light direction and which parts of the subject are illuminated
Norton makes a point here that I think gets overlooked in discussions about modifier choice: direction matters as much as size. A large soft source placed directly in front of the subject and slightly above — closer to flat lighting — will minimize texture because the shadows fall directly behind surface irregularities rather than across them. Move that same large source 90 degrees to the side, and suddenly you’re raking light across the skin, and all that texture comes back regardless of how soft the modifier is.
For subjects with textured skin, keep your key light closer to the front axis than you might otherwise. You can still have a deep shadow side — that’s where your drama lives — but the key itself should wrap forward rather than skim sideways. Think of it as a clock face: a key light at 12 or 1 o’clock renders skin smoothly. Move it to 3 o’clock and you’re raking. The drama comes from the ratio between lit and unlit, not from the angle of attack on the skin itself.
Step 4: Use Light Placement to Guide the Viewer’s Eye
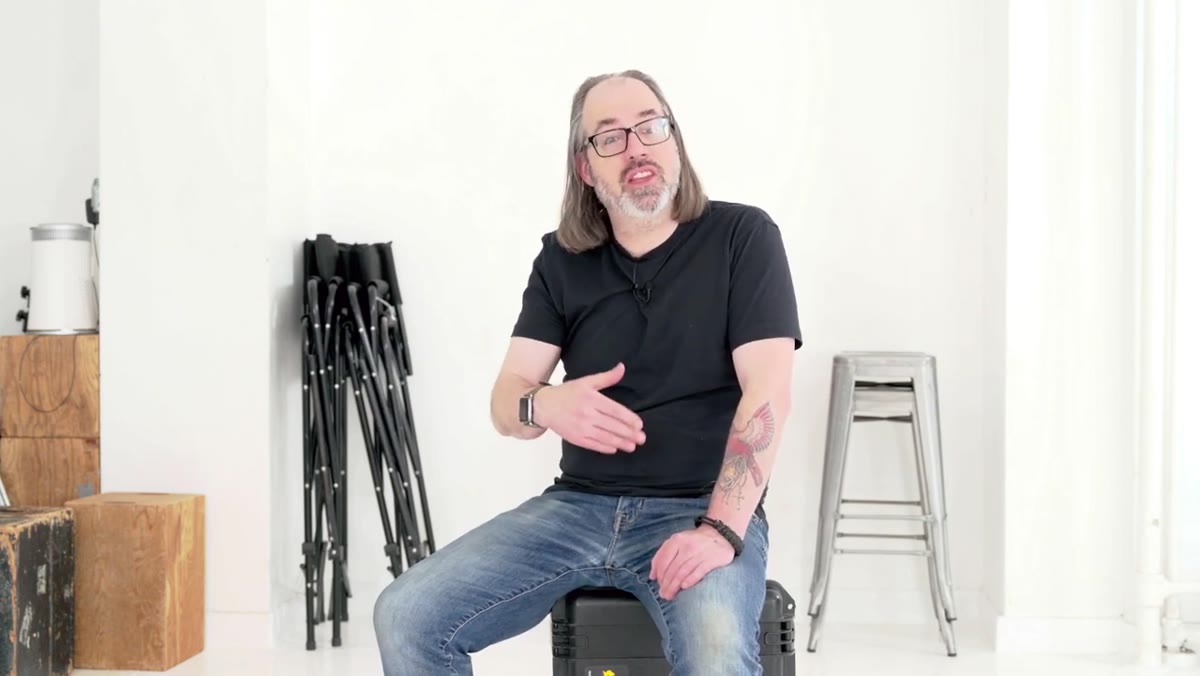 Norton describing eyes as a focal point to draw attention away from other features
If your subject has a feature you want to lead with — eyes are the most common example — light it deliberately. A subtle kicker aimed at the eyes, or positioning your key so the catchlights land well, draws the viewer in and holds them there. When someone is locked into a pair of eyes in a portrait, their brain is processing that connection, not scanning the rest of the frame for flaws.
Norton describing eyes as a focal point to draw attention away from other features
If your subject has a feature you want to lead with — eyes are the most common example — light it deliberately. A subtle kicker aimed at the eyes, or positioning your key so the catchlights land well, draws the viewer in and holds them there. When someone is locked into a pair of eyes in a portrait, their brain is processing that connection, not scanning the rest of the frame for flaws.
This is a practical version of the compositional advice to “give the eye somewhere to go.” You’re not hiding anything. You’re sequencing the viewer’s attention. It’s the same reason a well-composed image with a slightly out-of-focus background feels cleaner than a sharp image with a distracting one — you haven’t removed the background, you’ve managed the viewer’s focus.
Step 5: Let the Subject Be Who They Are
 Daniel Norton discussing photographing people as themselves
Norton spends a meaningful portion of the video on something that isn’t strictly a lighting technique: the idea that a photograph should look like the person. Not a smoothed, normalized, corrected version of them, but them. He argues that clients return to photographers who make them feel seen rather than fixed.
Daniel Norton discussing photographing people as themselves
Norton spends a meaningful portion of the video on something that isn’t strictly a lighting technique: the idea that a photograph should look like the person. Not a smoothed, normalized, corrected version of them, but them. He argues that clients return to photographers who make them feel seen rather than fixed.
This affects how you light in practice. If you go into a shoot trying to eliminate every imperfection with lighting and retouching, you end up chasing something impossible and the client can feel it. If you go in trying to find what’s genuinely interesting about the person and build the lighting around that, the session has a completely different energy. The technical choices follow from the intention. A photographer who has decided to embrace a subject’s character will naturally light more expressively than one who is in damage-control mode.
A Note From My Own Kit
I keep a lighting journal — a physical notebook where I sketch every setup from every shoot, including notes on what the light did to different skin tones and textures. After watching this tutorial, I went back through it and noticed a pattern I hadn’t consciously registered: my cleanest skin renders almost always had the key light within 30 degrees of the camera axis, regardless of how dramatic the overall image looked. My worst texture problems were all extreme side angles. The soft-versus-hard variable mattered, but position was consistent.
If you’re troubleshooting texture problems on a current project, I’d suggest isolating direction before changing your modifier. Move the light forward before you swap it out. It’s a faster test and, in my experience, it solves the problem more often than reaching for a bigger softbox.
The single most important takeaway here is this: dramatic lighting is a contrast and shadow relationship, not a hard light requirement. You can build a moody, high-contrast, editorial-looking portrait with soft sources as long as you control the placement and the ratio. For clients with textured skin, this is the unlock. Lead with your key close to the camera axis, build your drama in the shadow falloff, and direct attention to what’s compelling about the subject rather than away from what isn’t.
Watch the full tutorial on YouTube to see Norton walk through the reasoning in his own words — the philosophical framing in the first half is worth watching even if you think you already know the technical side.
Comments (2)
Just used this on a wedding shoot edit. Client was thrilled.
Couldn't agree more. I've seen this make a huge difference in gear work specifically.
Leave a Comment