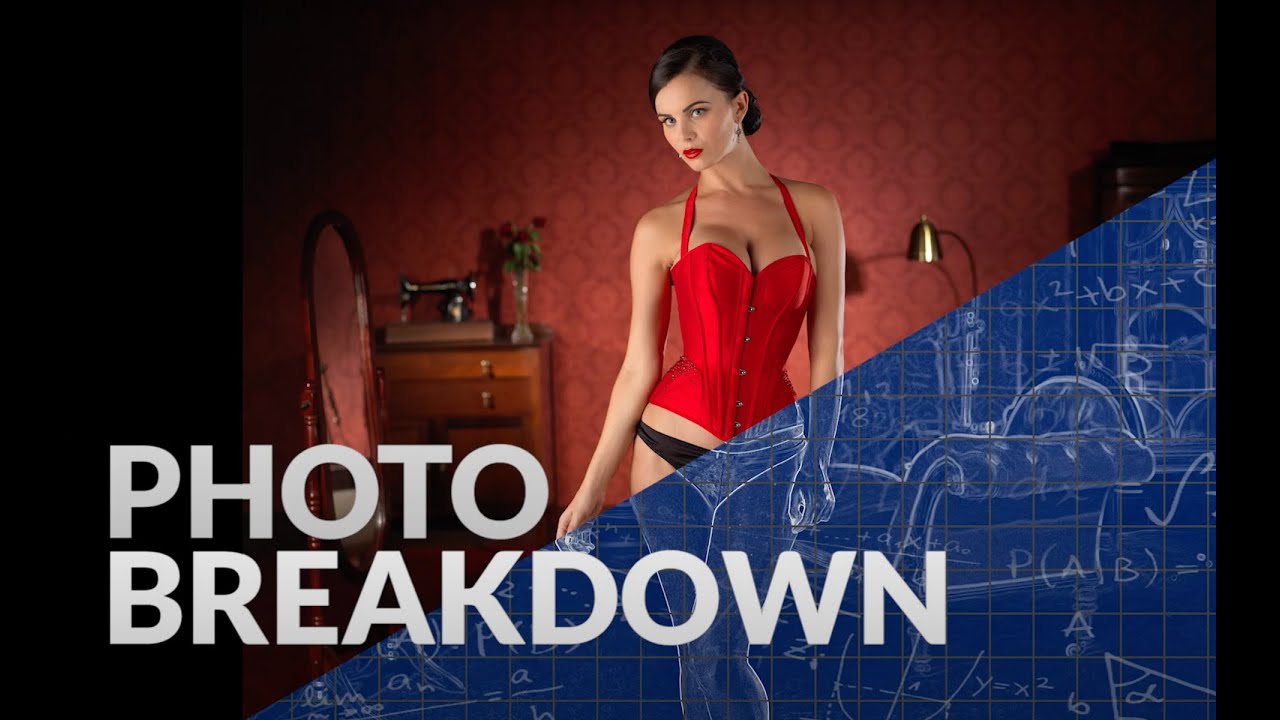
Boudoir is one of those genres that punishes lazy lighting more than almost anything else. The intimacy of the subject demands that every light feel intentional, warm, and placed with care. Too flat and the image reads like a passport photo. Too dramatic and you lose the mood entirely. For years I kept a tear-out from a European fashion magazine pinned above my lighting kit because I could not figure out how the photographer had layered background light against skin light so seamlessly. The answer, it turned out, was not one clever light. It was four lights doing four very specific jobs.
In this Visual Education tutorial on boudoir photography lighting, Carl Taylor walks through exactly that kind of layered setup, using a constructed studio set to show how each light contributes something distinct to the final image. I’ve added this one to my lighting journal because the logic behind the placement is transferable to almost any soft, atmospheric studio shoot. What follows is my breakdown of each light in the order Carl introduces it, with the practical details you need to replicate it.
Watch the full tutorial on YouTube
Step 1: Build the Set Before You Place a Single Light
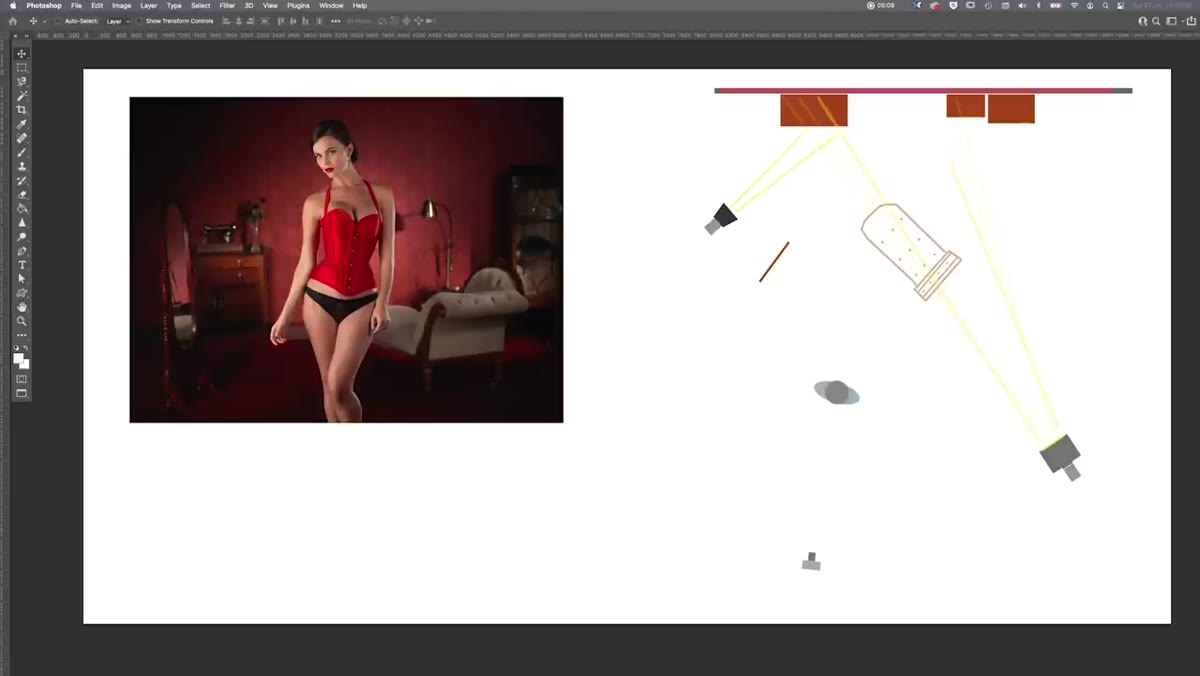
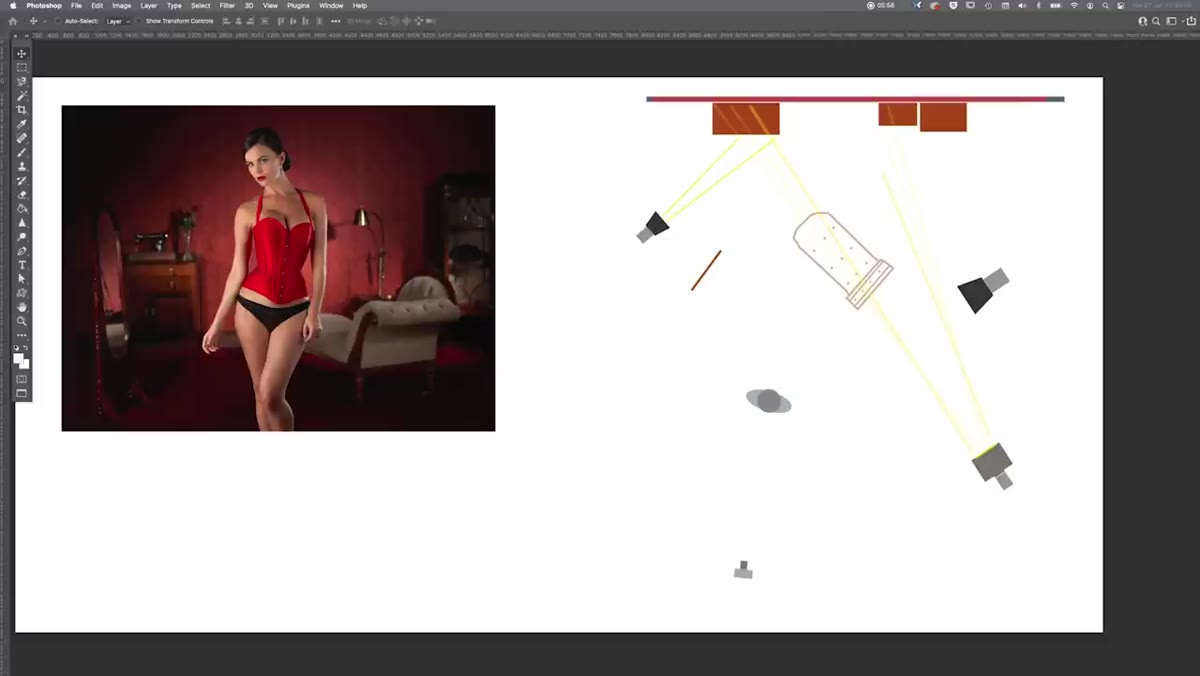
 Lighting diagram overview showing model position and set layout
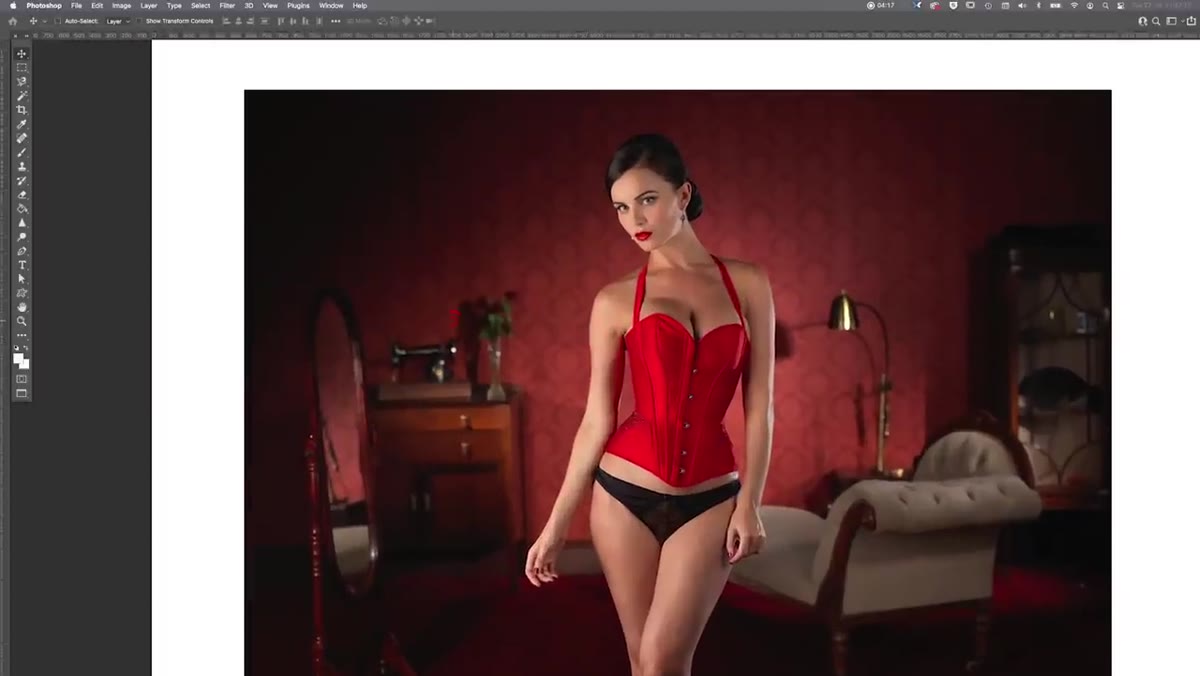
The set in this shoot is a studio construction: a single flat wall, a sheet of red carpet on the floor, and a handful of antique and rented furniture pieces arranged around the model. Carl positions a freestanding antique mirror camera left, a chaise longue behind the model, and varying-height furniture pieces that frame the background. The camera sits at a moderate distance to allow depth between the model and the set pieces.
Lighting diagram overview showing model position and set layout
The set in this shoot is a studio construction: a single flat wall, a sheet of red carpet on the floor, and a handful of antique and rented furniture pieces arranged around the model. Carl positions a freestanding antique mirror camera left, a chaise longue behind the model, and varying-height furniture pieces that frame the background. The camera sits at a moderate distance to allow depth between the model and the set pieces.
This matters because every light in the setup is doing double duty, hitting both the model and the environment. If you place your furniture and props haphazardly, you lose that depth. Get the set right before you touch a light stand.
Step 2: Use a Fresnel Modifier to Paint a Glow on the Background Wall
 Fresnel fluter positioned high, aimed down onto background wall
The first light Carl introduces is a large Fresnel lens modifier, what he calls a “fluter.” Most major manufacturers make a version of this: Broncolor, Profoto, Elinchrom, and several independent brands all produce large Fresnel attachments. The critical thing is that this light is NOT the key light here. Its only job is to throw a soft, vignetted circle of light onto the back wall, creating that warm atmospheric glow you see behind the model.
Fresnel fluter positioned high, aimed down onto background wall
The first light Carl introduces is a large Fresnel lens modifier, what he calls a “fluter.” Most major manufacturers make a version of this: Broncolor, Profoto, Elinchrom, and several independent brands all produce large Fresnel attachments. The critical thing is that this light is NOT the key light here. Its only job is to throw a soft, vignetted circle of light onto the back wall, creating that warm atmospheric glow you see behind the model.
To avoid spilling light onto the chaise longue and competing with the other sources, Carl raises the fluter significantly above the set and angles it downward. This keeps the beam on the wall and off the furniture. The result is a gradual spotlight effect, bright at center, falling off at the edges, that gives the background a sense of depth and warmth that a flat-lit wall simply cannot deliver.
Step 3: Add a Gridded Reflector to Selectively Illuminate a Set Piece
 P70 reflector with honeycomb grid aimed at corner furniture piece
The second light is a P70 reflector fitted with a tight honeycomb grid. A gridded reflector throws a controlled, narrow beam that you can direct precisely without it bleeding onto adjacent areas. In this setup, Carl uses it to illuminate just one corner of a furniture piece in the background, camera left.
P70 reflector with honeycomb grid aimed at corner furniture piece
The second light is a P70 reflector fitted with a tight honeycomb grid. A gridded reflector throws a controlled, narrow beam that you can direct precisely without it bleeding onto adjacent areas. In this setup, Carl uses it to illuminate just one corner of a furniture piece in the background, camera left.
The key observation here is shadow direction. Because the fluter comes in from camera right, the shadows it casts fall to the left. The shadows on this furniture piece fall to the right, which tells you immediately that a separate, independent light is hitting it from the left. If you study your image and see shadows pointing in two different directions simultaneously, you are almost certainly looking at at least two light sources. Learning to read shadows this way is how you reverse-engineer any lighting setup.
Step 4: Place a Strip Box Behind the Model for Edge Lighting
 Strip box positioned behind model, angled toward camera
The third light, and arguably the one that separates a flat portrait from a boudoir image with real presence, is a 30x120cm strip box positioned behind the model and aimed forward. The strip box wraps light around the edges of the model’s body, creating a rim or edge light that defines the figure against the background.
Strip box positioned behind model, angled toward camera
The third light, and arguably the one that separates a flat portrait from a boudoir image with real presence, is a 30x120cm strip box positioned behind the model and aimed forward. The strip box wraps light around the edges of the model’s body, creating a rim or edge light that defines the figure against the background.
Carl notes that using a strip box rather than a bare gridded light matters here. The double diffusion panel on a softbox spreads the light enough to avoid a harsh hot spot, but the narrow vertical format means the spread stays largely in one plane, giving you that slim line of edge light rather than a broad fill. A standard square or rectangular softbox in the same position would bleed too much light onto the front of the model and kill the separation. Dimensions matter: the 30cm width is the constraint that keeps the light controlled.
Step 5: Set the Key Light Last
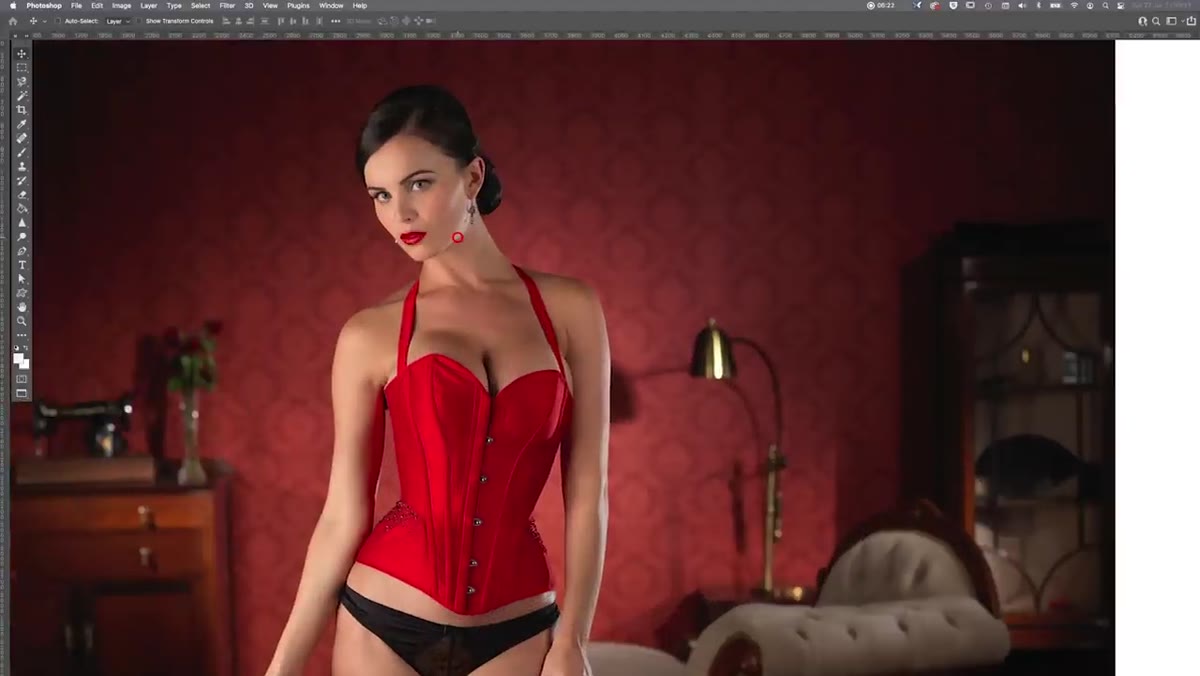 Full diagram showing key light position relative to model
Carl saves the key light for last, and I think that sequencing is instructive. When you build your background and rim lights first, you can see exactly how much work is left for the key light to do. If you start with the key, you spend the rest of the shoot compensating for everything you added after it.
Full diagram showing key light position relative to model
Carl saves the key light for last, and I think that sequencing is instructive. When you build your background and rim lights first, you can see exactly how much work is left for the key light to do. If you start with the key, you spend the rest of the shoot compensating for everything you added after it.
The key light in this setup is soft and positioned to complement the edge light rather than fight it. With the strip box already providing luminance from behind, the key light only needs to open up the shadow side of the face and body enough to preserve skin detail. This is where your light meter earns its keep: measure the ratio between key and rim carefully, because boudoir lighting generally lives in a 2:1 or 3:1 ratio range. Flatten it and you lose drama. Push it past 4:1 and the edge light starts reading as harsh rather than luxurious.
What I’d Do Differently on a Working Shoot
The setup Carl demonstrates is built for a fixed studio set with full control over every variable. On commercial shoots, I rarely have that luxury. My most useful adaptation of this approach is to replace the Fresnel fluter with a strip box placed far behind the set and flagged heavily, then gelled with a warm CTO to approximate that background glow. It is not identical, but it costs less to rent and takes up less floor space. I also keep a grid on the background strip at all times because spill light on a red set can contaminate everything on the model’s skin within a few feet.
One thing Carl’s video reinforced for me: the background light should always be established and measured before the model steps on set. Adjust it to your liking, then build the rest of the setup around it. The background is the foundation of the mood. Every other light responds to it.
The single most important thing this tutorial illustrates is that boudoir lighting is not about one beautiful soft source. It is about layering discrete lights that each accomplish one specific visual task, then balancing them so the final image reads as coherent rather than complicated. Get that logic right and the gear choices almost make themselves.
Watch the full tutorial on YouTube and pay close attention to the lighting diagram segments. Carl’s diagram makes the spatial relationships between each light and the model click in a way that photographs alone cannot.
Comments
Leave a Comment