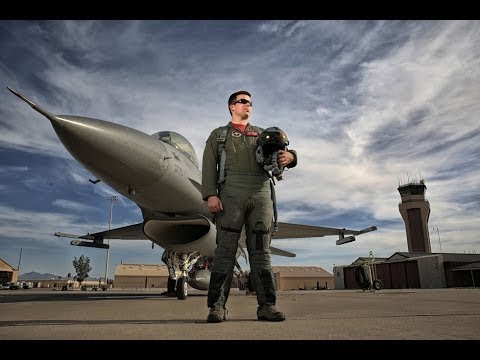
Most of the lighting problems I solve happen within four walls. My studio in Los Angeles is a controlled environment, and I’ve spent years learning how to predict exactly what a modifier will do at a given distance. Then a shoot comes along that strips all of that away, and you remember what lighting fundamentals actually look like when the subject is a 50-foot fighter jet baking on a tarmac at 105 degrees.
I keep a lighting journal, sketching every setup from every shoot, and when I watched this tutorial I filled half a page. In this Watch the full tutorial on YouTube from The Slanted Lens, photographer Jay P. Morgan walks through an on-location shoot at Luke Air Force Base in Phoenix, Arizona, photographing fighter pilot Josh “Chunk” Moffett alongside his F-16. The constraints are brutal: the plane is aimed the wrong direction, it can’t be moved, and the only lights available are 400 watt second strobes. What makes this tutorial genuinely useful isn’t the exotic subject. It’s watching someone problem-solve a large-scale lighting situation with limited gear, and recognizing that the exact same logic applies when you’re trying to light a full-length fashion subject outdoors, or a product the size of a car.
The discipline here is triage. You accept what you can’t change, identify what the light is actually doing, and then add artificial sources one at a time until you’ve built something that looks intentional. That process is worth studying closely.
Step 1: Accept the Location’s Constraints and Find the Best Angle
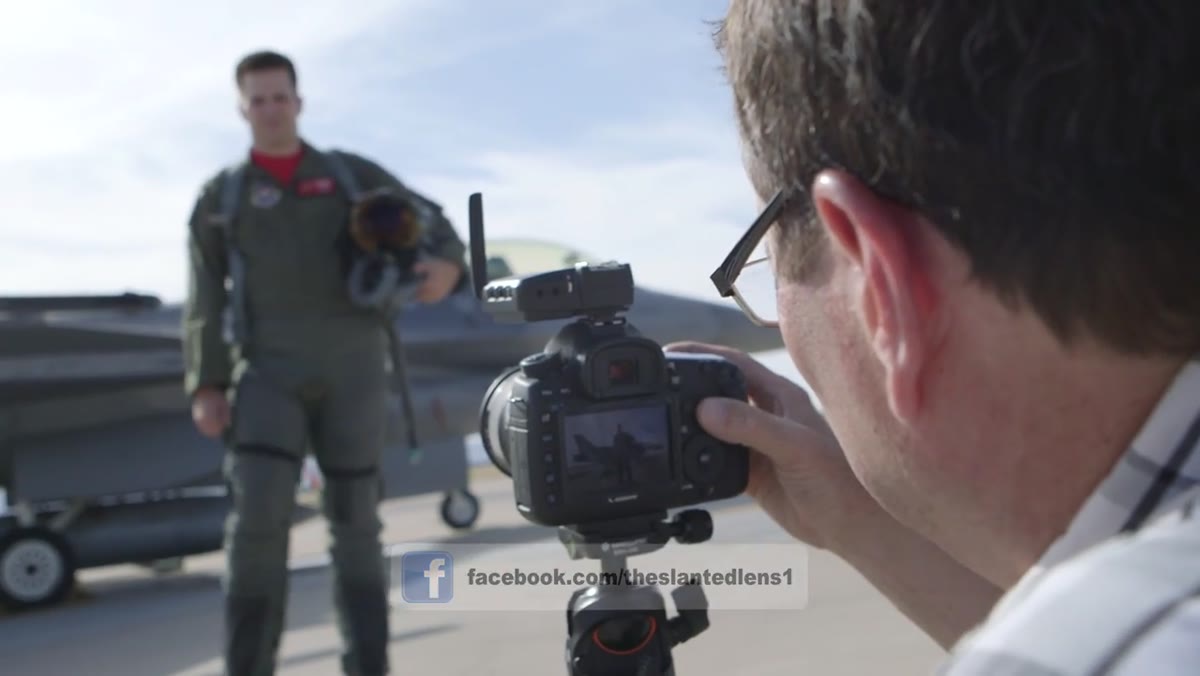 Photographer assessing the F-16’s position on the tarmac
When the plane couldn’t be repositioned, the shot became a side profile rather than a dramatic nose-on composition. The west-facing side pointed back toward cluttered hangar structures, so the decision was made to shoot looking slightly northwest, with the setting sun falling over the pilot’s shoulder. The key insight here is that the background washout created by a setting sun is actually manageable if you expose for the sky and then use strobes to bring the foreground subject back up to exposure. The mistake most photographers make is trying to fight this; the smarter move is to use it.
Photographer assessing the F-16’s position on the tarmac
When the plane couldn’t be repositioned, the shot became a side profile rather than a dramatic nose-on composition. The west-facing side pointed back toward cluttered hangar structures, so the decision was made to shoot looking slightly northwest, with the setting sun falling over the pilot’s shoulder. The key insight here is that the background washout created by a setting sun is actually manageable if you expose for the sky and then use strobes to bring the foreground subject back up to exposure. The mistake most photographers make is trying to fight this; the smarter move is to use it.
Step 2: Lock In Camera Settings to Control Ambient Light First
 Camera settings display for the ambient exposure
Before a single strobe was triggered, the camera was dialed in specifically to underexpose the scene. ISO 100 keeps the sensor as clean as possible while reducing ambient contribution. A shutter speed of 1/200 second, near the sync limit for most strobes, helps suppress the ambient further. The aperture was set to f/13, which darkens the overall exposure considerably. The goal at this stage is to look at the ambient-only frame and see a sky with good color and detail, while accepting that the plane and the pilot will be underexposed. Your strobes are going to fix that. If you try to balance ambient and strobes simultaneously from the start, you lose control of both.
Camera settings display for the ambient exposure
Before a single strobe was triggered, the camera was dialed in specifically to underexpose the scene. ISO 100 keeps the sensor as clean as possible while reducing ambient contribution. A shutter speed of 1/200 second, near the sync limit for most strobes, helps suppress the ambient further. The aperture was set to f/13, which darkens the overall exposure considerably. The goal at this stage is to look at the ambient-only frame and see a sky with good color and detail, while accepting that the plane and the pilot will be underexposed. Your strobes are going to fix that. If you try to balance ambient and strobes simultaneously from the start, you lose control of both.
Step 3: Place the Key Light on the Pilot
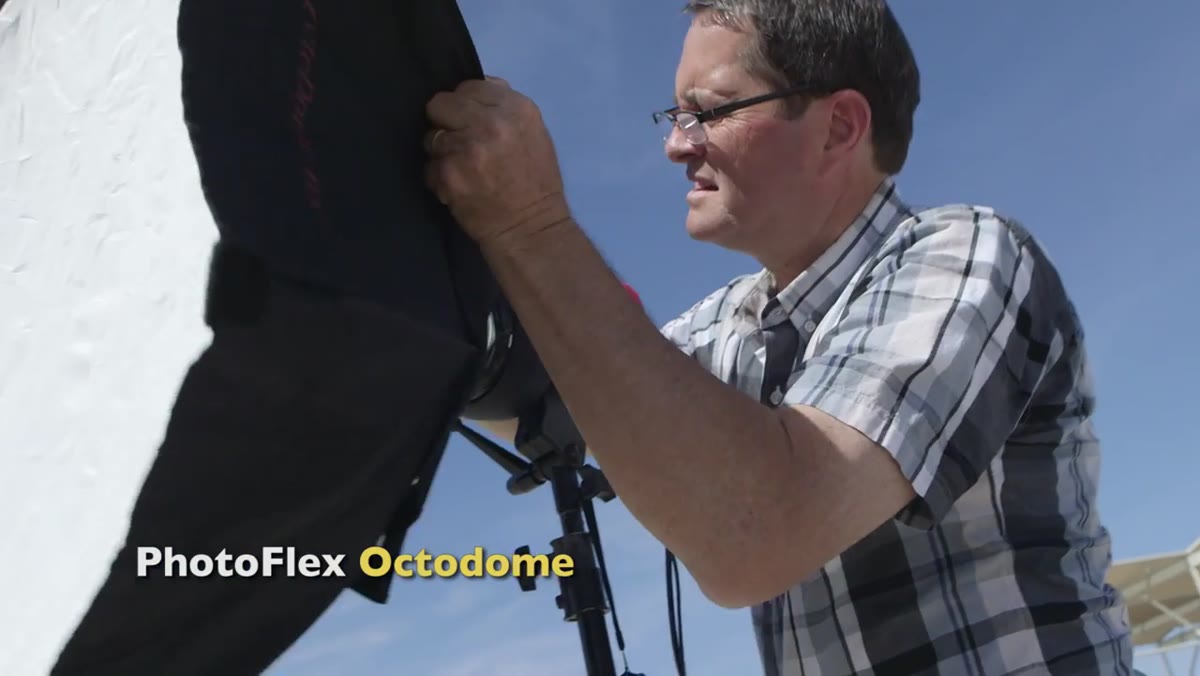 Small octodome positioned on fighter pilot Josh Moffett
The first strobe head was a small octodome with a FlexFlash unit, placed to light the pilot specifically. The octodome gives a softer, more directional quality than a bare reflector, which matters because the pilot’s face and flight suit need to read as human and dimensional inside a frame that’s otherwise dominated by a machine. All four strobe heads were synced using PocketWizard radio slaves. On a shoot with multiple heads at significant distances from the camera, radio triggers are not optional. Optical slaves fail outdoors. Sync cables are a tripping hazard across a tarmac. The PocketWizard or comparable radio triggers should be your default assumption for any multi-head location setup.
Small octodome positioned on fighter pilot Josh Moffett
The first strobe head was a small octodome with a FlexFlash unit, placed to light the pilot specifically. The octodome gives a softer, more directional quality than a bare reflector, which matters because the pilot’s face and flight suit need to read as human and dimensional inside a frame that’s otherwise dominated by a machine. All four strobe heads were synced using PocketWizard radio slaves. On a shoot with multiple heads at significant distances from the camera, radio triggers are not optional. Optical slaves fail outdoors. Sync cables are a tripping hazard across a tarmac. The PocketWizard or comparable radio triggers should be your default assumption for any multi-head location setup.
Step 4: Add a Bare Reflector Head to the Tail Section
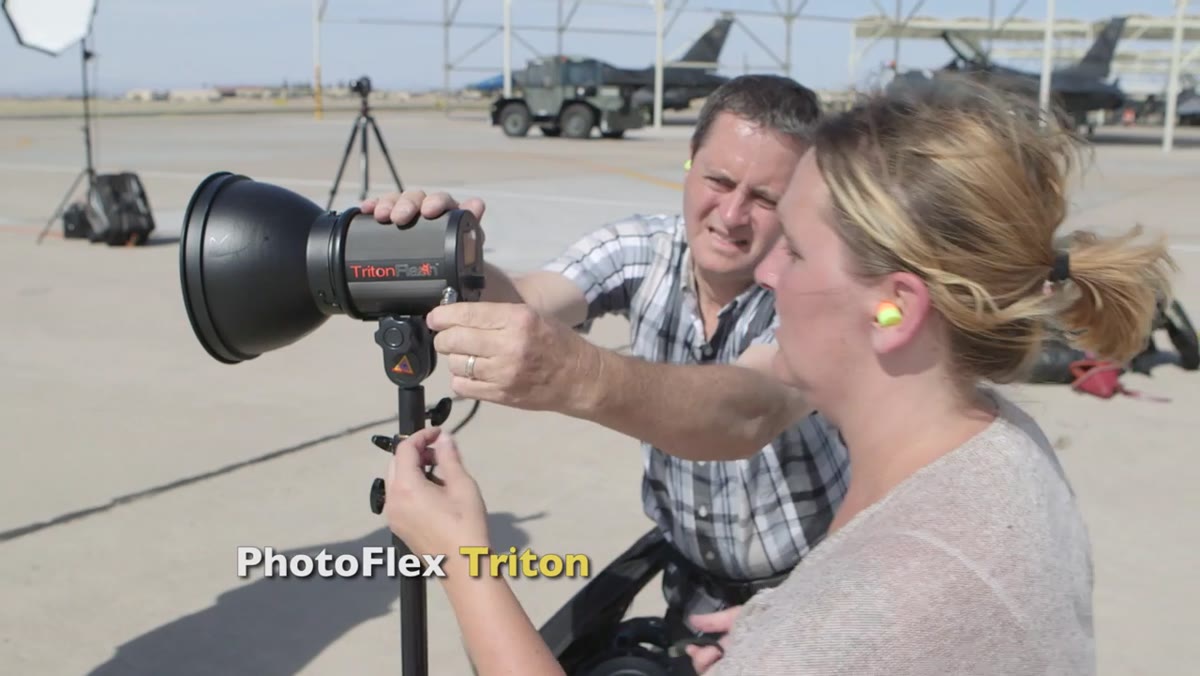 Triton strobe aimed at the F-16 tail section
The second head was a Triton unit stripped down to just its reflector dish, no softbox, no modifier at all. It was aimed at the tail section of the plane. The reason for removing the modifier is straightforward: you need every watt second hitting the target, and the tail section is large, highly reflective metal that can handle hard light without looking ugly. A modifier would eat power you can’t afford to lose. When you’re lighting a large reflective surface outdoors with limited wattage, reach beats softness every time.
Triton strobe aimed at the F-16 tail section
The second head was a Triton unit stripped down to just its reflector dish, no softbox, no modifier at all. It was aimed at the tail section of the plane. The reason for removing the modifier is straightforward: you need every watt second hitting the target, and the tail section is large, highly reflective metal that can handle hard light without looking ugly. A modifier would eat power you can’t afford to lose. When you’re lighting a large reflective surface outdoors with limited wattage, reach beats softness every time.
Step 5: Light the Wing Midsection with a Third Head
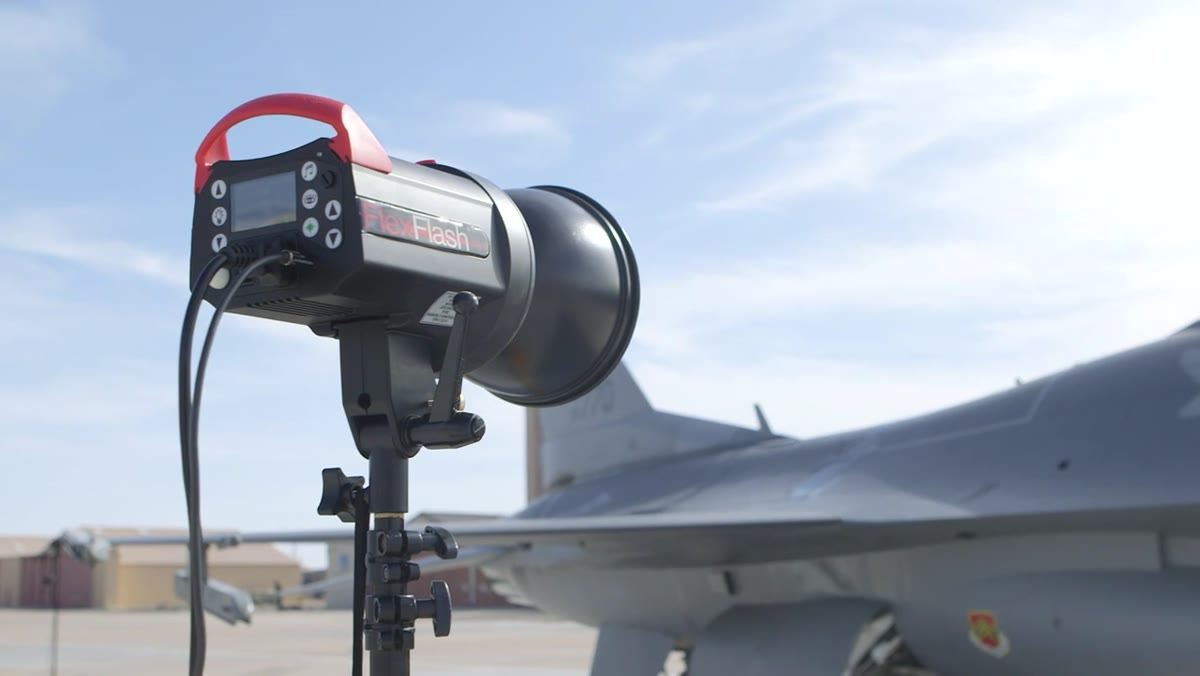 FlexFlash with reflector placed camera right for midsection
The third head, another FlexFlash with just a reflector, was placed camera right and angled to light the midsection of the wing. By this point the image is building into something coherent. The pilot is lit, the tail has separation, and now the largest visible surface of the fuselage is getting exposure. Notice that the lighting is being built progressively, one head at a time. This is the same approach I use when setting up a complex studio rig. I never turn everything on at once. I add one source, evaluate it, and then add the next.
FlexFlash with reflector placed camera right for midsection
The third head, another FlexFlash with just a reflector, was placed camera right and angled to light the midsection of the wing. By this point the image is building into something coherent. The pilot is lit, the tail has separation, and now the largest visible surface of the fuselage is getting exposure. Notice that the lighting is being built progressively, one head at a time. This is the same approach I use when setting up a complex studio rig. I never turn everything on at once. I add one source, evaluate it, and then add the next.
Step 6: Complete the Build with a Nose Light
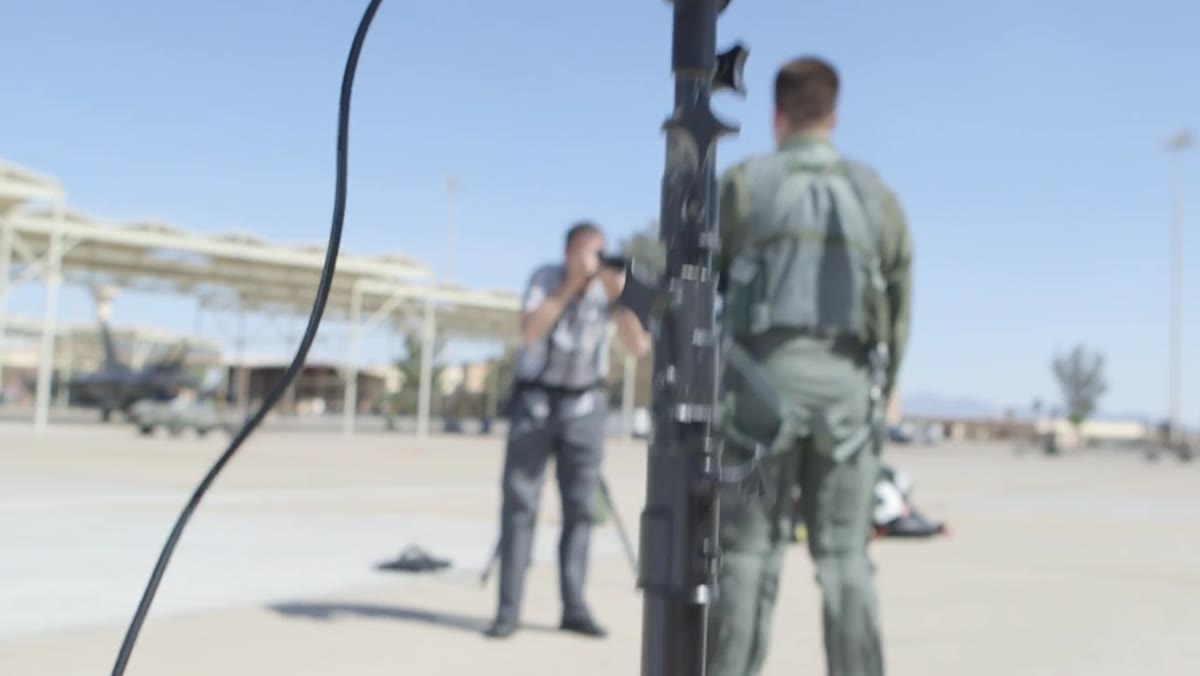 Fourth FlexFlash head angled toward the F-16 nose
The fourth and final head was positioned camera right, aimed at the nose of the fighter. The adjustment worth noting here is that the head was tilted slightly upward to keep light off the tarmac, which was picking up too much spill and brightening the ground in a way that drew the eye. This kind of small directional correction is easy to miss when you’re managing four lights in 105-degree heat, which is exactly why you review test frames before your subject is standing in full flight gear waiting on you.
Fourth FlexFlash head angled toward the F-16 nose
The fourth and final head was positioned camera right, aimed at the nose of the fighter. The adjustment worth noting here is that the head was tilted slightly upward to keep light off the tarmac, which was picking up too much spill and brightening the ground in a way that drew the eye. This kind of small directional correction is easy to miss when you’re managing four lights in 105-degree heat, which is exactly why you review test frames before your subject is standing in full flight gear waiting on you.
Step 7: Work the Other Side as a Simpler Alternative
 Single octodome setup on the opposite side of the aircraft
After the main setup was complete and equipment was being packed, a single FlexFlash with the small octodome was moved to the opposite side of the aircraft. With different background geometry and cleaner ambient behavior on that side, one light was enough to open up the pilot’s face and create workable images. The post-processing on these frames used a contrast layer with selective masking to protect the pilot’s skin tones from over-darkening. The lesson here is worth sitting with: sometimes the most elegant setup is the one you find after you’ve solved the hard problem and relaxed a bit.
Single octodome setup on the opposite side of the aircraft
After the main setup was complete and equipment was being packed, a single FlexFlash with the small octodome was moved to the opposite side of the aircraft. With different background geometry and cleaner ambient behavior on that side, one light was enough to open up the pilot’s face and create workable images. The post-processing on these frames used a contrast layer with selective masking to protect the pilot’s skin tones from over-darkening. The lesson here is worth sitting with: sometimes the most elegant setup is the one you find after you’ve solved the hard problem and relaxed a bit.
What I’d Do Differently with Studio Gear
The four-head approach in this tutorial is an efficient solution under serious constraints. In a controlled studio environment, or even a location shoot where I could place the subject at the right angle to the aircraft, I would add one more consideration: color temperature matching. Bare reflector dishes and bare strobe heads can vary in their color output, and when you’re stacking four of them across a large metallic surface, small differences become visible on the fuselage. I label every modifier and head in my studio and know their individual temperatures. On a shoot like this, I would run a test frame with a gray card at the aircraft’s surface to confirm consistency before committing to a full exposure sequence.
The single most important idea in this tutorial is also the most transferable: expose for the sky first, then build your artificial light from zero. That sequence gives you control over both the ambient environment and your subject, which is the only way to make location strobes look like they belong in the frame rather than fighting it.
Watch the full tutorial on YouTube to see each lighting stage as a frame-by-frame comparison. The visual build-up alone is worth the ten minutes.
Comments
Leave a Comment