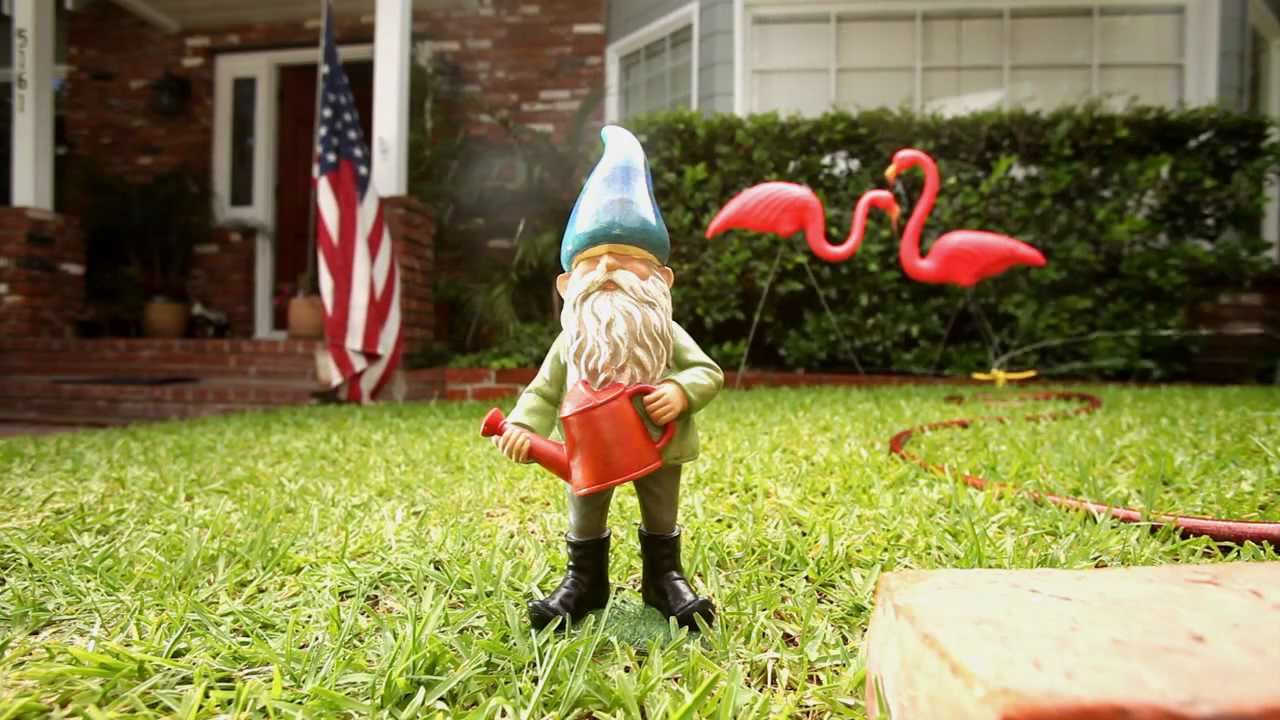
Time-lapse photography sits in an unusual corner of my practice. I shoot primarily commercial and editorial work, and for years I treated time-lapse as a novelty - something interesting to watch but hard to justify billing a client for. What changed my thinking was seeing someone treat it not as a technical stunt but as a narrative tool, a way to move through a scene with intention rather than just compressing time. The problem I kept running into was that my time-lapse footage looked technically correct but emotionally flat. The lighting was acceptable, the motion was smooth, but nothing made you feel like you were inside the scene.
In this The Slanted Lens tutorial, Jay P. Morgan works through a miniature garden scene - a gnome, bricks, some snails, a popsicle - that sounds almost absurdly simple. But the lighting decisions he makes are the same ones I’d apply to a tabletop beauty shoot or a product campaign. The scale is small. The thinking is not. Here is how he builds it, step by step.
Step 1: Establish Your Camera Perspective Before You Light Anything
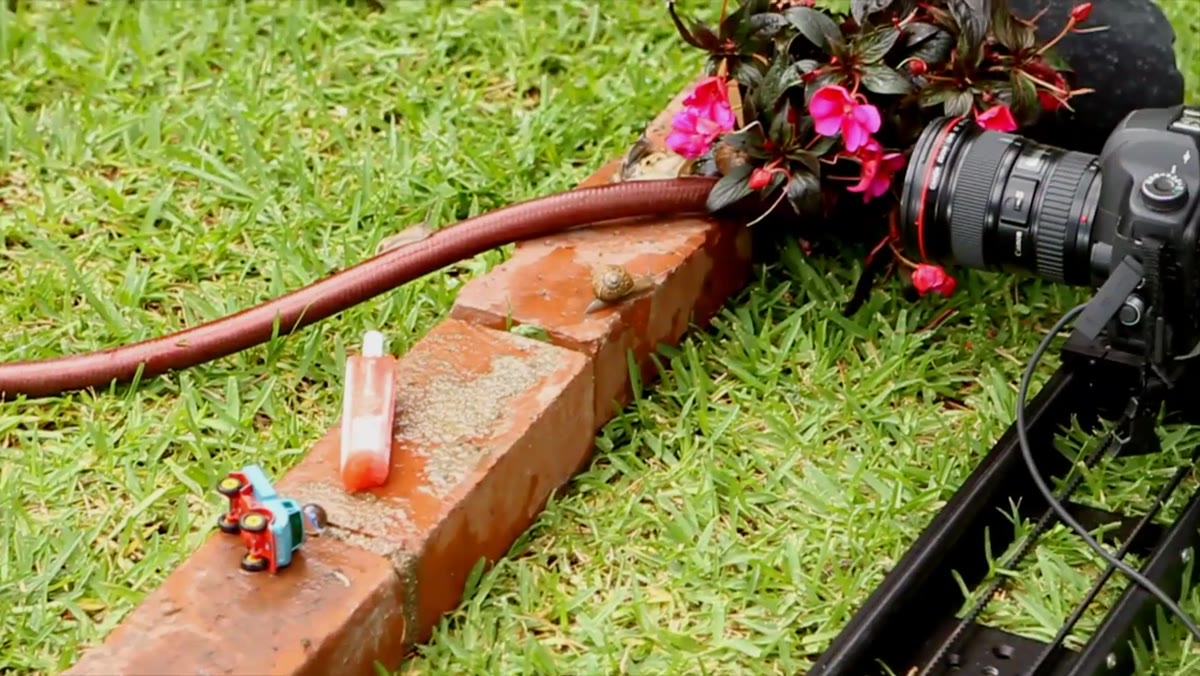 Camera positioned low, sliding along row of bricks
The first thing that happens in this setup is a physical decision about point of view. The camera is placed low - at brick level - so that the viewer feels like they are looking out from inside the scene rather than down at it from above. A row of bricks doubles as both a set piece and a practical camera track, giving the slider something to travel along while keeping the lens in a consistent relationship to the subjects.
Camera positioned low, sliding along row of bricks
The first thing that happens in this setup is a physical decision about point of view. The camera is placed low - at brick level - so that the viewer feels like they are looking out from inside the scene rather than down at it from above. A row of bricks doubles as both a set piece and a practical camera track, giving the slider something to travel along while keeping the lens in a consistent relationship to the subjects.
This is a discipline I apply to every tabletop shoot: lock in your camera position and angle before you place a single light. The perspective determines what the light needs to do. A low camera angle means your overhead sources will behave differently, your shadows will fall differently, and your fill needs will shift. Getting this right first saves you from chasing problems later.
Step 2: Kill the Harsh Shadows with an Overhead Silk
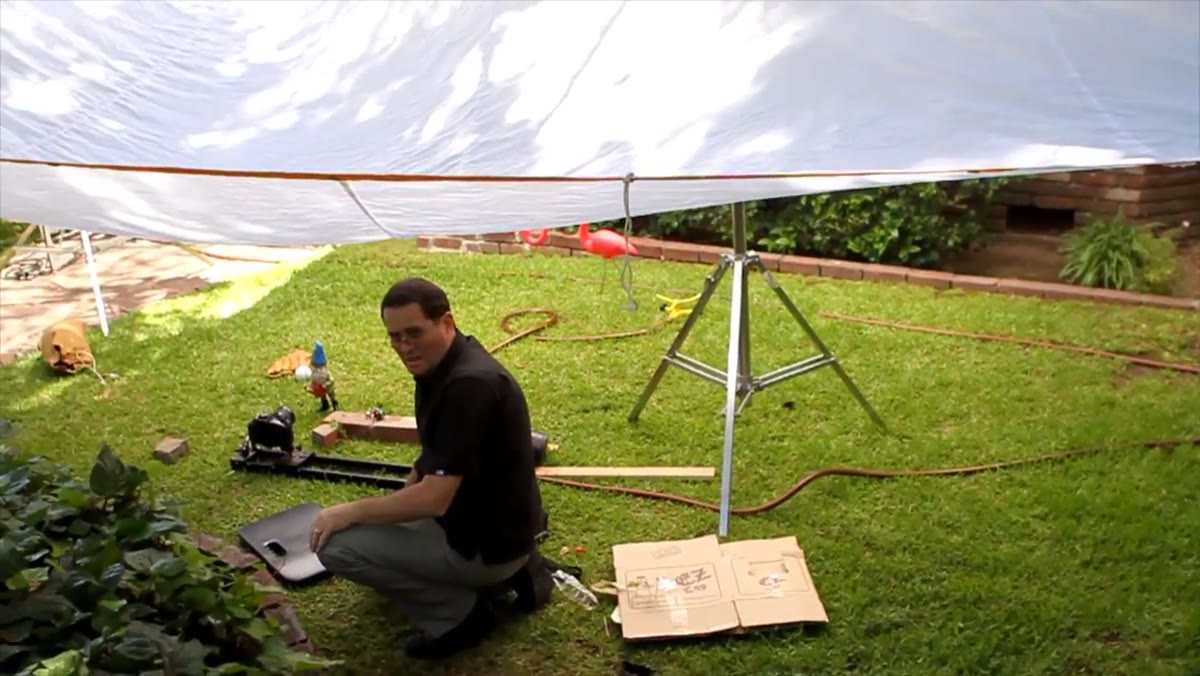 Large overhead silk stretched low above the scene
Once the camera position is set, the first lighting problem is obvious - hard overhead light casting ugly shadows across the textured surface of the bricks and the subjects. The solution is a 20x20 foot silk placed overhead, and here is the detail that matters: it is kept deliberately low. This is counterintuitive to photographers who assume you want diffusion material as far from the subject as possible. In practice, the lower the silk, the wider the effective coverage area relative to the subject size. Think of it as expanding the apparent size of the source.
Large overhead silk stretched low above the scene
Once the camera position is set, the first lighting problem is obvious - hard overhead light casting ugly shadows across the textured surface of the bricks and the subjects. The solution is a 20x20 foot silk placed overhead, and here is the detail that matters: it is kept deliberately low. This is counterintuitive to photographers who assume you want diffusion material as far from the subject as possible. In practice, the lower the silk, the wider the effective coverage area relative to the subject size. Think of it as expanding the apparent size of the source.
I have sketched this principle in my lighting journal more times than I can count. A silk that is four feet above a tabletop surface wraps light around small objects in a way that feels almost volumetric. Pull it up to eight feet and you lose that quality almost entirely. For miniature-scale work especially, position your diffusion close.
Step 3: Add a Small Fill Light to Recover Shadow Detail
 Hensel 500W hot light with softbox positioned low for fill
With the silk providing the soft, diffused base exposure, the shadows are gone but so is any sense of depth. The next tool is a Hensel 500-watt hot light fitted with an open-face softbox. This goes in as a fill - not to create drama, but to lift the shadow areas just enough that detail in the smaller elements reads clearly. The snails, the texture on the bricks, the small foreground props - these details matter in a scene like this, and without fill they simply disappear.
Hensel 500W hot light with softbox positioned low for fill
With the silk providing the soft, diffused base exposure, the shadows are gone but so is any sense of depth. The next tool is a Hensel 500-watt hot light fitted with an open-face softbox. This goes in as a fill - not to create drama, but to lift the shadow areas just enough that detail in the smaller elements reads clearly. The snails, the texture on the bricks, the small foreground props - these details matter in a scene like this, and without fill they simply disappear.
The key word here is “small.” This is not meant to compete with the overhead silk. It is supplemental, set low and close to the subject plane, functioning more like a reflector with a light source than as a primary or secondary key. If you are working in a similar scale and do not have a hot light available, a silver reflector positioned at the same angle will get you most of the way there.
Step 4: Add a Shiny Board to Create a Point of Visual Interest
 Shiny board positioned camera left adding highlight to gnome
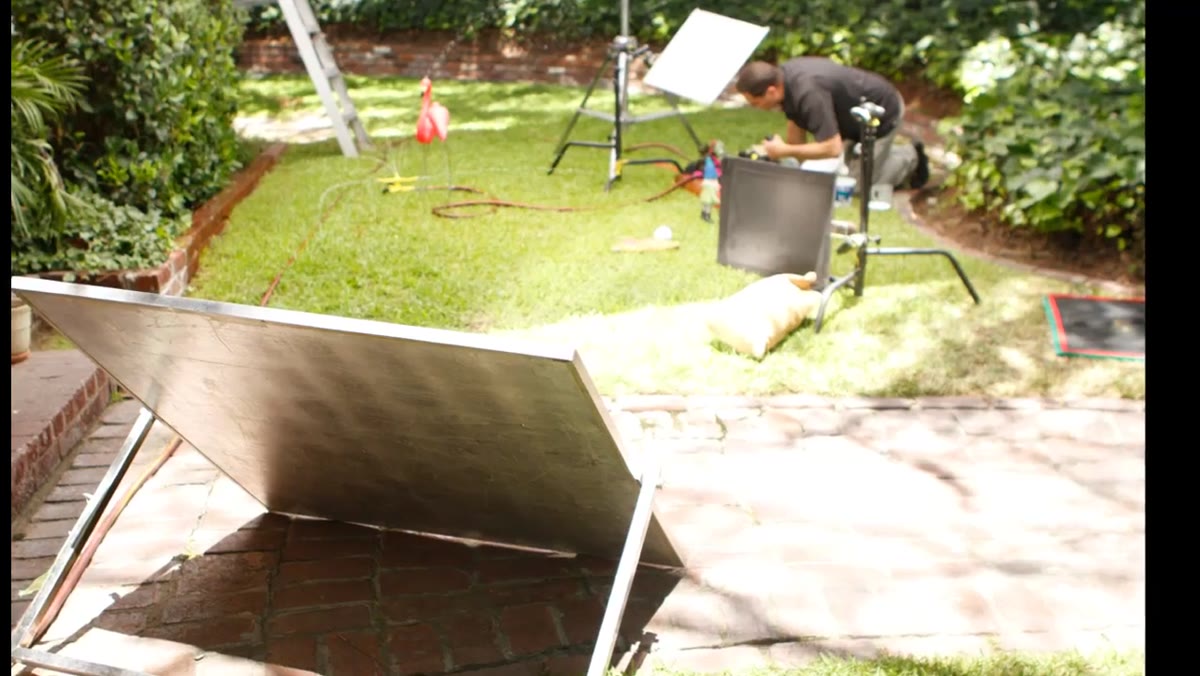
Soft light plus fill gives you a clean, well-exposed image. It also gives you something that reads as competent but unexciting. The shiny board placed camera left is the fix. Unlike a white reflector, which adds soft, diffused light, a shiny board bounces a harder, more specular highlight onto the scene. On the gnome’s surface this creates a small, defined catchlight - a bright edge that separates the subject from the background and gives the image something to land on.
Shiny board positioned camera left adding highlight to gnome
Soft light plus fill gives you a clean, well-exposed image. It also gives you something that reads as competent but unexciting. The shiny board placed camera left is the fix. Unlike a white reflector, which adds soft, diffused light, a shiny board bounces a harder, more specular highlight onto the scene. On the gnome’s surface this creates a small, defined catchlight - a bright edge that separates the subject from the background and gives the image something to land on.
I reach for a shiny board in almost exactly these situations: when everything is properly exposed and properly flat. It is a controlled way to reintroduce some of the contrast and dimension that heavy diffusion removes. The placement is critical - too far front and it flattens again, too far to the side and the highlight becomes a distraction. Camera left at roughly 45 degrees to the subject axis is the reliable starting point.
Step 5: Program Your Slider and Intervalometer as a Single System
 Canon timer remote controller plugged in and set for 1-second intervals
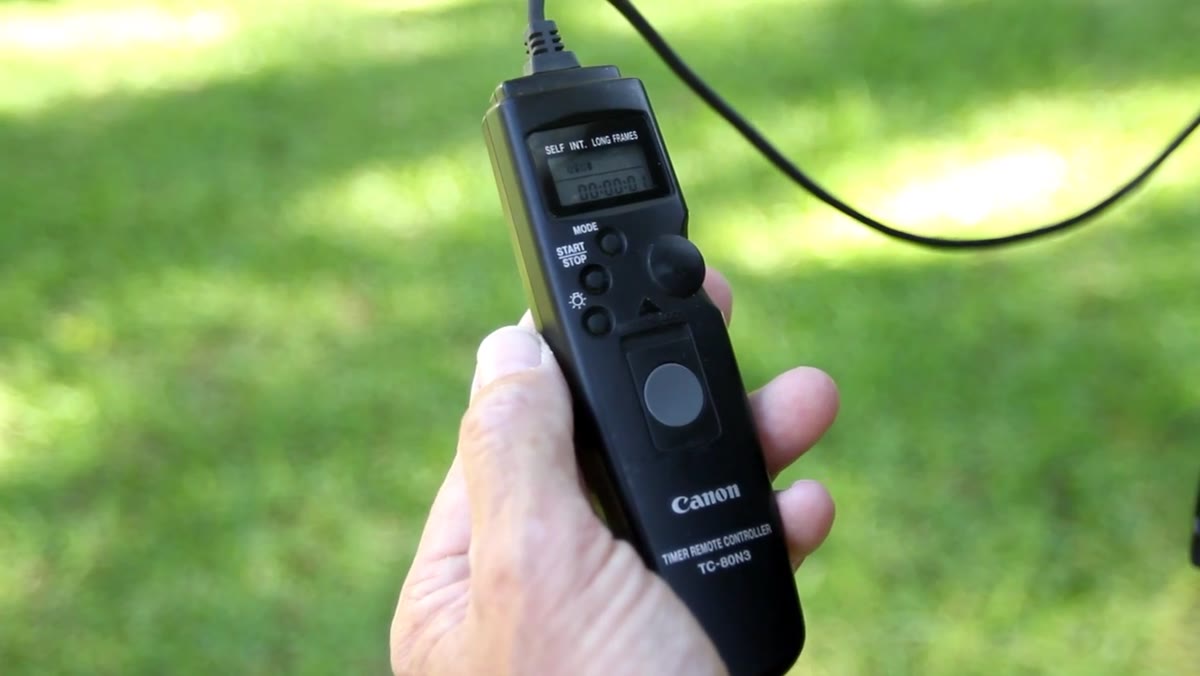
With the lighting resolved, the mechanical side of the time-lapse needs to behave as one coordinated system rather than two separate devices. The intervalometer - here a Canon timer remote controller - is set to fire one frame per second. The slider is programmed to travel three feet over one hour and fifteen minutes. These two values have to be calculated together: the total number of frames divided into the travel distance determines how much the camera moves per frame, and that determines the speed of apparent motion in the final footage.
Canon timer remote controller plugged in and set for 1-second intervals
With the lighting resolved, the mechanical side of the time-lapse needs to behave as one coordinated system rather than two separate devices. The intervalometer - here a Canon timer remote controller - is set to fire one frame per second. The slider is programmed to travel three feet over one hour and fifteen minutes. These two values have to be calculated together: the total number of frames divided into the travel distance determines how much the camera moves per frame, and that determines the speed of apparent motion in the final footage.
If the slider moves too quickly relative to your frame rate, the footage will feel rushed and mechanical. Too slowly and you lose any sense of progression. Running the math before you start shooting is not optional - it is the difference between a usable sequence and 75 minutes of wasted time.
Step 6: Pull Focus Manually Across the Slider’s Travel
 Focus marks on slider carriage, popsicle to gnome transition point
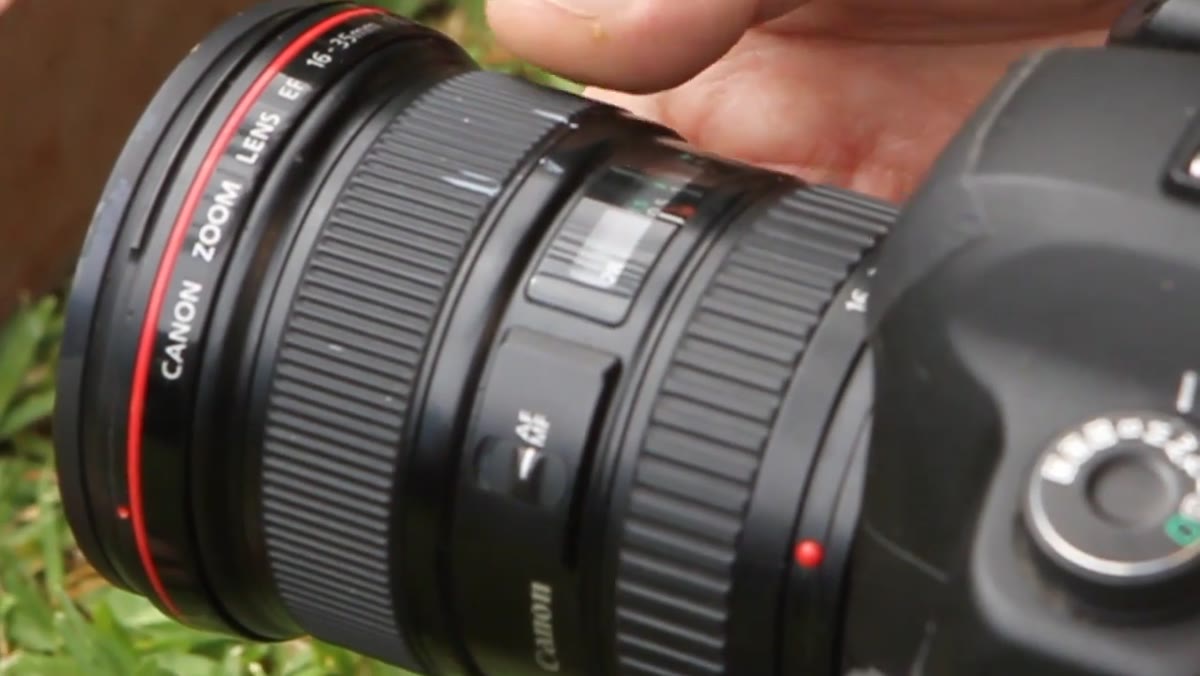
This is the step most photographers skip, and it is the one that gives the sequence its cinematic quality. Focus marks are made on the slider rail at three points: the near subject position, the far subject position, and the transition point where focus needs to shift. As the carriage reaches that third mark, focus is racked manually every eight frames - a small incremental turn each time until the far subject is sharp.
Focus marks on slider carriage, popsicle to gnome transition point
This is the step most photographers skip, and it is the one that gives the sequence its cinematic quality. Focus marks are made on the slider rail at three points: the near subject position, the far subject position, and the transition point where focus needs to shift. As the carriage reaches that third mark, focus is racked manually every eight frames - a small incremental turn each time until the far subject is sharp.
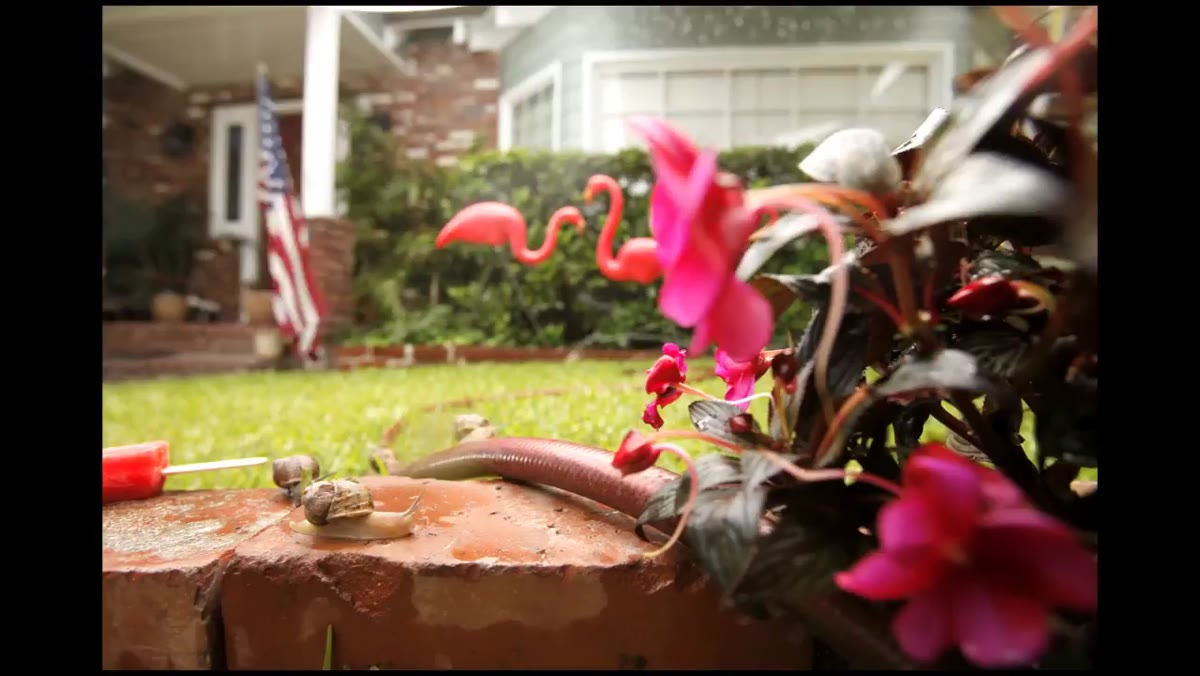
The result is a smooth rack focus embedded inside the time-lapse, moving the viewer’s eye from the foreground popsicle to the gnome in the background. Done in small increments across multiple frames, it reads as an organic shift rather than a jarring jump. I would add one practical note: mark your focus ring positions with tape before you start. Chasing a precise focus point by feel under pressure, one frame at a time, is not a reliable system.
What I’d Do Differently in a Commercial Context
The tutorial wraps the time-lapse sequence directly into a video segment, transitioning the camera from motion-capture mode to movie mode in the same position. That continuity is elegant. In a commercial context I would add one more step: a separate, static beauty pass of the hero product once the slider finishes its travel. The time-lapse provides the story. The static frame provides the clean, retouchable asset the client actually needs. Neither approach undermines the other - they solve different problems from the same lighting setup.
The most important thing this tutorial demonstrates is that lighting logic does not change with subject scale. The same overhead diffusion, fill, and specular accent that works on a model in a fashion studio works on a four-inch ceramic gnome on a brick track. Understand why each light is doing what it is doing and you can apply it anywhere.
Watch the full tutorial on YouTube to see the finished sequence and the transition from time-lapse to video mode.
Comments
Leave a Comment