Group portraits are where lighting setups go to die. You dial in a beautiful exposure for one face and suddenly the person on the far left looks like they’re standing in a cave. Add a reflective surface anywhere in the frame and you’re fighting hot spots all afternoon. I’ve had editorial shoots derailed by exactly this problem, and I still keep a sketch of every group setup I do in my lighting journal because the variables multiply fast.
This CreativeLive tutorial with a veteran commercial photographer cuts straight to the mechanics of managing multiple flash sources for groups. Watch the full tutorial on YouTube before or after reading this breakdown. What makes it worth studying isn’t just the gear, it’s the decision-making process as the photographer works through problems in real time.
Here’s what happens step by step, pulled apart so you can apply it on your next group shoot.
Step 1: Start with Quality, Reliable Gear
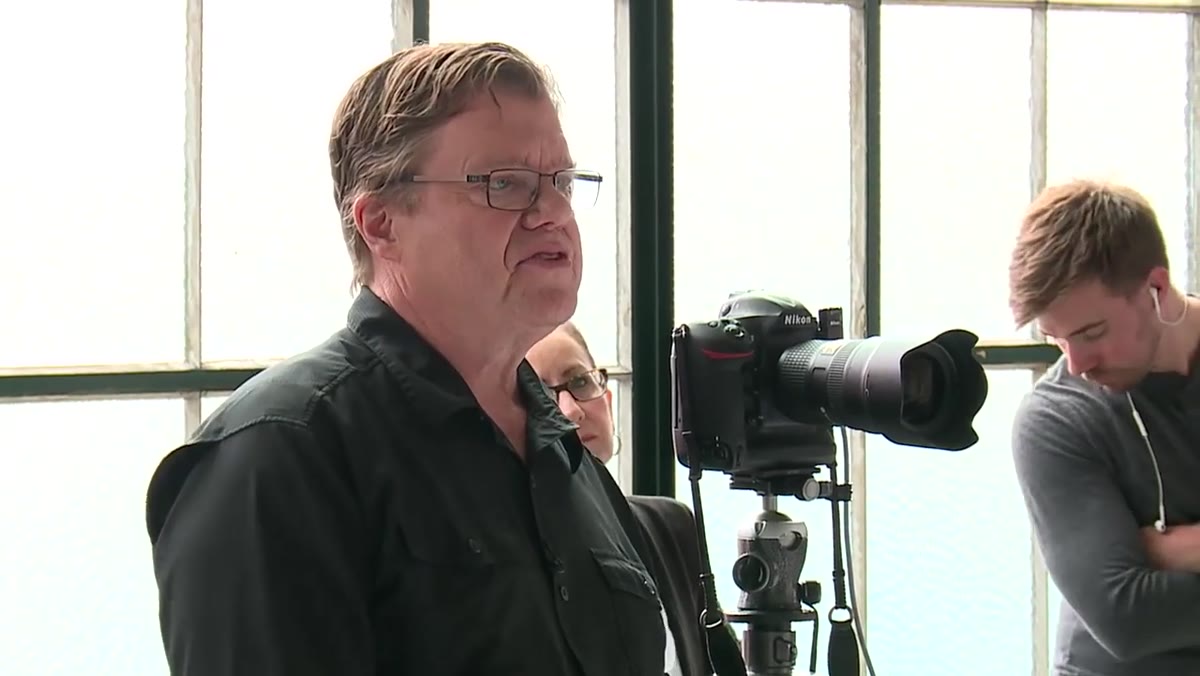 Photographer discussing gear selection and investment philosophy
Before a single light fires, the photographer makes the case for investing in dependable equipment rather than chasing cheap alternatives. This isn’t brand snobbery. When you’re on a group shoot with multiple people waiting, you cannot afford a trigger that misfires or a flash head that behaves inconsistently between pops. Every technical failure costs you the room’s energy.
Photographer discussing gear selection and investment philosophy
Before a single light fires, the photographer makes the case for investing in dependable equipment rather than chasing cheap alternatives. This isn’t brand snobbery. When you’re on a group shoot with multiple people waiting, you cannot afford a trigger that misfires or a flash head that behaves inconsistently between pops. Every technical failure costs you the room’s energy.
His specific mentions: Profoto for the large flash system, a high-end speedlight for fill or supplementary roles, and a quality tripod. The tripod point is illustrated by an anecdote about a Gitzo going into the water during an outdoor shoot. The real lesson is that gear you can trust frees your brain to focus on posing and light quality rather than troubleshooting.
Step 2: Set Up Radio Triggering in Manual Mode First
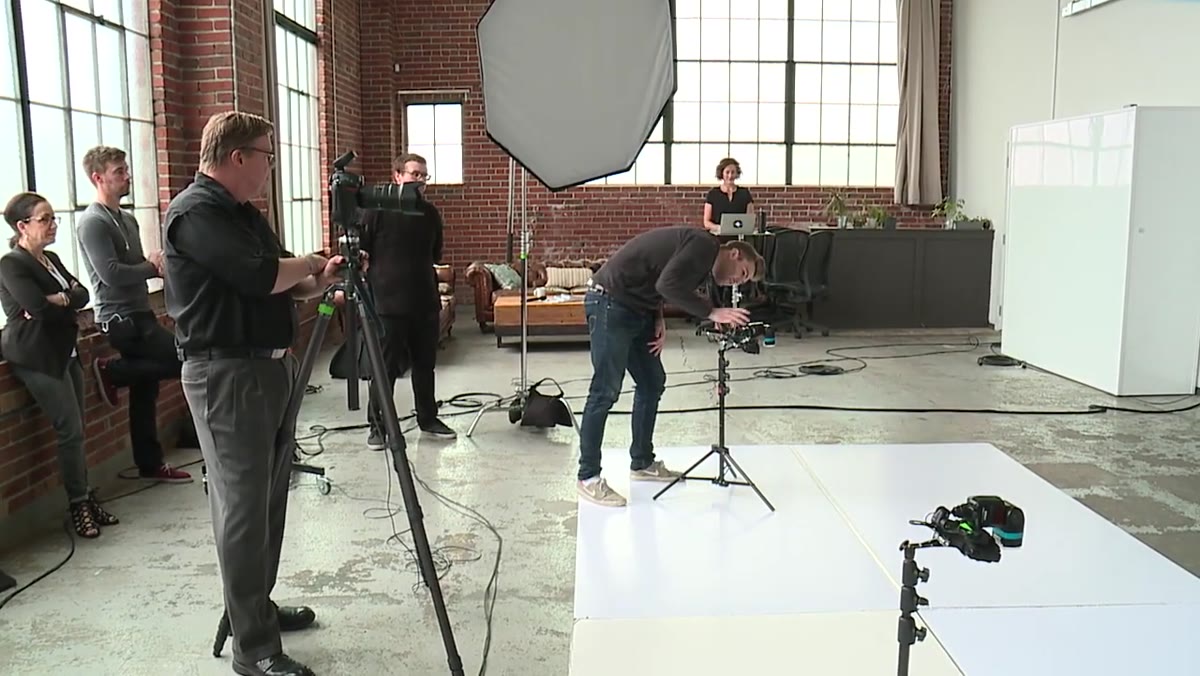 Flash units being configured via radio triggers on set
Once the lights are positioned, the photographer runs them via radio triggers rather than optical sync. With multiple people in the frame and a mixed-light environment, optical triggering is too unreliable. Radio gives you consistent sync regardless of flash angle or ambient interference.
Flash units being configured via radio triggers on set
Once the lights are positioned, the photographer runs them via radio triggers rather than optical sync. With multiple people in the frame and a mixed-light environment, optical triggering is too unreliable. Radio gives you consistent sync regardless of flash angle or ambient interference.
Critically, he starts in manual mode even though the system is capable of TTL. His reasoning is practical: he doesn’t want to juggle two different TTL systems simultaneously before he has a baseline reading. Get a manual exposure locked in first, then introduce automation if you need it. Start at a known power level (in this case full power, which immediately proves too much) and work downward. That direction of adjustment is intentional. It’s always easier to reduce light than to chase a shot that’s too dark.
Step 3: Dial Down Power and Find Your Baseline Exposure
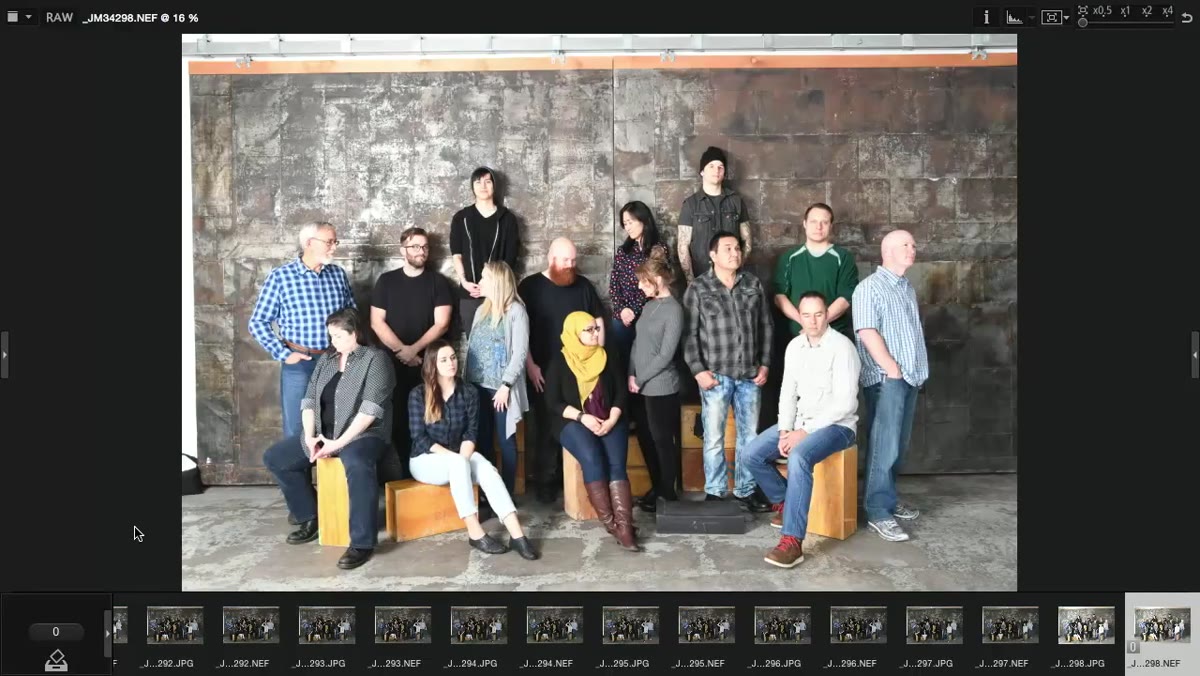 Photographer reviewing test shot and reducing flash power
The first test frame at full power is blown out. He pulls it down and checks the result. The target is a exposure that gives him sharpness and even coverage across the group, not the most dramatic look possible. For a group, your first obligation is to see every face clearly.
Photographer reviewing test shot and reducing flash power
The first test frame at full power is blown out. He pulls it down and checks the result. The target is a exposure that gives him sharpness and even coverage across the group, not the most dramatic look possible. For a group, your first obligation is to see every face clearly.
He lands at 1/25th of a second at f/11. The slower shutter lets some ambient in, which he notes is actually working in his favor, adding a push of natural-looking light from one side. This is the starting point, not the final answer.
Step 4: Feather the Light to Cover the Width of the Group
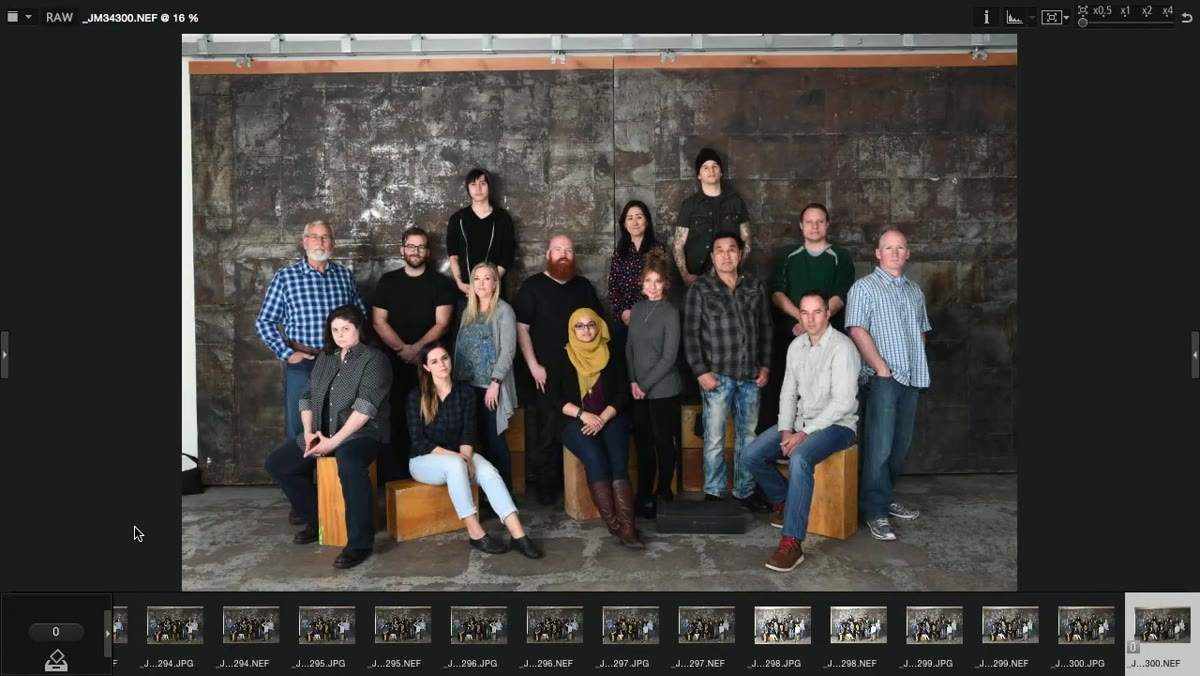 Assistant rotating umbrella to feather light across the group
This is the technique most photographers skip, and it’s the one that makes the biggest difference in group work. Feathering means rotating the light source so the edge of the beam, rather than the hot center, covers your subjects. The photographer demonstrates this by having an assistant swing the umbrella left or right without changing its height or distance.
Assistant rotating umbrella to feather light across the group
This is the technique most photographers skip, and it’s the one that makes the biggest difference in group work. Feathering means rotating the light source so the edge of the beam, rather than the hot center, covers your subjects. The photographer demonstrates this by having an assistant swing the umbrella left or right without changing its height or distance.
When you point the center of an umbrella directly at your group, the people nearest the light get significantly more output than those on the far edge. By feathering the light away from the camera, you send the brighter center of the beam past the group entirely, letting the softer, more even edge do the work. For a group spread across several feet, this can mean the difference between a balanced frame and one that looks like a spotlight hit one side.
Step 5: Manage Reflective Surfaces in the Background
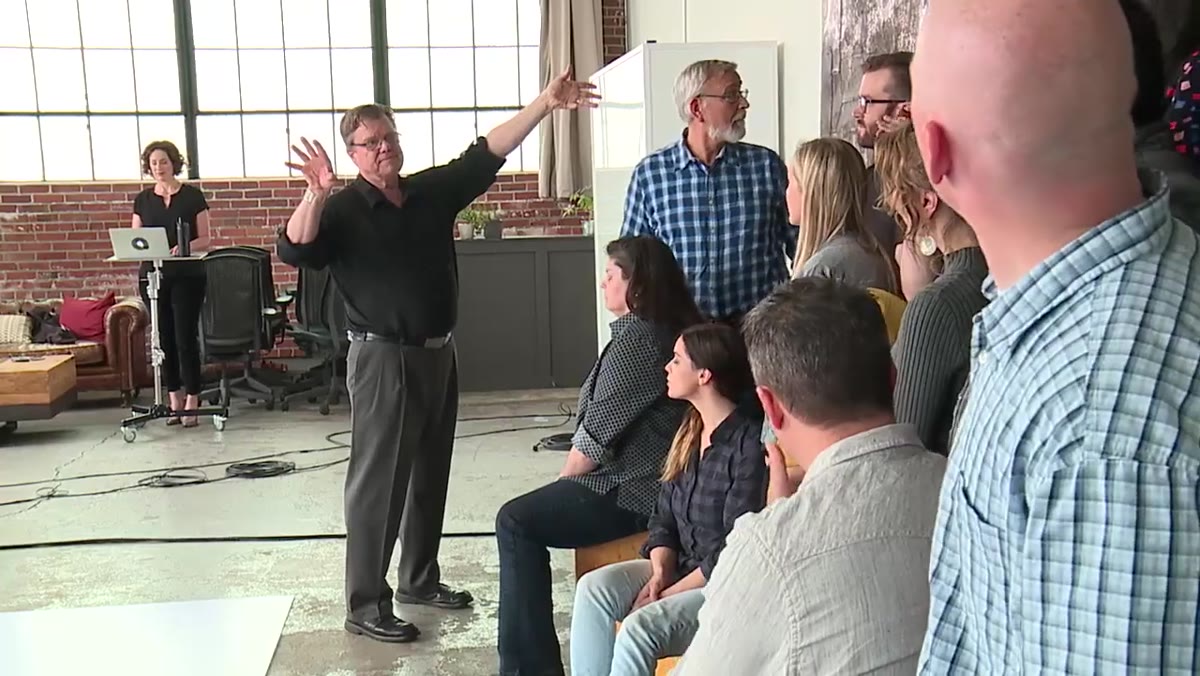 Lighting adjusted to reduce flash reflection in metallic door
The shooting location has a metallic door in the background. Direct flash aimed at the group would bounce straight back into the camera, creating a blown-out hot spot. Feathering the light also addresses this. By rotating the umbrella so its output blows past the subjects rather than directly at the door, the reflection becomes a subtle glimmer rather than a distraction.
Lighting adjusted to reduce flash reflection in metallic door
The shooting location has a metallic door in the background. Direct flash aimed at the group would bounce straight back into the camera, creating a blown-out hot spot. Feathering the light also addresses this. By rotating the umbrella so its output blows past the subjects rather than directly at the door, the reflection becomes a subtle glimmer rather than a distraction.
This is a problem I run into constantly on corporate group shoots in offices: glass partitions, polished surfaces, award plaques on walls. The instinct is to move the light, but often feathering the existing position solves it without you losing your coverage.
Step 6: Adjust Ambient and TTL Separately to Balance the Mix
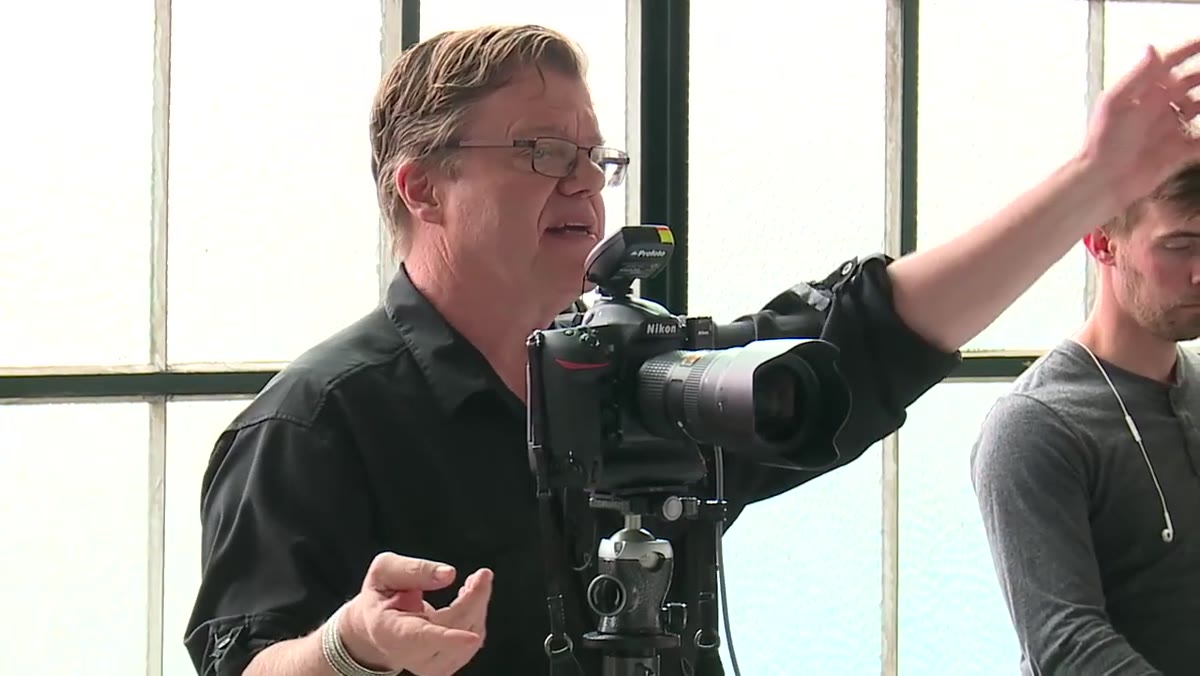 Photographer pulling ambient exposure down by one stop
Once the flash and ambient are both contributing, they start fighting each other. The photographer notes that everyone looks overly Hollywood, which is his way of saying the low light is too dominant. He pulls the ambient down by about a stop by adjusting his shutter speed, then reduces the TTL flash compensation to compensate for the way the two light sources are interacting.
Photographer pulling ambient exposure down by one stop
Once the flash and ambient are both contributing, they start fighting each other. The photographer notes that everyone looks overly Hollywood, which is his way of saying the low light is too dominant. He pulls the ambient down by about a stop by adjusting his shutter speed, then reduces the TTL flash compensation to compensate for the way the two light sources are interacting.
The key habit here is treating the two sources as separate problems. Shutter speed controls how much ambient enters the frame. Flash power controls the flash’s contribution. Adjust them independently and deliberately. Changing both at once gives you no information about which one was causing the problem.
What I’d Add From My Own Experience
The tutorial doesn’t dig into color temperature calibration between flash and ambient, and that’s where I’ve been burned. The first time I mixed daylight coming through a large window with Profoto heads on a group shoot, I had half the subjects looking slightly warm and the other half looking clean and neutral. I now gel my flash heads to match whatever ambient source is in the room, even if it’s a minor correction. For group work especially, mismatched color temperature across faces reads as a lighting problem even when viewers can’t articulate why.
I also keep a strip of masking tape on every light stand with the modifier name, power setting, and distance written on it mid-shoot. When something changes or I need to troubleshoot fast, I don’t have to reconstruct what I was running from memory.
The single most transferable idea from this tutorial is the feathering principle. Light modifiers are not flashlights you aim at subjects. They’re tools with a gradient of output, and learning to use the edge of that gradient gives you far more control over group coverage, reflective surfaces, and light falloff than simply adjusting power ever will.
Watch the full tutorial on YouTube to see the feathering technique demonstrated in real time. Seeing the umbrella rotate while you watch the frame change is worth more than any diagram.
Comments
Leave a Comment