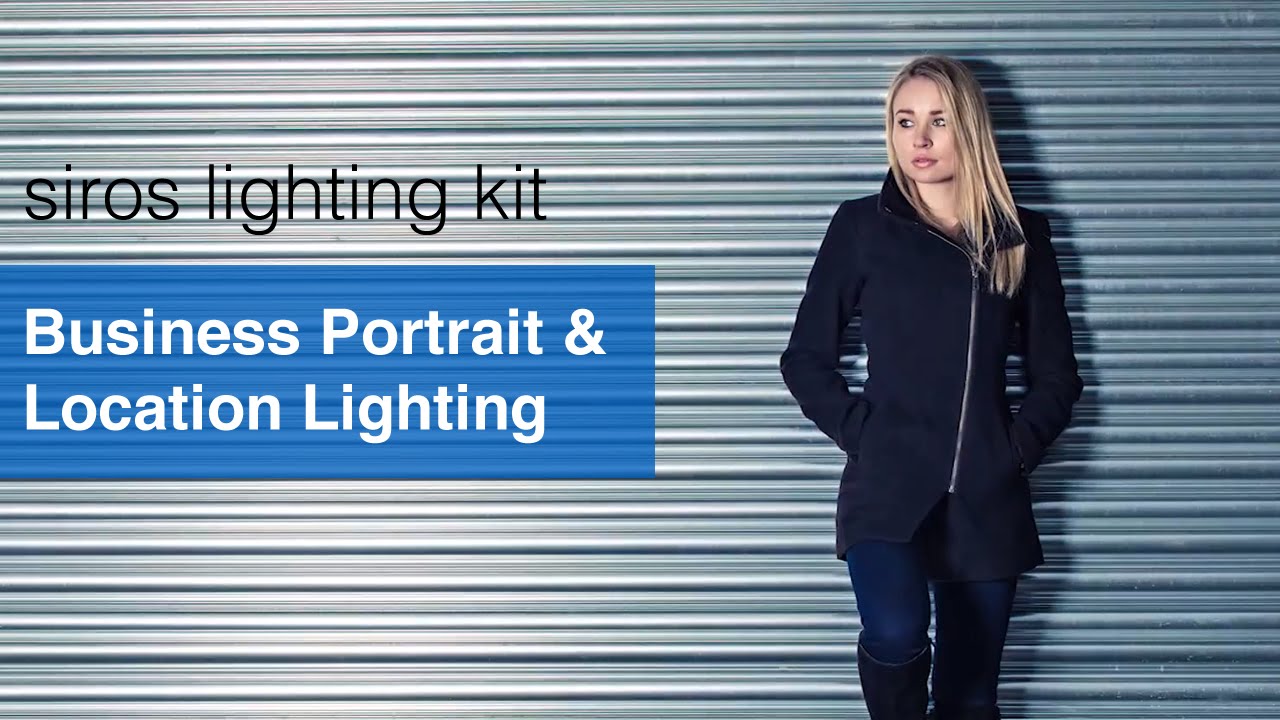
There is one scenario that comes up constantly in corporate location work and never gets easier: you walk into the meeting room, the client is waiting, and you have roughly the square footage of a large bathroom to produce a portrait that looks like it was shot in a proper studio. I have been in that situation more times than I care to count. My usual instinct used to be to force a softbox into the space and fight the ceiling tiles. It rarely produced anything I was proud of. Watch the full tutorial on YouTube
In this Visual Education tutorial, photographer Carl Taylor walks through a complete business portrait setup inside a compact office meeting room. The room has six chairs, a small table, a unit, and a couple of plants. Most photographers would look at that environment and start making excuses. Taylor starts making decisions. What he demonstrates is a high-key location portrait that works precisely because of the limitations of the room, not in spite of them. I sketched the whole thing into my lighting journal the night I watched it, and it changed how I approach confined corporate spaces.
The gear in this case is a Broncolor Siros kit, which includes a softbox and a brolly (shoot-through umbrella). But the more important lesson here is that your modifiers are starting points, not mandates. Taylor strips the softbox off one head entirely and uses the room itself as the modifier. That is the kind of thinking that separates photographers who light well on location from photographers who just own expensive gear.
Step 1: Read the Room Before You Unpack Anything
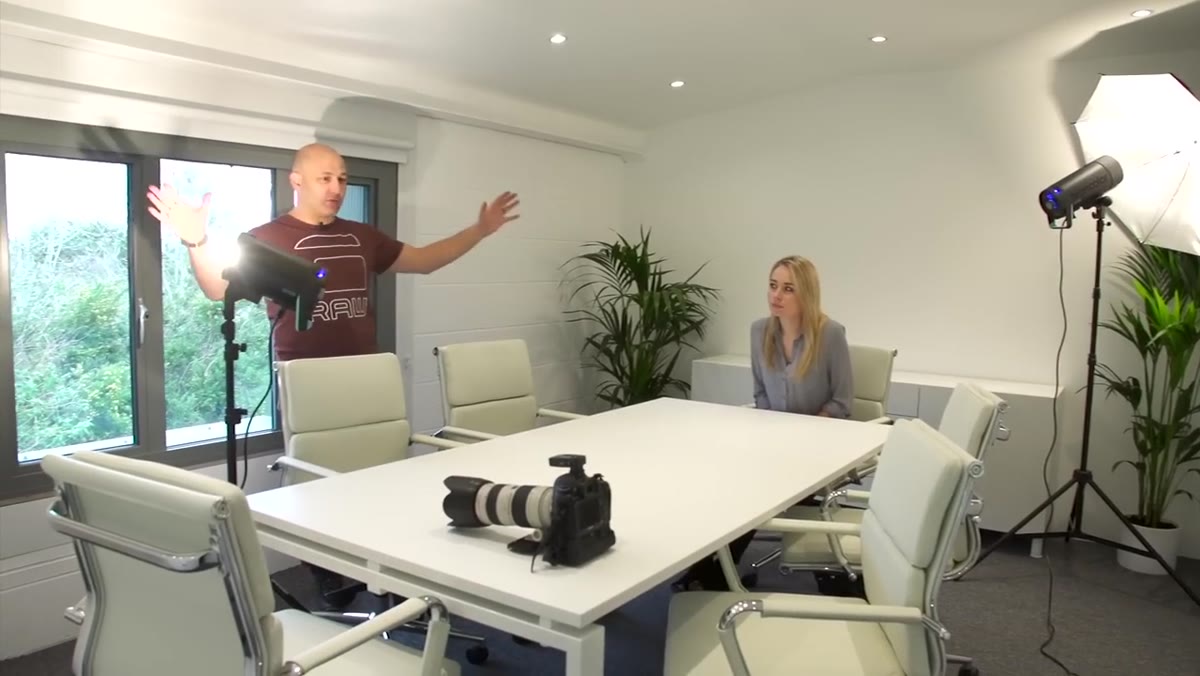 Small meeting room with chairs and compact table visible
Walk in, look at the ceiling and walls first. In this tutorial, the meeting room has white walls and a white ceiling, which makes it a giant natural reflector. Taylor immediately identifies this as an asset and builds his entire lighting strategy around it. If the walls are dark, painted, or textured, you will need to rethink the bounce approach entirely. The color of your bounce surface directly affects the color temperature of your light, and I learned that particular lesson the hard way on an early editorial job I do not like remembering.
Small meeting room with chairs and compact table visible
Walk in, look at the ceiling and walls first. In this tutorial, the meeting room has white walls and a white ceiling, which makes it a giant natural reflector. Taylor immediately identifies this as an asset and builds his entire lighting strategy around it. If the walls are dark, painted, or textured, you will need to rethink the bounce approach entirely. The color of your bounce surface directly affects the color temperature of your light, and I learned that particular lesson the hard way on an early editorial job I do not like remembering.
Step 2: Strip the Softbox and Bounce the Key Light Into the Ceiling and Wall
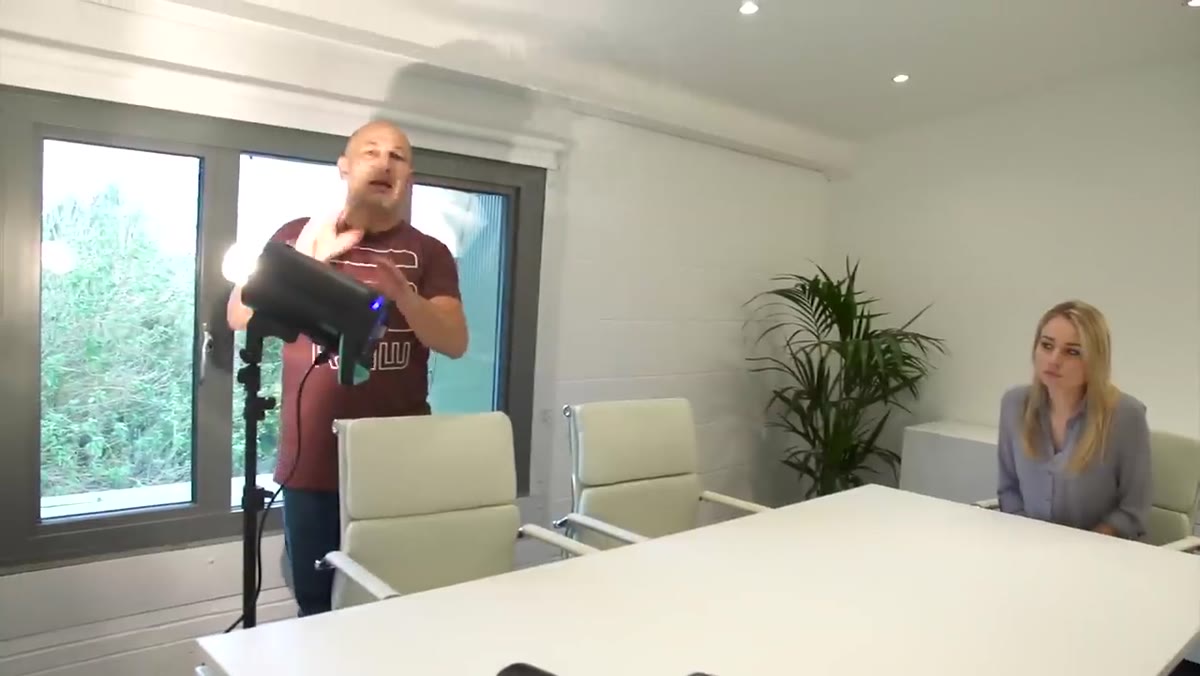 Siros head pointed toward white wall and ceiling, no modifier attached
Remove the softbox from your key light and aim the bare head up and toward the white wall. Taylor points the Siros head at the corner where wall meets ceiling, effectively turning the entire surface into one large, diffuse light source. This produces wrapping, soft illumination that flatters faces and requires no additional diffusion material. The larger the reflected surface, the softer the light. A ceiling alone can work, but combining wall and ceiling gives you more directionality and prevents the flat, overhead look you get from bouncing straight up. Taylor sets this head to power 6.3 on the Siros.
Siros head pointed toward white wall and ceiling, no modifier attached
Remove the softbox from your key light and aim the bare head up and toward the white wall. Taylor points the Siros head at the corner where wall meets ceiling, effectively turning the entire surface into one large, diffuse light source. This produces wrapping, soft illumination that flatters faces and requires no additional diffusion material. The larger the reflected surface, the softer the light. A ceiling alone can work, but combining wall and ceiling gives you more directionality and prevents the flat, overhead look you get from bouncing straight up. Taylor sets this head to power 6.3 on the Siros.
Step 3: Add a Brolly on the Fill Side for Catch Light and Soft Graduation
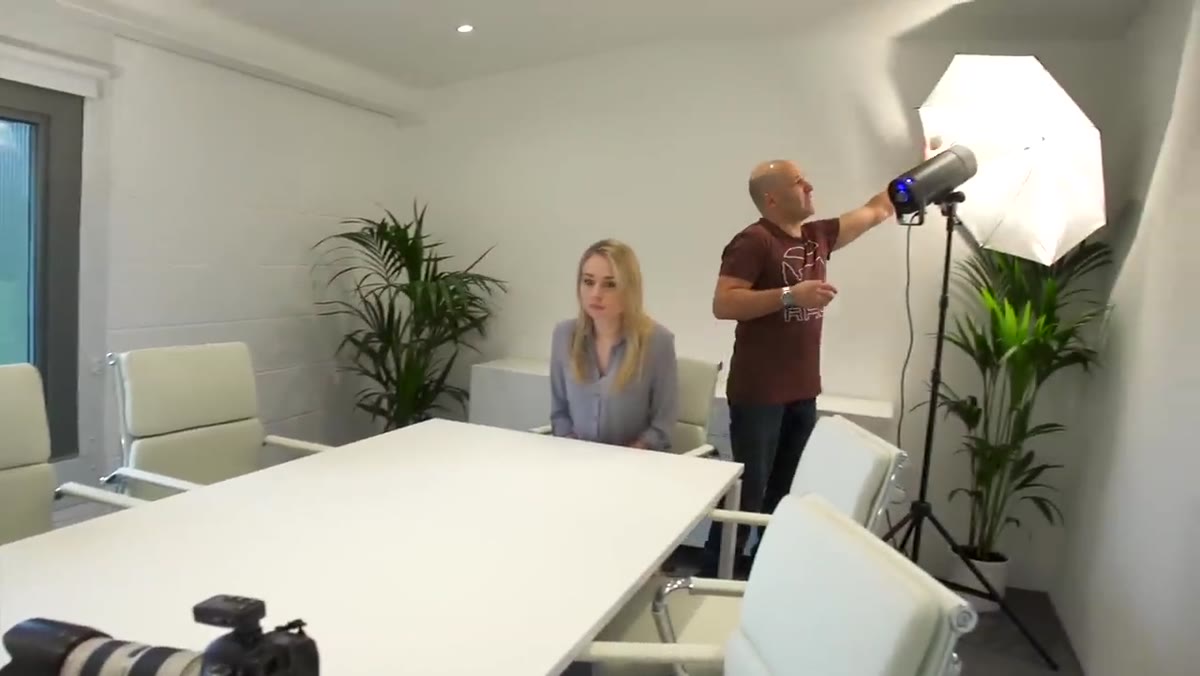 Umbrella modifier positioned on opposite side of subject
Keep the brolly on the secondary head and position it on the opposite side of the subject. Taylor angles it so it contributes a gentle graduation of light across the subject’s face rather than flooding the frame with even illumination. This is a small but important distinction. You are not trying to eliminate shadow entirely. You are shaping light so one side of the face has slightly more depth than the other, which keeps the portrait from looking flat even within a very bright, high-key setup. The brolly head runs at power 4.5, noticeably lower than the key, which preserves the sense of direction in the light.
Umbrella modifier positioned on opposite side of subject
Keep the brolly on the secondary head and position it on the opposite side of the subject. Taylor angles it so it contributes a gentle graduation of light across the subject’s face rather than flooding the frame with even illumination. This is a small but important distinction. You are not trying to eliminate shadow entirely. You are shaping light so one side of the face has slightly more depth than the other, which keeps the portrait from looking flat even within a very bright, high-key setup. The brolly head runs at power 4.5, noticeably lower than the key, which preserves the sense of direction in the light.
Step 4: Let the White Furniture Work as a Natural Reflector
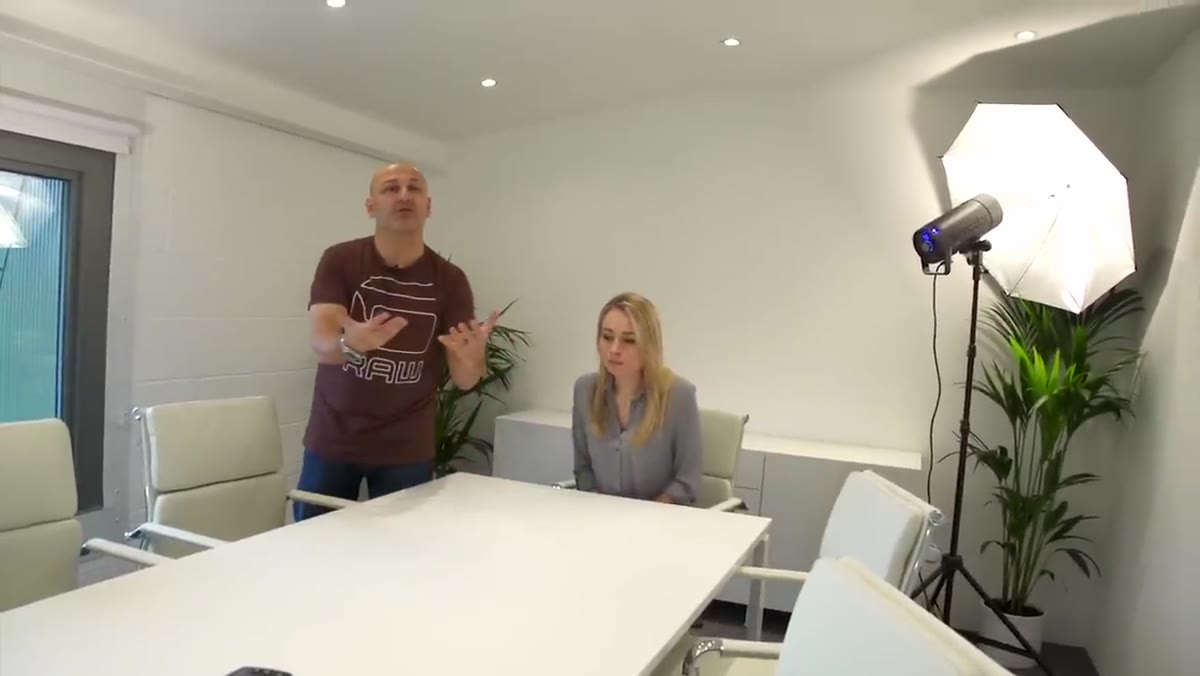 White table surface visible in front of seated subject
The meeting room has a white table in front of the subject, and Taylor deliberately keeps it in the frame because it bounces light back up under the chin and jaw. This is a free fill card. In a studio I would reach for a piece of white foam core. On location, the furniture is already doing that job if you position your subject correctly. This is also why the high-key treatment works so cohesively here: the chairs, table, and walls are all white, so everything in the frame is contributing to the look rather than fighting it.
White table surface visible in front of seated subject
The meeting room has a white table in front of the subject, and Taylor deliberately keeps it in the frame because it bounces light back up under the chin and jaw. This is a free fill card. In a studio I would reach for a piece of white foam core. On location, the furniture is already doing that job if you position your subject correctly. This is also why the high-key treatment works so cohesively here: the chairs, table, and walls are all white, so everything in the frame is contributing to the look rather than fighting it.
Step 5: Position and Pose the Subject for Authority and Framing
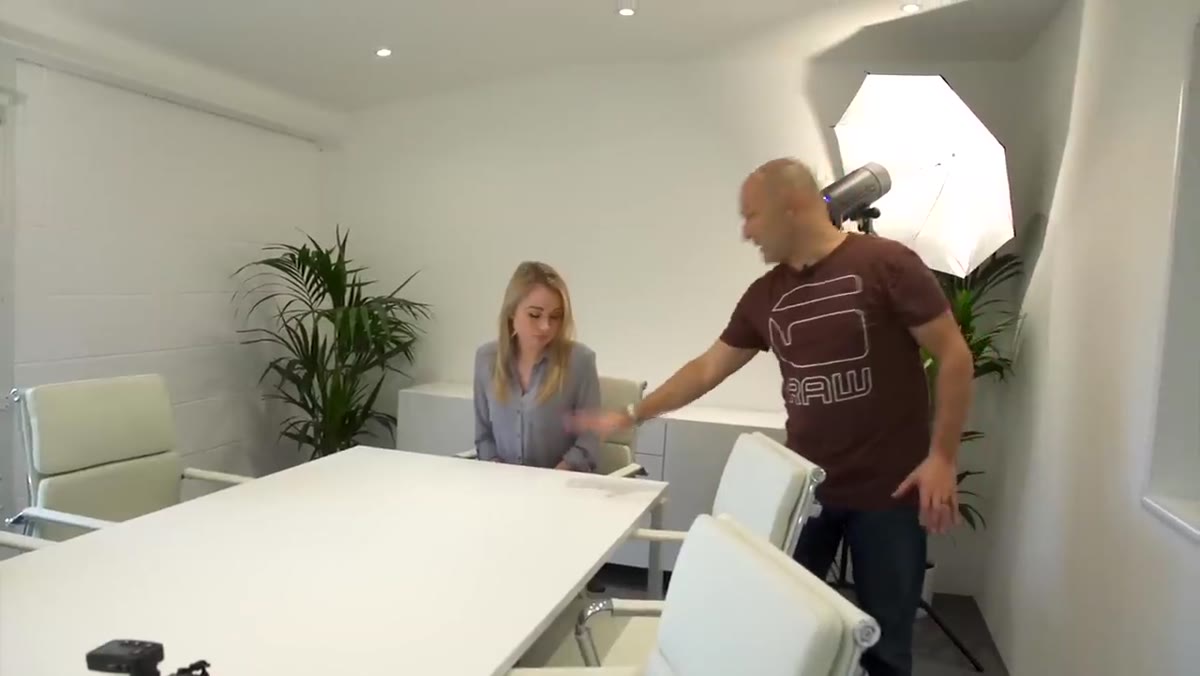 Subject seated in commanding pose, photographer framing from doorway
Seat your subject in a way that reads as confident and grounded. Taylor describes the pose as “commanding” with a sense of authority, the subject’s posture upright, engaged, and front-facing. For business portraits, posture communicates as much as expression. Then, because the room is simply too small to shoot from inside it, Taylor steps out the door entirely and frames through the doorway. This is a genuinely useful trick. The doorway acts as a natural crop, and the extra distance creates a cleaner working relationship with a longer focal length.
Subject seated in commanding pose, photographer framing from doorway
Seat your subject in a way that reads as confident and grounded. Taylor describes the pose as “commanding” with a sense of authority, the subject’s posture upright, engaged, and front-facing. For business portraits, posture communicates as much as expression. Then, because the room is simply too small to shoot from inside it, Taylor steps out the door entirely and frames through the doorway. This is a genuinely useful trick. The doorway acts as a natural crop, and the extra distance creates a cleaner working relationship with a longer focal length.
Step 6: Shoot at 100mm, F4, Using Foreground Elements to Build Depth
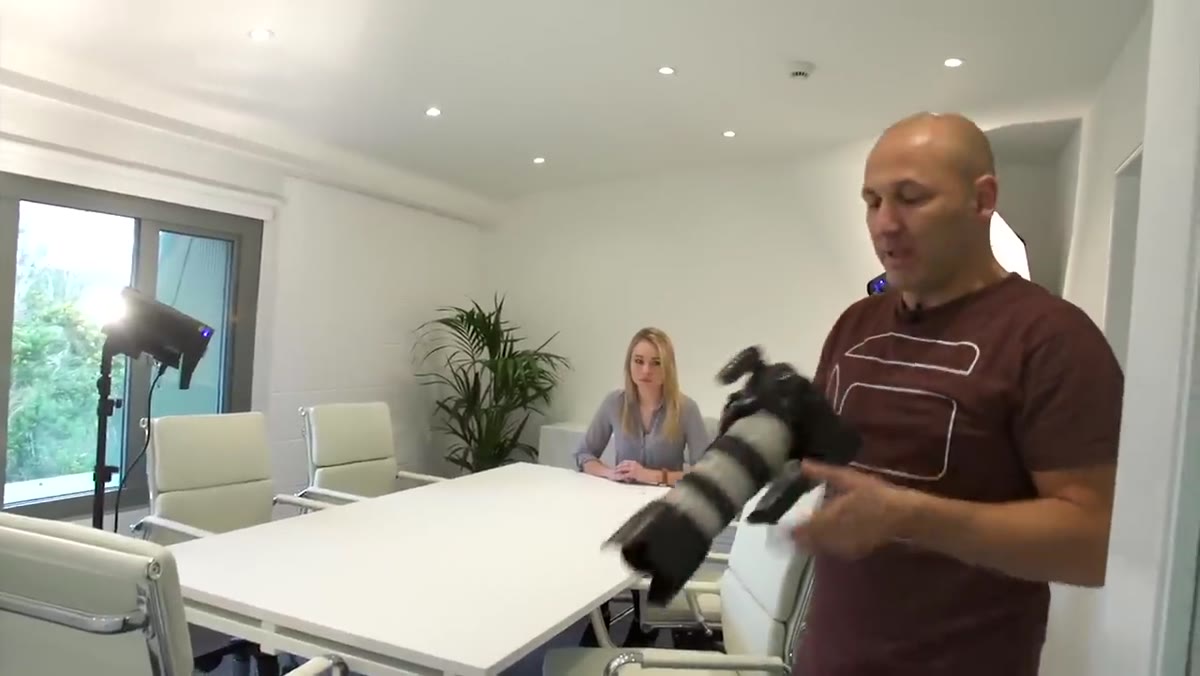 Chairs angled in foreground, subject sharp in background of frame
Taylor shoots at approximately 100mm on a 70-200 lens, at F4. That aperture gives enough depth to keep the subject sharp while throwing the foreground chairs into soft blur. He deliberately angles two chairs so their arms extend toward the camera and lead the eye into the frame. They are not arranged the way they would be for an actual meeting. They are arranged for the photograph. This is a habit I have adopted on every corporate shoot since: always consider whether any furniture in front of your subject can be repositioned to create foreground interest. Even a slight angle makes a static office scene feel composed rather than accidental.
Chairs angled in foreground, subject sharp in background of frame
Taylor shoots at approximately 100mm on a 70-200 lens, at F4. That aperture gives enough depth to keep the subject sharp while throwing the foreground chairs into soft blur. He deliberately angles two chairs so their arms extend toward the camera and lead the eye into the frame. They are not arranged the way they would be for an actual meeting. They are arranged for the photograph. This is a habit I have adopted on every corporate shoot since: always consider whether any furniture in front of your subject can be repositioned to create foreground interest. Even a slight angle makes a static office scene feel composed rather than accidental.
What I Would Add Based on My Own Location Work
Taylor does not mention color temperature calibration in this tutorial, but when you are bouncing off painted walls, it is worth checking. Even walls that look white to the eye can carry a slight warm or cool cast that shifts your subject’s skin tones in a way you will not love in post. I now shoot a gray card frame at the start of every bounce setup, especially in corporate environments where the walls may have been painted with a warm white or an antique white. It takes thirty seconds and saves twenty minutes of color correction later. The Siros handles consistent output well, but the bounce surface is a variable you are not controlling directly, so verify before you shoot a full sequence.
The most valuable thing Taylor demonstrates here is not a specific power setting or a particular piece of gear. It is the approach: assess what the environment is giving you, work with those materials first, and reach for additional modifiers only when the room cannot do the job itself. In a confined office space, the walls are your softboxes. The furniture is your fill. The doorway is your camera position. Most of the setup is already built; you just have to see it.
Watch the full tutorial on YouTube to see Taylor’s final high-key frames and the exact positioning of both Siros heads relative to the subject.
Comments
Leave a Comment