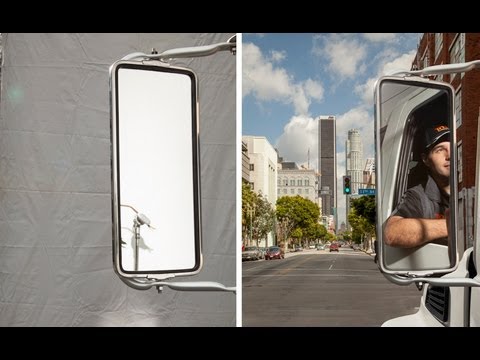
Chrome is the material that exposes every amateur lighting decision. It doesn’t care how much gear you brought. It reflects everything around it with total honesty, and most of what surrounds a location shoot is visual noise. I’ve lost count of how many times I’ve seen photographers aim a strobe at a shiny surface and wonder why the result looks like a carnival mirror. The problem is never the light you put on the chrome. It’s the light you let into the chrome.
In this The Slanted Lens tutorial, Watch the full tutorial on YouTube, Jay P. Morgan works through a real commercial assignment for Pilot Freight Services, shooting a chrome truck mirror on a blocked street in downtown Los Angeles. The final deliverable is a print ad composite with four separate elements: a city background, a truck nose, a driver, and the chrome mirror itself. What makes this useful as a learning resource is that it’s not a controlled studio problem. It’s a live location shoot with deadline pressure, client expectations, and a city that doesn’t care about your light plot.
What I find most instructive here isn’t the final image. It’s the problem-solving sequence. Each decision on this shoot responds directly to a specific visual failure. That’s the kind of thinking I try to document in my lighting journal, because the technique only sticks when you understand what problem it was built to fix.
Step 1: Shoot to the Comp
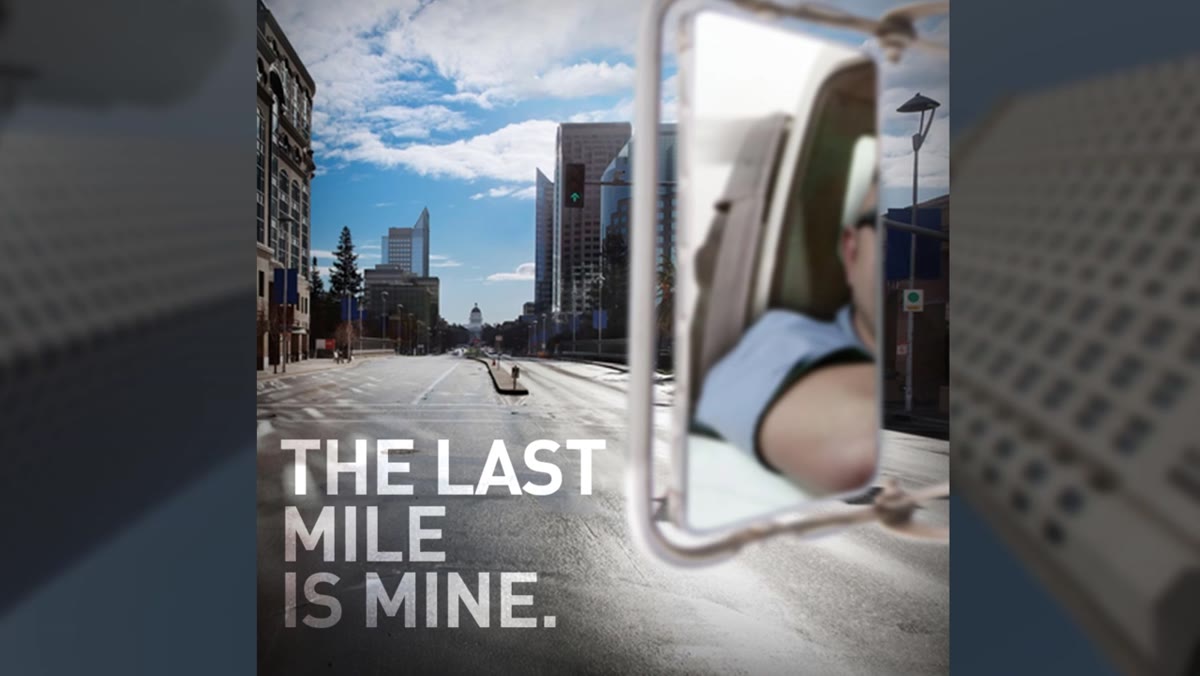 Agency comp showing four-element composite breakdown
Before a single light goes up, Jay P. works from a layout the agency provided. The comp breaks the image into its four components and makes it immediately clear that no single frame can capture all of them at once. The physical geometry of the truck, mirror, and driver simply won’t align in one shot.
Agency comp showing four-element composite breakdown
Before a single light goes up, Jay P. works from a layout the agency provided. The comp breaks the image into its four components and makes it immediately clear that no single frame can capture all of them at once. The physical geometry of the truck, mirror, and driver simply won’t align in one shot.
This is a discipline worth adopting on any commercial job. Study the comp, identify which elements need to be captured separately, and plan your shoot order around the most logistically difficult element first. In this case, that’s the chrome mirror, because its reflections depend on everything else you build around it.
Step 2: Isolate the Chrome from Its Environment
 Busy chrome mirror reflecting surrounding buildings and street
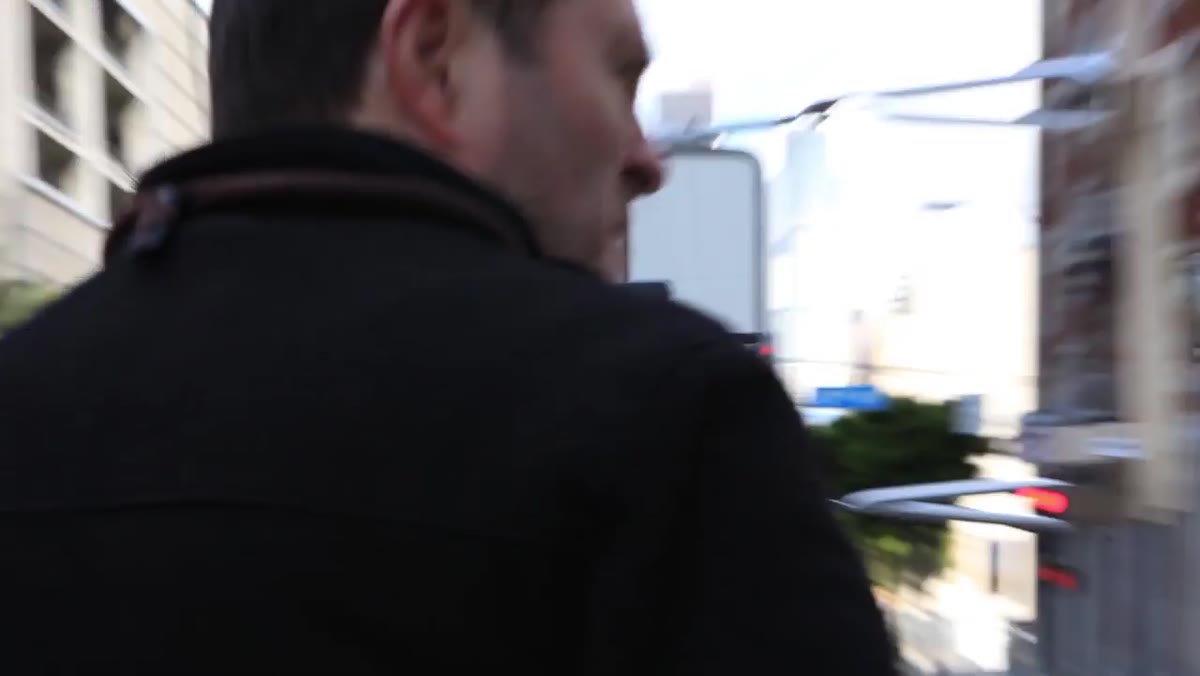
Shooting the mirror as-found immediately reveals the core problem. Chrome on a city street reflects every building, cable, and passing car within its line of sight. The image is chaotic. The solution is to control what the chrome sees rather than what light you throw at it.
Busy chrome mirror reflecting surrounding buildings and street
Shooting the mirror as-found immediately reveals the core problem. Chrome on a city street reflects every building, cable, and passing car within its line of sight. The image is chaotic. The solution is to control what the chrome sees rather than what light you throw at it.
A 4x8 sheet of foam core is positioned to dominate the reflection in the mirror. This is the move. You are essentially replacing a cluttered city with a clean white surface. The chrome now has something neutral and controllable to reflect, and you can treat that foam core as a light source in its own right.
Step 3: Add a Strobe to Shape the Chrome Edge
 D-light strobe head positioned camera left, rimming the chrome mirror
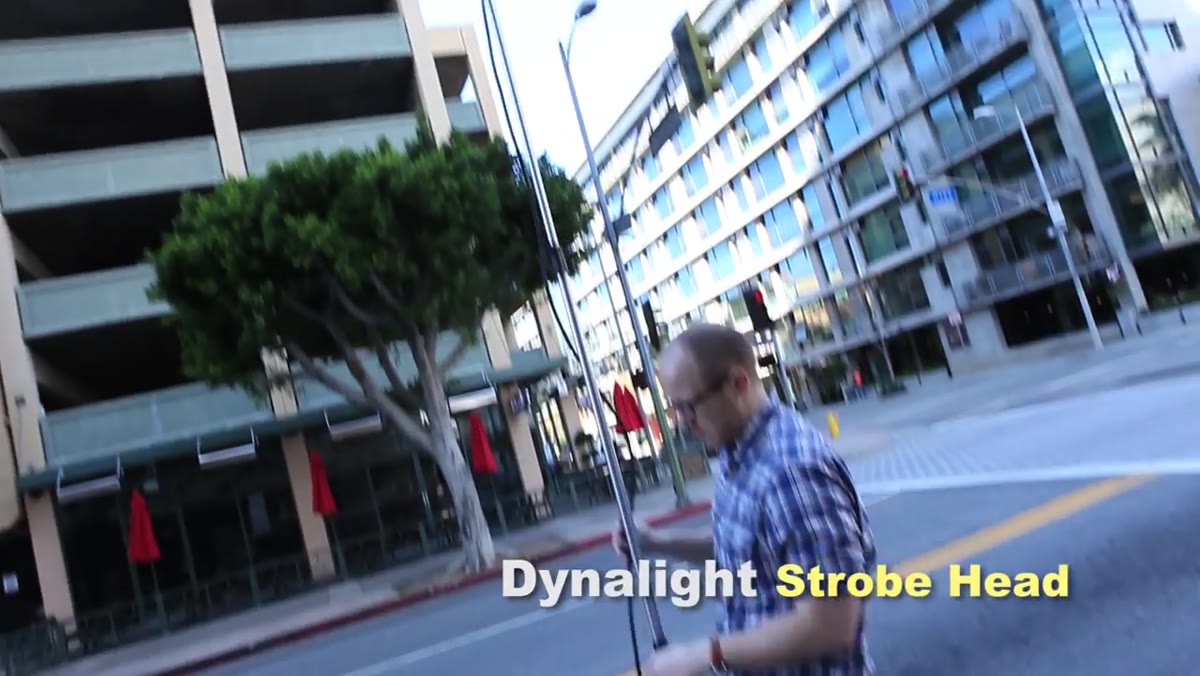
A single strobe head, placed to camera left, does two jobs simultaneously. It rims the chrome frame of the mirror, creating a hard specular edge that reads as sunlight coming from that direction. And it illuminates the foam core, which then bounces softer light back into the face of the mirror.
D-light strobe head positioned camera left, rimming the chrome mirror
A single strobe head, placed to camera left, does two jobs simultaneously. It rims the chrome frame of the mirror, creating a hard specular edge that reads as sunlight coming from that direction. And it illuminates the foam core, which then bounces softer light back into the face of the mirror.
The power on this head gets dialed up until the rim looks like direct sun, not a studio kicker. This distinction matters for composites. If the lighting direction on your chrome element doesn’t match the ambient direction in your background plate, the composite will read as fake immediately. Consistency of light direction is the thing that holds a composite together.
Step 4: Break Up the Reflection So It Reads as Environmental
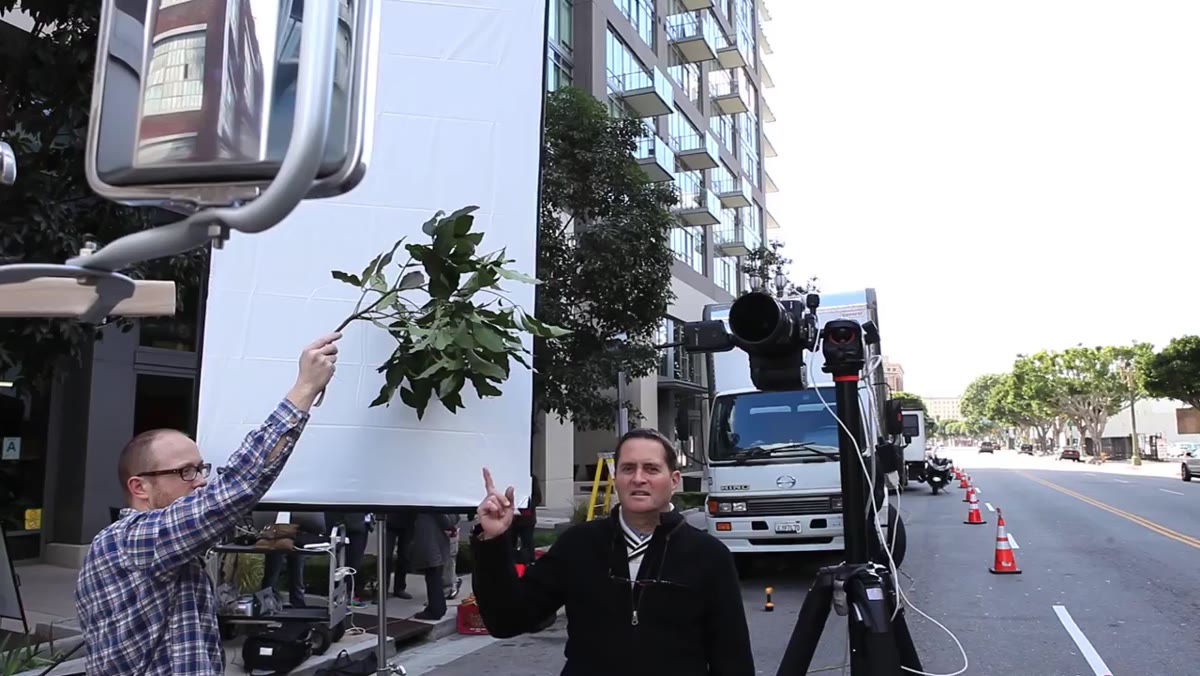 Assistant holding tree branch to interrupt chrome reflection
After the foam core cleans up the mirror, the reflection looks too uniform. It’s visibly studio-lit, even though you’re on a city street. The fix is low-tech: a tree branch held in front of the foam core interrupts the reflection and suggests that organic material from the surrounding environment is playing into the chrome.
Assistant holding tree branch to interrupt chrome reflection
After the foam core cleans up the mirror, the reflection looks too uniform. It’s visibly studio-lit, even though you’re on a city street. The fix is low-tech: a tree branch held in front of the foam core interrupts the reflection and suggests that organic material from the surrounding environment is playing into the chrome.
This is a detail that separates competent chrome photography from convincing chrome photography. Perfectly clean reflections read as artificial. A small amount of irregular interruption, something that suggests leaves, architecture, or depth, makes the chrome feel embedded in a real place. You don’t need much. A single branch moved slowly across the frame while you shoot several exposures gives you options in post.
Step 5: Shoot the Chrome Against Multiple Backgrounds for Compositing Flexibility
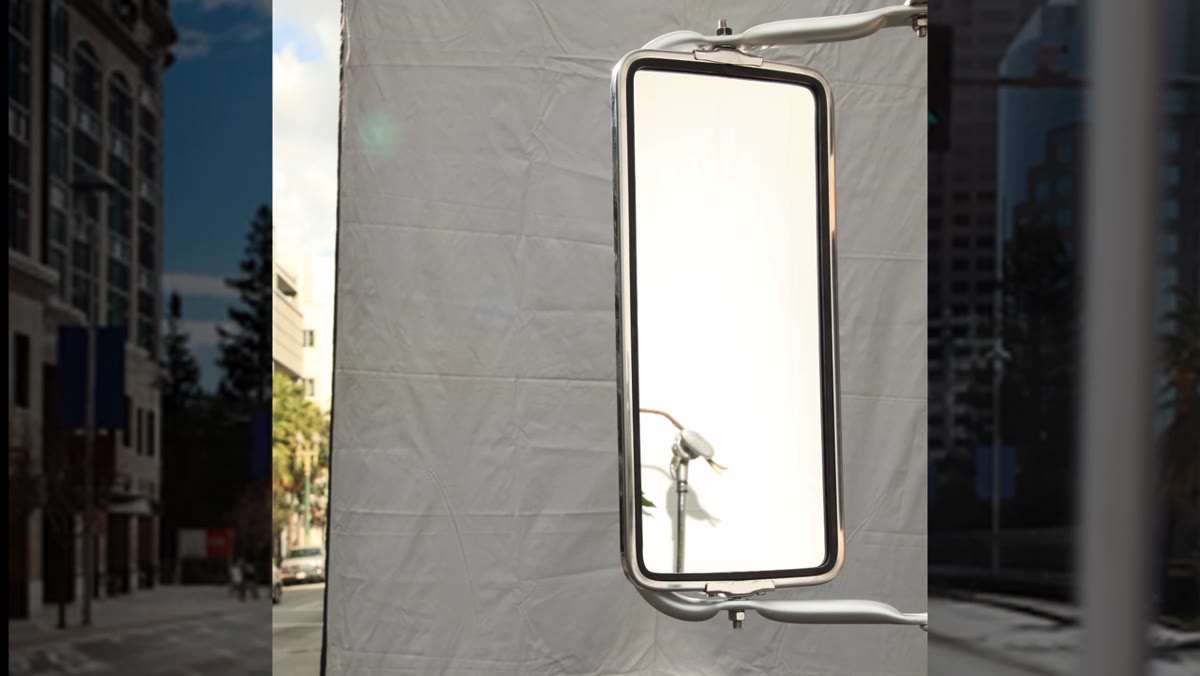 Chrome mirror shot against white background for easy masking
Jay P. shoots the mirror against both a white background and a black background. Neither is the final look. Both are tools for the retoucher. The white version makes it easier to trace the chrome outline. The black version gives a different edge for the retoucher to work with depending on which area of the mirror she’s isolating.
Chrome mirror shot against white background for easy masking
Jay P. shoots the mirror against both a white background and a black background. Neither is the final look. Both are tools for the retoucher. The white version makes it easier to trace the chrome outline. The black version gives a different edge for the retoucher to work with depending on which area of the mirror she’s isolating.
When I’m shooting any product that needs to be cut out, I give the retoucher at least two versions. It costs you ten minutes on set and saves an hour in post. The retoucher on this job, Julene, can choose which background version gives her the cleanest mask at any given point around the edge of the mirror.
Step 6: Match the Lighting Direction Across Every Separate Element
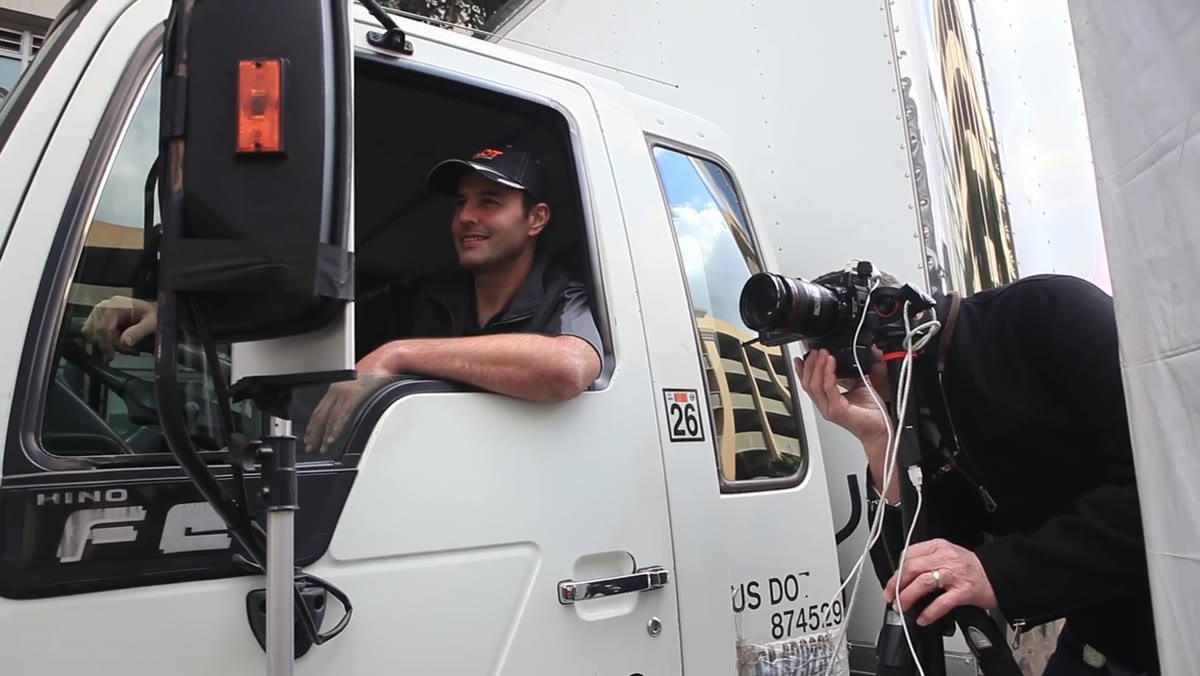 Driver photographed in truck mirror with same left-side strobe position
The driver’s reflection is shot separately, with the strobe still coming from camera left. The nose of the truck, shot at a different facility entirely, is also lit from camera left with a strobe off to the side. Every element in this composite gets the same light direction because that was established in step three as the sun angle.
Driver photographed in truck mirror with same left-side strobe position
The driver’s reflection is shot separately, with the strobe still coming from camera left. The nose of the truck, shot at a different facility entirely, is also lit from camera left with a strobe off to the side. Every element in this composite gets the same light direction because that was established in step three as the sun angle.
This is the kind of pre-production thinking that makes composite work possible. You define your light direction before you shoot anything, and then you enforce it across every element regardless of where or when you capture it. Write it on a piece of tape and stick it somewhere visible. I label everything in my studio with masking tape, and I extend that habit to location shoots by marking my light stands with directional notes.
What I’d Add for Studio Shooters
Taking this technique into a controlled studio environment actually introduces a new problem: the chrome is too clean. On location, ambient light and environmental chaos work in your favor. In studio, you have to manufacture that complexity intentionally.
When I shoot chrome in my studio, I use at least two foam core panels at different angles to create gradient transitions across the surface, and I’ll often introduce a colored gel on a secondary head just to give the chrome something interesting to hold onto. A strip of warm light on one side and a cooler fill on the other reads more like real-world chrome than a symmetrical white reflection ever will. The branch trick from this tutorial translates directly: I keep a small collection of objects specifically for breaking up reflections - wire mesh, plant material, even crumpled diffusion paper held just outside the frame.
The single most important takeaway from this tutorial is the one Jay P. states plainly near the end: shooting chrome is a reflection process. You are not lighting the chrome. You are lighting what the chrome sees. Once that mental shift happens, every chrome problem becomes a question of what you’re placing in the environment rather than where you’re pointing your strobes.
Watch the full tutorial on YouTube to see the final composite and the full sequence in real time.
Comments (2)
Clear and practical. No fluff. Appreciate that.
Solid advice. Especially the part about taking your time with it.
Leave a Comment