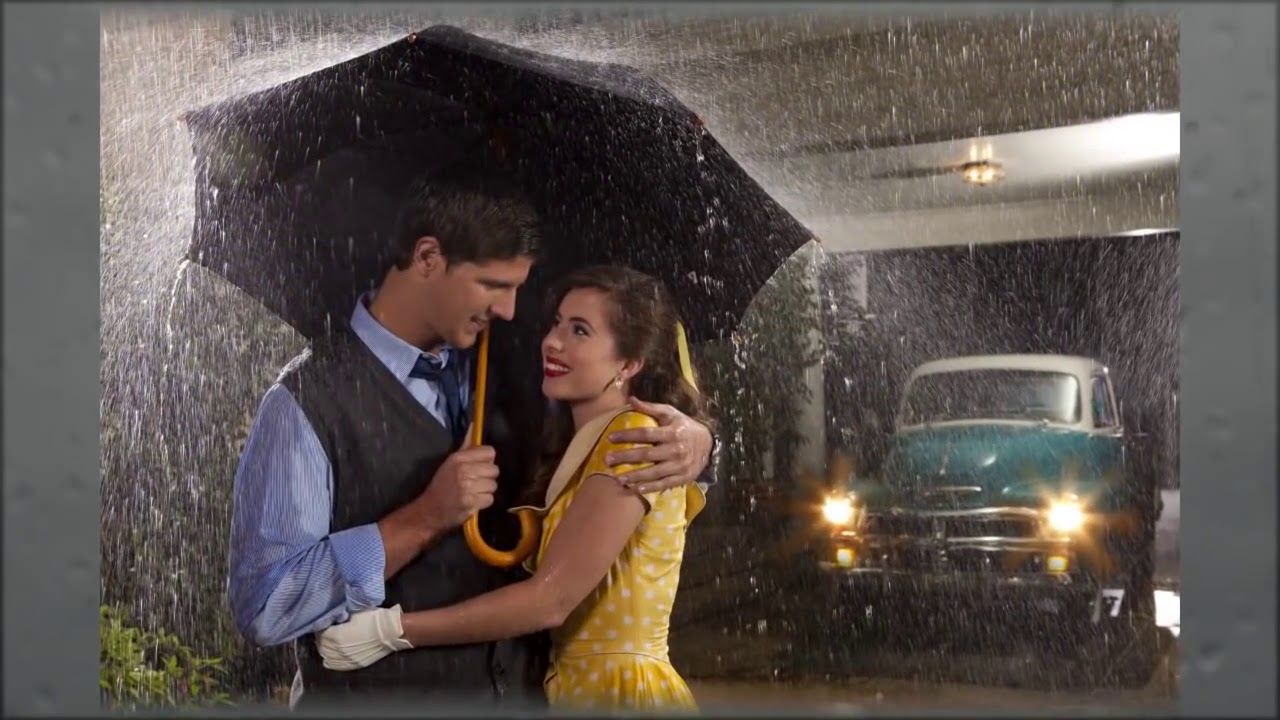
Rain is one of those elements that looks effortless in a great editorial image and absolutely terrible when you don’t know what you’re doing. I’ve watched photographers point a garden hose at a subject and wonder why the result looks like someone got splashed at a car wash. The problem is almost never the water. It’s the light. Water is transparent. If you don’t give it something to catch, it simply disappears into the frame.
This is why I keep coming back to Watch the full tutorial on YouTube from The Slanted Lens. Jay P. Morgan’s breakdown of creating artificial rain is one of the most practical special effects lighting lessons I’ve seen. It treats the problem correctly from the start: build a controllable rain source first, then light it as a separate element. That order matters more than most photographers realize.
What struck me watching this is how closely it mirrors my own approach to complex setups. I sketch every light position before I fire a single strobe, partly out of habit, partly because once water is involved, repositioning a stand is a wet, miserable job. The tutorial walks through both the rigging and the lighting in a logical sequence, so I’m breaking it down step by step here.
Step 1: Build a Targeted Rain Rig from PVC
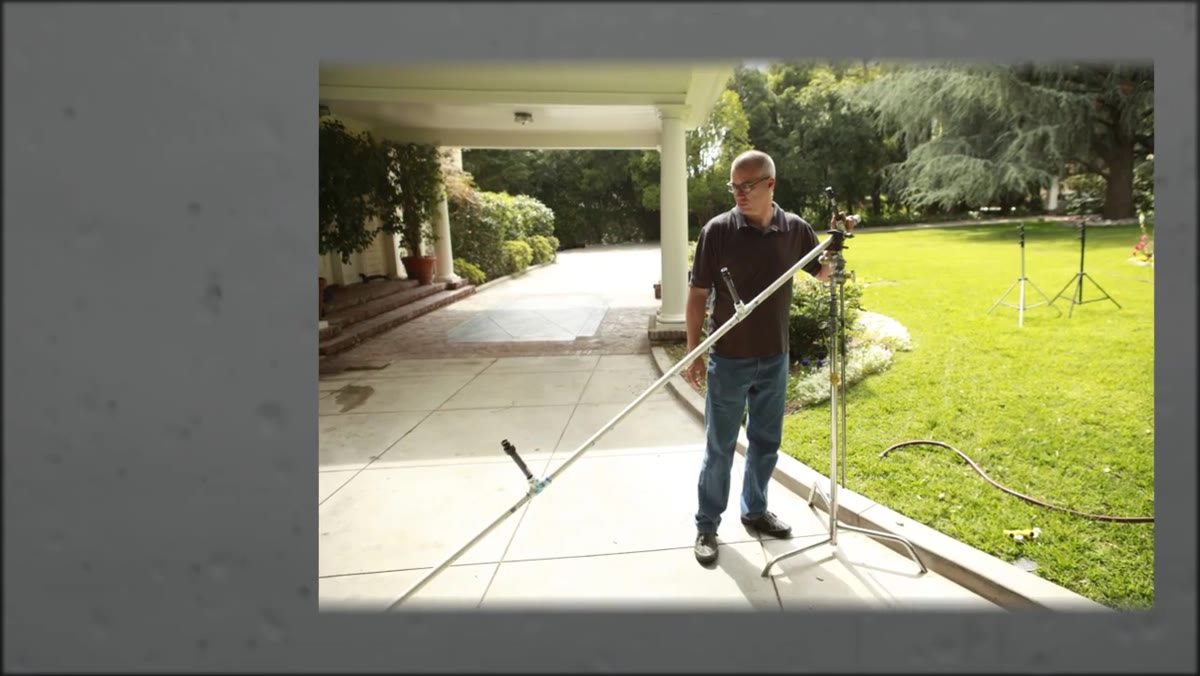 PVC pipe with sprinkler heads assembled on a stand
You do not need to drench an entire set. That’s the first mistake people make, and it costs them time and money. The Slanted Lens approach is to build a single horizontal length of PVC pipe fitted with sprinkler heads, sourced from any hardware store. The pipe runs the full width of the frame, but it only needs to produce a curtain of rain at one depth in the scene. Think of it as a scrim made of water rather than diffusion fabric.
PVC pipe with sprinkler heads assembled on a stand
You do not need to drench an entire set. That’s the first mistake people make, and it costs them time and money. The Slanted Lens approach is to build a single horizontal length of PVC pipe fitted with sprinkler heads, sourced from any hardware store. The pipe runs the full width of the frame, but it only needs to produce a curtain of rain at one depth in the scene. Think of it as a scrim made of water rather than diffusion fabric.
The critical assembly detail: glue the joints so the pipe holds pressure without leaking at the connections. A slow drip at a joint produces an uneven flow that reads as exactly what it is on camera. You want consistent droplet density across the full width of the frame.
Step 2: Orient the Sprinkler Heads Upward
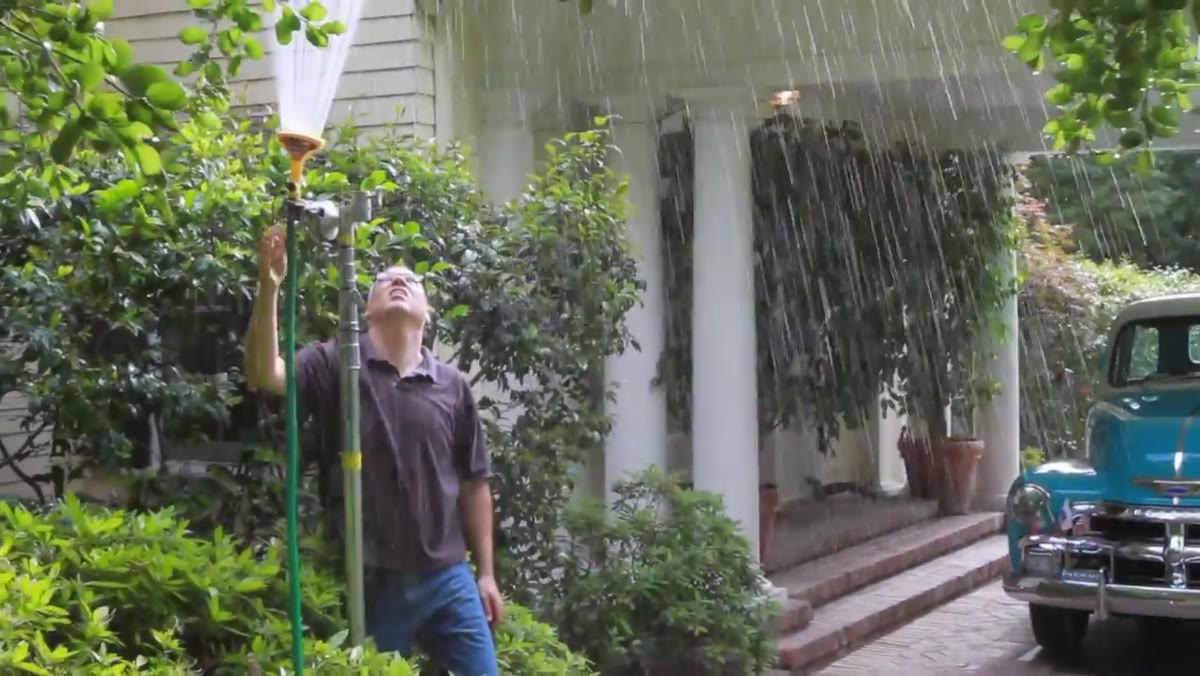 Sprinkler heads pointed upward on PVC pipe
This is the single most counterintuitive part of the whole setup. Every instinct says point the heads down so water falls like rain. Point them up instead. When sprinkler heads face downward they produce a visible, repeating arc pattern that your camera sensor will absolutely pick up. It looks mechanical. When you flip them upward, the individual streams launch, peak, and fall together, and the droplets blur and blend into a continuous curtain rather than a series of separate jets.
Sprinkler heads pointed upward on PVC pipe
This is the single most counterintuitive part of the whole setup. Every instinct says point the heads down so water falls like rain. Point them up instead. When sprinkler heads face downward they produce a visible, repeating arc pattern that your camera sensor will absolutely pick up. It looks mechanical. When you flip them upward, the individual streams launch, peak, and fall together, and the droplets blur and blend into a continuous curtain rather than a series of separate jets.
The fan-head sprayer attachment on a standard garden hose is a viable alternative for smaller setups. Same principle applies: angle it upward and let gravity do the shaping work for you.
Step 3: Establish Ambient Fill and a Sidelit Key
 Medium softbox positioned camera right on subjects
Before lighting the rain, light your subjects properly. The Slanted Lens sets a medium softbox on camera right, positioned well to the side rather than close to the lens axis. That placement produces rim lighting that reads as exterior light, not portrait light. It puts the quality of a streetlamp or a storefront window on the subjects without feeling staged.
Medium softbox positioned camera right on subjects
Before lighting the rain, light your subjects properly. The Slanted Lens sets a medium softbox on camera right, positioned well to the side rather than close to the lens axis. That placement produces rim lighting that reads as exterior light, not portrait light. It puts the quality of a streetlamp or a storefront window on the subjects without feeling staged.
The ambient light in the scene handles fill. Relying on ambient rather than a second strobe keeps the light ratio feeling natural. I’d note the power on the softbox here should be dialed in to complement the ambient, not overpower it. Shoot a test frame with just the softbox and check that the shadow side of the faces still retains some detail from the ambient before you add anything else.
Step 4: Add a Beauty Dish with Grid for Face Detail
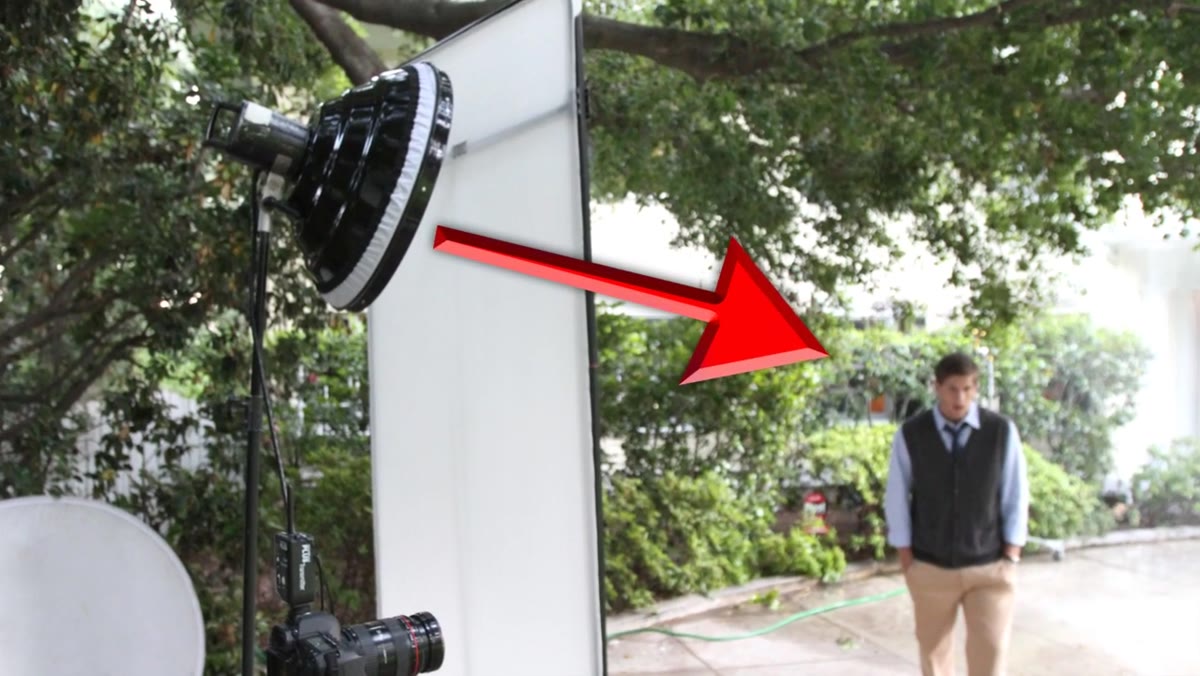 Beauty dish with grid shooting through translucent cover
A beauty dish with a grid, fired through a translucent cover, handles face separation without spilling light everywhere else in the scene. The grid keeps the beam tight so you’re not accidentally lighting the rain curtain from the front, which would flatten it. The translucent cover softens the quality just enough for skin without losing the specular pop that a beauty dish gives you.
Beauty dish with grid shooting through translucent cover
A beauty dish with a grid, fired through a translucent cover, handles face separation without spilling light everywhere else in the scene. The grid keeps the beam tight so you’re not accidentally lighting the rain curtain from the front, which would flatten it. The translucent cover softens the quality just enough for skin without losing the specular pop that a beauty dish gives you.
This light is positioned front and slightly above, which gives the classic catchlight placement. The grid is doing the real work here. On a wet, complex set, spill control is everything. Every stray beam that hits a puddle or a reflective surface creates a problem you’re going to fix in post.
Step 5: Backlight the Rain from Camera Left
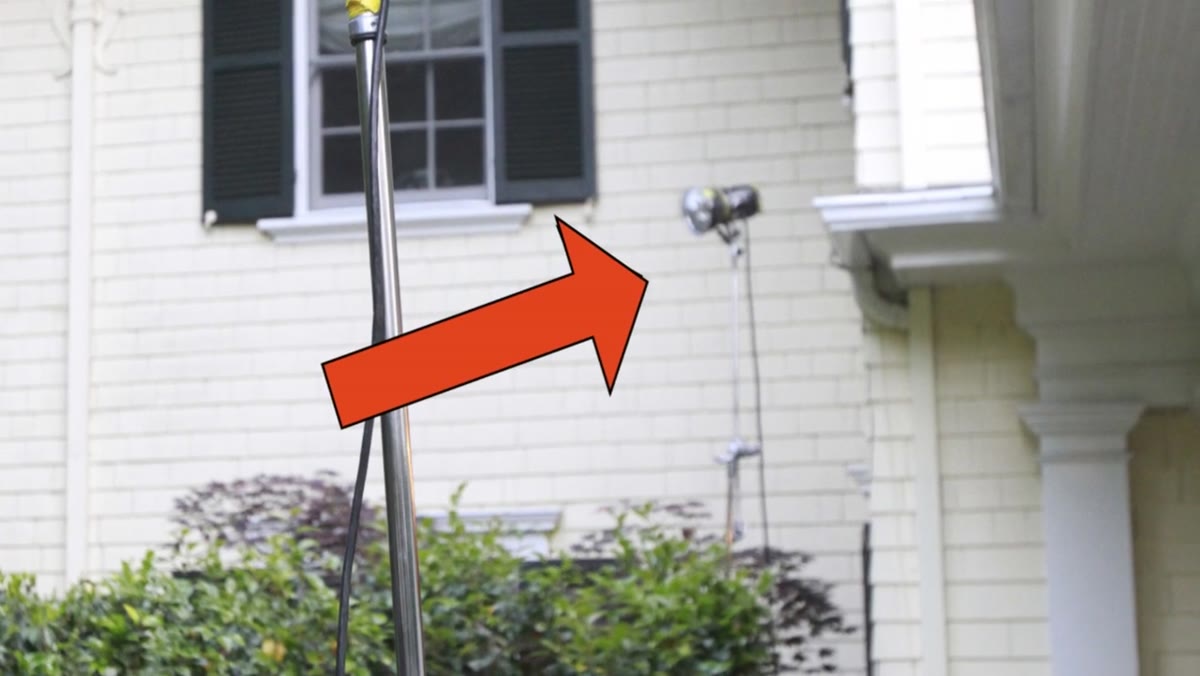 Strobe head with reflector aimed toward camera to backlight rain
Here’s where the rain becomes visible. A bare strobe head with a reflector is placed on camera left, angled toward the camera. Backlight is the only way water reads as water. Side light helps, front light kills it. The strobe is essentially treating the rain curtain like a translucent subject and lighting it from behind to create edge separation.
Strobe head with reflector aimed toward camera to backlight rain
Here’s where the rain becomes visible. A bare strobe head with a reflector is placed on camera left, angled toward the camera. Backlight is the only way water reads as water. Side light helps, front light kills it. The strobe is essentially treating the rain curtain like a translucent subject and lighting it from behind to create edge separation.
This is the same logic I apply when I’m lighting steam or smoke in the studio. Anything that’s partially transparent needs a backlit or rim source to become visible. Without it, you are literally shooting invisible water.
Step 6: Mirror the Backlight on Camera Right
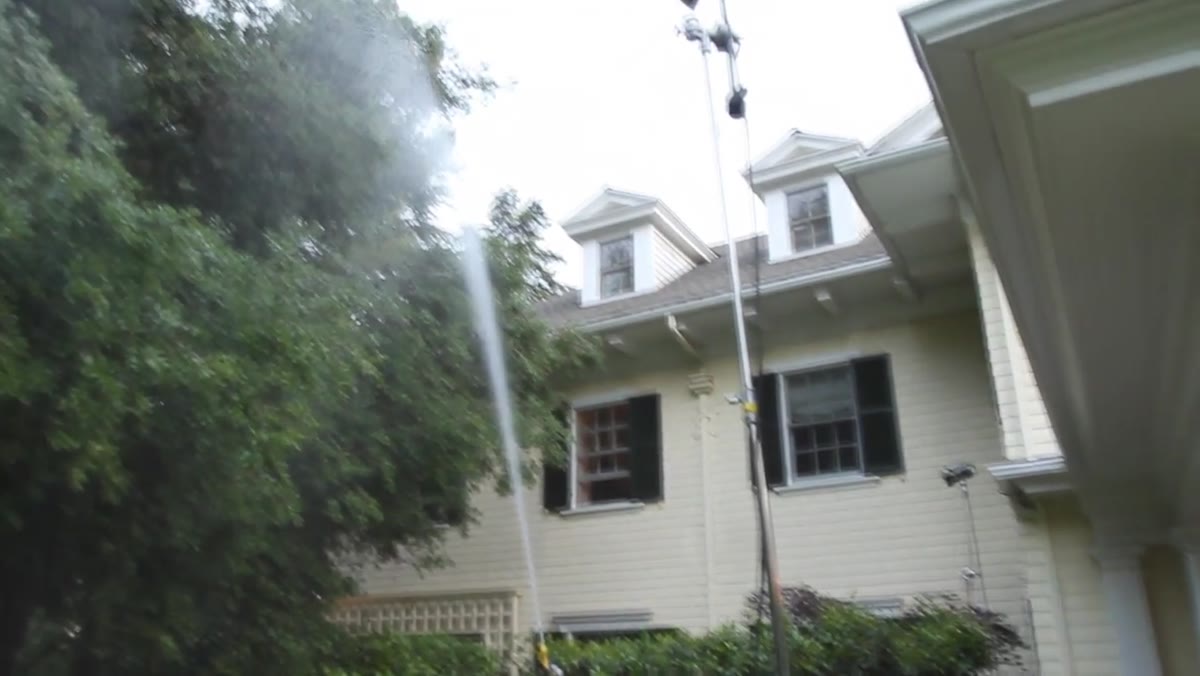 Second light stand placed camera right to backlight rain on opposite side
The tutorial adds a second backlight on camera right to illuminate the rain on that side of the frame. Because the ambient was dropping fast during the shoot, the team placed the light stand within the shot and planned to remove it in retouching. Morgan deliberately positioned it against a solid white background element to make the cleanup straightforward.
Second light stand placed camera right to backlight rain on opposite side
The tutorial adds a second backlight on camera right to illuminate the rain on that side of the frame. Because the ambient was dropping fast during the shoot, the team placed the light stand within the shot and planned to remove it in retouching. Morgan deliberately positioned it against a solid white background element to make the cleanup straightforward.
If you’re on a controlled set, you have more time to finesse this, but the principle holds: get the light in the right position first, worry about whether it’s in frame second. A technically correct light in the wrong spot doesn’t help you.
Step 7: Add Motivated Practical Lights to the Background
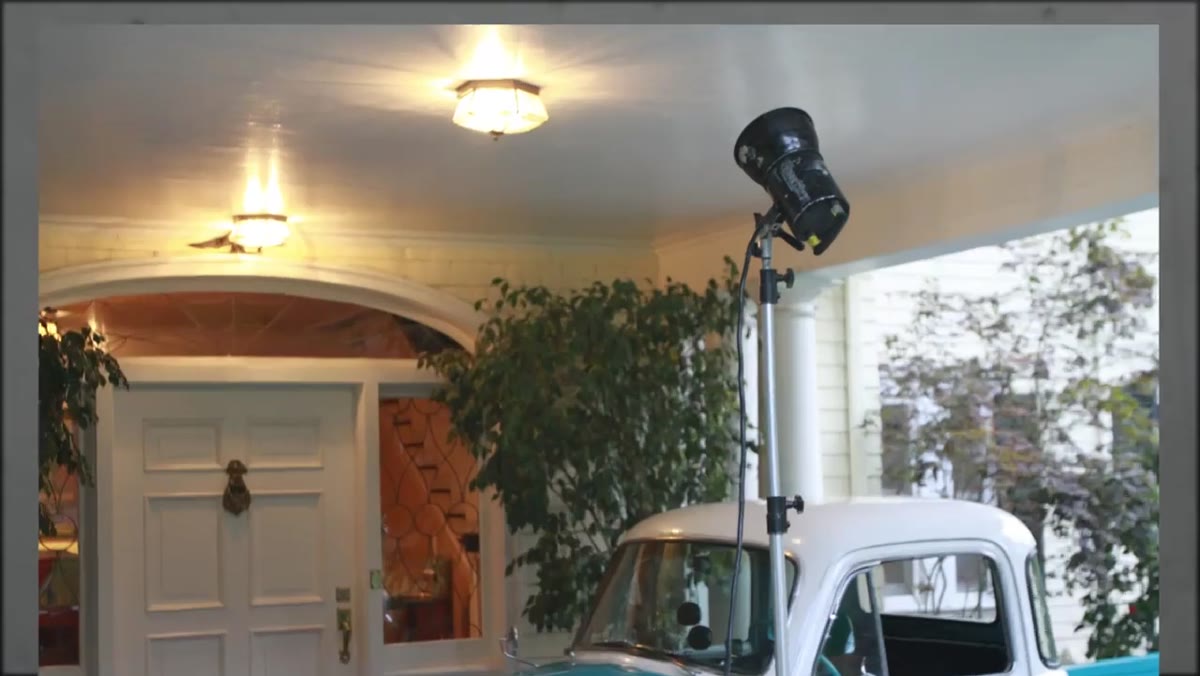 Background truck lit with overhead practical to simulate porch light
The background in this shoot included a truck that read as a dark, dead zone. Rather than leave it, the team added a light positioned to simulate a porch lamp or awning light, and then discussed adding a second source to mimic headlights. Both of these are motivated lights, meaning they have a believable real-world source within the scene.
Background truck lit with overhead practical to simulate porch light
The background in this shoot included a truck that read as a dark, dead zone. Rather than leave it, the team added a light positioned to simulate a porch lamp or awning light, and then discussed adding a second source to mimic headlights. Both of these are motivated lights, meaning they have a believable real-world source within the scene.
Motivated lights are what separate a technically competent studio image from one that feels like it actually happened somewhere. Every light you add should have an answer to the question: what would be producing this in real life?
What I’d Do Differently on a Controlled Studio Set
The outdoor conditions in the tutorial forced some fast decisions, particularly around ambient light dropping during the shoot. In a controlled studio environment, I’d replace the ambient fill with a large octabox on a boom, set to a lower power ratio, so I could dial the fill precisely rather than chase changing outdoor light. I’d also run the PVC rig off a small pump with a pressure valve rather than a garden hose, which gives you consistent flow throughout the shoot rather than pressure variation when someone adjusts the spigot.
One addition I’ve used in similar setups: a sheet of dark Duvateen on the floor behind the rain curtain. It absorbs the backlight instead of bouncing it forward, which keeps the rain looking more isolated and dramatic.
The single most important thing this tutorial teaches is that water is a lighting problem, not a rigging problem. Get your rig functional, then treat the rain as its own subject that needs its own backlight source. Everything else follows from that.
Watch the full tutorial on YouTube to see the full sequence and the final images, which are worth studying closely for how the rain layers into the overall composition.
Comments
Leave a Comment