
I’ve shot enough location work to know that “it looks strobe lit” is one of the worst things a client can say about a finished image. The subject is sharp, the exposure is right, and somehow the whole thing still looks fake. The light sits on top of the scene instead of inside it. For years I treated this as an ambient light problem, something to fix in post or avoid by shooting faster at dusk. Then I watched Jay P. Morgan work through this exact issue on a real job, and it reframed how I think about integrating artificial light with available light entirely.
In this The Slanted Lens tutorial, Watch the full tutorial on YouTube, Morgan returns to a food cart shoot he wasn’t satisfied with. The first attempt was technically competent but the strobe looked exactly like a strobe. He breaks down five specific things he changed on the second shoot to make the lighting feel motivated by the environment. Every point is actionable, and together they form a repeatable system you can apply anywhere you’re mixing strobes with practical or ambient light.
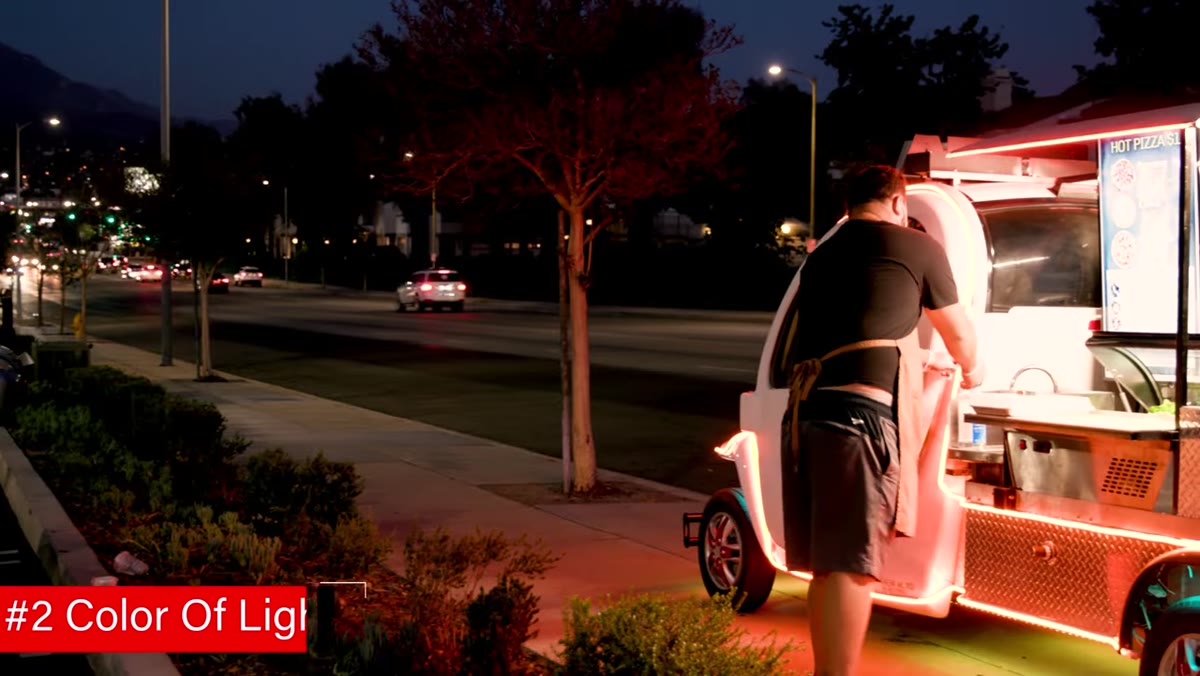
What makes this tutorial worth your time is that Morgan treats the scene as a balancing equation. The food cart’s neon signs hold steady at a fixed brightness. His strobes are dialed to match that level. The only variable is the sun, which drops through the usable window in roughly 10 to 15 minutes. That framing, thinking about light sources as values on a shared scale rather than independent elements, is the thing I wish someone had explained to me when I was starting out.
Step 1: Understand the Light Equation Before You Set Anything Up
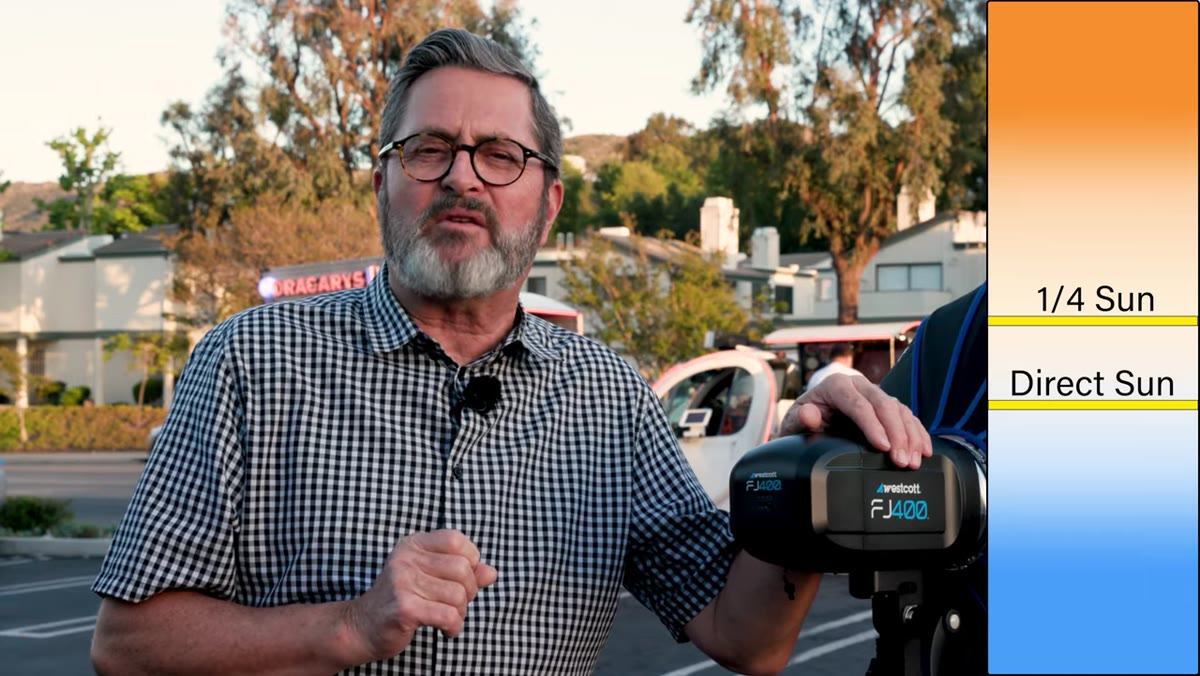
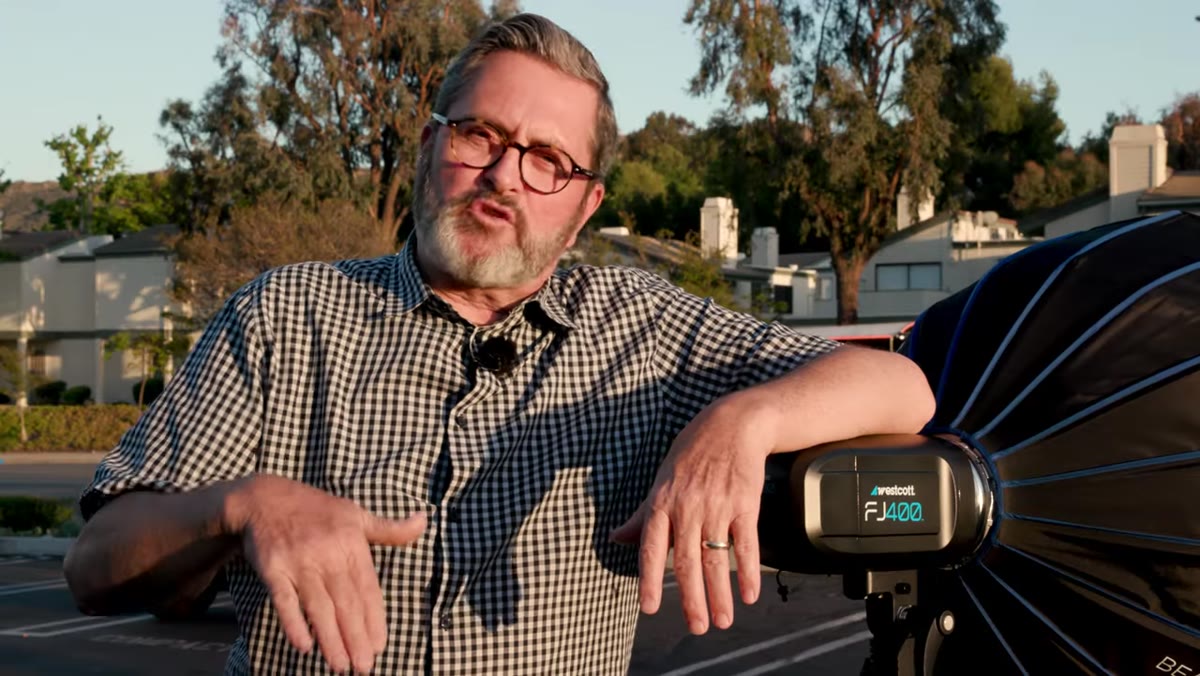 JP explaining the zero-to-ten ambient light intensity scale
Before you place a single light stand, map out what you’re working with. Assign rough brightness values to every light source in the scene: practicals, sky, streetlights, whatever exists. Morgan uses a simple zero-to-ten scale. His neon cart sits around a three. The goal is to get his strobes to that same level so both read as part of the same scene. The sun starts at ten and needs to fall to somewhere near three before the image will balance. Once you’ve built that mental picture, you know exactly when to shoot and what output level to aim for. This kind of pre-visualization saves you from chasing settings in the dark.
JP explaining the zero-to-ten ambient light intensity scale
Before you place a single light stand, map out what you’re working with. Assign rough brightness values to every light source in the scene: practicals, sky, streetlights, whatever exists. Morgan uses a simple zero-to-ten scale. His neon cart sits around a three. The goal is to get his strobes to that same level so both read as part of the same scene. The sun starts at ten and needs to fall to somewhere near three before the image will balance. Once you’ve built that mental picture, you know exactly when to shoot and what output level to aim for. This kind of pre-visualization saves you from chasing settings in the dark.
Step 2: Place Your Key Light on the Motivated Side
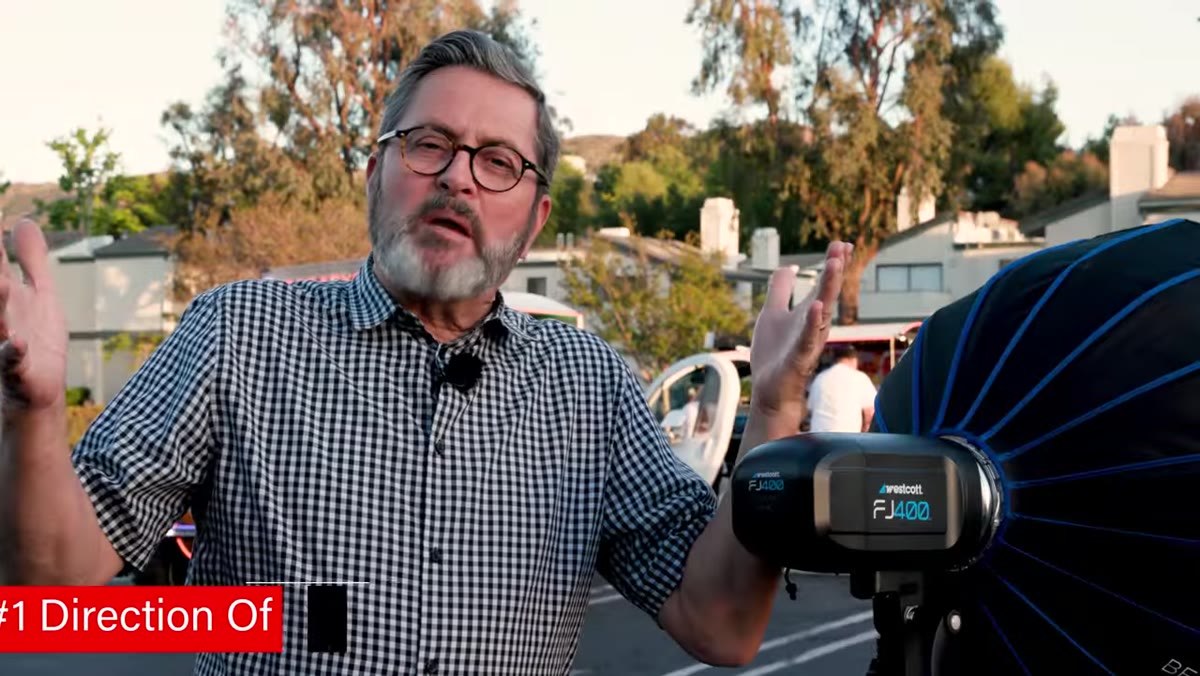 Morgan pointing to the right side of the frame where background lights sit
Look at where the brightest practical light source sits in your background. Your key light goes on that same side of the subject. This is not about physically matching the angle. The neon signs on a food cart cannot actually reach someone’s face from 20 feet away. But the viewer’s eye reads the scene spatially, and if there’s a bright source on the right of the frame, a key light hitting the subject from the right feels logical. The moment that directional logic breaks, the viewer senses something is off even if they can’t name it. Keep the motivation consistent and the image reads as coherent.
Morgan pointing to the right side of the frame where background lights sit
Look at where the brightest practical light source sits in your background. Your key light goes on that same side of the subject. This is not about physically matching the angle. The neon signs on a food cart cannot actually reach someone’s face from 20 feet away. But the viewer’s eye reads the scene spatially, and if there’s a bright source on the right of the frame, a key light hitting the subject from the right feels logical. The moment that directional logic breaks, the viewer senses something is off even if they can’t name it. Keep the motivation consistent and the image reads as coherent.
Step 3: Warm Your Strobe to Match the Scene’s Color Temperature
 Morgan placing a quarter CTO gel inside a beauty dish
A strobe firing at 5600K into a warm golden hour scene is going to look clinical and out of place. Morgan’s fix is modest: add a quarter CTO (quarter straw) gel to your key light. Not a half, not a full, just enough to take the edge off the daylight color temperature and shift it slightly toward the warmth in the background. The same logic applies in reverse. If you’re shooting in a cooler environment, nudge the strobe slightly blue. The goal is not to match exactly but to move in the same direction as the scene’s dominant color. When I ruined my first big editorial shoot years ago, it was because I never checked how my strobe’s color temperature read against the tungsten practicals on set. Every light I add to a scene now gets checked against what’s already there.
Morgan placing a quarter CTO gel inside a beauty dish
A strobe firing at 5600K into a warm golden hour scene is going to look clinical and out of place. Morgan’s fix is modest: add a quarter CTO (quarter straw) gel to your key light. Not a half, not a full, just enough to take the edge off the daylight color temperature and shift it slightly toward the warmth in the background. The same logic applies in reverse. If you’re shooting in a cooler environment, nudge the strobe slightly blue. The goal is not to match exactly but to move in the same direction as the scene’s dominant color. When I ruined my first big editorial shoot years ago, it was because I never checked how my strobe’s color temperature read against the tungsten practicals on set. Every light I add to a scene now gets checked against what’s already there.
Step 4: Use Rim Lights to Connect Subject to Background
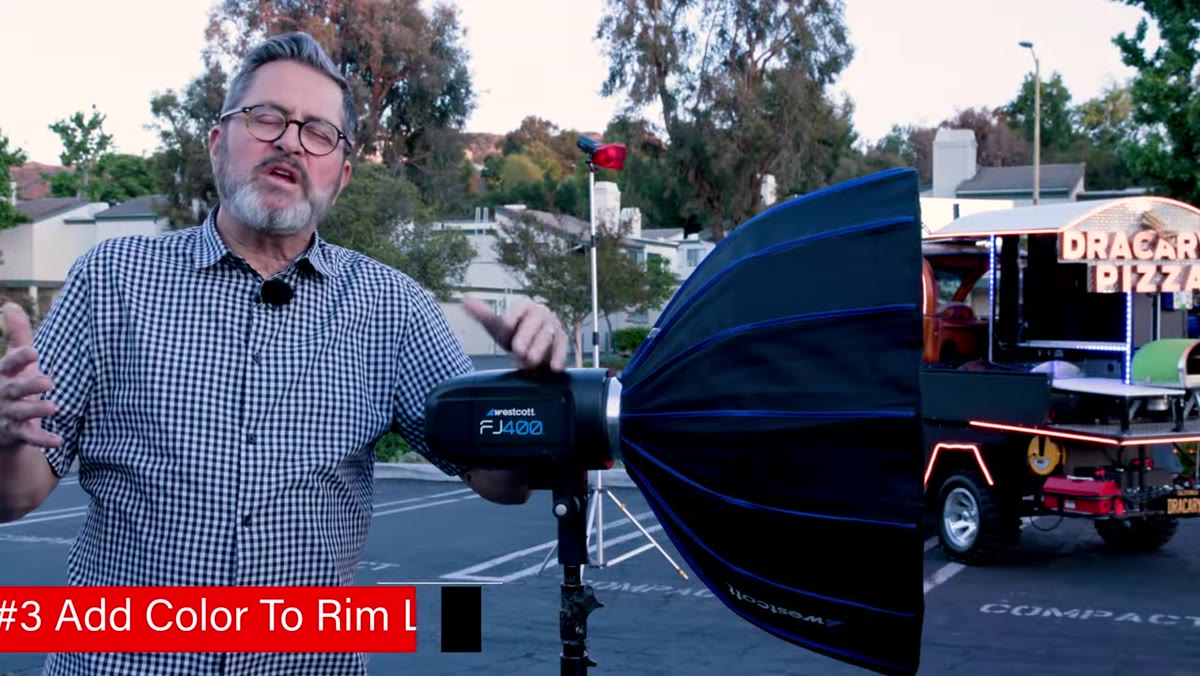 Morgan describing colored rim lights matching neon and sky
This is the step that does the most work. Rim lights placed behind the subject and colored to match the dominant hues in the background create a visual bridge between the person and the scene. Morgan uses a warm rim on the side facing the neon cart and a cooler, bluer rim on the opposite side to echo the sky. Neither of those rims is doing anything dramatic. They’re subtle edge separators that make the subject look like they’re being touched by the light that already exists in the frame. Strip the rim lights out and the subject floats. Put them in and they’re anchored. I keep a set of colored gels rolled and banded in my kit at all times specifically for this. Even a quarter blue or quarter CTO on a rim light makes a noticeable difference.
Morgan describing colored rim lights matching neon and sky
This is the step that does the most work. Rim lights placed behind the subject and colored to match the dominant hues in the background create a visual bridge between the person and the scene. Morgan uses a warm rim on the side facing the neon cart and a cooler, bluer rim on the opposite side to echo the sky. Neither of those rims is doing anything dramatic. They’re subtle edge separators that make the subject look like they’re being touched by the light that already exists in the frame. Strip the rim lights out and the subject floats. Put them in and they’re anchored. I keep a set of colored gels rolled and banded in my kit at all times specifically for this. Even a quarter blue or quarter CTO on a rim light makes a noticeable difference.
Step 5: Control Your Key Light’s Spill with a Grid
 Beauty dish with grid mounted on stand at the cart location
Morgan uses a beauty dish with a grid for his key light, and the reason matters. Without a grid, the light spreads and wraps around the subject, potentially spilling onto legs, the ground, or the background. That spill creates light where the motivation doesn’t justify it. A grid keeps the output directional and concentrated on the face, which is where the viewer’s eye goes first. If part of your frame shouldn’t be lit by your strobe, a grid is the most efficient way to make sure it isn’t. For outdoor work especially, spill control is the difference between a clean composite-looking image and one that reads as a properly lit photograph.
Beauty dish with grid mounted on stand at the cart location
Morgan uses a beauty dish with a grid for his key light, and the reason matters. Without a grid, the light spreads and wraps around the subject, potentially spilling onto legs, the ground, or the background. That spill creates light where the motivation doesn’t justify it. A grid keeps the output directional and concentrated on the face, which is where the viewer’s eye goes first. If part of your frame shouldn’t be lit by your strobe, a grid is the most efficient way to make sure it isn’t. For outdoor work especially, spill control is the difference between a clean composite-looking image and one that reads as a properly lit photograph.
What I’d Add From My Own Experience
Morgan shoots this at golden hour with a natural time constraint forcing the decision. In my studio work and controlled location shoots, I recreate that constraint artificially by setting a target exposure range in advance and refusing to adjust the camera to compensate for light imbalances. Instead, I adjust the lights. It keeps me honest about whether the scene is actually balanced or whether I’m just masking a mismatch with a faster shutter or wider aperture.
I’d also push harder on the rim light step than Morgan does in the tutorial. On beauty and fashion work, those colored rims are doing as much to define the subject’s shape as the key light is. I sketch every rim placement in my lighting journal before a shoot so I’m not making those decisions under pressure. When you’re watching the sun drop and have 10 minutes to get the shot, you want every other variable already solved.
The single most important thing this tutorial teaches is that integrated lighting is not about power, it’s about matching the scene’s logic. Direction, color temperature, and motivated placement. Get those three things working together and the viewer stops asking how you lit it and starts believing they’re just looking at a great photograph.
Watch the full tutorial on YouTube to see Morgan work through the full shoot in real time, including how he reads the changing sky and decides exactly when to start firing.
Comments (5)
Printing this out and pinning it next to my monitor. That good.
Never thought of approaching it this way. Really creative.
Great article! I actually covered something related on my site — the compositing angle is really complementary to this.
Quality content like this is rare. Keep it up.
Couldn't agree more. I've seen this make a huge difference in photography work specifically.
Leave a Comment