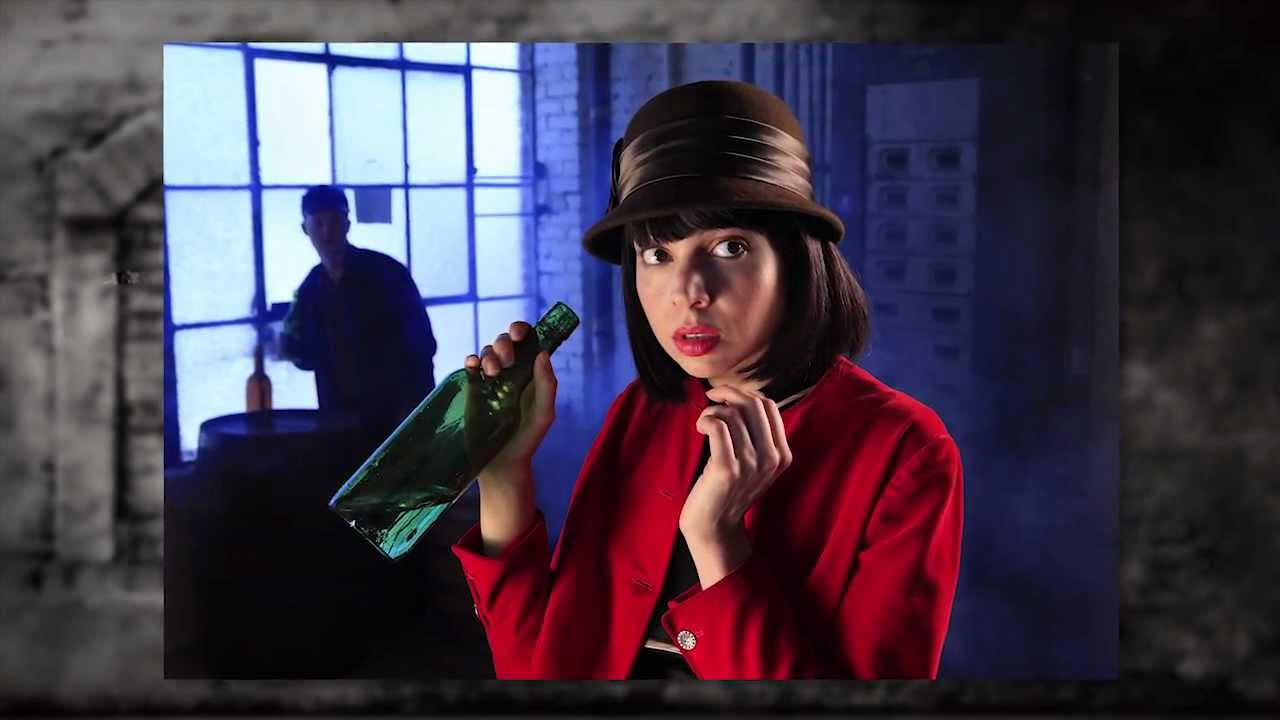
There’s a specific kind of panic that hits when you’re on a set and the light outside is doing something beautiful but completely wrong for your shot. I’ve been there more than once, staring at warm afternoon window light pouring across a scene that was supposed to feel cold and cinematic. For years, I treated that as a problem to fix in post. Then I started understanding white balance not as a correction tool, but as a creative weapon.
Watch the full tutorial on YouTube
In this The Slanted Lens tutorial, Jay P. Morgan walks through a technique that turns ordinary daylight into convincing moonlight by exploiting the gap between color temperatures. The setup is built around a 1920s speakeasy concept, complete with period costuming and a silhouetted figure in the background. It looks expensive. The actual mechanics behind it are not. This is the kind of tutorial I wish I’d had early in my career, because the underlying principle rewires how you think about mixed light on set.
Step 1: Set Your Camera to Tungsten White Balance
 Camera white balance being shifted from daylight to tungsten
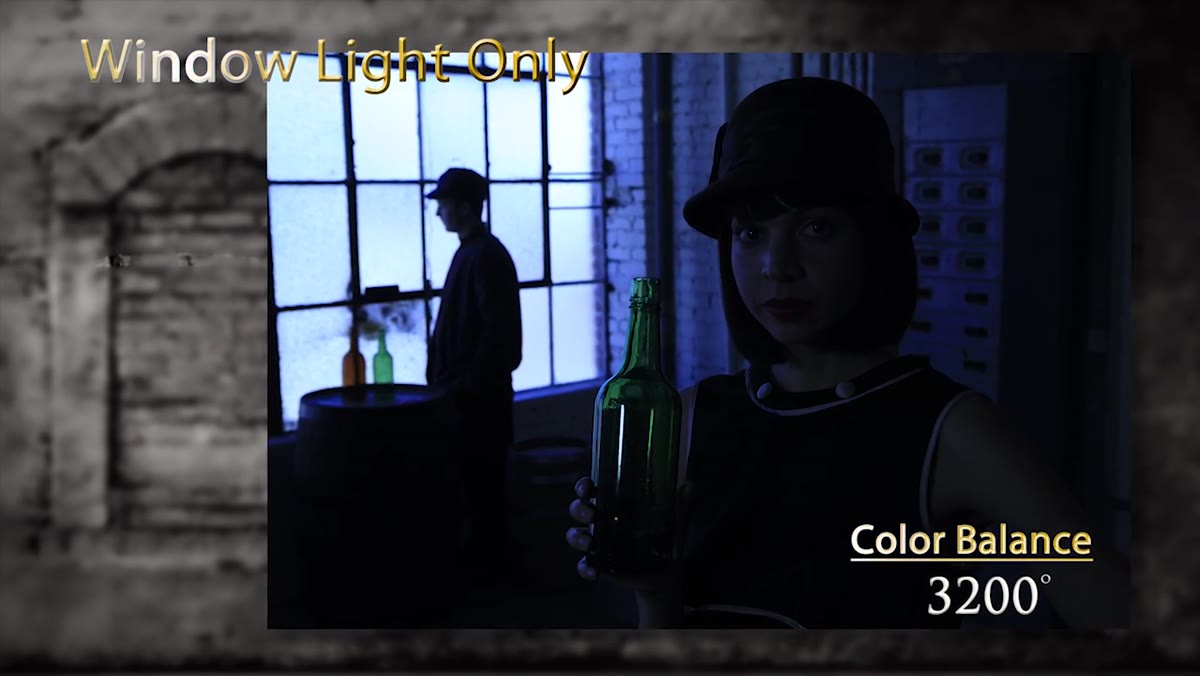
The entire technique starts with a single camera setting. Instead of leaving your white balance at daylight (around 5,500K), you shift it down to tungsten, which sits at roughly 3,200K. What this does is tell the camera that the neutral point is warm. Anything cooler than 3,200K, including sunlight coming through a window, will render as blue. Suddenly your daylight background looks like it’s lit by the moon.
Camera white balance being shifted from daylight to tungsten
The entire technique starts with a single camera setting. Instead of leaving your white balance at daylight (around 5,500K), you shift it down to tungsten, which sits at roughly 3,200K. What this does is tell the camera that the neutral point is warm. Anything cooler than 3,200K, including sunlight coming through a window, will render as blue. Suddenly your daylight background looks like it’s lit by the moon.
This isn’t a post-processing trick applied after the fact. You’re baking the effect into your capture, which means every lighting decision you make from here has to account for the shifted baseline. I write the white balance setting on a strip of masking tape and stick it to my camera body when I’m doing this. Sounds fussy, but it prevents the very avoidable mistake of shooting 300 frames at the wrong balance and discovering it on your laptop at midnight.
Step 2: Let the Window Light Become Your Background “Moon”
 Window light rendering blue at tungsten white balance setting
Once the camera is set to tungsten, the sunlight streaming through the windows shifts to a deep, cool blue in your frame. You don’t need to gel the windows. You don’t need to add a blue light to the background. The camera’s calibration does the work for you. This becomes your first light in the build, and its job is purely atmospheric. It creates the illusion of moonlight or a cold exterior source without a single extra fixture.
Window light rendering blue at tungsten white balance setting
Once the camera is set to tungsten, the sunlight streaming through the windows shifts to a deep, cool blue in your frame. You don’t need to gel the windows. You don’t need to add a blue light to the background. The camera’s calibration does the work for you. This becomes your first light in the build, and its job is purely atmospheric. It creates the illusion of moonlight or a cold exterior source without a single extra fixture.
The key discipline here is restraint. Let the background breathe. The silhouetted figure in the tutorial works precisely because the photographer resisted the urge to fill in every shadow. The blue window light reads as a separate world behind the subject, and that separation sells the whole concept.
Step 3: Add a Rim Light and Gel It to Match Tungsten
 Rim light positioned camera right with CTO gel attached
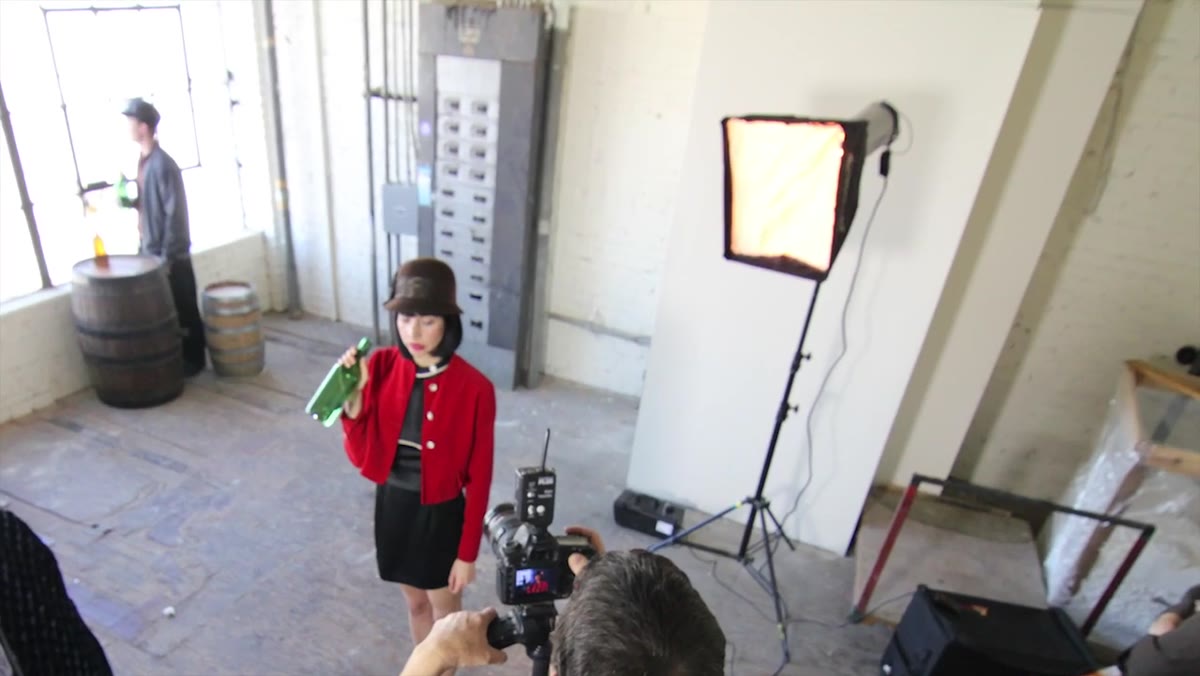
Your strobes are balanced at around 6,000K from the factory. If you fire them without correction, they’ll render slightly cool against your 3,200K baseline, which will look wrong. To bring them into alignment with tungsten, you put a full CTO gel (orange) on each strobe. A full CTO drops a 6,000K strobe down to approximately 3,200K, matching your camera’s balance. The result is that your strobe-lit subject looks naturally lit while the window background stays blue.
Rim light positioned camera right with CTO gel attached
Your strobes are balanced at around 6,000K from the factory. If you fire them without correction, they’ll render slightly cool against your 3,200K baseline, which will look wrong. To bring them into alignment with tungsten, you put a full CTO gel (orange) on each strobe. A full CTO drops a 6,000K strobe down to approximately 3,200K, matching your camera’s balance. The result is that your strobe-lit subject looks naturally lit while the window background stays blue.
The rim light gets positioned camera right and is panned deliberately away from the background. This is an important detail. You want the edge of the subject defined, but you do not want that strobe spilling onto your blue background and warming it up. The silhouette of the figure behind the subject needs to stay dark and cool. Pan the head, flag it if you have to. Protect your background.
Step 4: Set a Low Key Light on the Subject’s Face
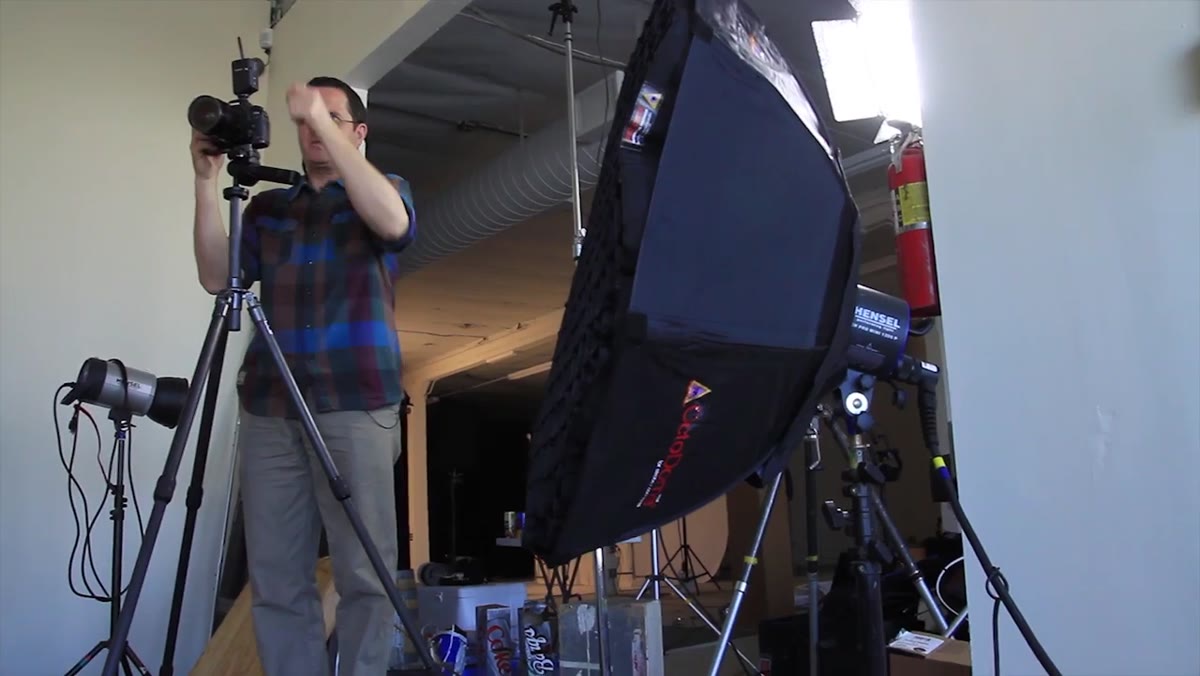 Key light positioned low, aimed upward at subject’s face
The key light here is placed low, below the subject’s eyeline, and aimed upward. In the context of the speakeasy concept, this mimics the quality of a candle or a lamp sitting on a table. It creates shadow movement across the face that reads as period-appropriate and slightly unsettling in the best way. For a different concept, a low key light can just as easily suggest firelight, street light, or a practical source just out of frame.
Key light positioned low, aimed upward at subject’s face
The key light here is placed low, below the subject’s eyeline, and aimed upward. In the context of the speakeasy concept, this mimics the quality of a candle or a lamp sitting on a table. It creates shadow movement across the face that reads as period-appropriate and slightly unsettling in the best way. For a different concept, a low key light can just as easily suggest firelight, street light, or a practical source just out of frame.
Like the rim light, this fixture also gets a full CTO gel and is panned away from the background to keep the silhouette clean. Your camera settings at this point should be calibrated to expose correctly for the gelled lights on your subject. The background will likely be underexposed relative to your subject, which is exactly what you want. The ratio between the lit subject and the blue background window is what creates the depth.
Step 5: Apply the Same Logic to Video
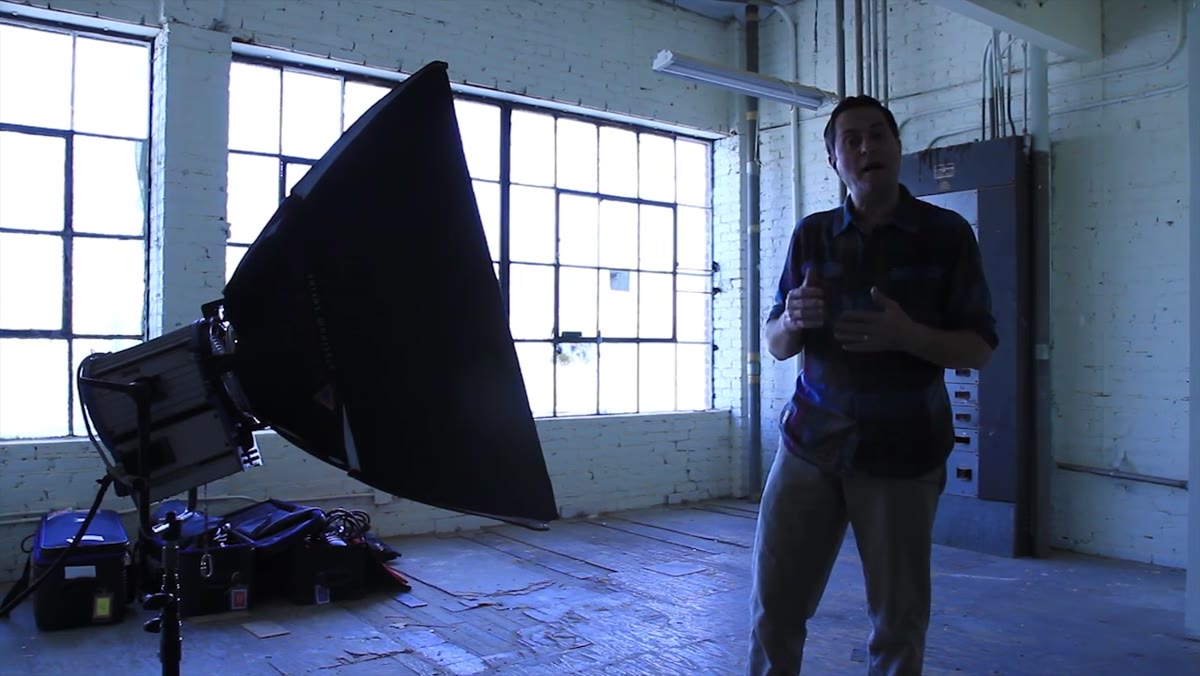 Tungsten video light on subject with blue window background visible
The translation to video is nearly identical. Set the camera to 3,200K, use tungsten continuous lights on your subject (no gels needed if your lights are already tungsten-balanced), and let the daylight windows go blue in the background. The color contrast reads just as well on video as it does in stills, and you get the same atmospheric separation without any additional equipment.
Tungsten video light on subject with blue window background visible
The translation to video is nearly identical. Set the camera to 3,200K, use tungsten continuous lights on your subject (no gels needed if your lights are already tungsten-balanced), and let the daylight windows go blue in the background. The color contrast reads just as well on video as it does in stills, and you get the same atmospheric separation without any additional equipment.
The operational difference with video is that you’re committing. You can’t change white balance per frame in post the way you can batch-process RAW stills. Make sure your tungsten lights are properly balanced to your camera setting before you roll.
Step 6: Consider Using a Mirror as a Reflective Key Source
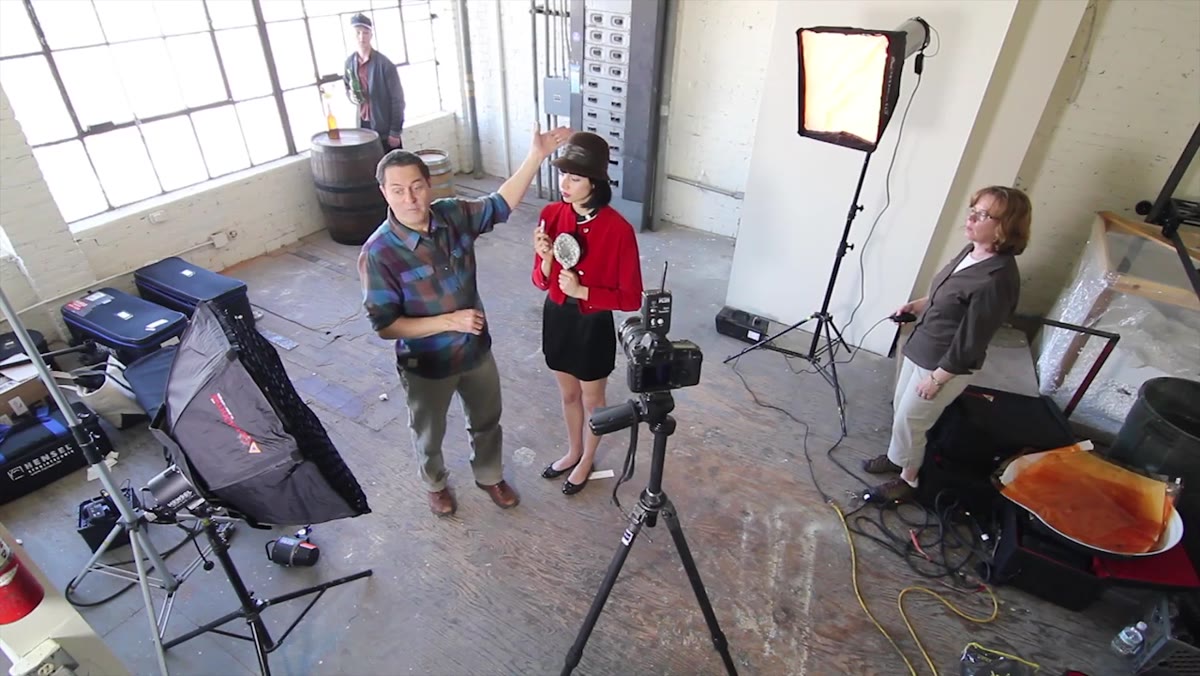 Mirror reflecting rim light back onto subject’s face
One variation shown in the tutorial uses a mirror to redirect the rim light back onto the subject’s face instead of adding a separate key light. When the subject looks into the mirror, the soft box or strobe reflection becomes the visible light source in the frame. It’s a cleaner, more minimal setup that produces a motivated light, meaning the light appears to have a logical source within the scene rather than appearing to come from nowhere.
Mirror reflecting rim light back onto subject’s face
One variation shown in the tutorial uses a mirror to redirect the rim light back onto the subject’s face instead of adding a separate key light. When the subject looks into the mirror, the soft box or strobe reflection becomes the visible light source in the frame. It’s a cleaner, more minimal setup that produces a motivated light, meaning the light appears to have a logical source within the scene rather than appearing to come from nowhere.
I’ve used this approach on smaller sets where rigging a second light wasn’t practical. A mirror gives you a second point of control without a second cable run or a second stand eating up floor space.
What I’d Add From My Own Experience
The post-processing step in the tutorial involves dialing in some grain and grit using Nik Color Efex Pro, then masking the effect back off the subject’s face so the detail reads clearly. I do something similar, but I’d caution against leaning too hard on texture filters before you’ve confirmed the color render is right. In my early commercial work, I learned the expensive way that a heavy-handed filter can mask a color balance problem rather than fix it. Calibrate the light correctly in camera first, then add texture in post as a finishing layer, not a rescue operation. The technique this tutorial teaches is precise enough that you should be able to get the look right at capture.
The single most important concept here is this: white balance is not just a technical correction, it’s a lighting decision. By choosing tungsten balance on a daylight set, you’re effectively adding a blue gel to every natural light source in the frame simultaneously. Once you internalize that, a whole category of cinematic looks becomes accessible without additional fixtures.
Watch the full tutorial on YouTube to see the full lighting build and the final images side by side with the daylight-balanced comparison frames. The difference is stark, and seeing it in motion makes the logic click faster than any diagram.
Comments
Leave a Comment