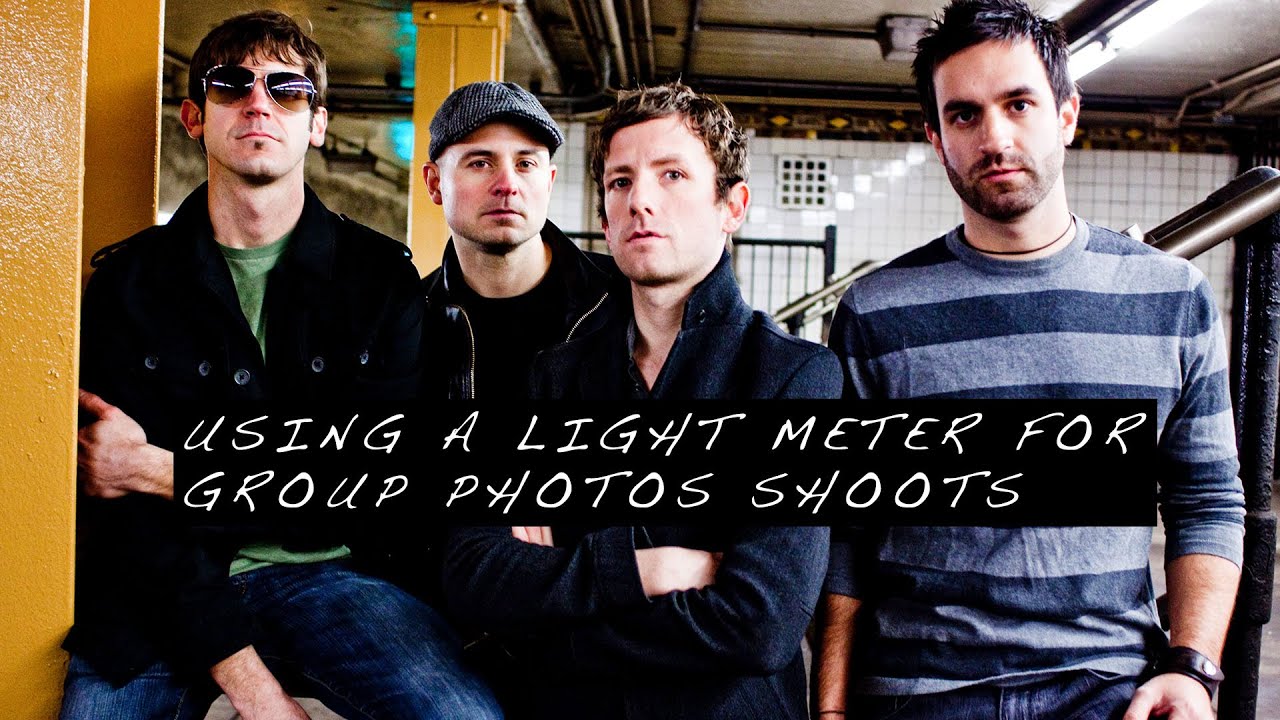
Group shoots used to expose a fault in my workflow I didn’t want to admit. I’d meter one subject, lock in my settings, and assume the light was consistent across the frame. It wasn’t. The person standing two feet to the left was half a stop darker, and I’d only find out in post when the client was already reviewing selects. It took embarrassingly long to build a proper metering habit, and even longer to understand why my studio’s walls and my white balance choices were compounding the problem. Watch the full tutorial on YouTube
In this Daniel Norton Photographer tutorial, three of the most commonly asked questions about studio lighting get answered in tight, practical terms. Norton is a New York-based commercial photographer and the kind of teacher who gets straight to the technique without padding. What I want to do here is slow each answer down, add context from my own commercial work, and give you something you can actually apply the next time you’re standing in front of a strobe with a meter in your hand.
Step 1: Understand What a Light Meter Is Actually For
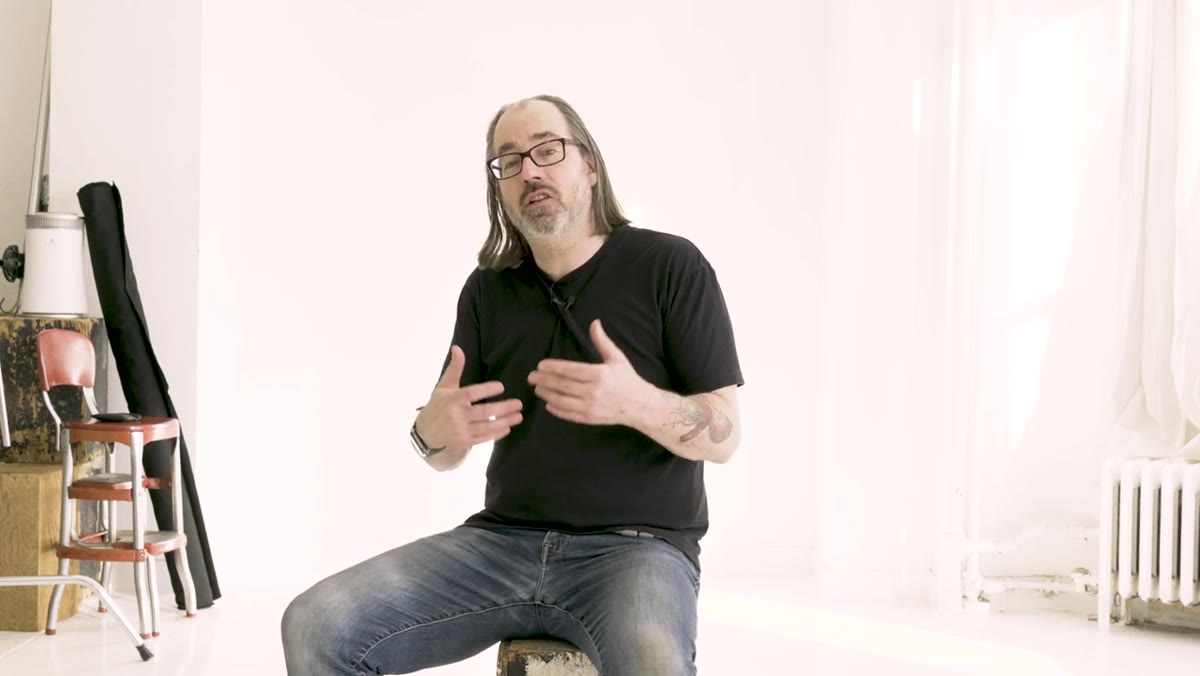 Daniel holding a light meter up near his face
Most photographers who use a meter use it wrong. They walk up to a subject, take one reading at chin level, and call it done. The meter isn’t just a tool for setting your exposure. It’s a diagnostic tool. The real value is that it tells you what the light is doing across an entire space, not just at one point. A single reading confirms your base exposure. Multiple readings reveal the shape and consistency of your light.
Daniel holding a light meter up near his face
Most photographers who use a meter use it wrong. They walk up to a subject, take one reading at chin level, and call it done. The meter isn’t just a tool for setting your exposure. It’s a diagnostic tool. The real value is that it tells you what the light is doing across an entire space, not just at one point. A single reading confirms your base exposure. Multiple readings reveal the shape and consistency of your light.
Before you bring anyone into frame, you should already know whether your light falls off by a third of a stop or a full stop from one side of your set to the other. That information changes decisions you’d otherwise make blind.
Step 2: Meter Each Subject Individually in Group Setups
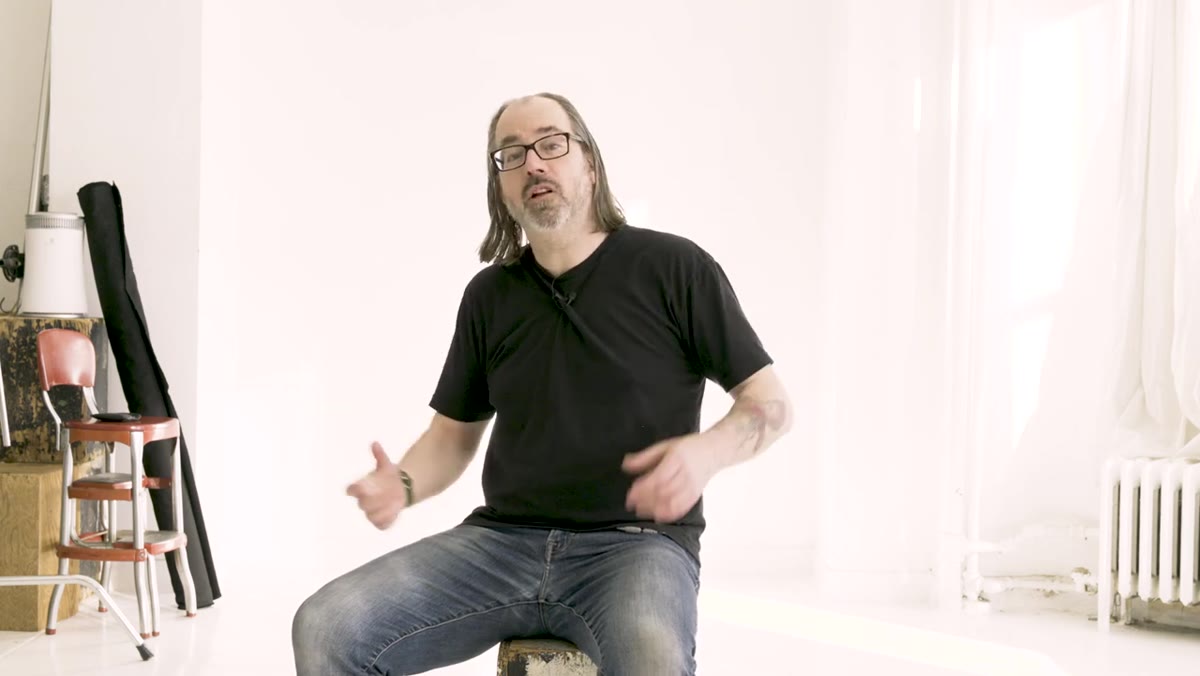 Norton walking toward camera position, demonstrating where to meter
When I’m shooting a group of three or four people, I take a reading in front of each person’s face, pointing the dome back toward the camera position. I’m looking for consistency. If one subject reads f/8 and another reads f/5.6, that’s a one-stop difference that will show up clearly in the final image, and it’s a problem I need to solve before I shoot a single frame.
Norton walking toward camera position, demonstrating where to meter
When I’m shooting a group of three or four people, I take a reading in front of each person’s face, pointing the dome back toward the camera position. I’m looking for consistency. If one subject reads f/8 and another reads f/5.6, that’s a one-stop difference that will show up clearly in the final image, and it’s a problem I need to solve before I shoot a single frame.
The goal is to get all subjects as close to the same reading as possible. If someone is reading darker, you have two practical options. You can repose them to bring them closer to the main light, or you can move the light source further back from the entire group. Moving the light back leverages the inverse square law, which compresses the ratio between the brighter and darker positions. A softbox that’s ten feet from your set will produce more even coverage across a wider group than the same softbox at five feet, even though the falloff feels counterintuitive at first.
Step 3: Know Why Your Studio Color Affects Light Control
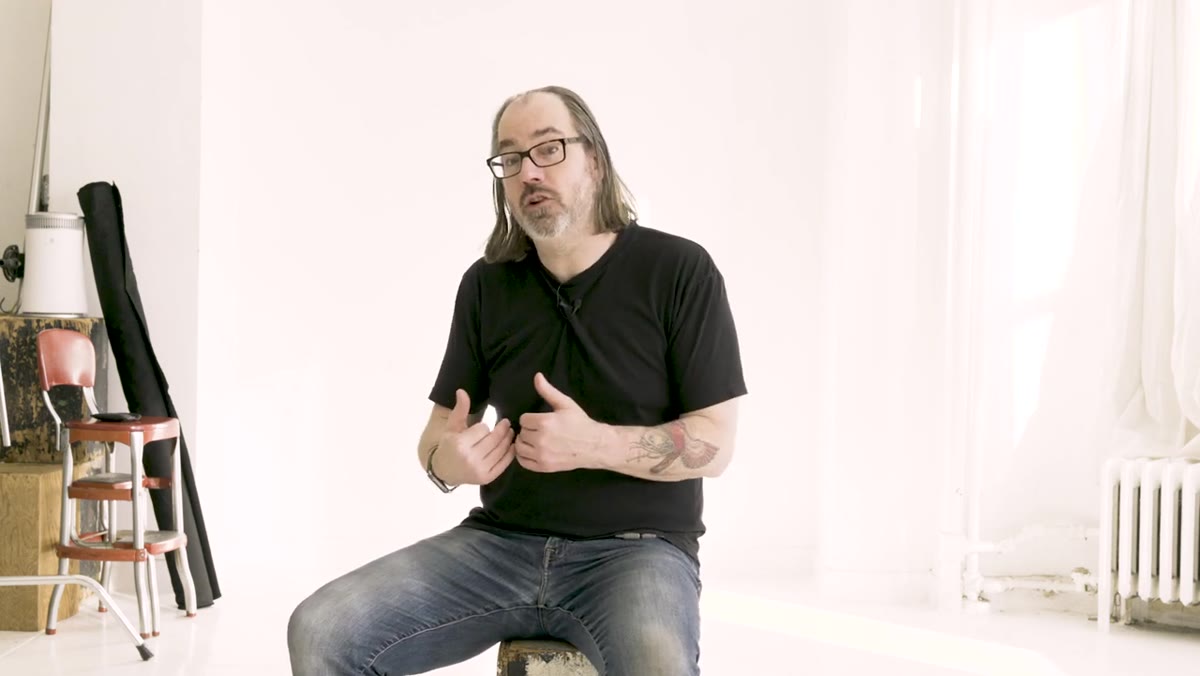 Wide shot of Norton’s white-walled studio with windows visible
Norton’s studio has white walls, and he’s upfront about why that matters for how you interpret the light in it. White walls bounce light. They fill shadows, wrap around subjects, and amplify whatever source you’re using. For natural light studios, that’s largely the point. The reflected daylight from those walls becomes a soft, omnidirectional fill that makes the space easy to shoot in without any additional gear.
Wide shot of Norton’s white-walled studio with windows visible
Norton’s studio has white walls, and he’s upfront about why that matters for how you interpret the light in it. White walls bounce light. They fill shadows, wrap around subjects, and amplify whatever source you’re using. For natural light studios, that’s largely the point. The reflected daylight from those walls becomes a soft, omnidirectional fill that makes the space easy to shoot in without any additional gear.
But that same bounce is working against you when you want precise, controlled light from a strobe. Every surface in a white studio is a secondary light source once your strobe fires. I have a corner of my own studio painted a medium neutral gray specifically for product work where I need to see contrast clearly without stray fill muddying the shadows. If you’re shooting jewelry, precision products, or anything where shadow detail is critical, a darker neutral wall is not a strange choice. It’s a deliberate one. Whatever color you choose, the rule is the same: keep it as neutral as possible. No eggshell, no warm white, no cool white. A color cast in your walls is a color cast in your images.
Step 4: Set White Balance Based on Which Light Source Is Dominant
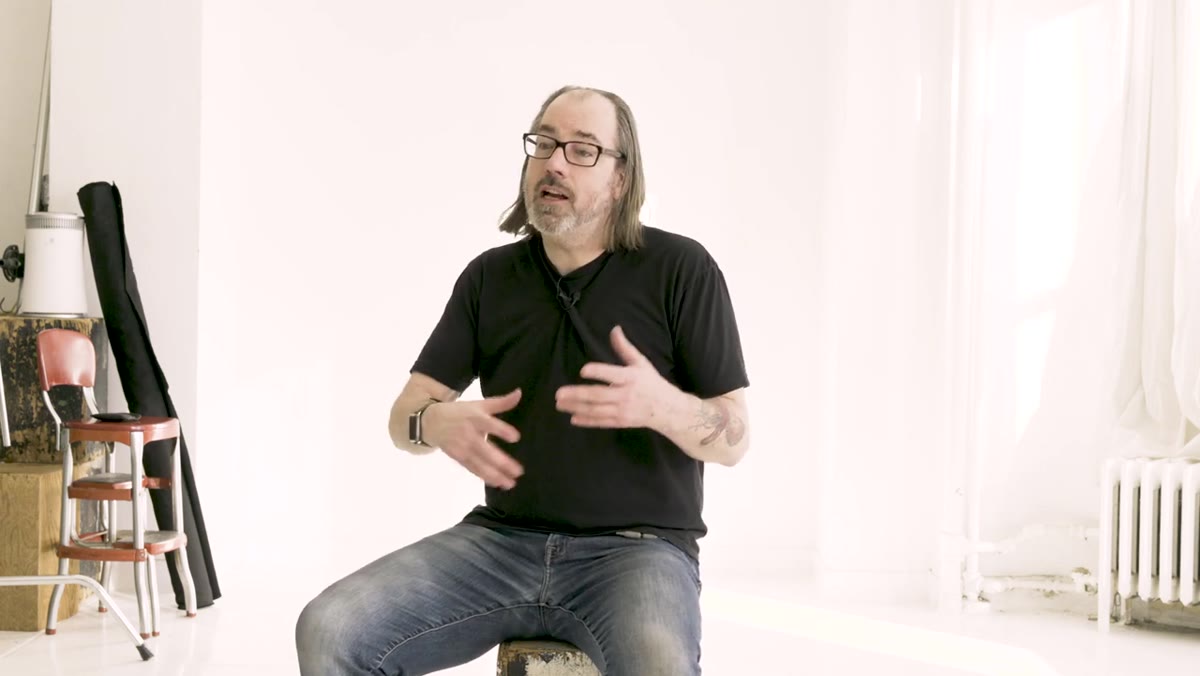 Norton adjusting camera, discussing outdoor flash and daylight
White balance becomes a real question the moment you mix flash and daylight, and the answer depends on which source is doing more of the work. Flash is spectrally close to midday daylight. Both fall in the 5500 to 6000 Kelvin range. That proximity means that when you’re using flash as a fill outdoors in broad daylight, leaving your camera on a daylight white balance preset is entirely reasonable. The flash and the ambient are close enough that any mismatch is minor and easily corrected in post.
Norton adjusting camera, discussing outdoor flash and daylight
White balance becomes a real question the moment you mix flash and daylight, and the answer depends on which source is doing more of the work. Flash is spectrally close to midday daylight. Both fall in the 5500 to 6000 Kelvin range. That proximity means that when you’re using flash as a fill outdoors in broad daylight, leaving your camera on a daylight white balance preset is entirely reasonable. The flash and the ambient are close enough that any mismatch is minor and easily corrected in post.
The calculation shifts when flash becomes your primary source and ambient daylight becomes secondary or is being suppressed entirely. If you’re shooting an end-of-day portrait, killing the ambient with a fast shutter speed and letting flash carry the exposure, then setting your white balance to flash makes more sense because that’s actually what’s illuminating your subject.
Step 5: Use the Mixed-Light Color Contrast Creatively, Not Just Technically
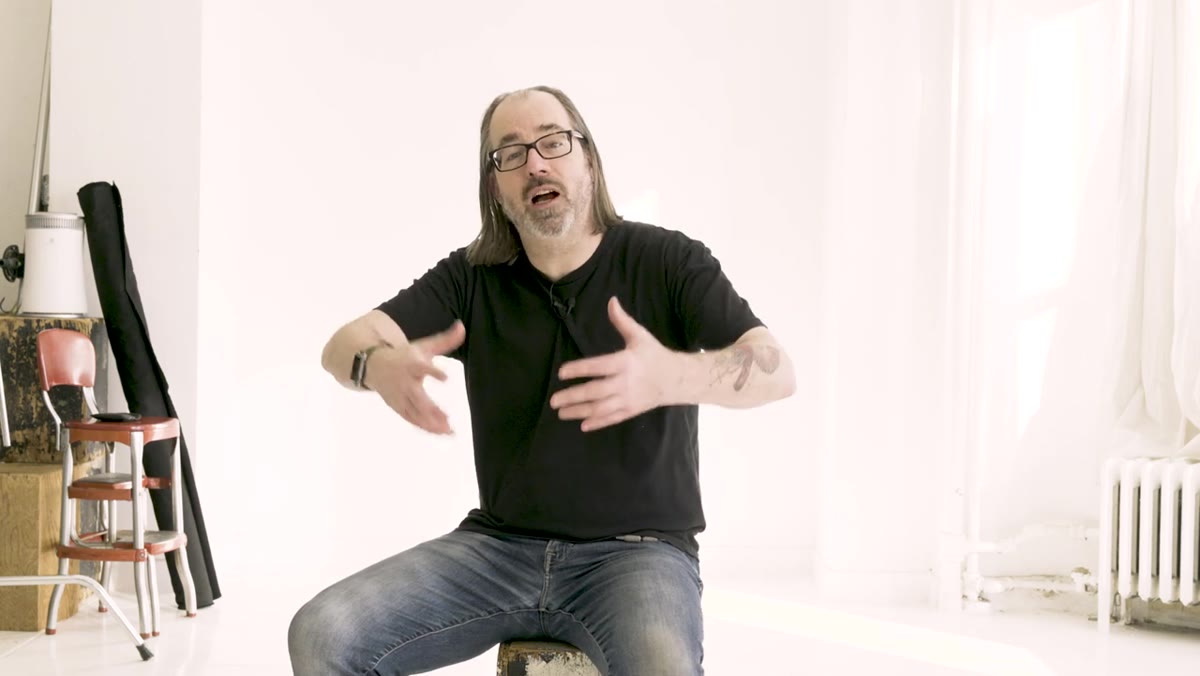 Norton explaining sunset flash mixing and color temperature contrast
Here’s the part of Norton’s tutorial that I think photographers skip over too quickly. When you’re shooting at golden hour and using flash as your main light, your flash will read slightly cooler than the warm ambient behind the subject. If your white balance is set to daylight, that contrast is preserved. The warm sunset becomes a backdrop tone, and the flash-lit subject reads slightly cooler by comparison. That separation is not a mistake. It’s a look.
Norton explaining sunset flash mixing and color temperature contrast
Here’s the part of Norton’s tutorial that I think photographers skip over too quickly. When you’re shooting at golden hour and using flash as your main light, your flash will read slightly cooler than the warm ambient behind the subject. If your white balance is set to daylight, that contrast is preserved. The warm sunset becomes a backdrop tone, and the flash-lit subject reads slightly cooler by comparison. That separation is not a mistake. It’s a look.
I’ve used this deliberately on editorial portraits. A daylight white balance plus a non-gelled flash at dusk gives you a naturally warm-to-cool separation without any post work. If you want to amplify it, add a quarter or half CTO gel to your background light and leave the flash on your subject clean. The difference reads as cinematic on skin tones, especially in beauty work.
One Thing Norton’s Tutorial Didn’t Cover (That I’d Add)
Shoot a color calibration target for the first frame of every new setup, not just for high-stakes commercial jobs. I ruined a full editorial session early in my career by discovering in post that my strobes and the window light behind me were fighting each other by nearly 400 Kelvin. I had no reference frame to correct from. Now I keep an X-Rite ColorChecker card on my equipment cart and I use it every time the light source combination changes, even for test shots. It takes five seconds and it gives you an anchor point that no amount of eyeballing your histogram will replace.
The single most useful takeaway from this tutorial is that your light meter is a spatial diagnostic tool, not a one-click setting device. Use it to map the light across your entire scene before you commit to an exposure, and you’ll catch problems that post-processing cannot fix. Watch the full tutorial on YouTube and listen to how quickly Norton frames each of these points. The brevity is instructional in itself.
Comments
Leave a Comment