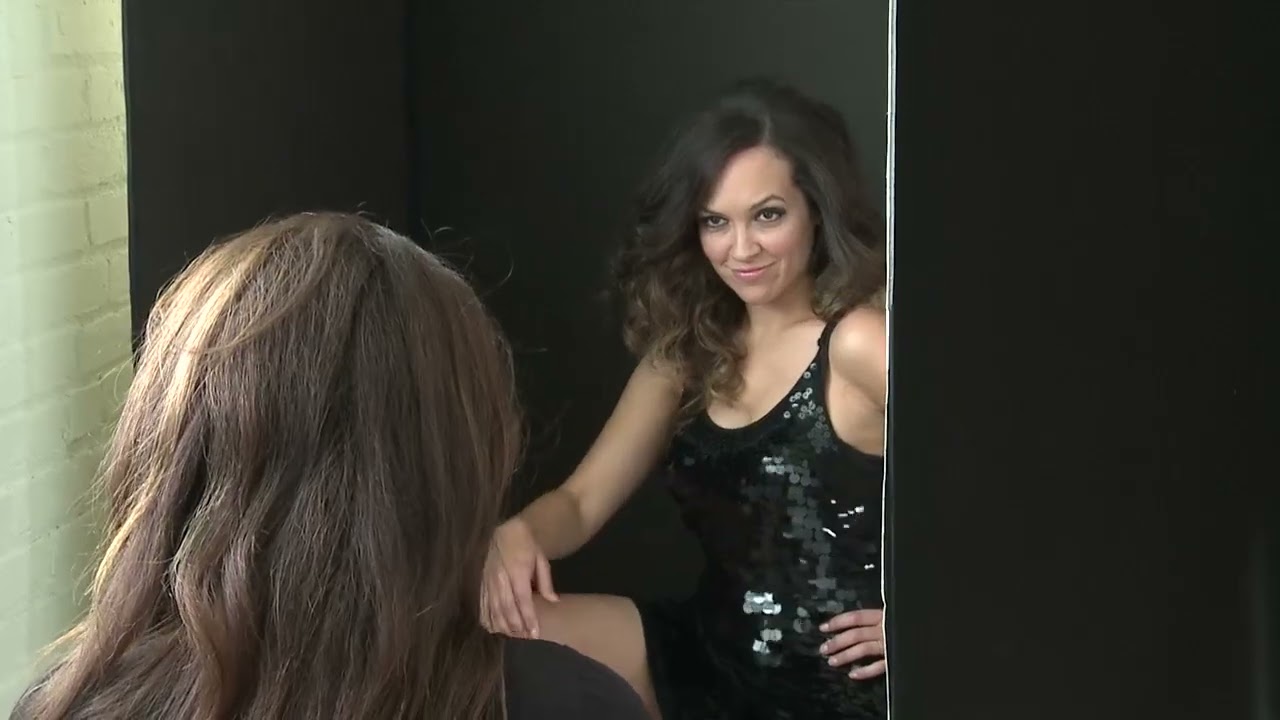
Formal wear sessions have a way of exposing every weakness in your workflow. The dresses are expensive, the clients are nervous, and you have maybe two hours before someone wants lunch and the energy collapses. I’ve learned the hard way that improvising your way through a five-outfit session is a fast route to mediocre images and a stressed subject. What you need is a plan that’s tight enough to keep you moving but loose enough to follow the light when something better appears.
Watch the full tutorial on YouTube
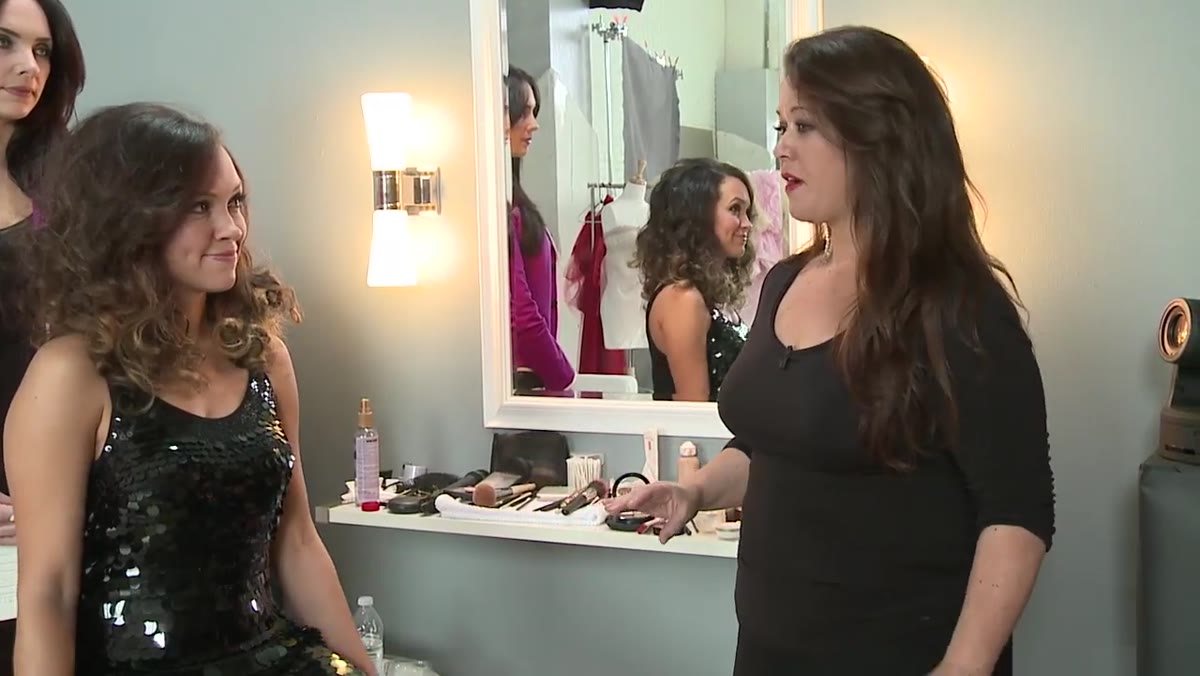
In this CreativeLive tutorial, photographer and educator Sue Bryce walks through a live formal wear shoot with a real client, narrating her decisions as she makes them. What struck me immediately was that she had already done most of her thinking before the subject walked onto the set. The shoot map she references is the kind of tool that separates working professionals from people who hope for the best. I keep a lighting journal where I sketch every setup after a shoot. Sue’s approach is the pre-shoot version of the same instinct: get the thinking out of your head and onto paper before the clock starts.
Step 1: Build a Shoot Map Before Your Client Arrives
 Photographer shows handwritten shoot plan on notepad
Sue describes drawing a simple diagram for each outfit, noting the background, the lighting approach, and the general mood for each look. She maps five outfits across five setups before the session begins. This is not an elaborate production document. It’s a single pad of paper with rough notes per outfit: which background, which light quality, whether she’s leaning toward black and white or color, and what emotional register she’s aiming for.
The practical payoff is speed. When you already know that the sequin dress goes on the dark background with hard triangular shadows, and the sheer navy dress goes on the backlight for a soft, feminine feel, you’re not burning shooting time on decisions. You’re executing. I do the same thing, but I go one step further and tape a copy of my setup order to my light stand as a reminder.
Step 2: Match Background and Lighting Mood to Each Outfit
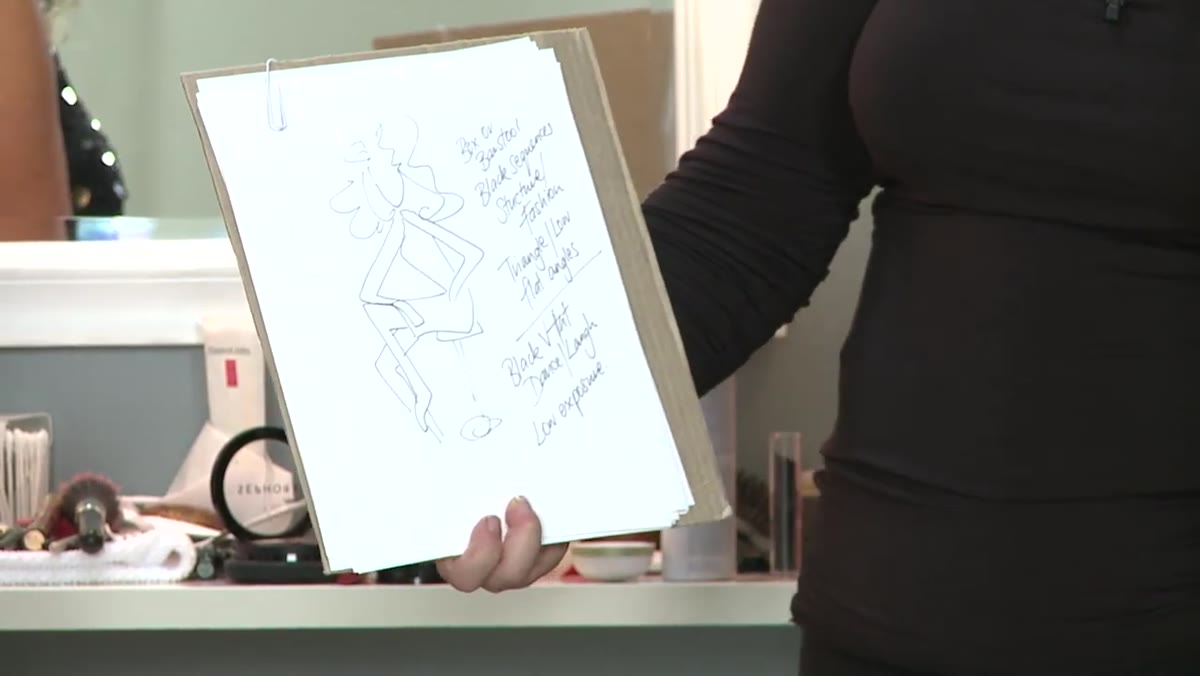 Presenter points to written outfit-to-background pairings
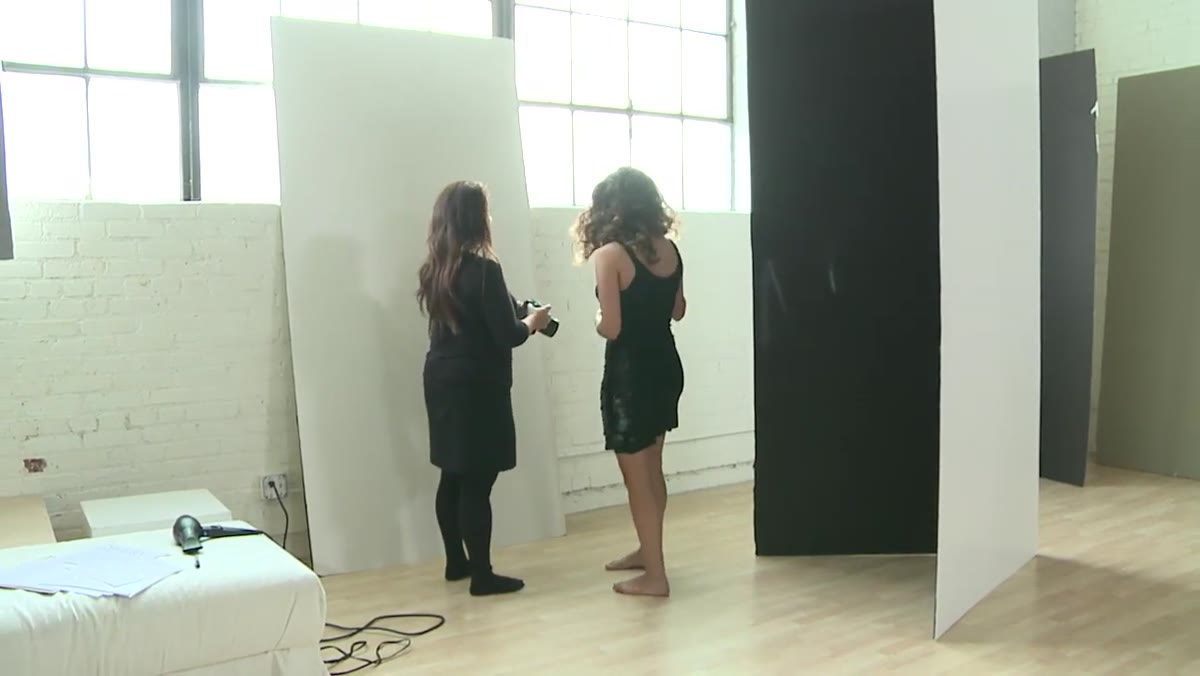
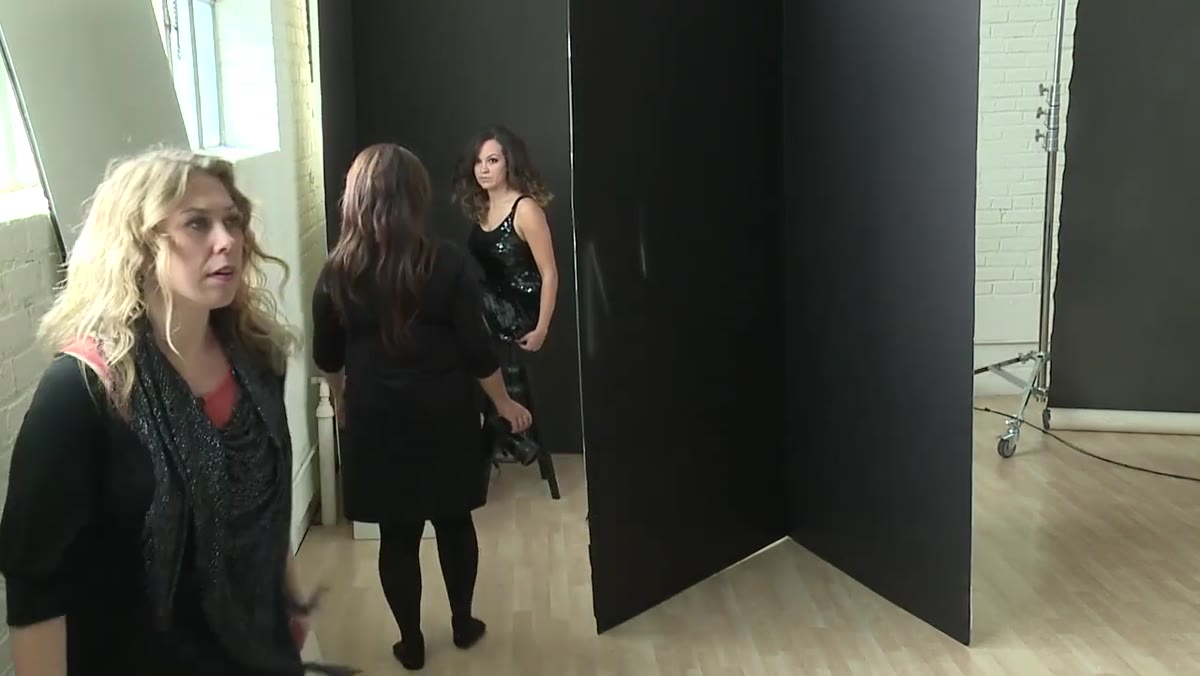
Sue pairs each dress to a specific background and light treatment based on the garment’s character. The black sequin dress, being structured and graphic, gets the dark background with low angles and a high-contrast, fashion-forward approach. The sheer navy overlay dress, being soft and feminine, gets backlight and lighter tones. The nude sparkle dress goes on brick with generous fill light because its monotone quality reads beautifully in near-white setups.
The principle is contrast of character, not just color. A heavily textured dress in a warm hue doesn’t need a busy or warm background competing with it. A structured architectural garment benefits from equally structured lighting. Think about whether your dress is whispering or shouting, then build a setup that answers in the same language.
Step 3: Set a Hard Time Limit and Plan Within It
 Photographer explains pacing to client before shoot begins
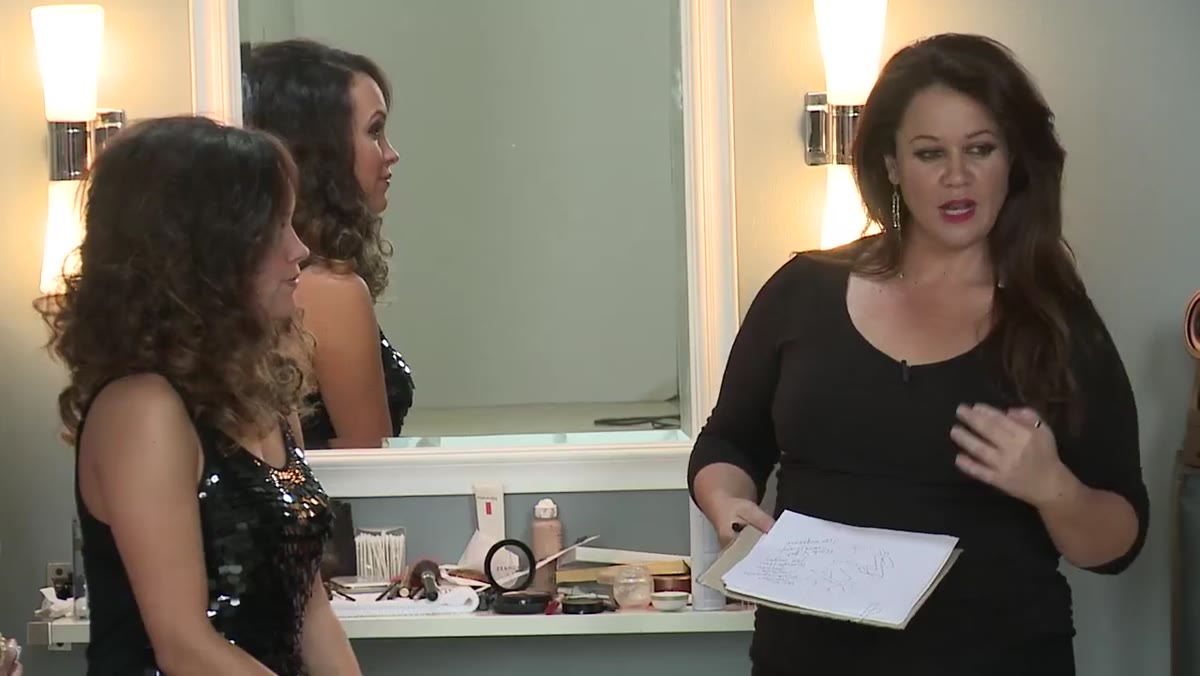
Sue is direct about this: two hours is the outer limit. After that, clients are tired, hungry, and the spontaneity that makes portraits feel alive has usually evaporated. She builds her session to move through the outfits efficiently, which means every setup decision is already made, every background is pre-positioned, and she’s not stopping to reconsider mid-shoot.
One hour and a half is a realistic working window for five looks if you’ve done your planning. That’s roughly 15 to 18 minutes per outfit. It sounds tight until you realize how much time you normally lose to uncertainty. When I started holding myself to hard time blocks per look, my image count went up and my culling time went down. The constraint forces better decisions.
Step 4: Use Props to Establish the First Pose Without Overcomplicating It
 Subject seated on posing block, foot elevated on white box
Sue starts her subject seated on a posing block and introduces a small white box for the feet. The goal is to create a natural elevation for one foot, which brings the knee up and creates a diagonal line through the lower body. She rotates the subject away from camera, then brings her back at a three-quarter angle, which immediately adds dimension and removes the flat, passport-photo quality that kills formal wear shots.
The box is doing more than you might think. It breaks the static symmetry of a seated pose, gives the subject something to engage her body with, and creates a triangular shape in the legs that photographs well from almost any angle. Any low, stable prop can serve the same function: a step, a low stool, a roll of seamless paper. You don’t need specialty posing furniture.
Step 5: Build the Pose from the Ground Up, One Point at a Time
 Photographer adjusts subject’s foot position and arm placement separately
Sue works the pose sequentially. Foot placement first. Then the back foot. Then the arm on the posing block. Then the hand position at the waist. She’s not asking the subject to hold a completed pose from the start. She’s building it in stages, adjusting one contact point at a time, which keeps the subject from tensing up while trying to process multiple instructions simultaneously.
The specific hand instruction she gives is telling: she directs the hand to the soft part of the waist, not the hip bone. That’s the difference between a hand that disappears into the body and one that creates tension. The soft part of the waist gives a natural indent, reads as confident, and avoids the claw-grip that shows up when subjects are left to figure out what to do with their hands on their own.
What I Do Differently: Test Your Plan Against the Clothes
Watching Sue walk through her shoot map reminded me of something I had to learn by wasting an afternoon. You can build a perfect lighting plan and still have it fall apart because the dress behaves differently than you expected. Sequins move light in ways matte fabric doesn’t. Sheer overlays can ghost under hard light in a way that looks muddy in camera.
My current practice is to spend five minutes with each garment before the subject changes into it. I hang it on a stand, fire a test frame under the planned light, and check how the fabric handles the exposure and direction. It takes almost no time and has saved me from several setups that looked great in my notebook and wrong on the sensor. It’s the same instinct Sue has with her shoot map, just extended one step further into the physical reality of the clothing.
The single most important thing Sue demonstrates here is that confidence on set comes from preparation, not improvisation. Your subject reads your certainty or your hesitation within the first five minutes. A shoot map, a time limit, and a clear pose-building sequence give you the structure to move with authority even when something doesn’t go exactly to plan.
Watch the full tutorial on YouTube to see Sue work through the complete session and observe how she adjusts in real time while keeping the overall plan intact.
Comments
Leave a Comment