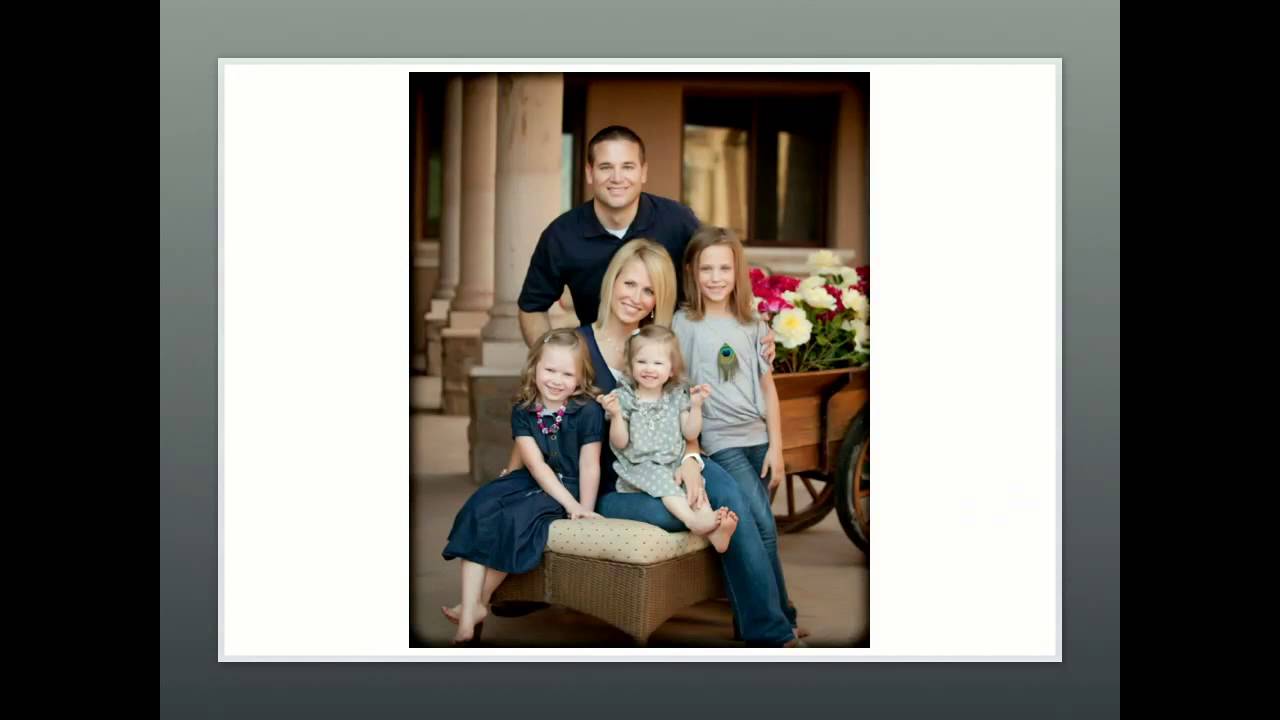
Large family sessions are the shoot type that separates photographers who understand light from photographers who just own cameras. I say that not to be harsh, but because I’ve watched talented shooters with excellent studio instincts completely fall apart the moment someone’s grandmother and seventeen cousins show up on a front lawn. The variables multiply fast: competing light sources, children who need breaks, adults who want to be somewhere else, and a client who has strong opinions about which part of their property is “the pretty spot” (it’s almost never the pretty spot, at least not in the way they mean).
In this CreativeLive tutorial, Watch the full tutorial on YouTube, Michele Celentano walks through an extended family session she photographed at a private home near Superstition Mountain in Arizona. The group was 27 people, 17 of them children. What makes this tutorial worth studying isn’t just the posing work itself. It’s how Celentano structures the entire shoot before a single family member arrives: how she reads a location, how she rejects beautiful scenery in favor of workable light, and how she sequences a session so the shoot doesn’t collapse under its own logistical weight.
I’ve sketched this one into my lighting journal twice. The principles she demonstrates apply directly to any large-group work, whether you’re shooting on location or trying to replicate the quality of soft directional light in a studio environment.
Step 1: Scout the Location at the Same Time of Day You’ll Shoot
 Photographer walking exterior location, assessing light direction
This sounds obvious but almost nobody does it. Celentano visited this family’s home before the session specifically during the time window they’d be shooting. That single decision changed everything that followed. When she evaluated the back patio (objectively a gorgeous space with a panoramic view), she ruled it out immediately: harsh direct sun, no open shade, no directional light she could work with. The scenery was beautiful. The light was unusable.
Photographer walking exterior location, assessing light direction
This sounds obvious but almost nobody does it. Celentano visited this family’s home before the session specifically during the time window they’d be shooting. That single decision changed everything that followed. When she evaluated the back patio (objectively a gorgeous space with a panoramic view), she ruled it out immediately: harsh direct sun, no open shade, no directional light she could work with. The scenery was beautiful. The light was unusable.
When you scout, you’re not looking at the space the way a homeowner looks at it. You’re looking at where the light is falling, where it’s blocked, and where a large group of faces will actually be lit. Bring your phone, shoot reference frames from multiple angles, and note the quality of shadow edges. Soft shadows mean workable light. Sharp shadows mean you’re fighting the sun.
Step 2: Choose the Location the Client Least Expects
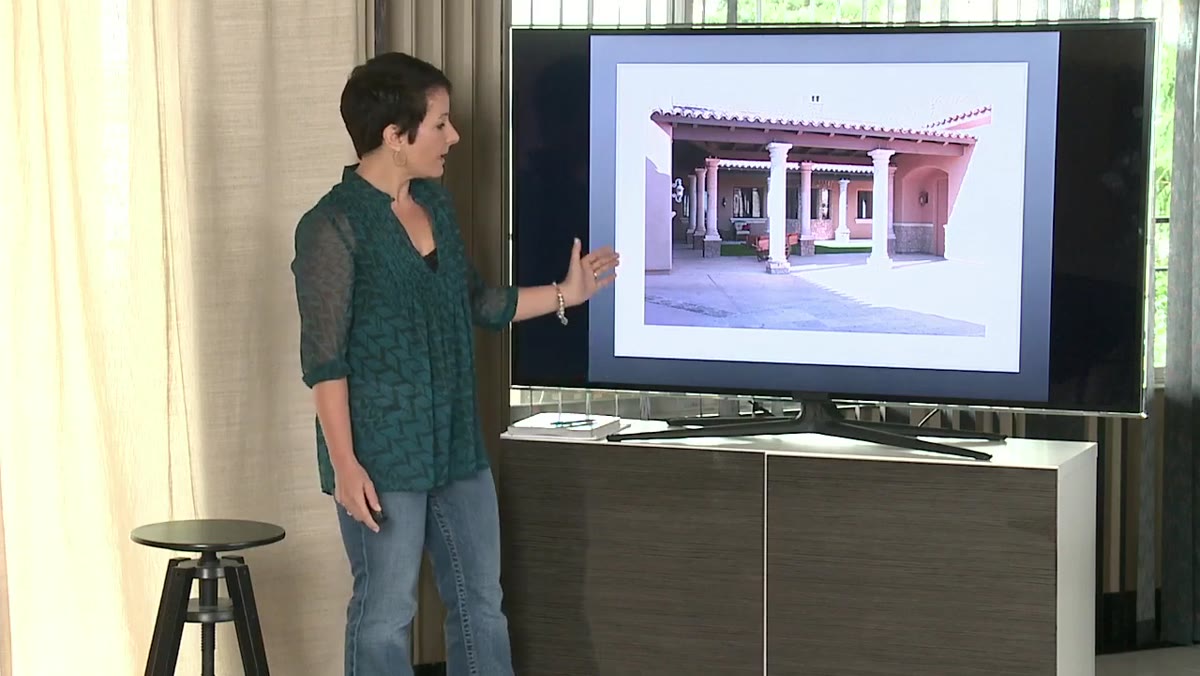 Front driveway entrance with columns, directional light visible
Celentano’s final choice was the front driveway, tucked into a corner formed by two garage wings and a recessed front door. The clients were surprised. This wasn’t the view they’d envisioned. But the geometry of that corner created something invaluable: consistent directional light flowing in from one side, column structures for visual anchoring, and a background with genuine texture rather than a flat wall.
Front driveway entrance with columns, directional light visible
Celentano’s final choice was the front driveway, tucked into a corner formed by two garage wings and a recessed front door. The clients were surprised. This wasn’t the view they’d envisioned. But the geometry of that corner created something invaluable: consistent directional light flowing in from one side, column structures for visual anchoring, and a background with genuine texture rather than a flat wall.
The lesson here transfers directly to studio work. The most interesting setups are rarely the most obvious ones. In my studio I’ve found that shooting into a corner, using negative fill from a dark wall, or angling a subject away from the main door creates more visual interest than centering everything under a beauty dish. Clients hire you because you see differently than they do. Trust that.
Step 3: Start with Grandparents and Individuals Before Building the Group
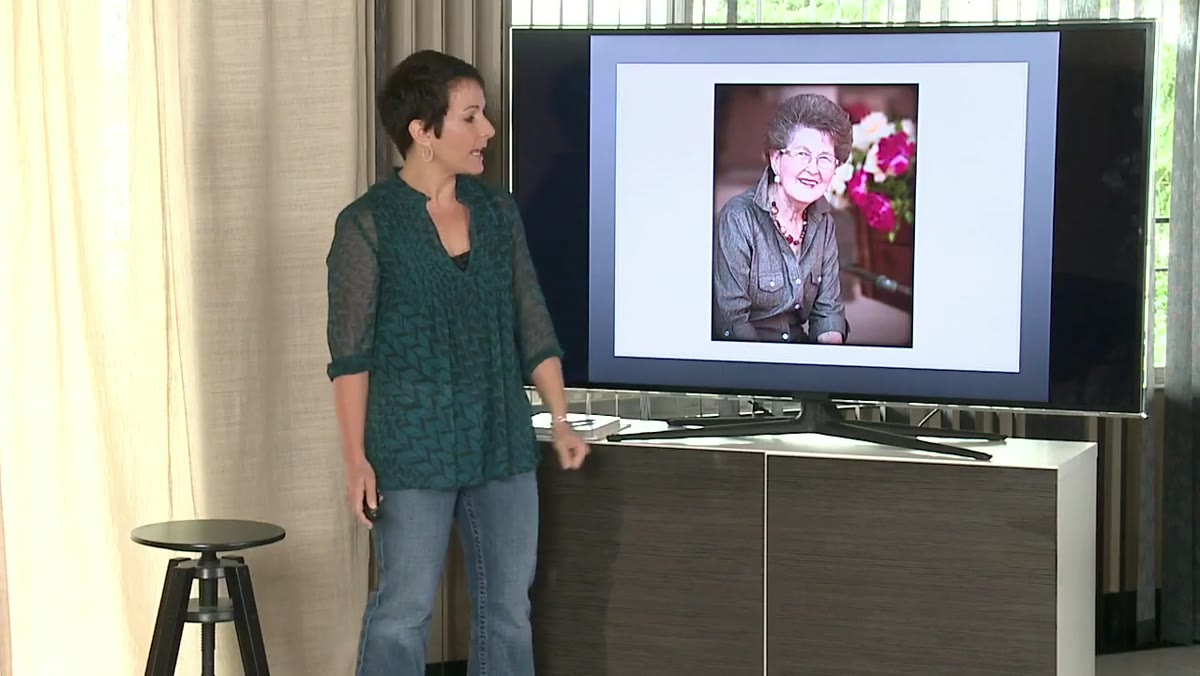
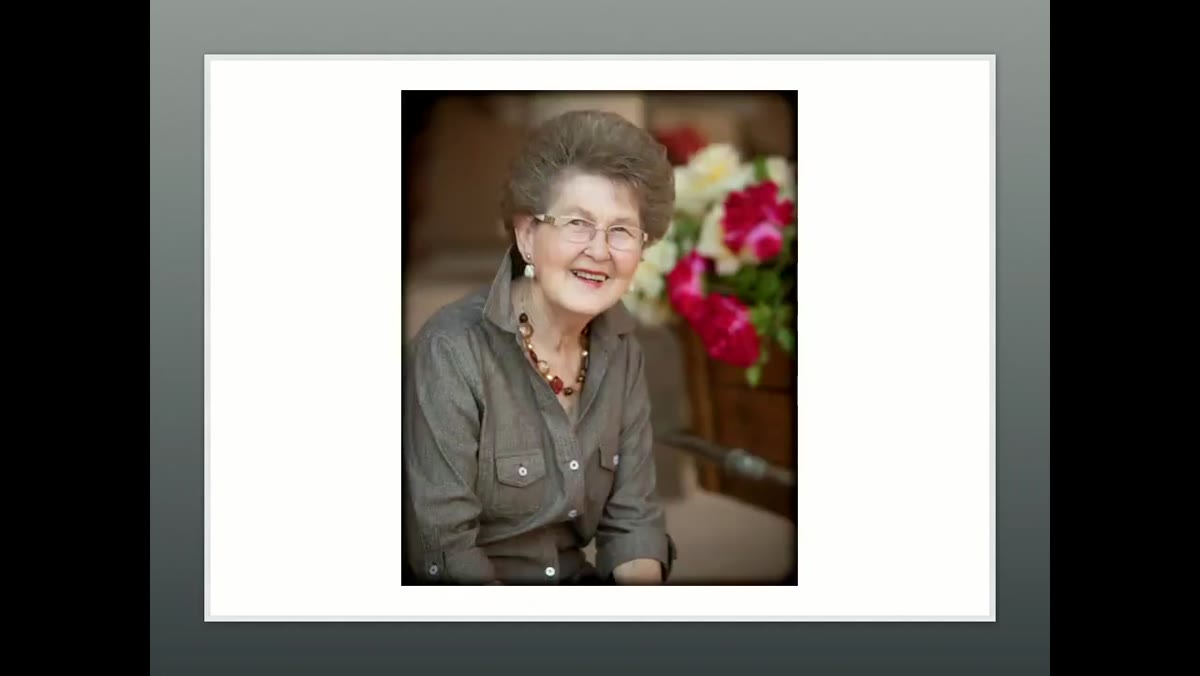 Great-grandmother seated, photographed individually with reflector
Celentano opened the session with the great-grandmother and the grandparents as individuals, before any family units came together. This is sequencing strategy, not just warmup. It accomplishes three things at once: it gives the eldest family members a moment of dignity and individual attention, it builds Celentano’s familiarity with how the light is hitting faces at that location, and it gives the larger group time to arrive and settle without the pressure of being in frame.
Great-grandmother seated, photographed individually with reflector
Celentano opened the session with the great-grandmother and the grandparents as individuals, before any family units came together. This is sequencing strategy, not just warmup. It accomplishes three things at once: it gives the eldest family members a moment of dignity and individual attention, it builds Celentano’s familiarity with how the light is hitting faces at that location, and it gives the larger group time to arrive and settle without the pressure of being in frame.
For the great-grandmother’s portrait, she used a silver reflector to fill shadows created by the directional natural light. Silver gives you a brighter, slightly cooler fill than gold, which is what you want when you’re already working with warm afternoon light and you don’t want skin tones to go orange. I keep this exact combination noted for any outdoor portrait session: directional sun from one side, silver reflector opposite at roughly 45 degrees below face level.
Step 4: Use the Environment to Add Texture and Context
 Cart with planted flowers used as foreground texture element
The family had a decorative cart near the entrance and, on their own initiative, filled it with flowers before the shoot. Celentano incorporated it into the background as a texture element rather than ignoring it or moving it. The light hitting the glass panels of the front door behind the subject added another layer: reflection, depth, and visual interest without any additional equipment.
Cart with planted flowers used as foreground texture element
The family had a decorative cart near the entrance and, on their own initiative, filled it with flowers before the shoot. Celentano incorporated it into the background as a texture element rather than ignoring it or moving it. The light hitting the glass panels of the front door behind the subject added another layer: reflection, depth, and visual interest without any additional equipment.
This is worth practicing as a deliberate skill. Before you set your first subject, walk the frame and identify what’s already there that you can use. In studio sessions I do the same thing. I’m always looking at what the space is already doing before I add any modifier. Sometimes a wall’s natural color temperature or a window’s existing fall-off is doing more work than I’d get from a softbox.
Step 5: Shoot on Location Because the Logistics Demand It
 Family home exterior, large group context established
For a 27-person group with 17 children, Celentano made a deliberate choice to shoot at the family’s home rather than a public location or studio. Her reasoning is practical and worth adopting as a policy: when you’re rotating through that many family units and sub-groups, some people will be waiting for an extended period. Children need breaks. Adults need somewhere to sit and not feel like they’re standing in a parking lot.
Family home exterior, large group context established
For a 27-person group with 17 children, Celentano made a deliberate choice to shoot at the family’s home rather than a public location or studio. Her reasoning is practical and worth adopting as a policy: when you’re rotating through that many family units and sub-groups, some people will be waiting for an extended period. Children need breaks. Adults need somewhere to sit and not feel like they’re standing in a parking lot.
A private home gives the group a support structure the photographer doesn’t have to provide. People can get water, sit down, step inside if a child needs a moment. That comfort reduces friction during the shoot, which means faces are more relaxed, cooperation is higher, and you’re not losing time managing group energy rather than making photographs.
What I’d Add from My Own Experience
The step Celentano demonstrates but doesn’t fully name is light confirmation: the act of shooting test frames at the chosen location before the subjects arrive, then evaluating not the composition but the quality of the shadow edge on a neutral surface. I carry a gray card for this specifically. Before the first person steps into position, I place the gray card where a face will be, shoot a frame, and confirm that my exposure and white balance are dialed to that light. On location, the light shifts. You need a baseline.
This came from a lesson I learned the hard way on an early editorial shoot where I trusted my eyes over my meter and ended up with a full sequence of frames at the wrong color temperature. I’ve never skipped the gray card test since. For large group sessions especially, where you can’t easily reshoot, that sixty-second confirmation step is worth more than any modifier upgrade.
The single most important idea in this tutorial is that a visually impressive location and a photographically useful location are almost never the same thing. Celentano’s clients pointed her toward the mountain view and the gorgeous patio. She shot them from the driveway. That gap, between what looks beautiful to an untrained eye and what actually works for a photograph, is where the photographer’s value lives.
Watch the full tutorial on YouTube to see Celentano’s complete session walkthrough, including how she builds the full group composition from individual units.
Comments (2)
Solid advice. Especially the part about taking your time with it.
Well explained. I think my audience would really benefit from this — mind if I link to it?
Leave a Comment