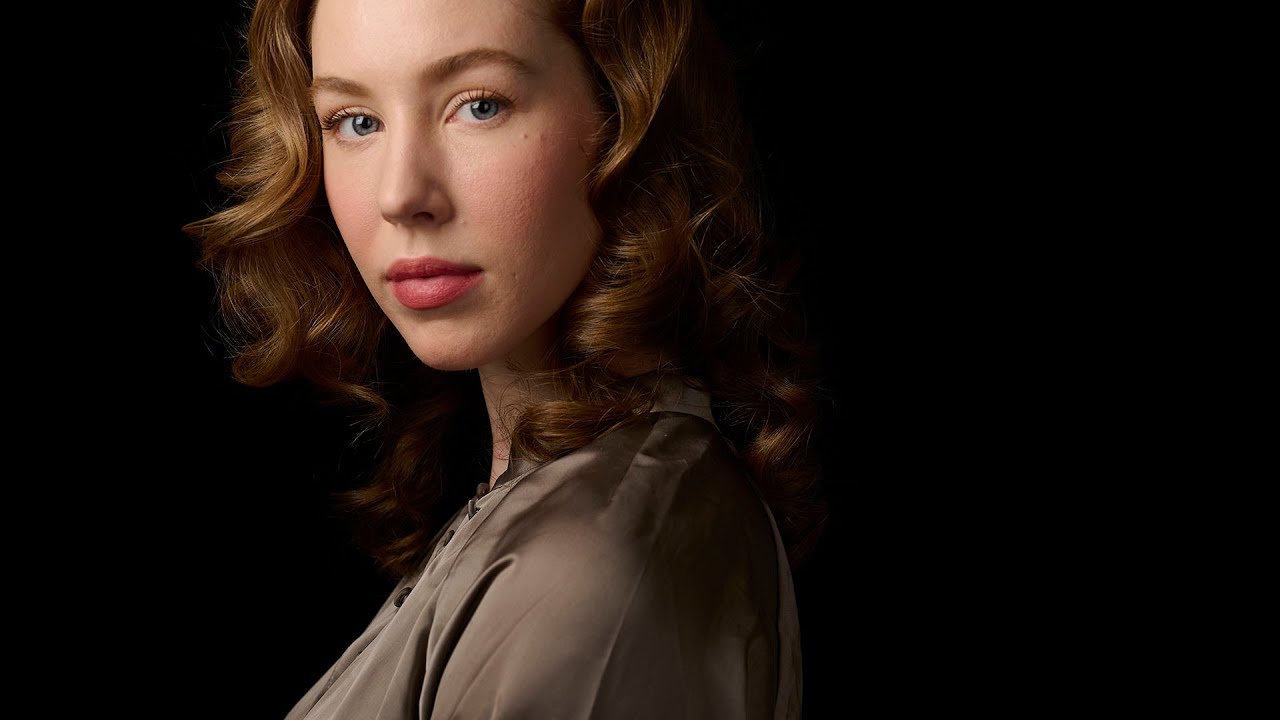
Every working studio photographer gets asked the same question eventually: “What’s your ratio?” I used to fumble through an answer because, honestly, I learned ratios the way most of us do, backwards and through trial and error. I keep a lighting journal where I sketch every setup from every shoot, and flipping back through those early pages, I can see exactly when I started thinking in ratios rather than just vibes. It made my work more repeatable, more predictable, and a lot easier to explain to clients who want a specific look on the next job.
In this Daniel Norton Photographer tutorial, Daniel breaks down lighting ratios in a way that’s actually usable on set, not just theoretically tidy. He works through the concept live in his New York studio with a model, starting from TTL and moving into manual adjustments to show you exactly how the numbers translate to real light on a real face. What I appreciate about his approach is that he doesn’t worship the ratio system. He treats it as a tool, not a doctrine. That’s how I try to operate too.
Here’s the walkthrough, step by step.
Step 1: Understand What a Ratio Actually Describes
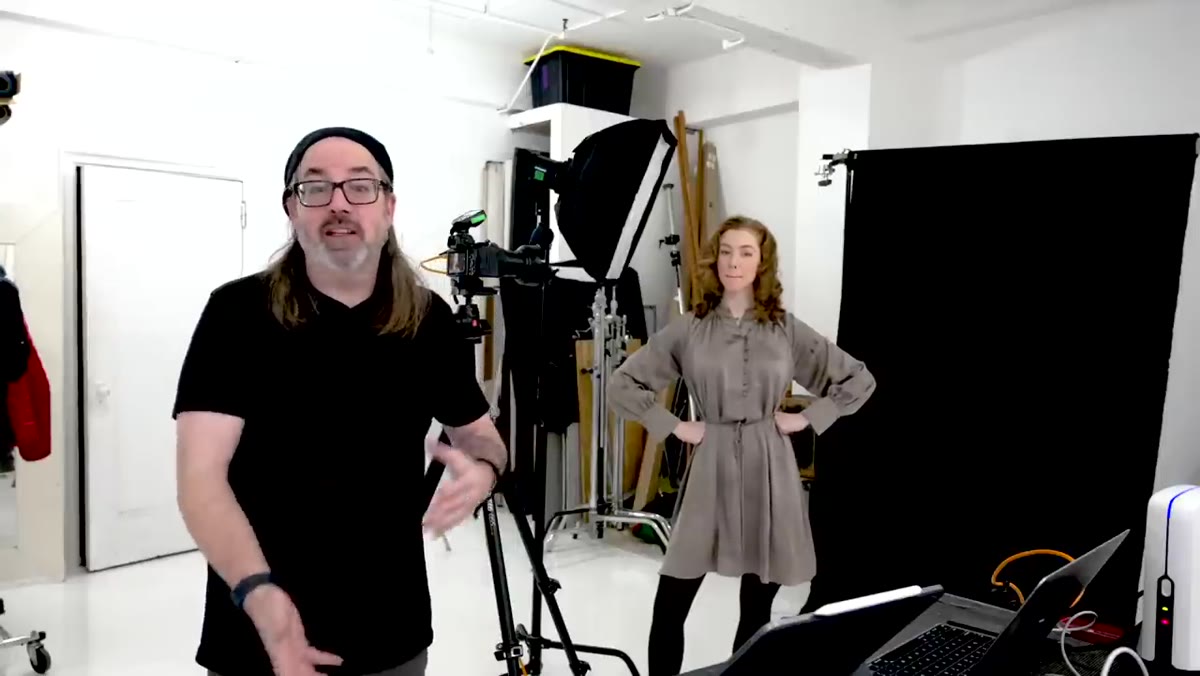 Daniel explaining the concept of light-to-dark ratio
A lighting ratio describes the relationship between the lit side of your subject and the shadow side. A 1:1 ratio means both sides receive equal light, producing a completely flat image with no shadow falloff whatsoever. A 1:2 ratio means the key light is one stop brighter than the fill, giving you a subtle shadow. A 1:4 ratio puts the fill two stops under the key, and the shadows start doing real work. Each time you double the ratio, you’re adding roughly one stop of difference. That’s the math. Write it on a piece of tape and stick it to your light stand if you have to.
Daniel explaining the concept of light-to-dark ratio
A lighting ratio describes the relationship between the lit side of your subject and the shadow side. A 1:1 ratio means both sides receive equal light, producing a completely flat image with no shadow falloff whatsoever. A 1:2 ratio means the key light is one stop brighter than the fill, giving you a subtle shadow. A 1:4 ratio puts the fill two stops under the key, and the shadows start doing real work. Each time you double the ratio, you’re adding roughly one stop of difference. That’s the math. Write it on a piece of tape and stick it to your light stand if you have to.
The ratios aren’t about chasing numbers for their own sake. They’re about being able to reproduce a look deliberately and communicate it to an assistant or a client. If I tell someone I want a 1:4 ratio with a large fill on camera left, we’re both seeing the same picture before anyone fires a strobe.
Step 2: Start With Your Key Light Alone in TTL
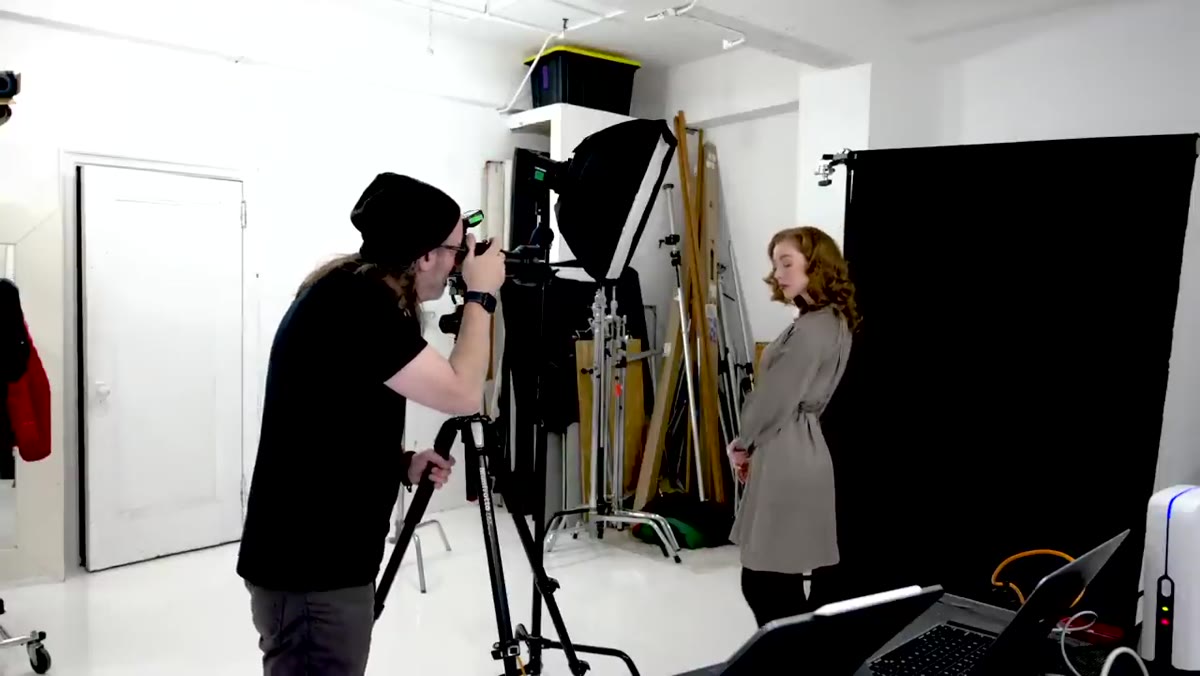 Single key light in TTL mode aimed at the subject
Daniel’s starting point is a single key light in TTL mode, a Profoto B10 through a small strip softbox. With TTL active, the camera and light communicate to produce a metered exposure automatically. Fire one frame and confirm you’re getting a clean, properly exposed image with the shadow detail you’d expect. This is your baseline.
Single key light in TTL mode aimed at the subject
Daniel’s starting point is a single key light in TTL mode, a Profoto B10 through a small strip softbox. With TTL active, the camera and light communicate to produce a metered exposure automatically. Fire one frame and confirm you’re getting a clean, properly exposed image with the shadow detail you’d expect. This is your baseline.
At this stage, pay attention to where the shadows fall, particularly under the nose, along the cheekbone, and under the chin. That shadow structure is what the fill light will modify. If you don’t look at it carefully now, you won’t be able to judge how much the fill is actually doing.
Step 3: Add a Large Fill Light and Meter It Independently
 Large 2x3 softbox positioned as fill light on opposite side
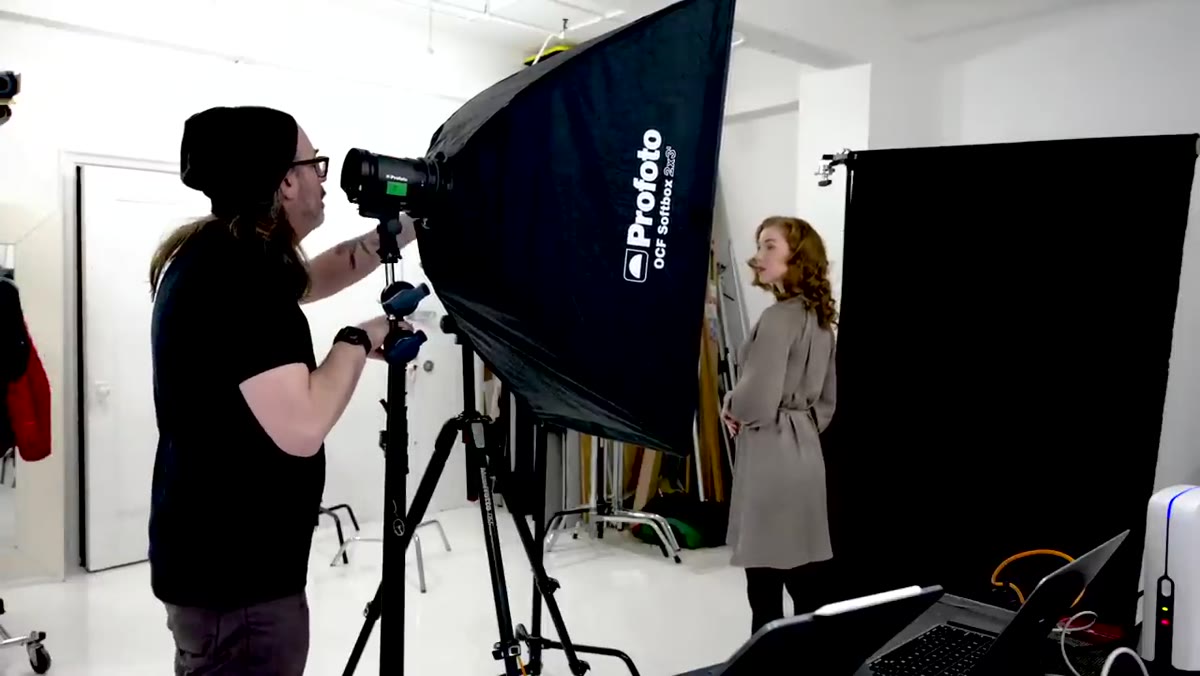
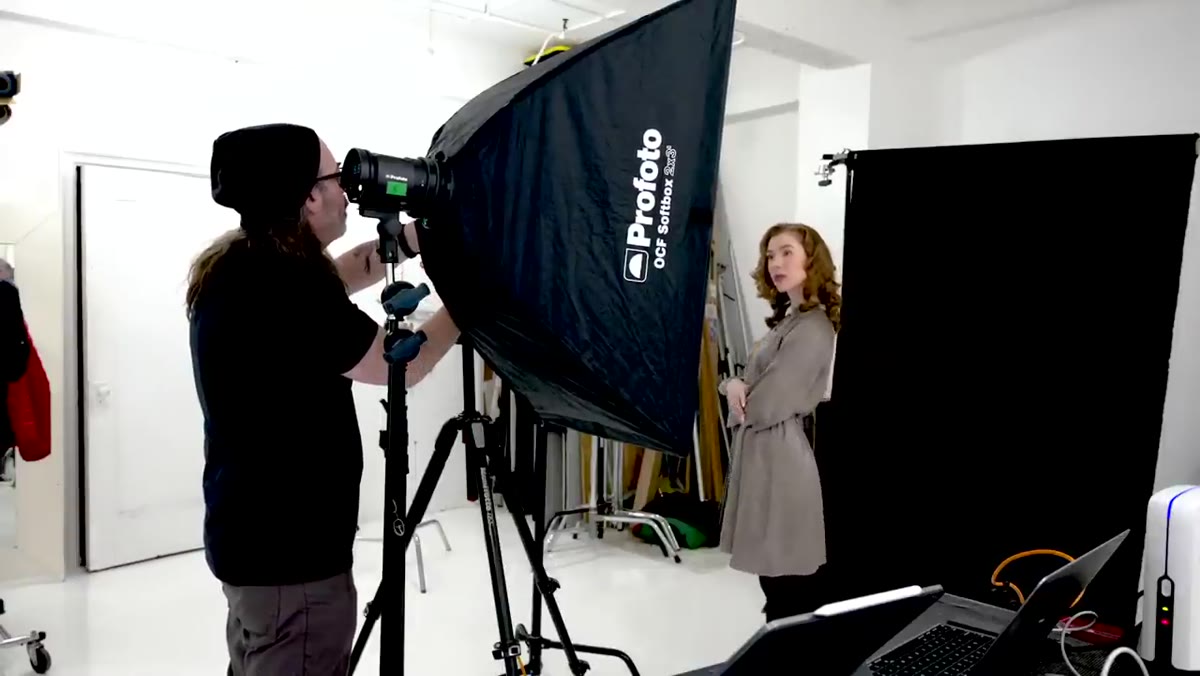
Daniel brings in a large 2x3 softbox as his fill, placed on the opposite side of the subject from the key. His reasoning is solid and I’ve tested it myself: a fill light that’s too small creates its own directional quality, which means you can end up with a second set of shadows layered on top of the first. A larger source wraps around the subject and fills evenly without announcing itself.
Large 2x3 softbox positioned as fill light on opposite side
Daniel brings in a large 2x3 softbox as his fill, placed on the opposite side of the subject from the key. His reasoning is solid and I’ve tested it myself: a fill light that’s too small creates its own directional quality, which means you can end up with a second set of shadows layered on top of the first. A larger source wraps around the subject and fills evenly without announcing itself.
To meter the fill independently, he turns off the key light entirely and fires the fill alone. This gives him a confirmed proper exposure from the fill side on its own. That number becomes his reference point. Once you know what the fill produces at a given power setting, you can make intentional choices about how far below the key it should sit.
Step 4: Lock the Fill in Manual and Establish Your 1:1 Baseline
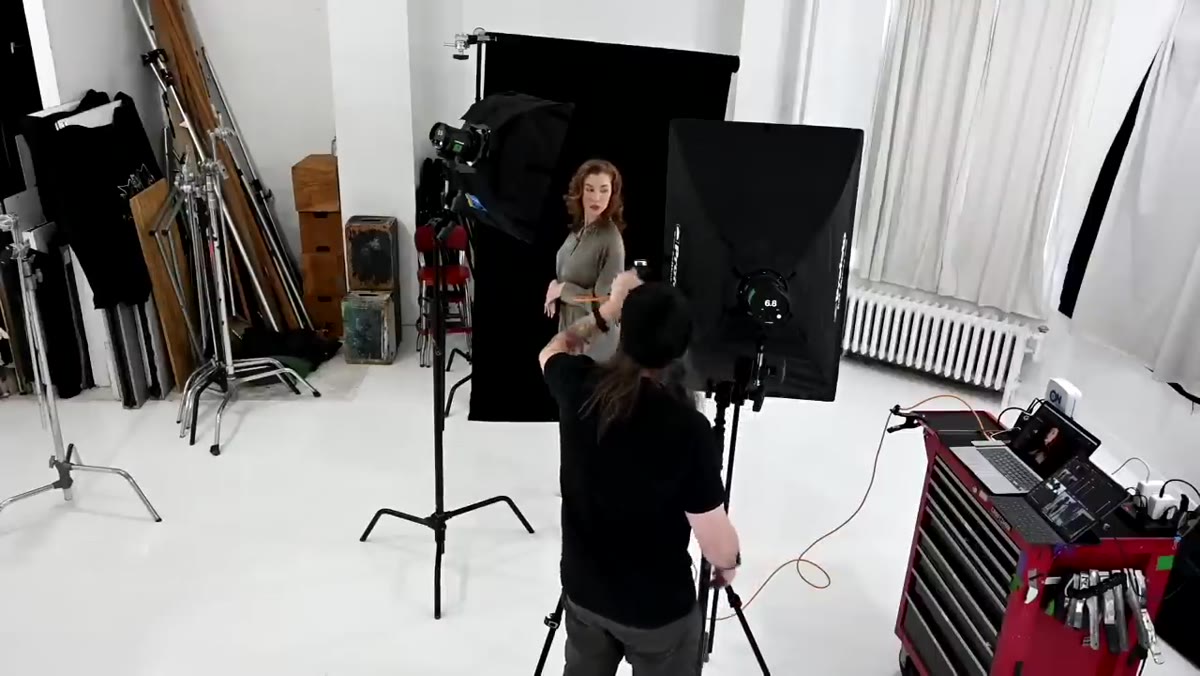 Both lights firing together at equal power, flat lighting result
With both lights firing and the fill metered, switch the fill from TTL to manual so its output stays fixed while you adjust the key. When both lights are set to the same exposure value, you have a 1:1 ratio. Take a shot and look at the result. It’s flat, even, and almost textureless. This isn’t a bad look for certain commercial beauty work or anything where you want to minimize skin texture, but it’s not a working portrait ratio for most assignments.
Both lights firing together at equal power, flat lighting result
With both lights firing and the fill metered, switch the fill from TTL to manual so its output stays fixed while you adjust the key. When both lights are set to the same exposure value, you have a 1:1 ratio. Take a shot and look at the result. It’s flat, even, and almost textureless. This isn’t a bad look for certain commercial beauty work or anything where you want to minimize skin texture, but it’s not a working portrait ratio for most assignments.
The 1:1 shot is worth keeping as a reference frame. I sometimes pull it up on a second monitor during a shoot so clients can see exactly what we’re moving away from and why the shadows are doing something for them.
Step 5: Reduce the Fill by One Stop for a 1:2 Ratio
 Fill light power reduced one stop, subtle shadow visible on face
Drop the fill one stop in manual. Now your key light is producing twice the output of your fill at the subject’s position. This is a 1:2 ratio, and it’s the most commercially versatile setup in the ratio toolkit. You get shape, some definition in the cheekbones, and a shadow side that still holds full detail. Magazine beauty, corporate headshots, lifestyle editorial, this ratio works for all of it.
Fill light power reduced one stop, subtle shadow visible on face
Drop the fill one stop in manual. Now your key light is producing twice the output of your fill at the subject’s position. This is a 1:2 ratio, and it’s the most commercially versatile setup in the ratio toolkit. You get shape, some definition in the cheekbones, and a shadow side that still holds full detail. Magazine beauty, corporate headshots, lifestyle editorial, this ratio works for all of it.
The shadow side of the face should look underexposed by roughly one stop compared to the lit side, but nothing should go pure black. If it does, your fill is too weak or positioned incorrectly.
Step 6: Drop Two More Stops for a 1:4 Ratio
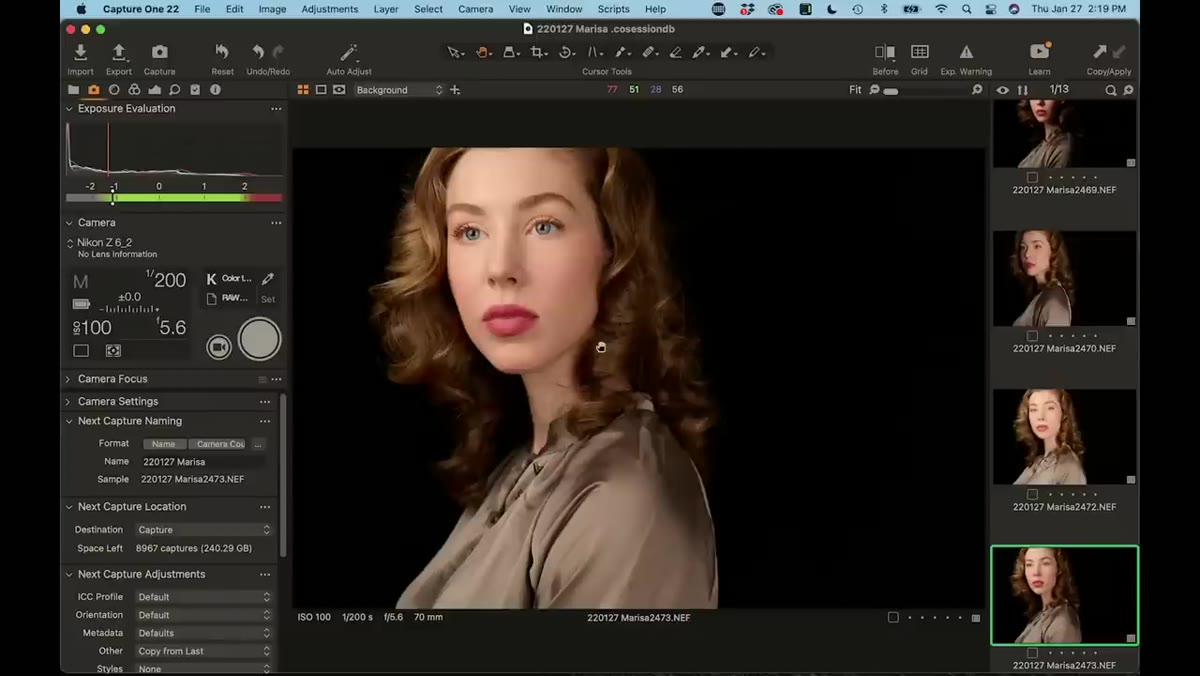 Fill light at three stops under key, stronger shadow modeling visible
For a 1:4 ratio, reduce the fill by two additional stops from the 1:2 position, putting the fill a total of three stops below the key. The shadow side of the face is now noticeably darker, with real depth and dimension. This is a strong portrait ratio, flattering on most faces, and the standard starting point for anyone shooting fashion or editorial work that needs some drama without going theatrical.
Fill light at three stops under key, stronger shadow modeling visible
For a 1:4 ratio, reduce the fill by two additional stops from the 1:2 position, putting the fill a total of three stops below the key. The shadow side of the face is now noticeably darker, with real depth and dimension. This is a strong portrait ratio, flattering on most faces, and the standard starting point for anyone shooting fashion or editorial work that needs some drama without going theatrical.
Past 1:4, you’re moving into ratios that work better for character portraits or intentionally moody work. At that point I’d argue the ratio system becomes less useful and your eye becomes more useful.
Step 7: Use TTL Ratio Controls as a Faster Alternative
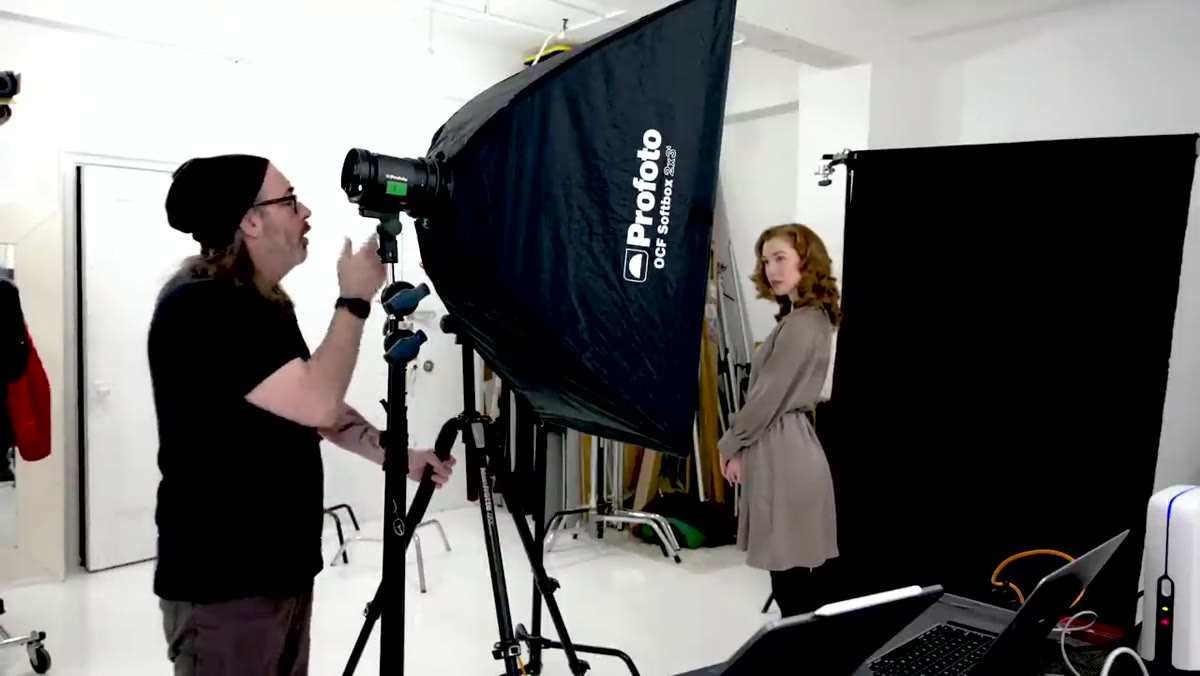 Switching fill light to TTL and dialing in minus compensation
If you’re working with a TTL-capable system and you want a faster path to these same ratios, Daniel shows you can simply set the fill light in TTL and dial in negative exposure compensation directly from the controller. Minus one is your 1:2 ratio. Minus two gets you close to 1:4. This won’t be as precise as metered manual adjustments, but it gets you in the right neighborhood quickly and lets you concentrate on directing the subject.
Switching fill light to TTL and dialing in minus compensation
If you’re working with a TTL-capable system and you want a faster path to these same ratios, Daniel shows you can simply set the fill light in TTL and dial in negative exposure compensation directly from the controller. Minus one is your 1:2 ratio. Minus two gets you close to 1:4. This won’t be as precise as metered manual adjustments, but it gets you in the right neighborhood quickly and lets you concentrate on directing the subject.
I use this approach during portrait sessions when the pace is fast and the client is in the room. The manual method is for prep time. TTL compensation is for keeping momentum.
What I’d Add From My Own Studio Practice
One thing Daniel doesn’t explicitly address, and it’s worth flagging, is that modifier size affects apparent ratio even when your power settings stay the same. A 24-inch octa as a key and a 6-foot parabolic as a fill will behave very differently than two matched softboxes at the same power output. The larger source wraps more light around the subject and effectively reduces the ratio even if your meter says otherwise.
This is why I always test every new modifier the day it arrives. I run it through the same basic 1:1, 1:2, 1:4 sequence and photograph a gray card in the position my subjects typically occupy. It tells me how the modifier actually behaves versus how its specs suggest it should behave. Those results go in the lighting journal. The modifier’s behavior in real conditions is what matters, not the manufacturer’s wattage rating.
The single most useful thing in this tutorial is Daniel’s method of metering the fill independently before combining it with the key. That one step eliminates the guesswork that makes ratios feel complicated. Set the fill first, confirm the exposure, lock it in manual, then bring the key in on top. You’re building the light intentionally, not chasing it after the fact.
Watch the full tutorial on YouTube to see Daniel work through each ratio live with a subject, which makes the difference between each stop visually obvious in a way that’s hard to convey in text alone.
Comments (2)
This should be required reading for anyone starting out.
Really solid breakdown. This pairs perfectly with the landscape work I've been writing about.
Leave a Comment