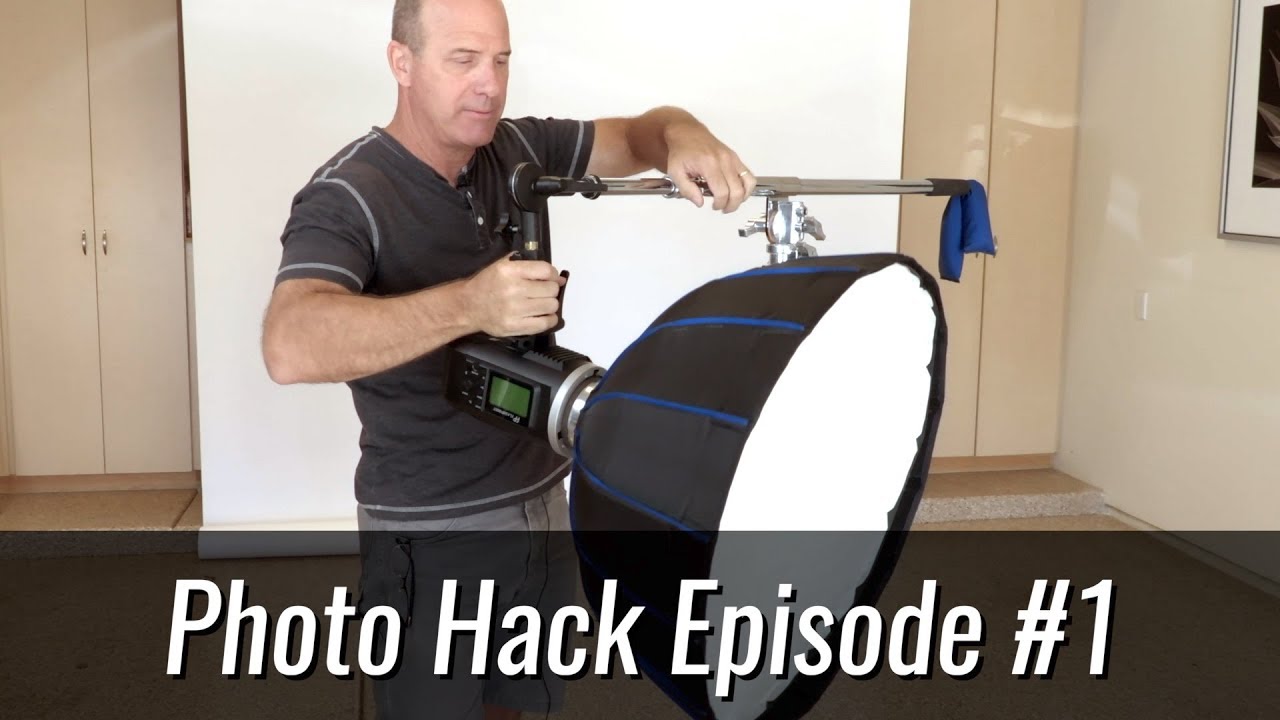
There is a specific kind of frustration that only studio photographers know: you have your boom arm positioned perfectly over your subject, the modifier is angled exactly where you want it, and then you watch the whole thing slowly rotate south while you’re mid-shoot. The strobe drifts. The softbox tilts. You crank the knob tighter and it still creeps. I have been shooting commercial work in Los Angeles for long enough that I label every piece of gear in my studio with masking tape, and I still spent embarrassingly long dealing with this problem before I found a fix that actually held.
In this Joel Grimes tutorial, Watch the full tutorial on YouTube, Grimes tackles exactly this issue in what he calls “Photo Hack Episode 1.” It runs under five minutes, and the information density is high. He offers two real-world solutions for keeping a strobe and modifier from spinning on the end of a boom pole, plus a solid breakdown of why boom geometry matters more than most photographers think. What follows is my expanded walkthrough of everything he covers, with enough detail that you can implement it without pausing and rewinding.
Step 1: Understand Why the Problem Exists
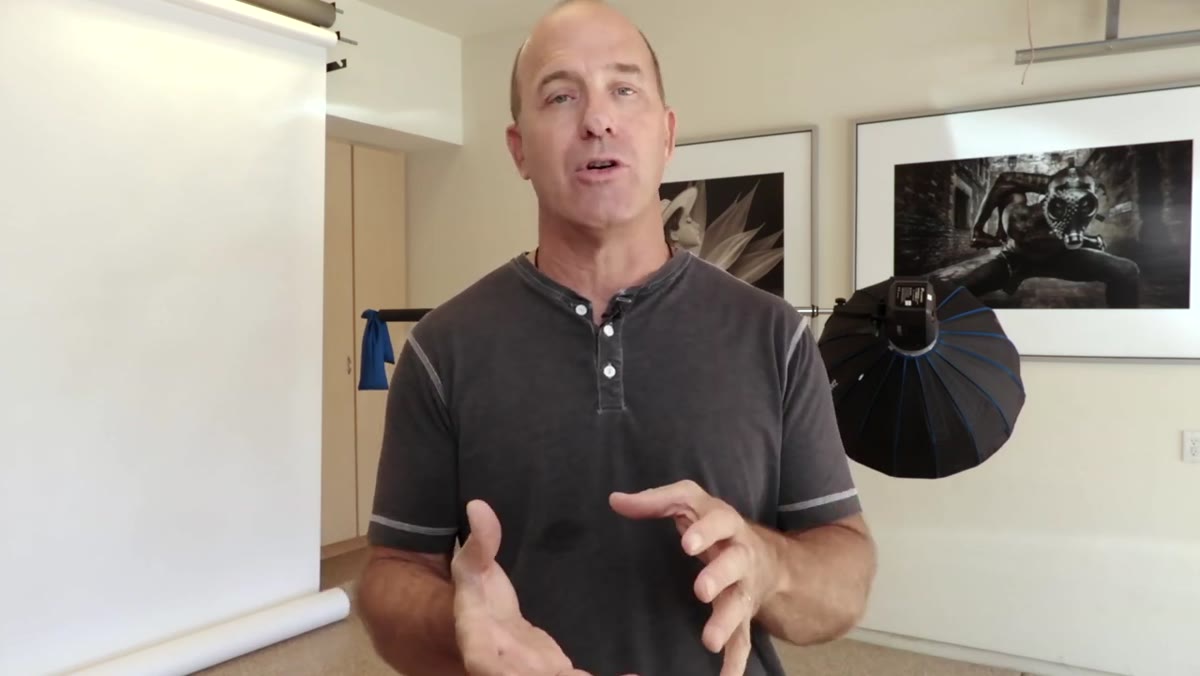 Strobe and modifier mounted on boom, visibly spinning
When you mount a strobe and a large modifier, something like a five-foot octabox, on the end of a boom pole, you are creating significant rotational torque. The weight is hanging off-center, and the only thing stopping the entire assembly from spinning is the friction between the pole and the mounting clamp. Most boom poles are round, which means that friction is working against a perfectly smooth surface. Tighten the clamp as hard as you want, and physics is not really on your side. The heavier and larger the modifier, the worse this gets.
Strobe and modifier mounted on boom, visibly spinning
When you mount a strobe and a large modifier, something like a five-foot octabox, on the end of a boom pole, you are creating significant rotational torque. The weight is hanging off-center, and the only thing stopping the entire assembly from spinning is the friction between the pole and the mounting clamp. Most boom poles are round, which means that friction is working against a perfectly smooth surface. Tighten the clamp as hard as you want, and physics is not really on your side. The heavier and larger the modifier, the worse this gets.
Grimes is clear that this is not a gear quality issue. This happens with professional booms and budget booms alike. Once you understand it as a geometry problem rather than a “cheap stand” problem, the solutions make a lot more sense.
Step 2: Use a Grinder to Create a Flat Spot on the Boom Tip
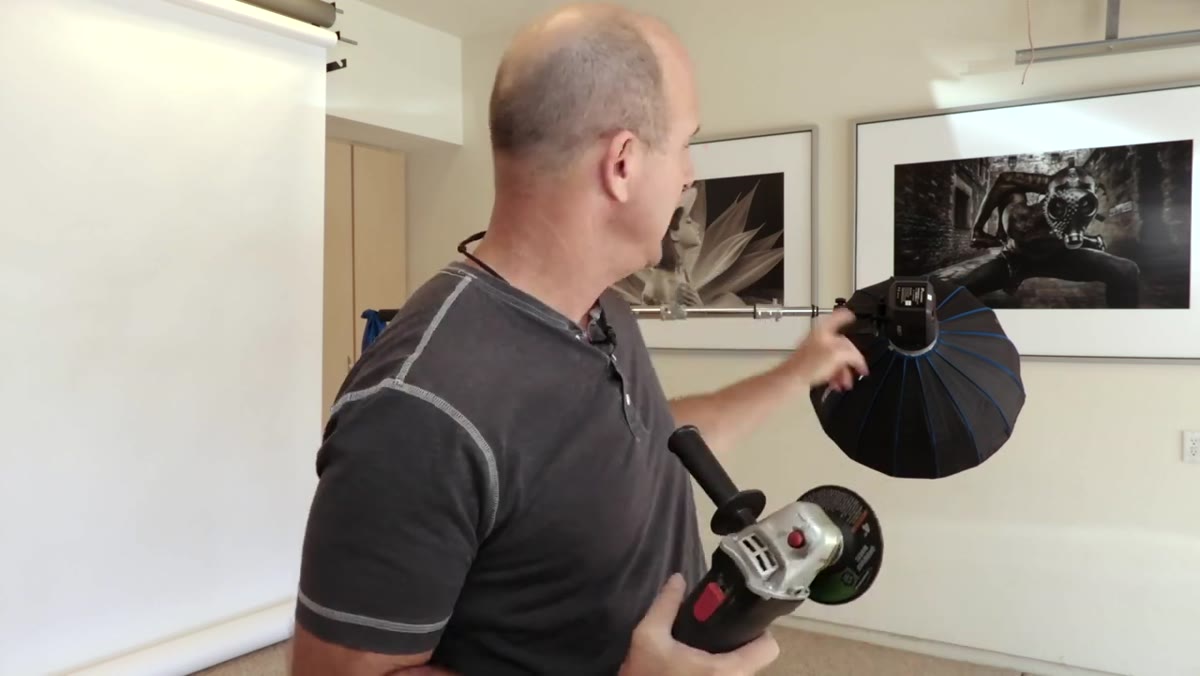 Handheld angle grinder shown against boom pole end
Grimes’ preferred fix is permanent and takes about two minutes of actual work. You take an angle grinder, he mentions a Harbor Freight model in the twenty-dollar range, and you grind a small flat spot on the very end of the boom pole where the mounting post sits. The flat spot gives the clamp’s set screw something to bite against instead of a frictionless round surface. Once that screw makes contact with a flat plane rather than a curve, the whole assembly locks down properly.
Handheld angle grinder shown against boom pole end
Grimes’ preferred fix is permanent and takes about two minutes of actual work. You take an angle grinder, he mentions a Harbor Freight model in the twenty-dollar range, and you grind a small flat spot on the very end of the boom pole where the mounting post sits. The flat spot gives the clamp’s set screw something to bite against instead of a frictionless round surface. Once that screw makes contact with a flat plane rather than a curve, the whole assembly locks down properly.
Before you touch a grinder, suit up correctly. Eye protection, ear protection, and gloves are not optional. Metal shavings travel fast and far. The grind itself should be subtle, just enough to create a visible flat area on the tip. You are not reshaping the pole, you are creating an index point. Grind too aggressively and you compromise the structural integrity of the post, which is a much bigger problem than a spinning modifier.
Step 3: Inspect the Result and Test the Lock
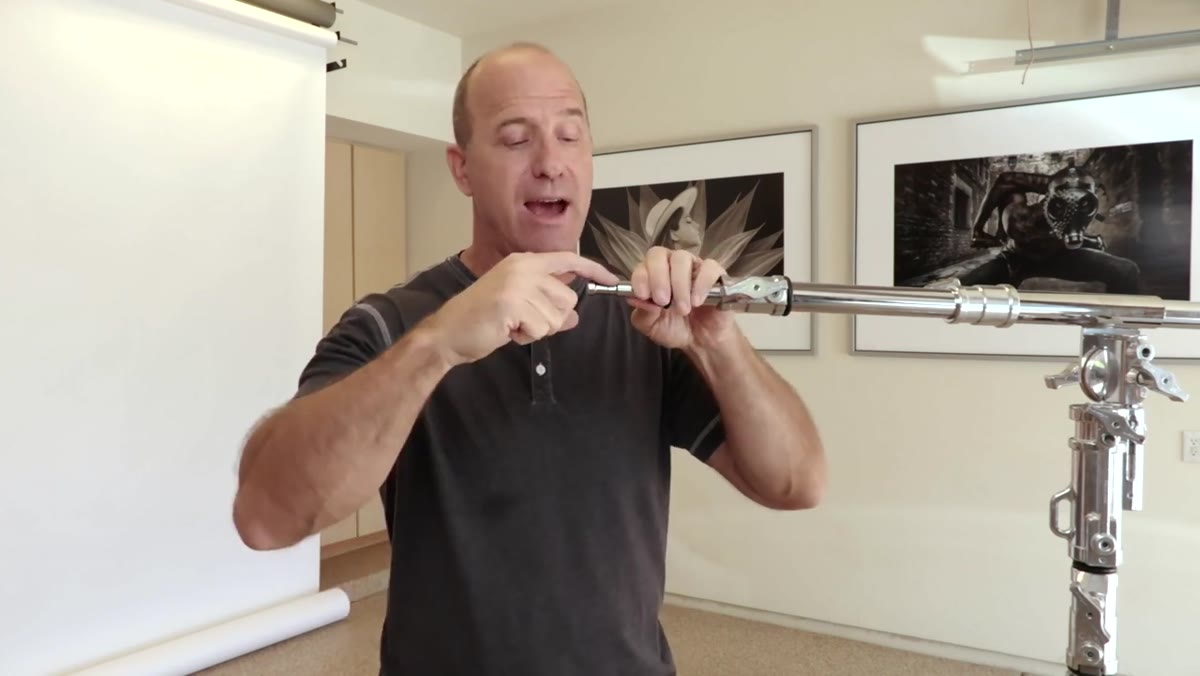 Close-up of flat spot ground into boom pole tip
Once you have ground the flat spot, look at it carefully before mounting anything. You should see a small, clean facet on the pole. Grimes points out that on his well-used booms you can see wear marks from repeated mounting in exactly the same place, which tells you the flat spot is doing its job consistently. Set your strobe post against that flat spot, tighten the clamp down, and give the modifier a firm rotational test by hand. It should hold without budging.
Close-up of flat spot ground into boom pole tip
Once you have ground the flat spot, look at it carefully before mounting anything. You should see a small, clean facet on the pole. Grimes points out that on his well-used booms you can see wear marks from repeated mounting in exactly the same place, which tells you the flat spot is doing its job consistently. Set your strobe post against that flat spot, tighten the clamp down, and give the modifier a firm rotational test by hand. It should hold without budging.
Every boom in my studio has this modification now. The first time I did it I was nervous about damaging the pole, but the actual material removal is minimal. Think of it the way a machinist would, you are creating a registration surface, not excavating metal.
Step 4: Run Your Boom Horizontal, Not Angled
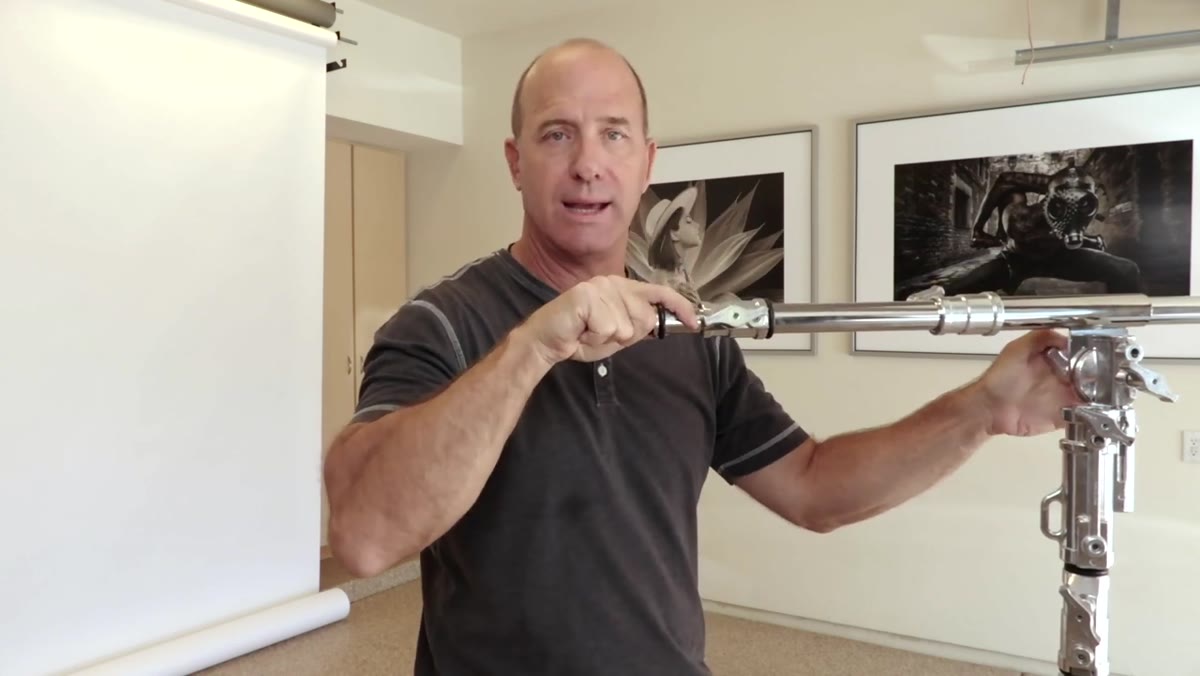 Boom arm extended horizontally directly over shooting position
Grimes runs his boom at a full horizontal, ninety degrees to his main stand, directly over his lens position. Most photographers angle the boom slightly thinking it reduces strain on the equipment. Grimes argues the opposite: yes, an angled boom puts less rotational torque on the end post, but it costs you operational speed. When your boom is angled, raising or lowering the light requires adjusting two axes simultaneously. You move the boom angle and then you correct the strobe head orientation to compensate.
Boom arm extended horizontally directly over shooting position
Grimes runs his boom at a full horizontal, ninety degrees to his main stand, directly over his lens position. Most photographers angle the boom slightly thinking it reduces strain on the equipment. Grimes argues the opposite: yes, an angled boom puts less rotational torque on the end post, but it costs you operational speed. When your boom is angled, raising or lowering the light requires adjusting two axes simultaneously. You move the boom angle and then you correct the strobe head orientation to compensate.
When the boom is horizontal, you adjust one axis only. You simply rotate the strobe up or down along that single plane. In a working commercial session where you are chasing a look and your client is watching the clock, that one-axis simplicity matters. Grimes calls this out specifically and I agree completely. My boom runs flat unless I am going to an extreme overhead position where the geometry forces the angle.
Step 5: Apply Hack Number Two for Booms You Do Not Own
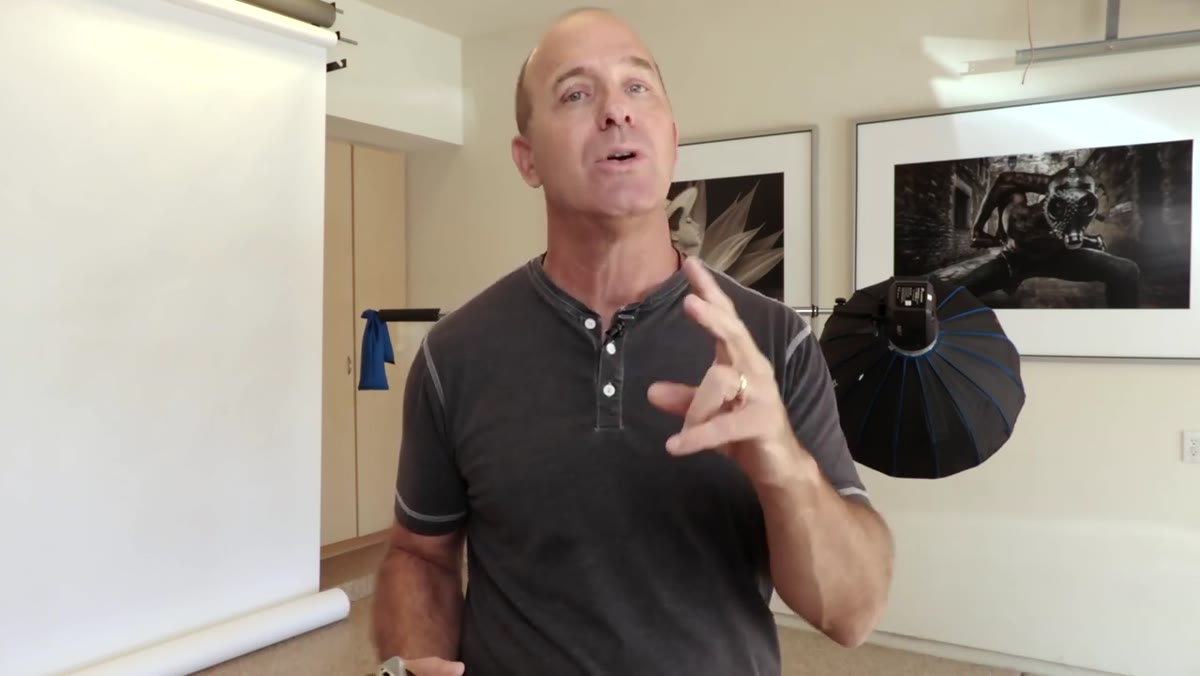 Joel Grimes describing the traveling scenario without modified boom
Grimes travels and shoots at locations where equipment is provided by the venue or production. Those booms will not have flat spots on them. His second solution is one he keeps ready for exactly this situation, though he is deliberate about presenting it as a backup rather than a replacement for the ground flat spot. The core idea is to work with whatever friction you can create at the mounting point, which often means the specific way you orient and torque the set screw matters more than simply how hard you tighten it.
Joel Grimes describing the traveling scenario without modified boom
Grimes travels and shoots at locations where equipment is provided by the venue or production. Those booms will not have flat spots on them. His second solution is one he keeps ready for exactly this situation, though he is deliberate about presenting it as a backup rather than a replacement for the ground flat spot. The core idea is to work with whatever friction you can create at the mounting point, which often means the specific way you orient and torque the set screw matters more than simply how hard you tighten it.
When you are on someone else’s boom, take extra care with your modifier choice. A five-foot octabox on an unmodified round pole in a location you cannot prep is asking for trouble. Drop to a smaller modifier if you have the option, or position the boom at a slight angle to reduce torque while accepting the two-axis adjustment trade-off.
What I Do Differently After Watching This
I would add one thing Grimes does not mention: after grinding the flat spot, I run a small piece of black gaffer tape around the pole two inches back from the tip. It does nothing structural, but it marks the orientation zone visually so my assistants know exactly where to seat the post when they are rigging without me standing over them. Fast setup on busy shoot days depends on removing every possible ambiguity from the process. A two-second visual reference beats a five-minute adjustment conversation every time.
I also test this on every modifier the day it arrives in the studio. I mount it, angle it aggressively, and check for drift before it ever appears in a paid session. That habit has saved me more than once.
The single most important idea in this tutorial is that boom stability is a design problem, not a tightening problem. You cannot torque your way out of a round post. The flat spot is a five-minute modification that changes the mechanical relationship between your clamp and your pole permanently, and it costs you nothing but an afternoon and a twenty-dollar grinder.
Watch the full tutorial on YouTube to see Grimes demonstrate the grinding process and the mounting sequence in real time. His explanation of boom geometry in the back half of the video is worth watching twice.
Comments (2)
Quality content like this is rare. Keep it up.
Great breakdown. The step-by-step approach really helps.
Leave a Comment