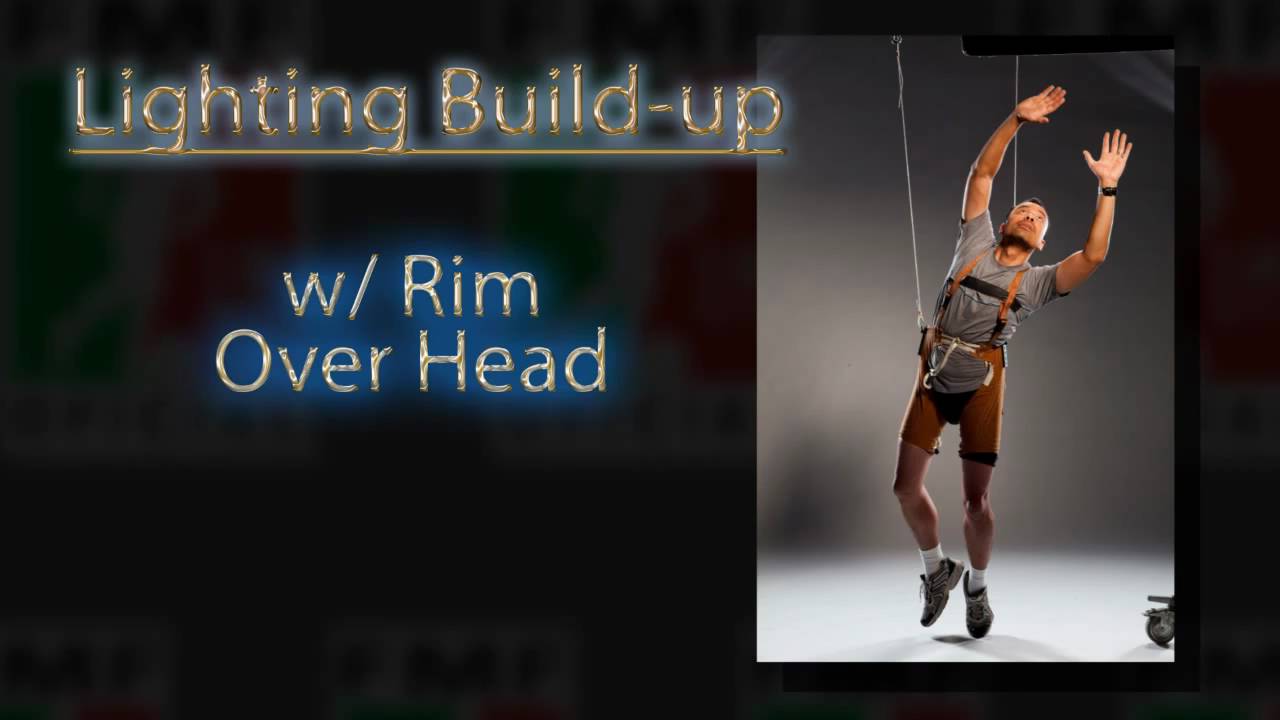
Clients come to you with ideas that sound impossible until you break them down into problems you already know how to solve. A stretched, reaching, mid-air pose for a soccer player sounds like a job for a trampoline or a very patient athlete. In practice, jumping produces chaos: uncontrolled body position, expressions you can’t predict, and a setup you can’t repeat. I’ve been in that situation more than once, and the solution is almost always more control, not more attempts.
That’s exactly what drew me to this tutorial. In this The Slanted Lens tutorial on suspension rigs, Jay P. Morgan walks through the full process of suspending a subject on a cable harness to achieve a precise action pose, then lights it to sell the illusion. The client needed a specific stretched posture, with room in the frame for copy, and that kind of specificity rules out improvised jumping entirely. What follows is my breakdown of how it works and what I’d carry into my own studio from it.
Every lighting setup I work from gets sketched into a notebook I keep on the shelf above my monitor. After watching this one twice, it took up two pages. There’s a lot happening, and the order matters.
Step 1: Build and Test the Suspension Rig Before the Shoot Day
 Adam testing the suspension harness before the shoot
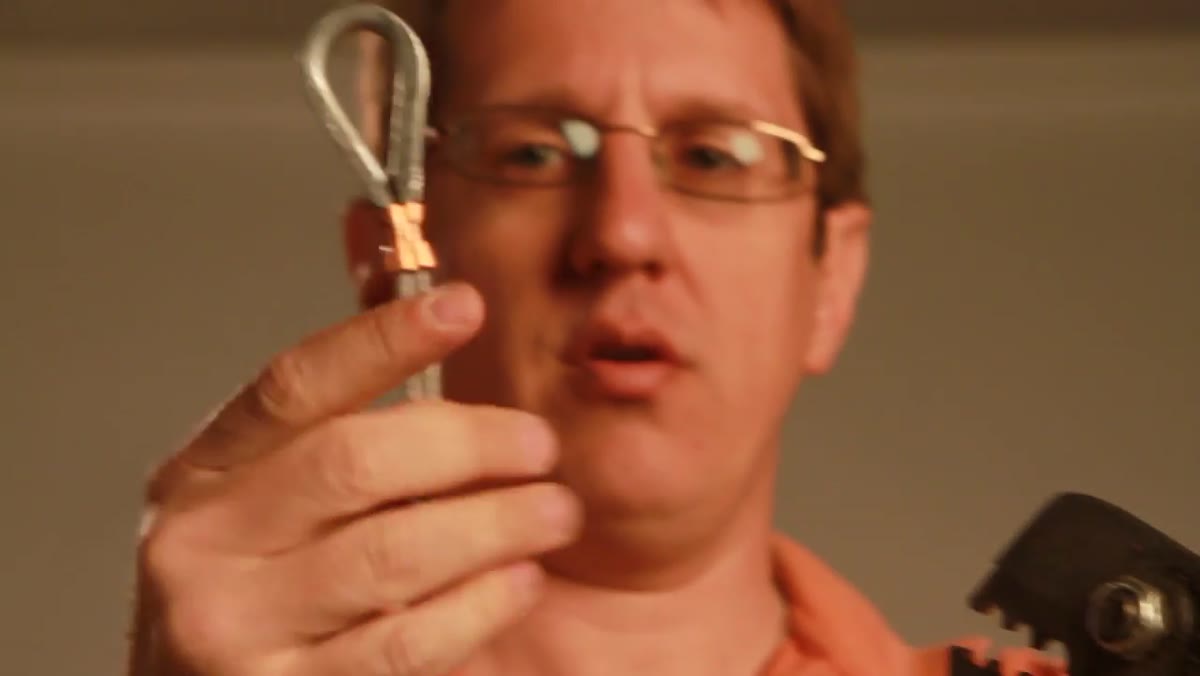
The rig itself is built from components you can source at a hardware store or climbing retailer: quarter-inch steel cable, copper crimps, thimbles to protect the cable loop, quick links, a carabiner, and a shackle. The harness in the video came from a special effects house in Los Angeles, but Morgan is clear that a climbing harness from any sporting goods store does the same job. The critical point here is not the source of the gear but the testing protocol. They rigged and tested the setup on a stand-in the day before the actual shoot, not the morning of. That buffer gives you time to identify any adjustments without burning client time.
Adam testing the suspension harness before the shoot
The rig itself is built from components you can source at a hardware store or climbing retailer: quarter-inch steel cable, copper crimps, thimbles to protect the cable loop, quick links, a carabiner, and a shackle. The harness in the video came from a special effects house in Los Angeles, but Morgan is clear that a climbing harness from any sporting goods store does the same job. The critical point here is not the source of the gear but the testing protocol. They rigged and tested the setup on a stand-in the day before the actual shoot, not the morning of. That buffer gives you time to identify any adjustments without burning client time.
If you’re building something like this for the first time, test with someone whose weight matches your subject. Verify every crimp, every connection point, and every load-bearing joint before anyone goes in the air. This is the step that turns a dangerous improvisation into a repeatable technique.
Step 2: Set the Subject’s Position for Composition, Not Just Comfort
 Rod standing in as subject, positioned for camera framing
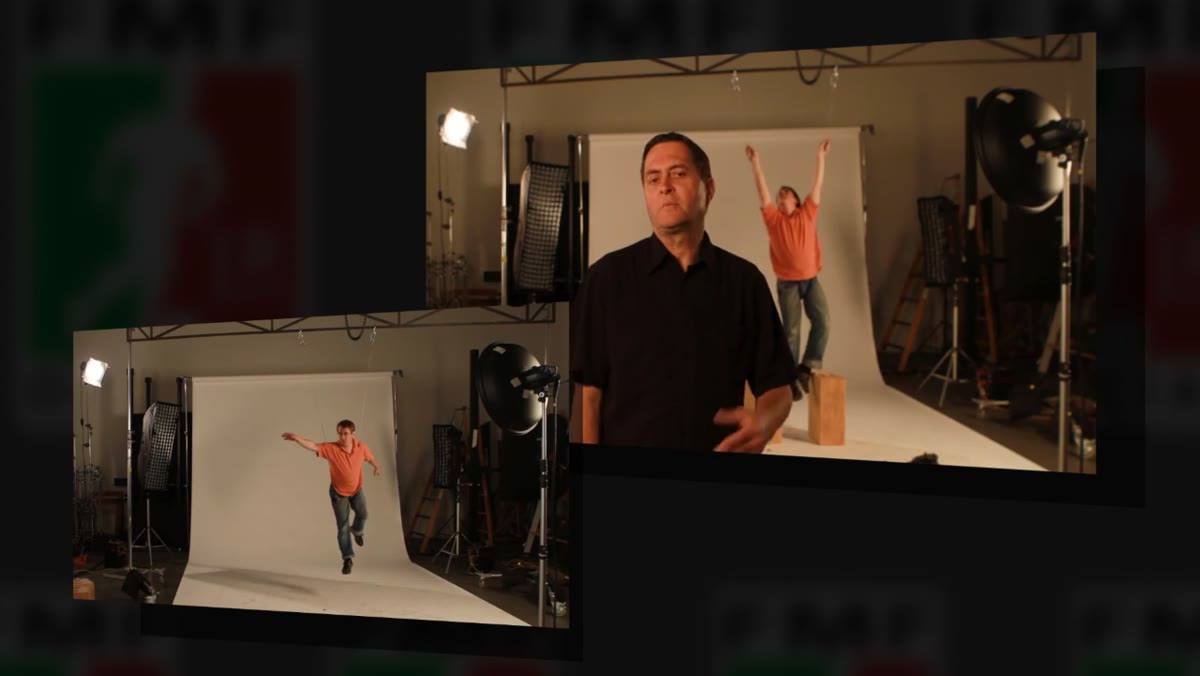
Once the harness is rigged, positioning is a creative and compositional decision, not just a safety one. In this case, the frame needed to accommodate copy on a specific side, which meant the subject’s body had to land in a very particular spot. That’s the real advantage of suspension over jumping: you place the person exactly where they need to be, and they stay there while you work on body language, arm extension, and expression without a clock running.
Rod standing in as subject, positioned for camera framing
Once the harness is rigged, positioning is a creative and compositional decision, not just a safety one. In this case, the frame needed to accommodate copy on a specific side, which meant the subject’s body had to land in a very particular spot. That’s the real advantage of suspension over jumping: you place the person exactly where they need to be, and they stay there while you work on body language, arm extension, and expression without a clock running.
Use a stand-in to dial in your frame before your primary subject goes up. Lock down your camera position and focal length first, because adjusting those after the subject is suspended costs you significantly more time. Treat this positioning phase like blocking on a film set.
Step 3: Establish Rim Light First, from Both Sides
 Strip box being positioned on camera left side
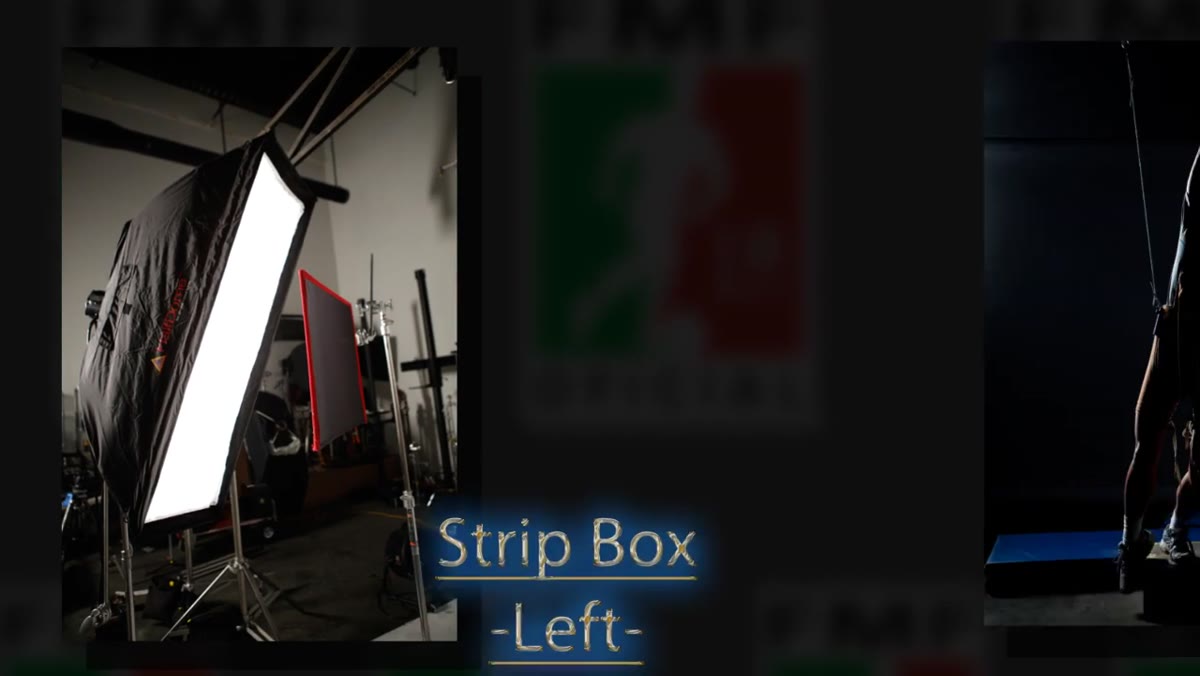
The lighting build starts with rim lights, one strip box on camera left, one on camera right. Morgan describes wanting a hard, stadium-light quality, something that reads like floodlights raking across an athlete from the sides. Strip boxes give you that controlled, directional punch without spilling light everywhere. The goal at this stage is to define the edges of the body and create separation from the background before any frontal light muddies that contrast.
Strip box being positioned on camera left side
The lighting build starts with rim lights, one strip box on camera left, one on camera right. Morgan describes wanting a hard, stadium-light quality, something that reads like floodlights raking across an athlete from the sides. Strip boxes give you that controlled, directional punch without spilling light everywhere. The goal at this stage is to define the edges of the body and create separation from the background before any frontal light muddies that contrast.
Get both strip boxes balanced before you add anything in front. The ratio between your two rims matters: if one side is dominant, it can flatten the dimensional quality you’re trying to create. Meter each side independently and adjust until the body reads as fully three-dimensional from the camera’s perspective.
Step 4: Add a Beauty Dish for the Key Light
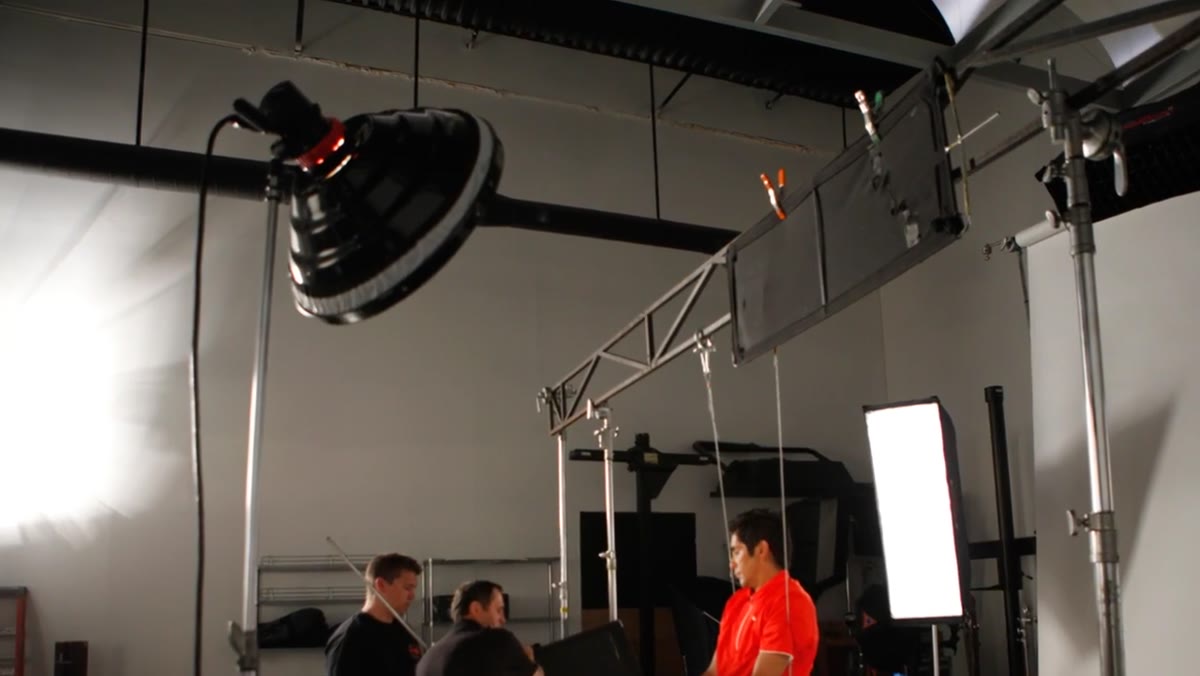 Beauty dish being set up in front of the subject
With the rim lights established, a beauty dish comes in as the frontal key. Morgan’s process here matches mine almost exactly: start with the bare beauty dish, then add a grid if the light is spilling where you don’t want it, and if it’s still too harsh, put a diffusion sock over it. That’s a three-stage refinement you can do in under five minutes. The beauty dish gives you a punchy, slightly wrap-around light that reads as more dramatic than a softbox but less brutal than a bare strobe.
Beauty dish being set up in front of the subject
With the rim lights established, a beauty dish comes in as the frontal key. Morgan’s process here matches mine almost exactly: start with the bare beauty dish, then add a grid if the light is spilling where you don’t want it, and if it’s still too harsh, put a diffusion sock over it. That’s a three-stage refinement you can do in under five minutes. The beauty dish gives you a punchy, slightly wrap-around light that reads as more dramatic than a softbox but less brutal than a bare strobe.
For an athletic subject in mid-air, you generally want that edge. Soft, flattering light undercuts the physicality of the pose.
Step 5: Add a Rear Overhead Strip Box for Separation
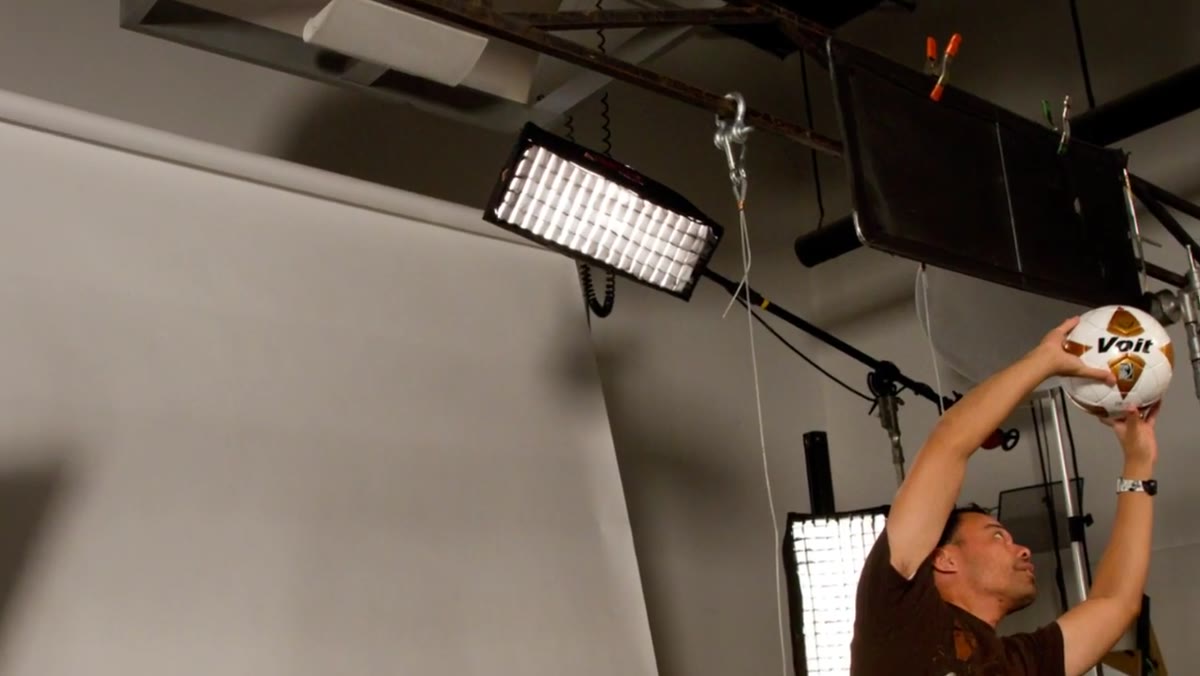 Small strip box added overhead behind the subject
After evaluating the image with the key and rim lights in place, the tutorial adds a small strip box positioned overhead from behind the subject. This creates additional separation between the subject and the background, giving the illusion that he’s genuinely floating in space rather than hanging in front of a flat surface. It’s a subtle addition, but without it, the image reads as flatter and more static.
Small strip box added overhead behind the subject
After evaluating the image with the key and rim lights in place, the tutorial adds a small strip box positioned overhead from behind the subject. This creates additional separation between the subject and the background, giving the illusion that he’s genuinely floating in space rather than hanging in front of a flat surface. It’s a subtle addition, but without it, the image reads as flatter and more static.
Position this light carefully so it doesn’t create a hot spot on the top of the head. Flag it if you need to keep it off the scalp and direct it more toward the shoulders and upper back.
Step 6: Fill the Frame with a Large Octabox Behind the Camera
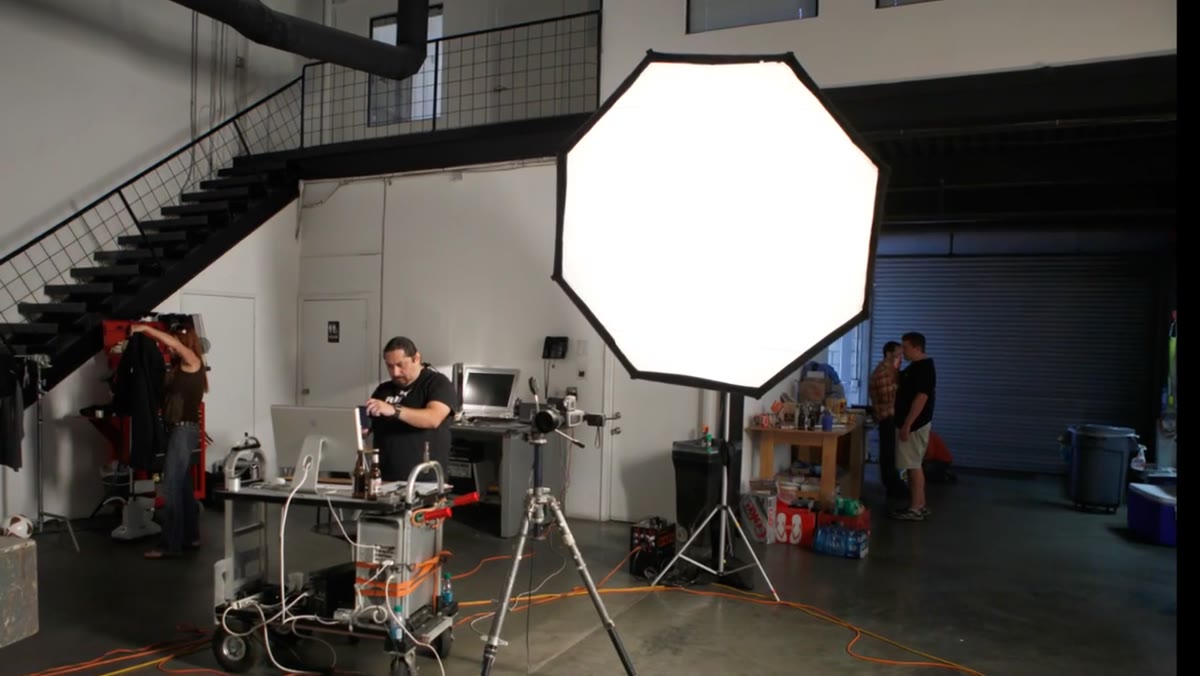 Large octabox placed behind the camera for fill light
A large octabox behind the camera serves as the fill source, wrapping light into the shadows created by the key and rim setup. This is a standard fill position, but the size matters here: a large modifier behind the camera produces soft, directionless fill that doesn’t compete with or cancel out the harder lights you’ve already built.
Large octabox placed behind the camera for fill light
A large octabox behind the camera serves as the fill source, wrapping light into the shadows created by the key and rim setup. This is a standard fill position, but the size matters here: a large modifier behind the camera produces soft, directionless fill that doesn’t compete with or cancel out the harder lights you’ve already built.
Set this at least one full stop below your key. You want the shadows to lift, not disappear.
Step 7: Target a Separate Light on the Lower Body
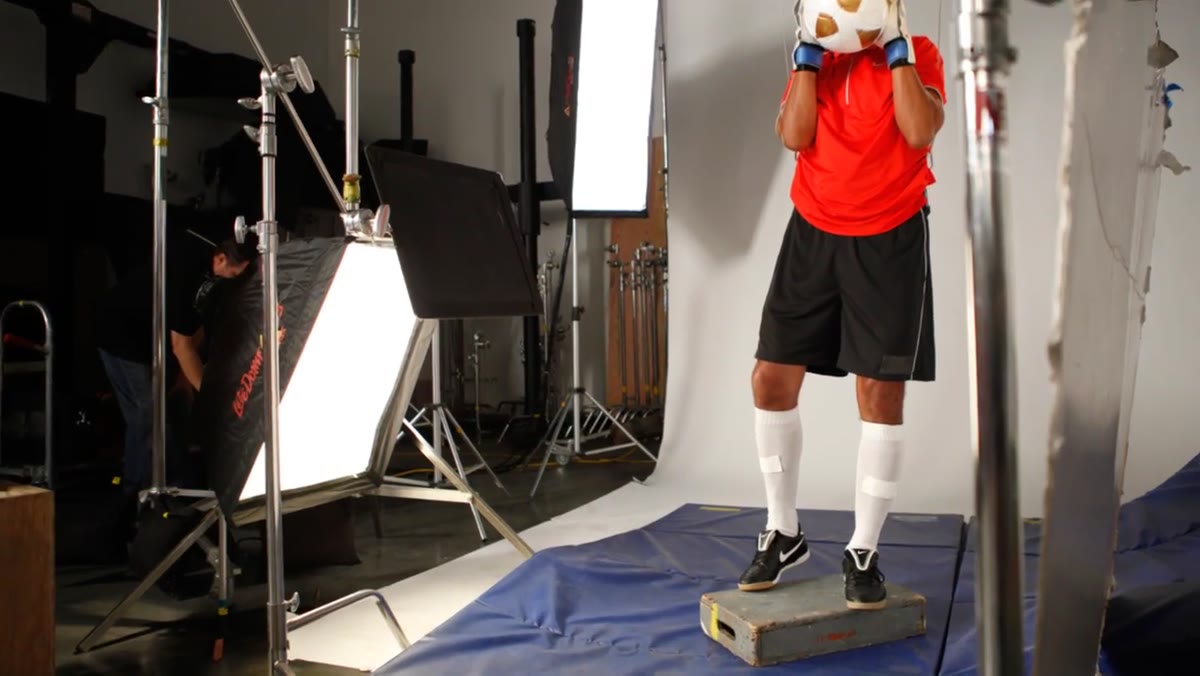 Medium softbox placed low and flagged for the legs
Once the subject is actually in position and you review a test frame, the lower body can fall into shadow because the key light and fill are both aimed at the torso and face. The tutorial addresses this with a medium softbox placed low and flagged so it only illuminates the legs and lower half without spilling up and washing out the rest of the lighting. This is easy to skip and hard to fix in post. A flagged low light is a ten-minute addition that saves an hour of retouching.
Medium softbox placed low and flagged for the legs
Once the subject is actually in position and you review a test frame, the lower body can fall into shadow because the key light and fill are both aimed at the torso and face. The tutorial addresses this with a medium softbox placed low and flagged so it only illuminates the legs and lower half without spilling up and washing out the rest of the lighting. This is easy to skip and hard to fix in post. A flagged low light is a ten-minute addition that saves an hour of retouching.
What I’d Do Differently in My Own Studio
The video doesn’t spend much time on color temperature consistency between the multiple light sources, and that’s the one thing I’d add to this workflow explicitly. I learned that lesson the hard way early in my career. With six lights running simultaneously, even small differences in color temperature between units or modifier types can produce color casts on the subject that shift across the body. Before a shoot like this, I’d run a gray card under each light independently and verify that they’re all hitting the same target in Lightroom. It adds twenty minutes to prep and removes a variable that can otherwise undermine an otherwise technically clean setup.
The wire removal in post is also worth acknowledging: you’re not done when you wrap the shoot. Budget retouching time explicitly for the cables and any mat or rigging visible in frame. That’s part of the deliverable.
Suspension rigs aren’t exotic. They’re a tool for buying control when the physics of jumping won’t give you what the shot needs. The lighting principles in this tutorial, rim first, key second, fill and detail lights after, apply to almost any dramatic athletic portrait. The rig just earns you the time to actually execute them.
Watch the full tutorial on YouTube to see the rig build, the full light sequence, and the final composite result.
Comments
Leave a Comment