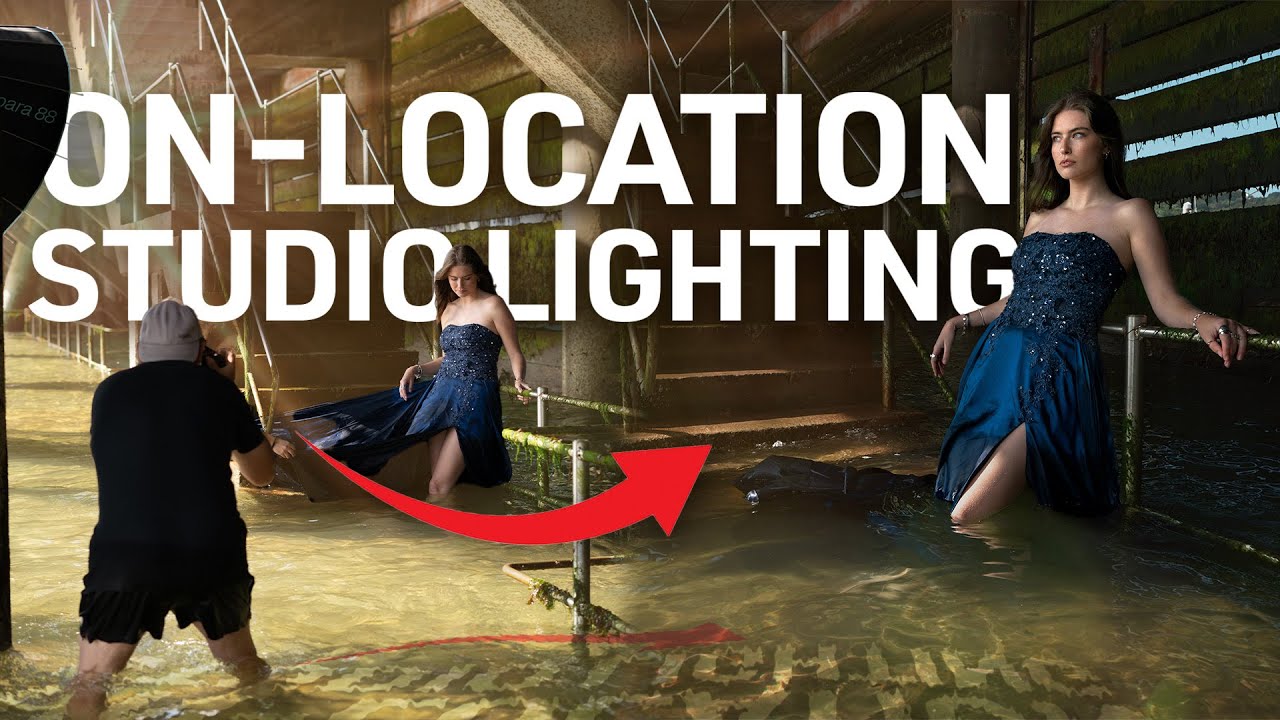
Every location photographer eventually hits the same wall. You find a beautiful spot, the natural light is doing something interesting, and then your subject steps into the shade and becomes a muddy silhouette. You can expose for the shadows and blow out the background, or expose for the background and lose your subject entirely. Neither is acceptable on a commercial job. For years, the only real solution was hauling a generator or accepting the compromise. That changed when lithium-powered monolights became genuinely powerful enough for fashion and editorial work.
Watch the full tutorial on YouTube
In this Visual Education tutorial, photographer Carl takes the Broncolor Stelos to a harbor location and shoots a fashion model in conditions that would have been a nightmare before portable studio-grade flash existed. Strong directional sunlight, deep architectural shadows, reflective water. The kind of mixed, uncontrollable light that separates photographers who understand exposure relationships from those who just hope for the best. What makes the tutorial worth studying is not the gear itself but the specific logic Carl uses to balance the flash against the ambient. I sketched the setup in my lighting journal the night I watched it, and I’ve already referenced it twice since.
Step 1: Identify Your Shadow Problem Before You Set Up the Light
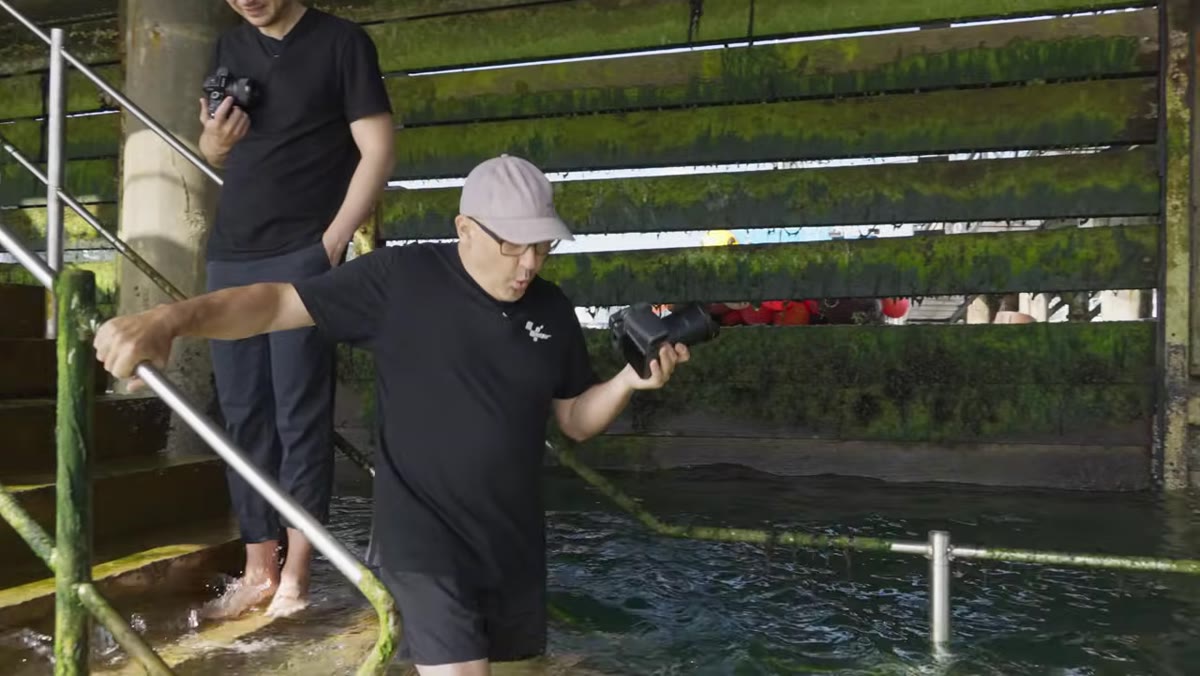 Photographer arriving at harbor location with Broncolor Stelos
Before Carl fires a single frame, the location itself defines the assignment. The harbor provides strong, directional sunlight that creates heavy shadows in specific areas. The technique here is not about creating a dramatic lighting setup from scratch. It is about diagnosing which areas of the scene are underexposed relative to where you want to place your subject, and then using the flash to correct exactly that gap.
Photographer arriving at harbor location with Broncolor Stelos
Before Carl fires a single frame, the location itself defines the assignment. The harbor provides strong, directional sunlight that creates heavy shadows in specific areas. The technique here is not about creating a dramatic lighting setup from scratch. It is about diagnosing which areas of the scene are underexposed relative to where you want to place your subject, and then using the flash to correct exactly that gap.
When you arrive on location, walk the space and identify where you want to shoot, then assess the shadow depth in that area. Meter the highlights. Meter the shadows. The difference between those two readings tells you how much flash power you need to fill without overpowering the ambient. This diagnostic step happens before the light comes out of the bag.
Step 2: Set Your Camera Exposure for the Ambient Light First
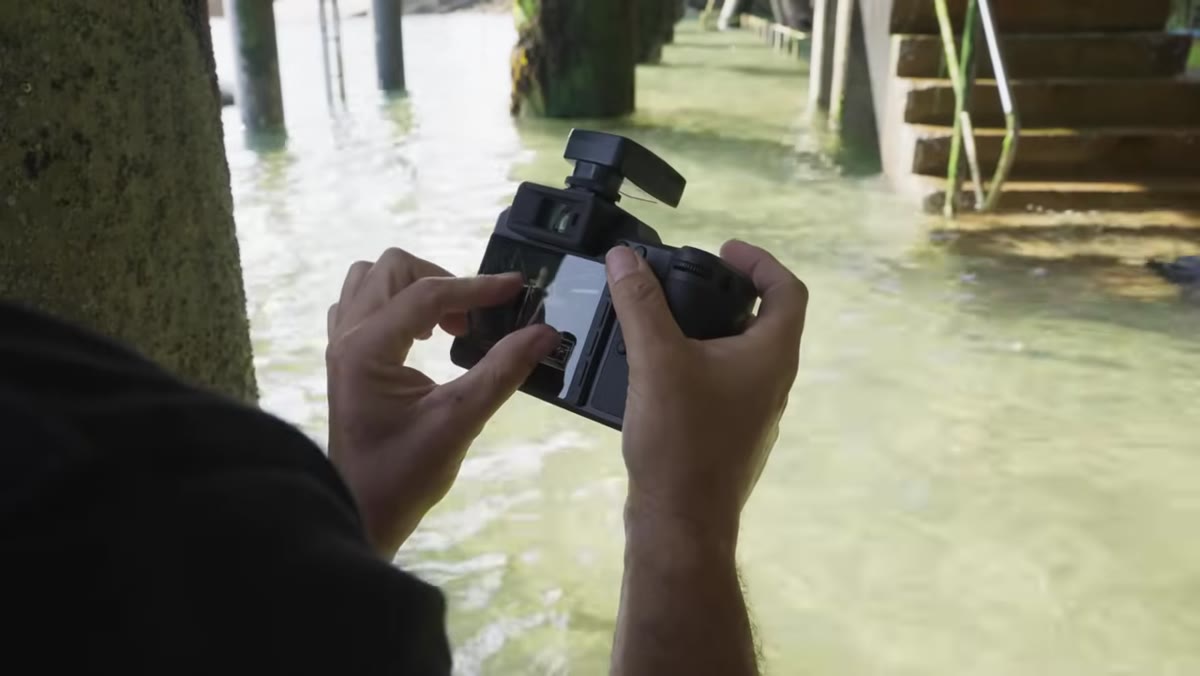 Camera settings being reviewed, flash and sunlight exposure confirmed
Carl’s workflow follows the rule that every working location photographer should internalize: the camera exposure is set for the background, not the subject. You are locking in the mood of the scene, the sky, the water, the surrounding environment, and letting the flash handle the subject separately.
Camera settings being reviewed, flash and sunlight exposure confirmed
Carl’s workflow follows the rule that every working location photographer should internalize: the camera exposure is set for the background, not the subject. You are locking in the mood of the scene, the sky, the water, the surrounding environment, and letting the flash handle the subject separately.
In the tutorial, Carl confirms his flash and sunlight exposure before moving further into the shoot. That means he has already dialed in an ambient exposure that renders the background correctly, probably slightly darker than a straight meter reading to preserve drama and prevent the sky from going flat. Once that is locked, flash power becomes the only variable he is adjusting. This separation of responsibilities, ambient controls the background, flash controls the subject, is the single clearest way to think about any mixed-light situation.
Step 3: Position the Stelos to Strike the Shadow Areas Directly
 Flash unit aimed directly at model in shadowed corner of harbor
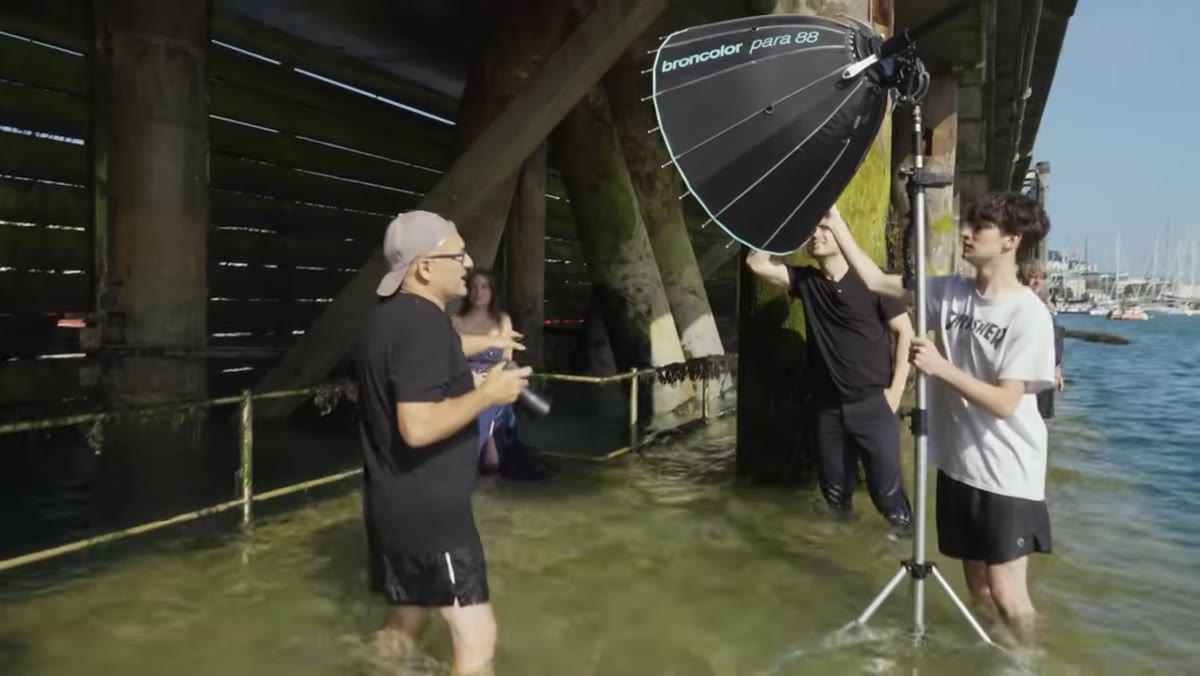
Carl moves the Stelos into a corner of the location and aims it directly at the model. This is not a subtle fill strategy. He is using the flash as a primary light source for the subject specifically because she is positioned in deep shadow. The goal is to make her as well-exposed as the surrounding scene, not to add a creative lighting effect on top of natural light.
Flash unit aimed directly at model in shadowed corner of harbor
Carl moves the Stelos into a corner of the location and aims it directly at the model. This is not a subtle fill strategy. He is using the flash as a primary light source for the subject specifically because she is positioned in deep shadow. The goal is to make her as well-exposed as the surrounding scene, not to add a creative lighting effect on top of natural light.
The Stelos is mounted in a Par 88 modifier here, which produces a relatively concentrated beam. That choice matters on location. A large softbox in a harbor environment can catch wind and becomes unwieldy with a small crew. A tighter modifier gives you control, stays manageable, and concentrates the output where it needs to go rather than spilling light across the entire scene and flattening the ambient you worked to preserve.
Step 4: Adjust Flash Power Until the Subject Matches the Background Exposure
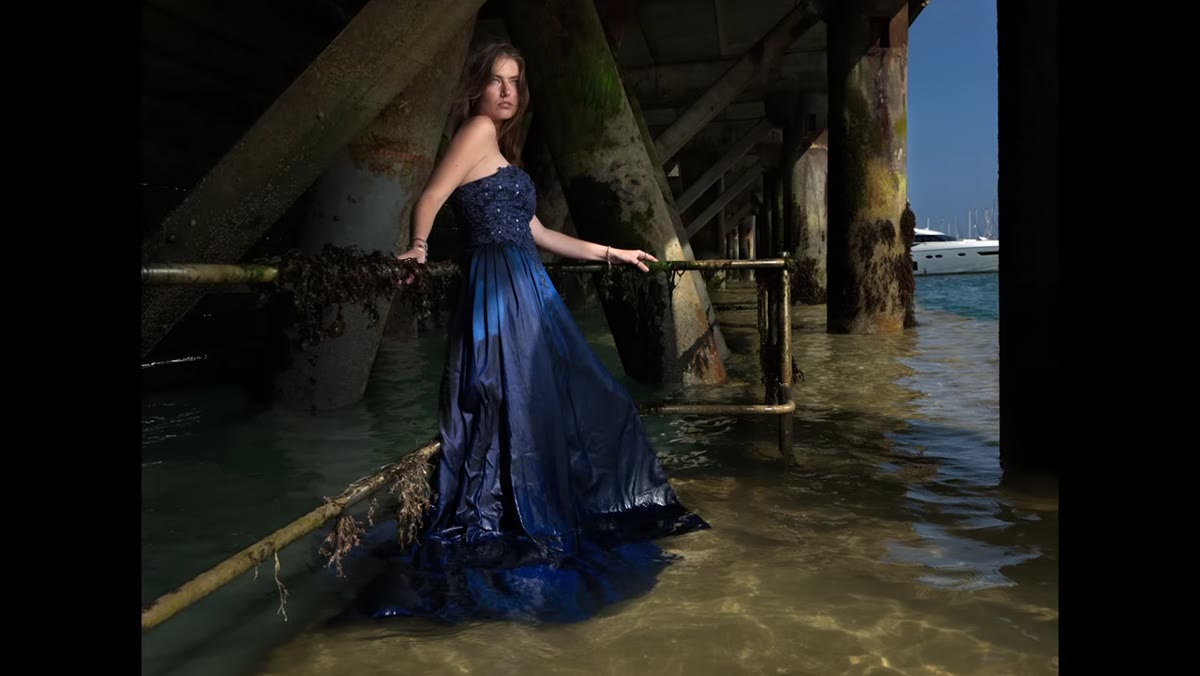 Photographer reviewing image, checking subject exposure against background
The practical work in this step is iterative. Carl fires, reviews, adjusts. He is looking at the histogram and the image itself to confirm that his subject reads at the same exposure level as the lit areas of the background. If she is too bright, she looks artificial and pasted in. If she is too dark, the flash has not solved the problem.
Photographer reviewing image, checking subject exposure against background
The practical work in this step is iterative. Carl fires, reviews, adjusts. He is looking at the histogram and the image itself to confirm that his subject reads at the same exposure level as the lit areas of the background. If she is too bright, she looks artificial and pasted in. If she is too dark, the flash has not solved the problem.
The Stelos has a broad power range, and Carl mentions this specifically during the behind-the-scenes segment. That range is what makes fine adjustments workable. You are not stuck choosing between too much and too little. Being able to dial down to fractions of a stop on location, without connecting to a pack, without moving anything, is the operational detail that makes this kind of shooting practical rather than theoretical.
Step 5: Adapt Focal Length and Subject Pose to the Light Position
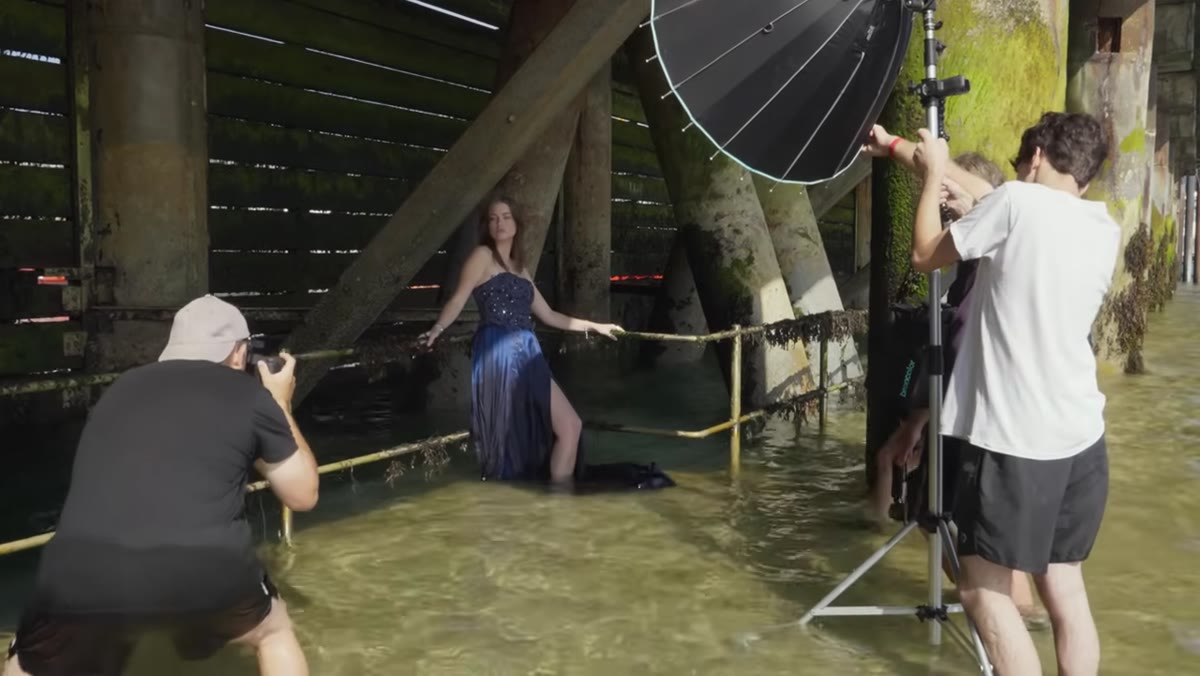 Photographer switching to wide angle lens, directing model to lower position
Once the exposure relationship is working, Carl shifts to a wide-angle lens for a frame that introduces some distortion and a more dynamic perspective. He also directs the model to lower her position, which changes how the light from the Stelos strikes her face and body. These two moves together, lens choice and subject repositioning, happen after the technical problem is solved, not before.
Photographer switching to wide angle lens, directing model to lower position
Once the exposure relationship is working, Carl shifts to a wide-angle lens for a frame that introduces some distortion and a more dynamic perspective. He also directs the model to lower her position, which changes how the light from the Stelos strikes her face and body. These two moves together, lens choice and subject repositioning, happen after the technical problem is solved, not before.
This sequencing is deliberate. Nail the light, then explore the creative. I have watched too many photographers try to compose a shot before they have controlled the light, and they end up making compromises in both areas. Get the exposure relationship right first. Then you can move the model, change lenses, and push the image further without chasing a moving target.
What I Would Add From My Own Experience
The tutorial does not address color temperature, and on certain location shoots that omission can cost you. Flash outputs at roughly 5500K. Midday sun is close to that, which is why this harbor shoot works cleanly. But shoot in the late afternoon or in shade with open sky overhead, and your ambient is pushing cooler or warmer than your flash, and your subject will look subtly wrong even if the exposure is perfect.
I learned this the hard way on my first big editorial shoot: a color temperature mismatch I did not catch until editing nearly tanked the job. Now I pull out a gray card at the start of every location session and shoot a reference frame with the flash firing. It takes thirty seconds and it gives you an anchor for white balance in post. If you are mixing a battery strobe with any ambient light that is not noon sun, calibrate before you commit.
The core lesson in this Visual Education tutorial is one of discipline: your flash does not replace the natural light in a scene, it completes it. Carl is not trying to overpower the sun. He is using a precisely controlled supplement to lift his subject out of shadow while the background exposure stays exactly where he set it. That distinction, fill versus fight, is what separates photographers who use battery flash effectively from those who just add more power and hope the image holds together.
Watch the full tutorial on YouTube
Comments (5)
Great breakdown. The step-by-step approach really helps.
The tip about how to use a battery powered m was the missing piece for me. Thank you.
Love this. I referenced a similar technique in one of my recent posts. Always good to see other perspectives.
Clear and practical. No fluff. Appreciate that.
Quality content like this is rare. Keep it up.
Leave a Comment