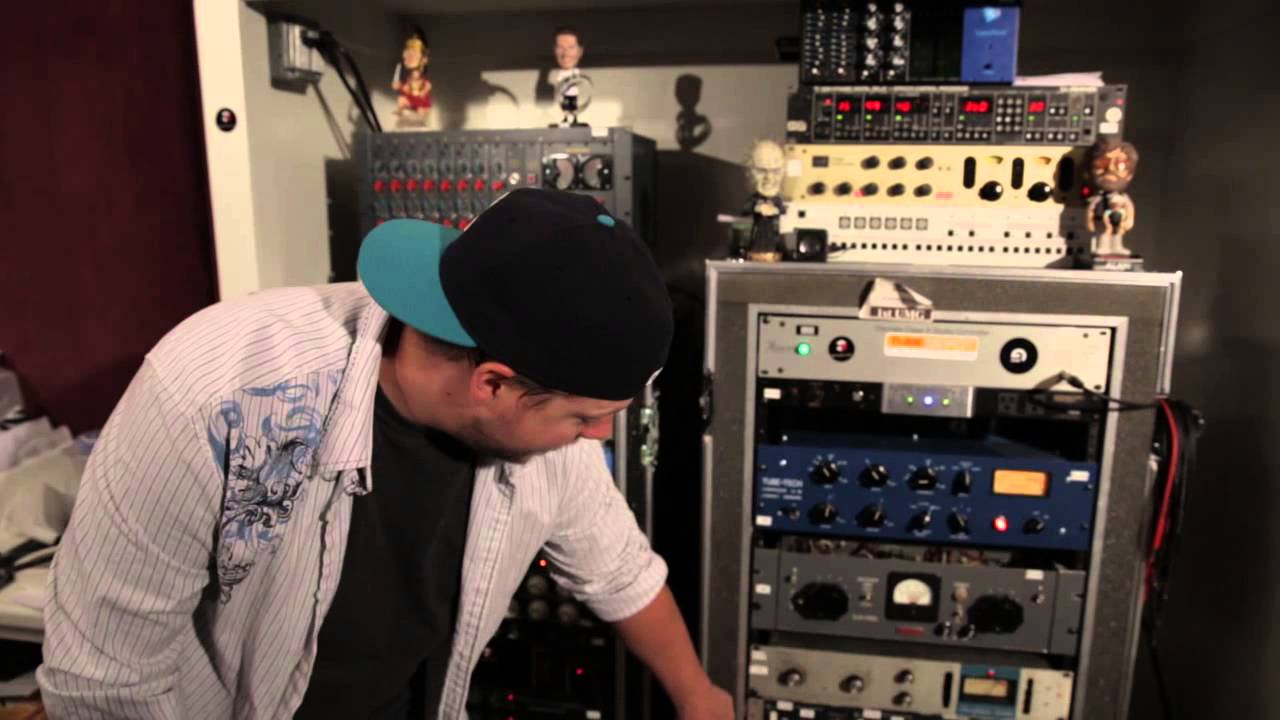
I spend a lot of time thinking about how professionals build their working environments, because the gear someone chooses - and the order they choose to use it in - tells you almost everything about their philosophy. That applies whether you’re stacking compressors in a recording studio or arranging modifiers on a lighting grid. When I came across this CreativeLive walkthrough with producer Andrew Wuepper, filmed at Triangle Sound Studios in Los Angeles, I kept pausing it to sketch notes. Watch the full tutorial on YouTube
What struck me immediately is that Wuepper doesn’t just list his gear. He explains the why behind each piece, which is rarer than it should be. Most studio tours are essentially flex sessions. This one reads more like a working document. And as someone who labels every light in his studio with masking tape so there’s zero ambiguity during a shoot, I have a lot of respect for that kind of methodical intentionality.
The lesson for photographers here isn’t “go buy recording equipment.” It’s about how the professionals in any discipline build systems where every tool has a specific, defended purpose - and how that thinking should shape your own studio, whatever you’re putting in it.
Step 1: Understand What a Summing Amp Does to Your Signal
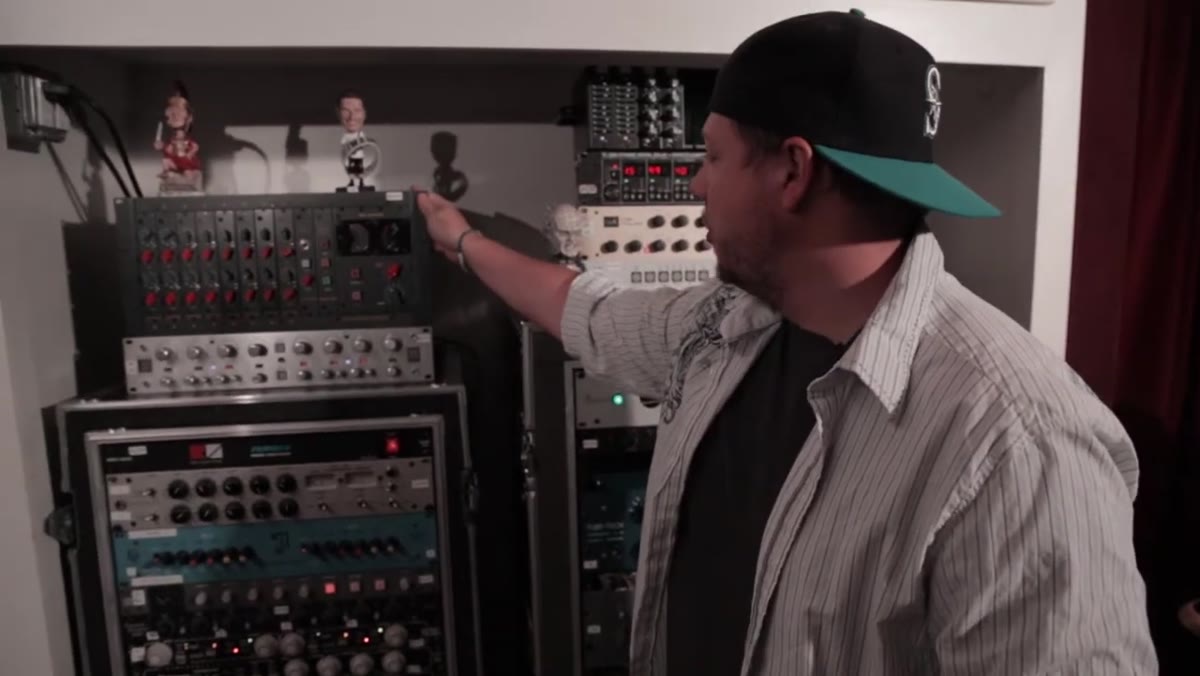 Chandler Limited mini mixer in equipment rack
Wuepper opens with his Chandler Limited mini mixer, which functions as a summing amplifier for his Pro Tools sessions. The idea is simple: instead of mixing entirely inside the box, audio routes out of the DAW, passes through analog hardware, and returns with a different character. The software mix becomes a starting point rather than a finished product.
For photographers, this maps directly onto the question of whether to shoot tethered and process on-screen or to evaluate prints under calibrated light. Digital is clean and controllable, but passing your work through a secondary physical check - a print, a calibrated monitor, a second set of eyes - changes what you notice.
Step 2: Know Which Tool Does What on the High End
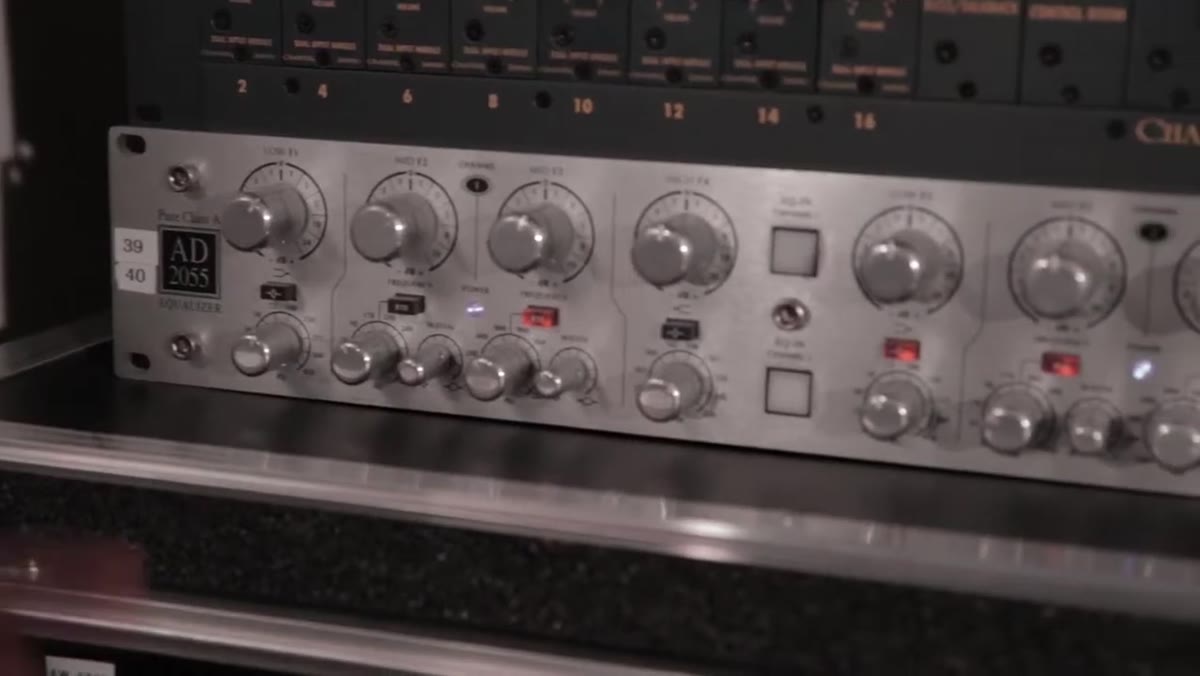 Avalon 2055 stereo EQ unit in rack
The Avalon 2055 stereo EQ gets called out specifically for vocals - its top-end clarity is the point. Wuepper follows this immediately with the NTI EQ3, which he uses on the stereo bus for the same reason: transparent, detailed high frequencies. He’s not doubling up carelessly. Each EQ sits at a different point in the chain and handles a different layer of the mix.
This is the part that frustrates me when photographers buy modifiers. They’ll grab a beauty dish and a large softbox and use them interchangeably because both “soften light.” But softness has texture, direction, and falloff characteristics that change everything. Know what your tool does at its best, then put it exactly there.
Step 3: Match Your Compression Character to the Source
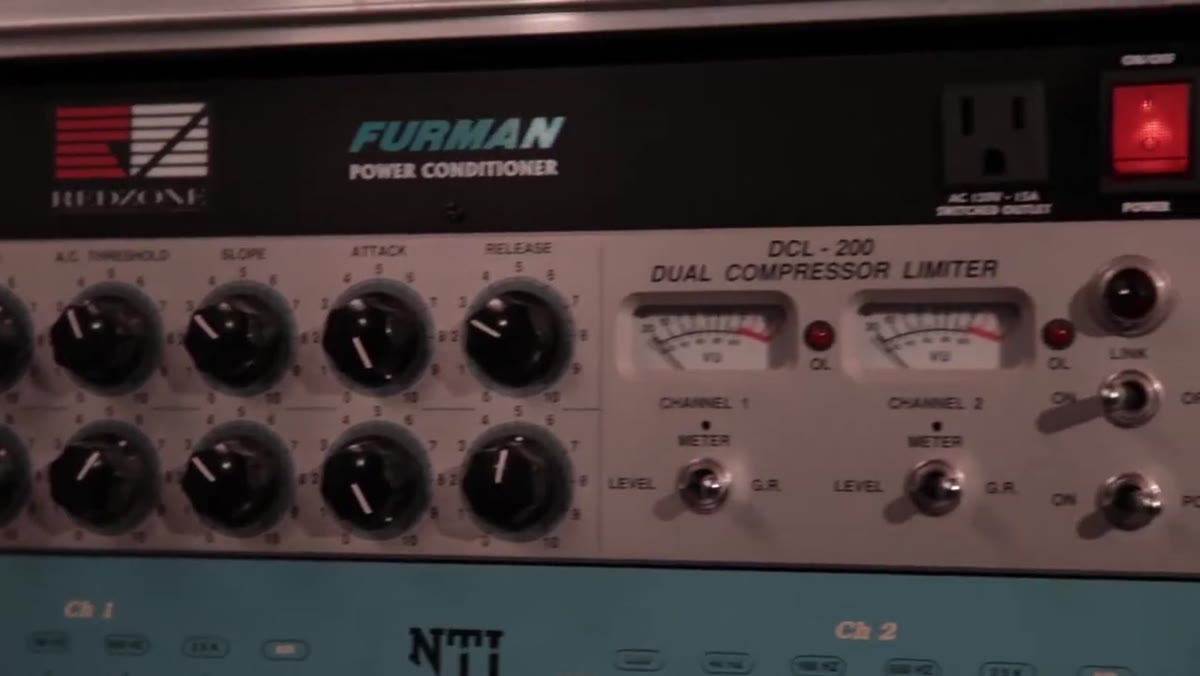 Summit DCL 200 tube compressor in rack
Wuepper works with a range of compressors, and he’s specific about where each one goes. The Summit tube compressor gets used on background vocals and guitars because of its warmth. The Tube-Tech CL1B goes on lead vocals and bass. The vintage 1176 works across almost anything. The old broadcast compressor from the 1950s gets pulled for parallel drum compression.
Each of these tools colors the signal differently. The choice isn’t “do I need compression” - it’s “what kind of compression serves this source.” Apply that logic to flash modifiers. A strip box and a parabolic both produce directional light, but the quality is different enough that swapping one for the other mid-shoot will show in the final images. Decide based on what the source needs.
Step 4: Use Saturation to Add Weight, Not Just Color
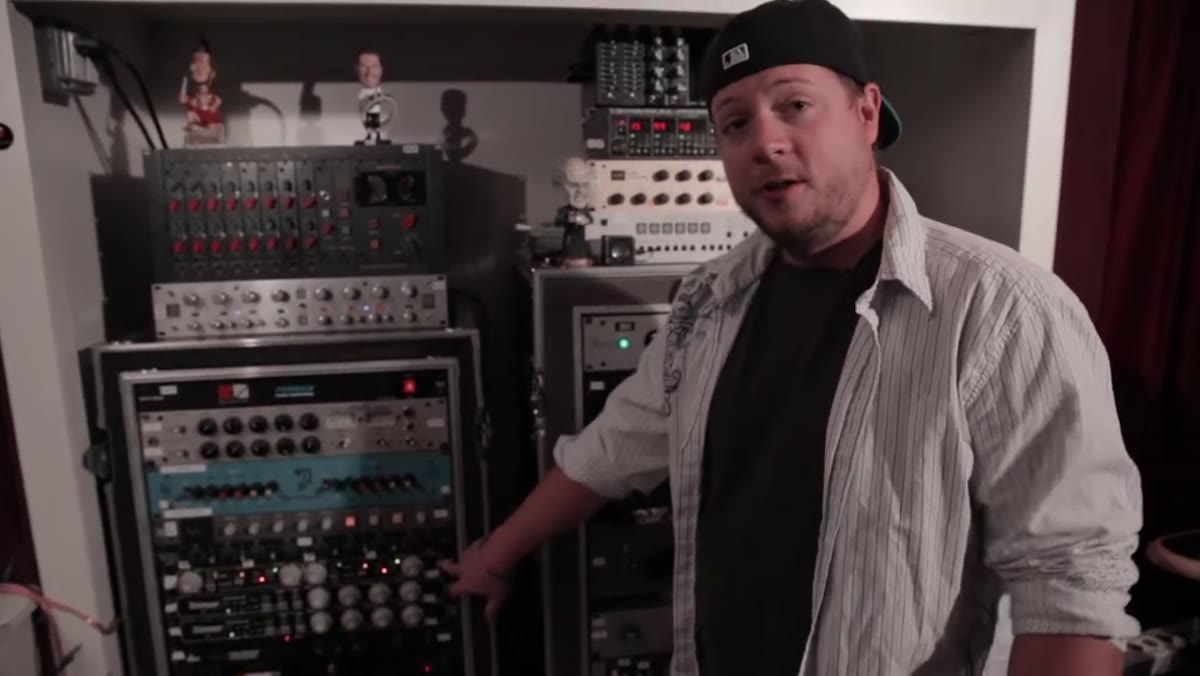 Empirical Labs Fatso tape emulator in rack
The Empirical Labs Fatso is a tape emulator, and Wuepper uses it specifically on synth bass, bass guitar, and anything that needs to sound more like it was recorded to tape. The idea is saturation - not distortion, but a kind of harmonic rounding that makes low frequencies feel physical rather than just audible.
In lighting terms, this is the difference between a hard strobe and a strobe bounced through something warm. The bounced version isn’t softer just because it’s diffused. It has a different spectral quality. When I first started shooting beauty, I ran everything through white modifiers because I thought neutral meant accurate. It took a while to understand that “accurate” and “flattering” are different targets, and sometimes you’re allowed to want both.
Step 5: Let the Clock Control Your Digital Precision
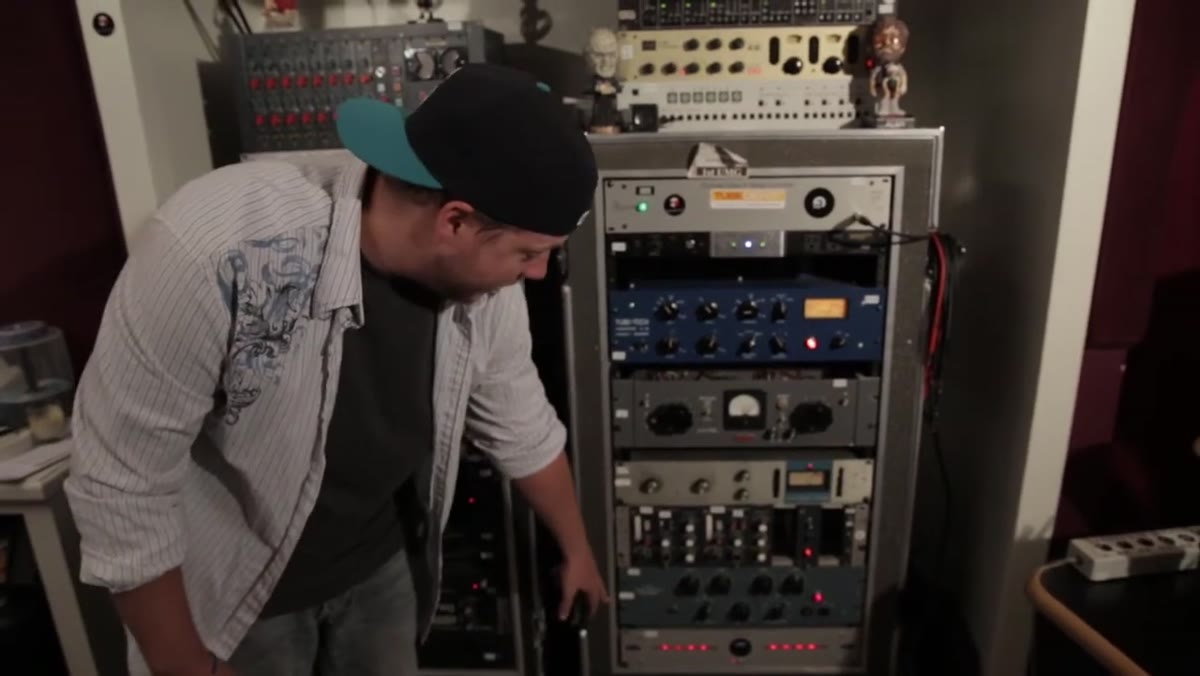 10M word clock unit described as secret weapon
This is the piece of gear Wuepper calls his secret weapon, and it’s the most conceptually interesting one in the tour. A 10M word clock synchronizes all of his digital converters and processing gear to a single reference signal. The result is tighter, more accurate digital audio. He’s direct about it: most people underestimate how much difference a quality clock makes, and he considers it the single most important piece in the room.
There’s a direct parallel in photography to color temperature calibration. A gray card, a color checker, a properly profiled monitor - none of these seem exciting, but they are the reference signal your entire workflow locks to. I ruined my first big editorial shoot by mixing tungsten and daylight sources without compensating for it. The raw files looked fine on my laptop. The prints looked like two different shoots. The clock was wrong, and everything downstream paid for it.
Step 6: Understand What Reverb Does to Perceived Space
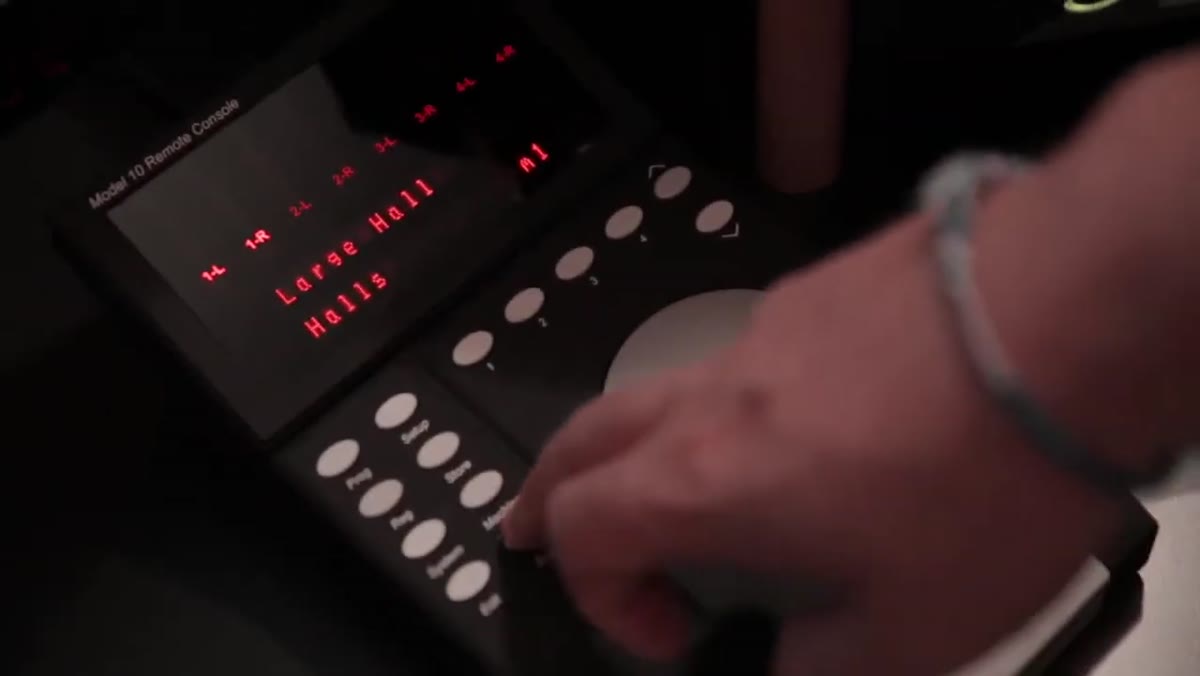 Bricasti M7 reverb unit described as king of reverbs
Wuepper lands on the Bricasti M7 with real enthusiasm, calling it the definitive modern reverb unit. Its value is in variety and realism - plates, halls, chambers, hundreds of options that all behave differently in a mix. The reverb isn’t decoration. It defines how large or intimate the recorded space feels.
Background elements in a portrait shoot do the same thing. A seamless paper background removes spatial context entirely - the subject exists nowhere. A set with some depth, even a simple one, gives the viewer a sense of room. Photographers who only work on seamless sometimes forget that spatial context is a tool they’re actively choosing to leave on the shelf.
Step 7: Print to Tape for Low-End Weight
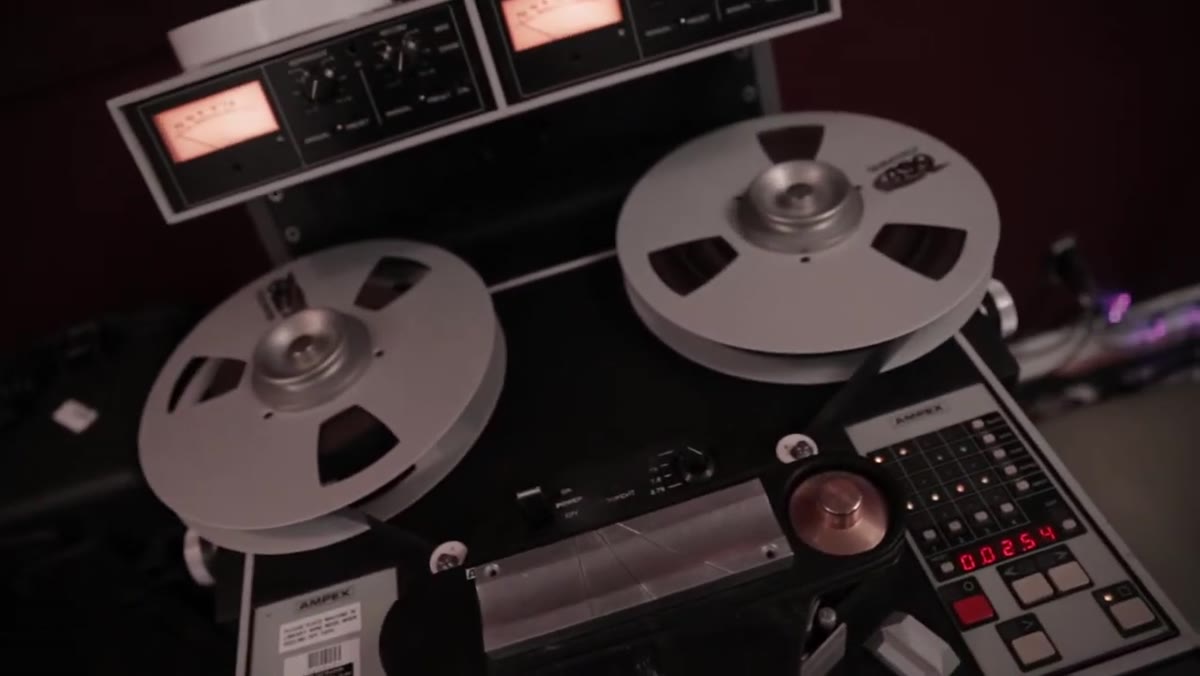 ATR tape machine with 1-inch head stack
The ATR tape machine at the end of the walkthrough is a two-track mixdown unit. Wuepper prints finished mixes to tape before mastering - sometimes for the whole record, sometimes just to run kick drums, bass, or 808s through it and bring the saturated result back into Pro Tools. The tape adds a rounded, physical quality to low frequencies that digital alone doesn’t produce.
This is deliberate workflow addition, not nostalgia. He knows exactly what the machine contributes, measures it against what the track needs, and uses it when it fits. That’s the model. Not “analog is better” as a blanket rule, but “this analog process does a specific thing, and I know when I need that thing.”
What I’d Add From My Own Practice
The throughline of this walkthrough is that Wuepper has done the work to understand his gear at a granular level, and that understanding is what lets him make fast decisions under pressure. In my studio, I keep a lighting journal where I sketch every setup after every shoot - light positions, modifier choices, power ratios, distance to subject. After a few years, that journal became the most valuable reference I have. I can look back at a shot I made two years ago and know exactly how to recreate it or push past it.
Wuepper’s rack isn’t special because it’s expensive. It’s special because every piece in it is there for a reason he can articulate. Build your studio the same way. Label things. Know what they do. Know what they sound like, or look like, or feel like when they’re working correctly. Then you can work fast without guessing.
The most important thing Wuepper demonstrates here is that professional quality comes from intentional tool selection at every step, not from any single piece of gear. Each unit in that rack was chosen for a specific job, and the chain as a whole produces something none of the individual pieces could accomplish alone. That’s true in audio. It’s just as true when you’re building a lighting setup from scratch.
Watch the full tutorial on YouTube
Comments
Leave a Comment