Every few months I walk through my own studio in Los Angeles and ask myself whether the space is working for me or against me. Lighting, storage, shooting zones, the workstation position relative to the set - these things compound. A cluttered studio is a slow studio, and a slow studio costs you clients. So when I came across this Visual Education behind-the-scenes tour of Karl Taylor’s commercial photography studio, I watched it not as a fan but as a working photographer taking notes. Watch the full tutorial on YouTube
What struck me immediately is how much a studio layout reflects a photographer’s actual working philosophy. Taylor’s space is not a showroom. It’s a production environment - prints from client work on the walls, flight cases staged near the door, a mezzanine office humming with business development and admin. This is what a studio looks like when it’s generating revenue. The tour is conducted by Fabian, a team member, which tells you something in itself: Taylor runs an operation large enough to have dedicated staff handling different functions.
The video is short and informal, but if you read it carefully it maps out something most photographers never see - the full infrastructure behind a commercial shoot. Here’s how to break that down into something you can actually apply to your own space.
Step 1: Use your studio walls as a live portfolio reference
 Framed client photographs lining the studio wall
The first thing visible in the studio tour is a wall of prints from previous client shoots. This is not decoration. In a commercial environment, when a new client or art director walks in for a pre-production meeting, those images on the wall do your selling before you open your mouth. I do the same thing in my own studio. I rotate prints based on what kind of work I’m currently pitching. If I’m going after beauty brands, the wall shows beauty. It’s a fast visual brief that sets the tone for every conversation.
Framed client photographs lining the studio wall
The first thing visible in the studio tour is a wall of prints from previous client shoots. This is not decoration. In a commercial environment, when a new client or art director walks in for a pre-production meeting, those images on the wall do your selling before you open your mouth. I do the same thing in my own studio. I rotate prints based on what kind of work I’m currently pitching. If I’m going after beauty brands, the wall shows beauty. It’s a fast visual brief that sets the tone for every conversation.
The practical takeaway: print your best client work large and mount it somewhere a visitor sees immediately. Not in a portfolio book, not on a screen - on the wall, at eye level, lit properly.
Step 2: Station your workstation inside the shooting space, not separate from it
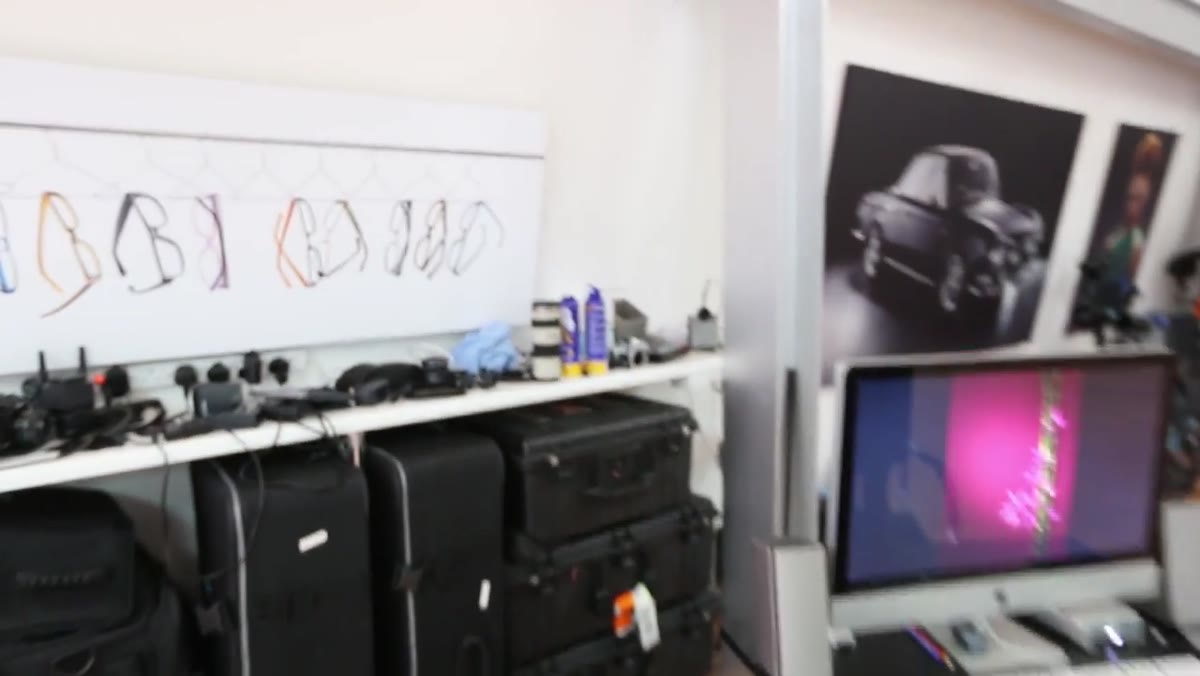 Workstation setup positioned adjacent to the studio shooting area
Fabian points out a workstation positioned alongside the active shooting area - not tucked away in a back room. This matters more than it sounds. When you’re tethering a shoot, the gap between camera and screen needs to be short. If you or your client has to walk twenty feet to check an image, you lose momentum. You lose the energy of the shoot. I keep my tethering station within arm’s reach of my shooting position, and I label every cable with masking tape so any assistant can manage it without asking me a question mid-shot.
Workstation setup positioned adjacent to the studio shooting area
Fabian points out a workstation positioned alongside the active shooting area - not tucked away in a back room. This matters more than it sounds. When you’re tethering a shoot, the gap between camera and screen needs to be short. If you or your client has to walk twenty feet to check an image, you lose momentum. You lose the energy of the shoot. I keep my tethering station within arm’s reach of my shooting position, and I label every cable with masking tape so any assistant can manage it without asking me a question mid-shot.
During a live fashion or beauty shoot, the art director is often glued to that workstation. Placing it thoughtfully - close to the set, with good sightlines - means they stay engaged with the work rather than isolated at a desk.
Step 3: Organize flight cases as a deployment system, not just storage
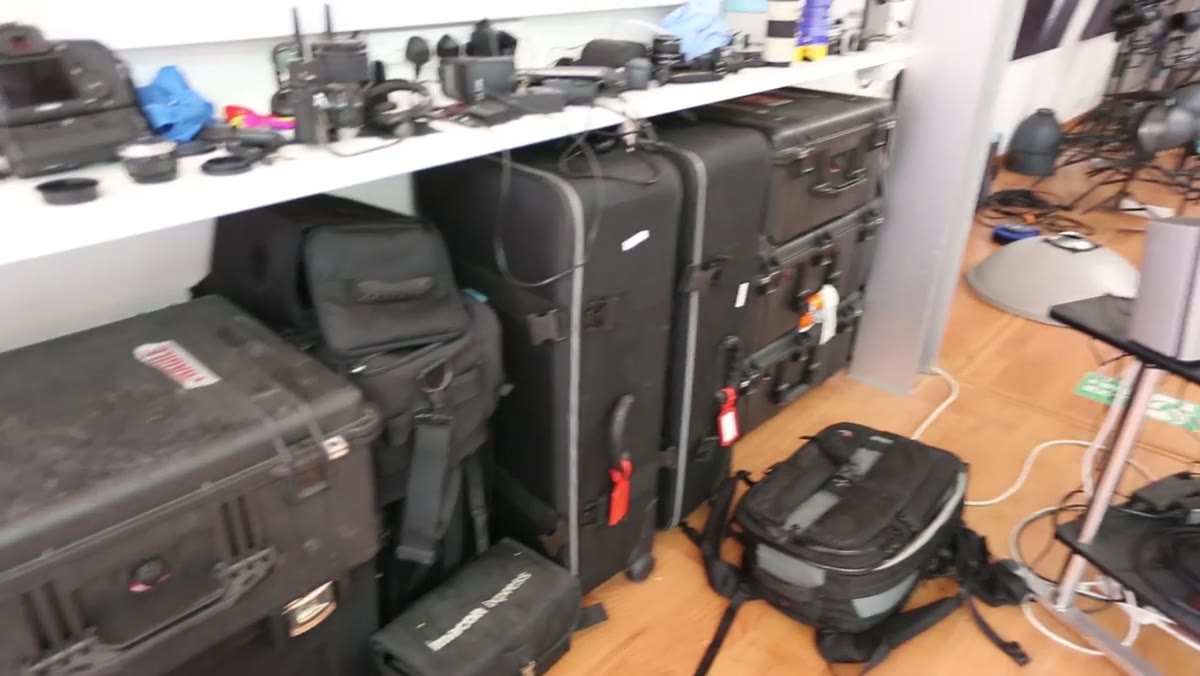 Flight cases lined up along the studio wall near the exit
The flight cases visible along one wall are staged near the exit - ready to move. That’s intentional. In a commercial studio that does location work, your cases should be packed and organized by shoot type, not just stuffed with gear between jobs. I keep one case permanently configured for location portraits, one for product work, and one for grip and misc. When a job comes in, I pull the relevant case and audit it the night before. Nothing gets repacked from scratch.
Flight cases lined up along the studio wall near the exit
The flight cases visible along one wall are staged near the exit - ready to move. That’s intentional. In a commercial studio that does location work, your cases should be packed and organized by shoot type, not just stuffed with gear between jobs. I keep one case permanently configured for location portraits, one for product work, and one for grip and misc. When a job comes in, I pull the relevant case and audit it the night before. Nothing gets repacked from scratch.
If you’re building this system for the first time, start by photographing the inside of each case when it’s properly packed. Print that photo and tape it inside the lid. Any assistant can repack it correctly without you standing over them.
Step 4: Hang paper rolls and softboxes where they’re accessible without setup time
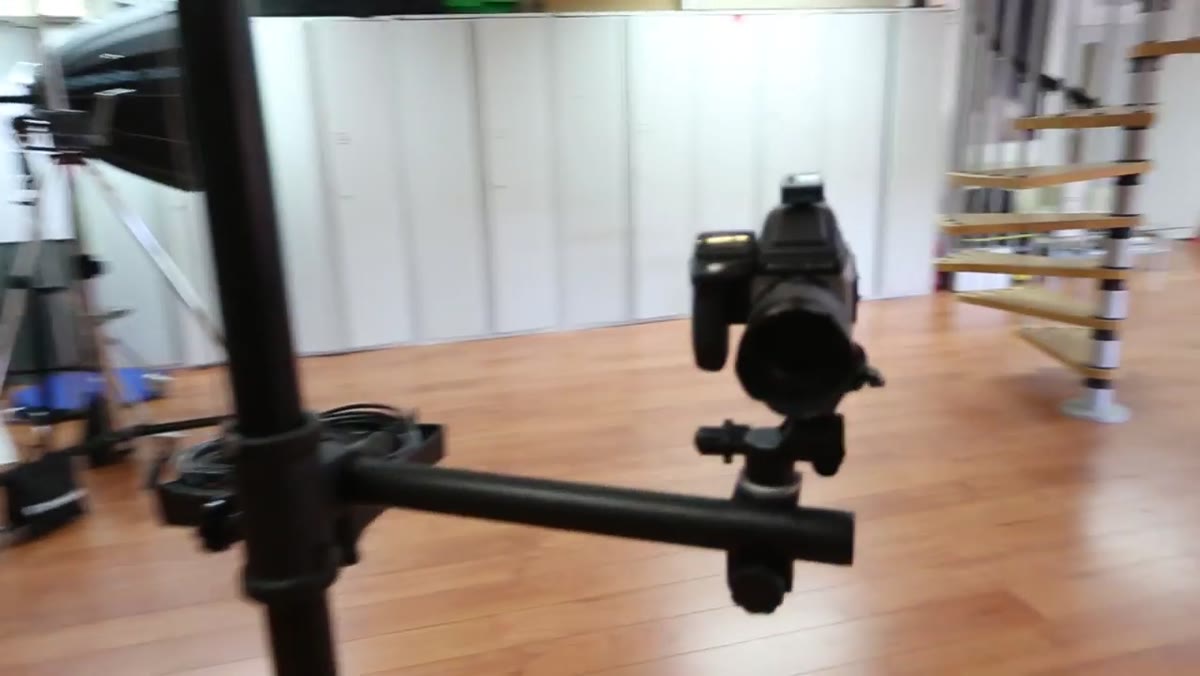 Paper rolls and softboxes stored and hung in the studio space
Background paper rolls hung vertically, ready to drop - softboxes mounted or stored nearby. The studio in the video has these positioned so that switching setups doesn’t require a full breakdown and rebuild. Time between setups kills a shoot’s momentum. I test every new modifier the day it arrives so I know exactly how it mounts, how long it takes to open, and where it lives in my space after.
Paper rolls and softboxes stored and hung in the studio space
Background paper rolls hung vertically, ready to drop - softboxes mounted or stored nearby. The studio in the video has these positioned so that switching setups doesn’t require a full breakdown and rebuild. Time between setups kills a shoot’s momentum. I test every new modifier the day it arrives so I know exactly how it mounts, how long it takes to open, and where it lives in my space after.
For paper rolls specifically: mount your roller system high enough that the full roll clears the floor when extended, and mark the floor with gaffer tape to show exactly where your subject stands for each background color. Those marks mean you don’t have to re-meter after every backdrop change.
Step 5: Separate business and creative functions physically and structurally
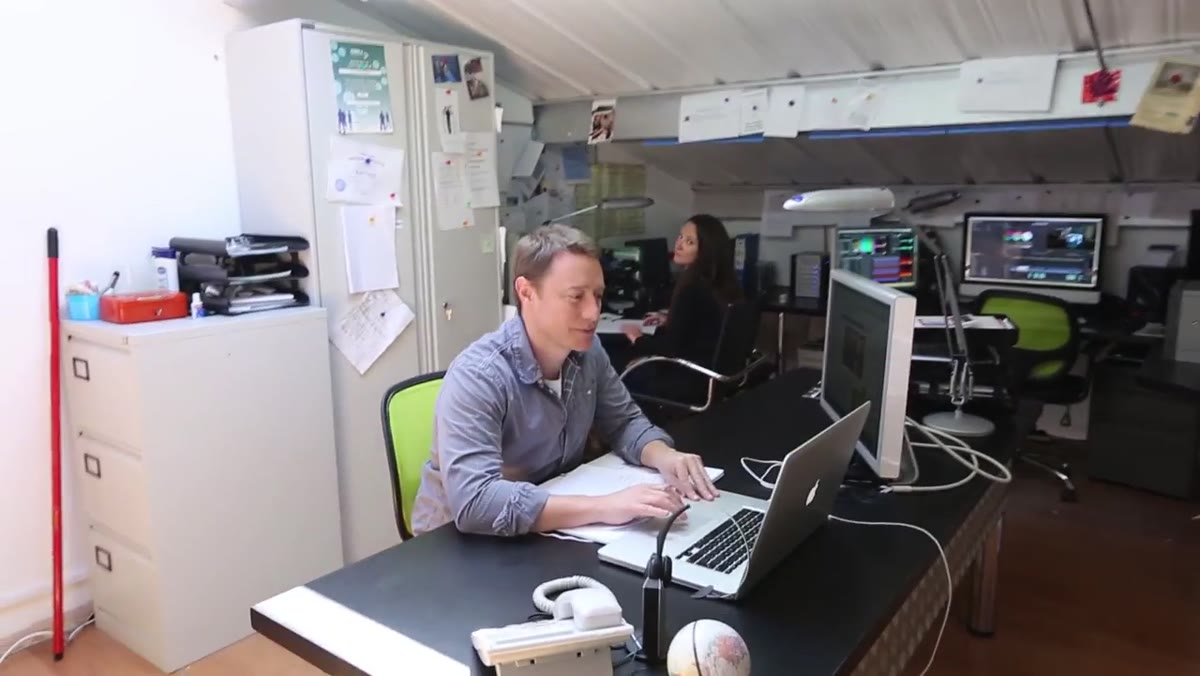 Mezzanine office level overlooking the studio floor below
The mezzanine level in Taylor’s studio houses the business functions - business development, social media, admin, client communication. The studio floor below is for shooting. That separation is not accidental. When business conversations bleed into the shooting space, the creative environment degrades. Calls, emails, invoicing discussions - these belong behind a door or above a staircase.
Mezzanine office level overlooking the studio floor below
The mezzanine level in Taylor’s studio houses the business functions - business development, social media, admin, client communication. The studio floor below is for shooting. That separation is not accidental. When business conversations bleed into the shooting space, the creative environment degrades. Calls, emails, invoicing discussions - these belong behind a door or above a staircase.
Even in a one-person operation, you can create this boundary. I have a rule: no client emails get answered from the studio floor. They get answered from my desk, which is physically separated. It keeps my head in the right place for each type of work.
Step 6: Build redundant storage and accept that you’ll need more than you expect
 Overflow equipment room packed with gear and supplies
The “junk room” Fabian shows is an honest moment - a room packed with overflow gear that’s clearly outgrown the space. Fabian says he’ll be glad when they move somewhere with better storage. Taylor himself, appearing briefly, refers to a “wall of doom” for pending work. These are honest acknowledgments that even a successful commercial operation runs up against its own infrastructure.
Overflow equipment room packed with gear and supplies
The “junk room” Fabian shows is an honest moment - a room packed with overflow gear that’s clearly outgrown the space. Fabian says he’ll be glad when they move somewhere with better storage. Taylor himself, appearing briefly, refers to a “wall of doom” for pending work. These are honest acknowledgments that even a successful commercial operation runs up against its own infrastructure.
The lesson here is to plan your storage for twice what you currently own. Gear accumulates. I keep a lighting journal where I sketch every setup from every shoot, and that journal has helped me audit what I actually use versus what I’m just storing. If a piece of kit hasn’t appeared in a sketch in six months, I sell it or rent it rather than let it clog the space.
The thing I’d add from my own experience
A studio tour like this one shows you the skeleton but not the nervous system. What makes Taylor’s studio function is the team - Fabian, Giles on business development, Helen on admin, Tim, and John working remotely. The physical space is set up to support those roles. If you’re a solo photographer working toward your first dedicated studio, design the space with roles in mind even before you can afford to fill them. Where would a second shooter work? Where would a client sit comfortably during a tethered review? Building that intention into the layout means the space grows with you rather than against you.
The single most important thing this video illustrates is that a professional studio is a production system, not just a room with nice lights. The gear, the layout, the team structure, and the wall of client work all reinforce each other. Get one wrong and the others compensate awkwardly. Get them working together and the whole operation accelerates.
Watch the full tutorial on YouTube - it’s a short watch but worth seeing the actual space in motion.
Comments (2)
The before and after really sells it. Incredible difference.
Excellent tutorial. I'd add that from a gear standpoint, this technique is incredibly versatile.
Leave a Comment