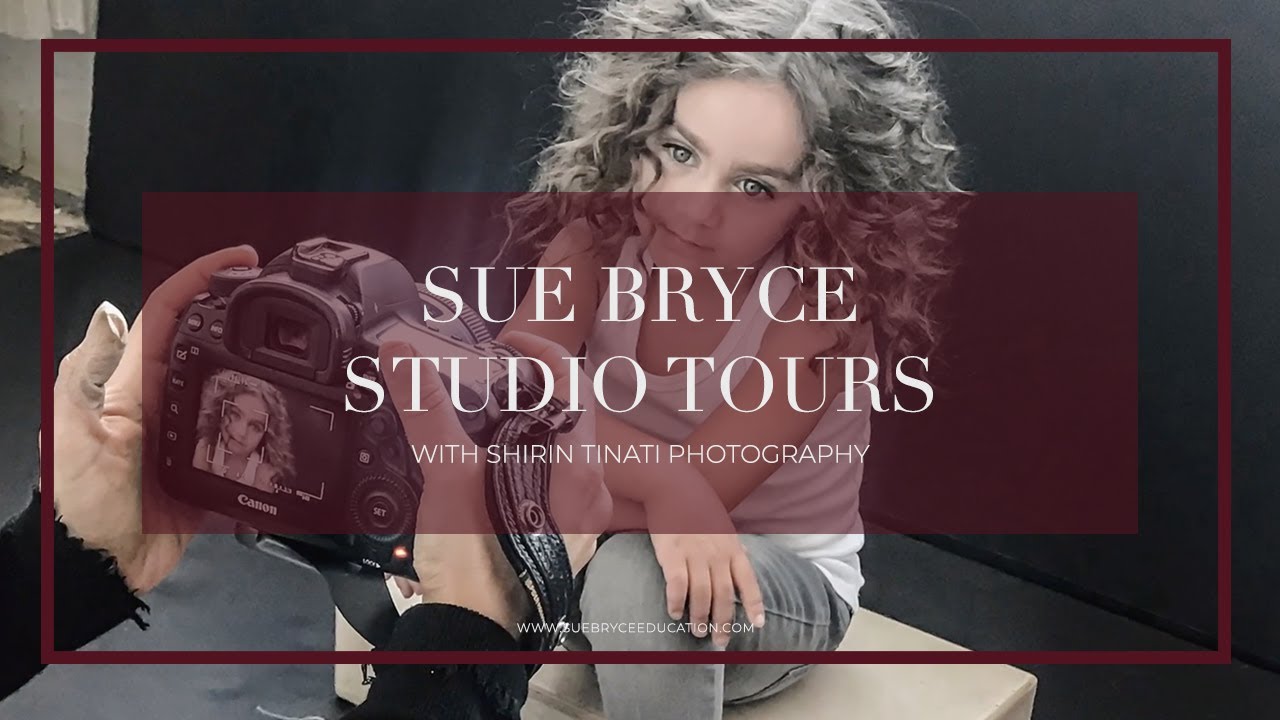
There is a particular kind of exhaustion that comes from shooting in a space that fights you. Wrong traffic flow between the lounge and the shooting area, nowhere to hang a backdrop without breaking down another light stand, clients sitting in a chair that faces a chaotic pile of gear instead of something that calms them down. I have shot in spaces like that, and the work always shows it, not dramatically, but in that subtle tension clients carry when they don’t feel settled. That is why I pay close attention whenever a photographer with a long-running studio opens the door and shows exactly how they have arranged things. In this Watch the full tutorial on YouTube The Portrait System video, New York headshot photographer Shirin Tinati walks through her South Bronx studio in the historic Clock Tower Building, and what she reveals is less a gear showcase and more a masterclass in how physical space shapes the quality of a shoot before a single light is fired.
Tinati has been shooting headshots for actors for nearly two decades, and she has since expanded into portraiture, dance photography, and personal branding. That range matters when you look at her studio, because every corner of it is doing work. Nothing is there for decoration alone, and nothing is arranged to impress other photographers. It is arranged to serve the person standing in front of the camera.
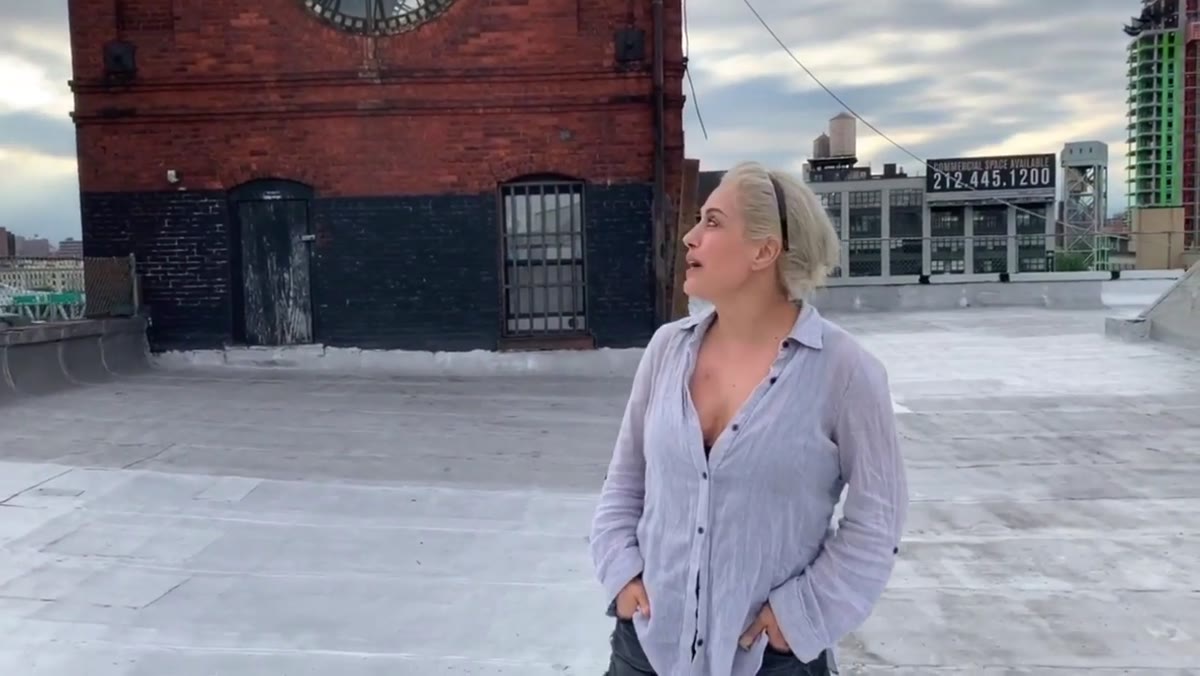
Step 1: Start With the Rooftop as a Versatile Natural Light Stage
 Rooftop overview with open sky backdrop and city views
Before Tinati even opens the studio door, she takes you to the rooftop. This is not a bonus location. She actively uses it for backdrops, dance shots, and headshots, treating it as a fully functional shooting area. If your studio building has roof access, this is worth pursuing seriously. Open sky gives you a massive, directionless soft light source on overcast days, or dramatic directional sun in the early morning and late afternoon. Set a collapsible backdrop stand rated for wind, use sandbags rated at least 15 pounds per leg, and position your subject with their back to the brightest part of the sky so the light wraps forward rather than creating lens flare behind you. The elevation also eliminates street-level background clutter, which is a genuine problem when shooting environmental headshots in dense cities.
Rooftop overview with open sky backdrop and city views
Before Tinati even opens the studio door, she takes you to the rooftop. This is not a bonus location. She actively uses it for backdrops, dance shots, and headshots, treating it as a fully functional shooting area. If your studio building has roof access, this is worth pursuing seriously. Open sky gives you a massive, directionless soft light source on overcast days, or dramatic directional sun in the early morning and late afternoon. Set a collapsible backdrop stand rated for wind, use sandbags rated at least 15 pounds per leg, and position your subject with their back to the brightest part of the sky so the light wraps forward rather than creating lens flare behind you. The elevation also eliminates street-level background clutter, which is a genuine problem when shooting environmental headshots in dense cities.
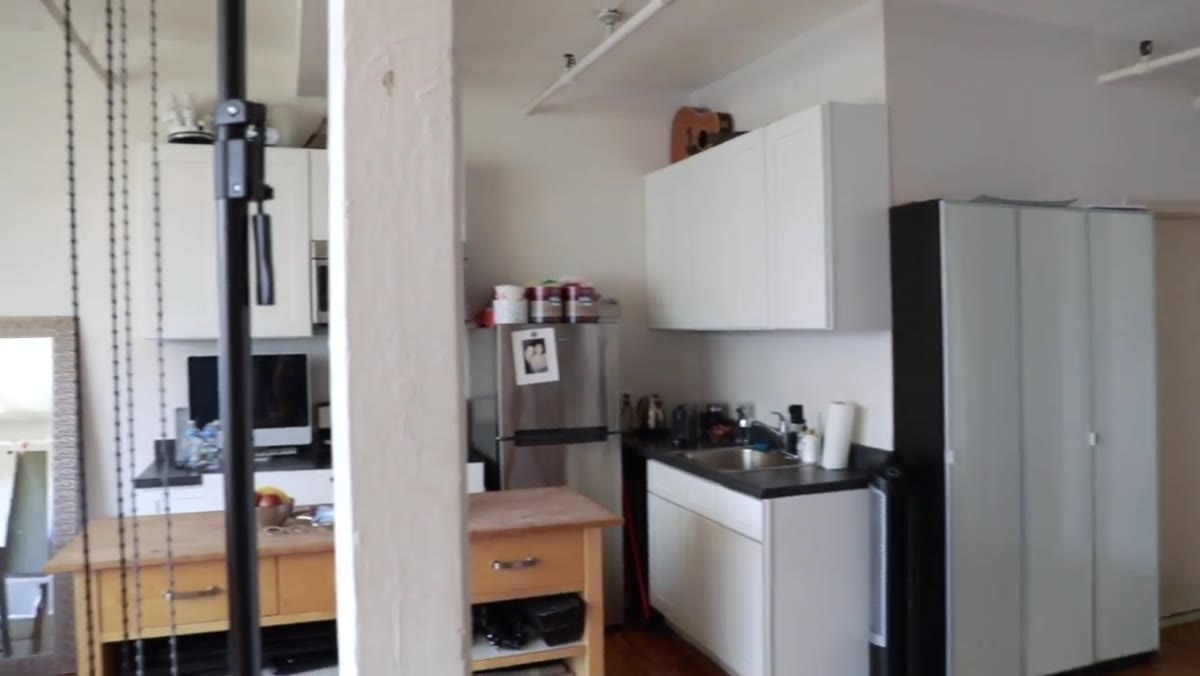
Step 2: Design the Lounge to Decompress the Client, Not Display Your Awards
 Studio lounge area with couch and personal photography prints on the wall
The lounge in Tinati’s studio functions as a decompression chamber. She describes it as tranquil and calming, a place where clients get a brief vacation from their regular day before stepping in front of a camera. I used to underestimate this entirely. I had a waiting area that was basically a second equipment room. The difference in client energy when I redesigned it with a proper couch, warm lighting, and nothing that looked like work was immediate and measurable. Tinati keeps fiber prints from the earliest years of her career on one wall, which does double duty: it gives clients something interesting to look at and opens a conversation that moves them away from pre-shoot nerves. Pick something personal and visually arresting for your lounge wall. It becomes a talking point that buys you five minutes of relaxed rapport before you even pick up a camera.
Studio lounge area with couch and personal photography prints on the wall
The lounge in Tinati’s studio functions as a decompression chamber. She describes it as tranquil and calming, a place where clients get a brief vacation from their regular day before stepping in front of a camera. I used to underestimate this entirely. I had a waiting area that was basically a second equipment room. The difference in client energy when I redesigned it with a proper couch, warm lighting, and nothing that looked like work was immediate and measurable. Tinati keeps fiber prints from the earliest years of her career on one wall, which does double duty: it gives clients something interesting to look at and opens a conversation that moves them away from pre-shoot nerves. Pick something personal and visually arresting for your lounge wall. It becomes a talking point that buys you five minutes of relaxed rapport before you even pick up a camera.
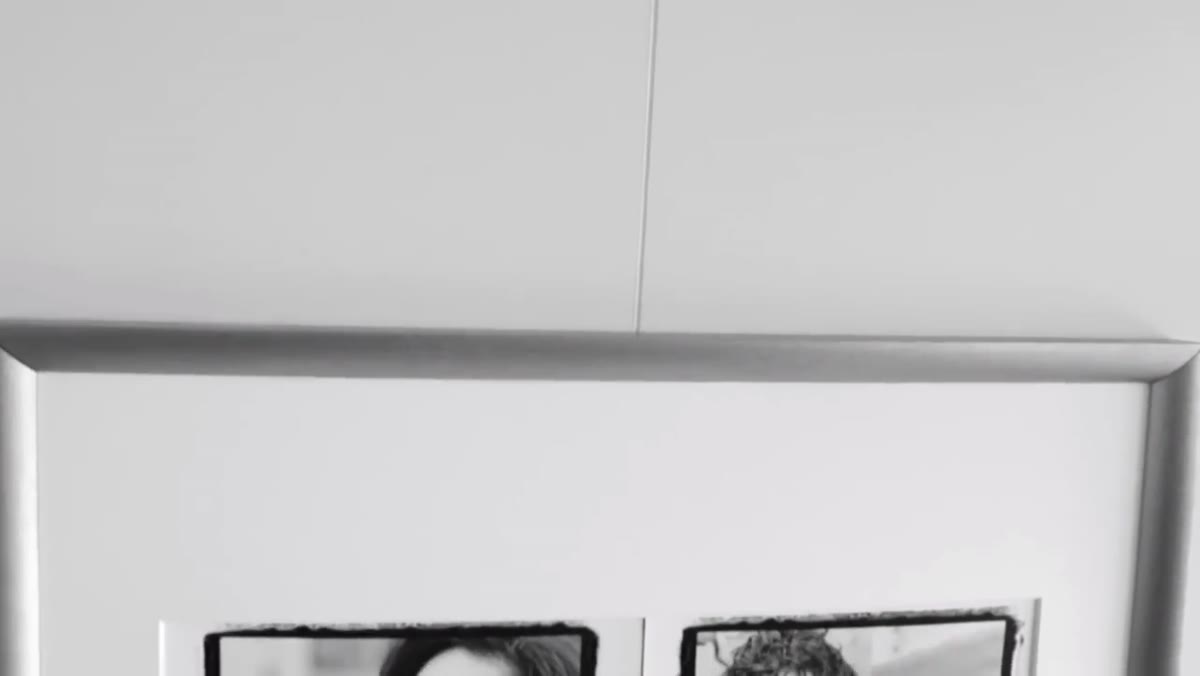
Step 3: Let Your Print Archive Tell the Story of Your Range
 Close-up of fiber prints from early 2001-2003 headshot career on lounge wall
Those fiber prints from 2001 to 2003 that Tinati displays are genuinely fascinating to younger clients who have never seen pre-digital headshots. At that time, actors typically reproduced only one or two shots because the cost of duplication was significant. No color. No digital delivery. That context matters because it frames how far the craft has moved, and it positions Tinati as someone with serious depth of experience without her having to say it outright. If you have physical prints from earlier in your career, don’t store them in a flat file. Put them somewhere clients will see them. Chronological range communicates mastery more convincingly than a price list does.
Close-up of fiber prints from early 2001-2003 headshot career on lounge wall
Those fiber prints from 2001 to 2003 that Tinati displays are genuinely fascinating to younger clients who have never seen pre-digital headshots. At that time, actors typically reproduced only one or two shots because the cost of duplication was significant. No color. No digital delivery. That context matters because it frames how far the craft has moved, and it positions Tinati as someone with serious depth of experience without her having to say it outright. If you have physical prints from earlier in your career, don’t store them in a flat file. Put them somewhere clients will see them. Chronological range communicates mastery more convincingly than a price list does.
Step 4: Build Your Identity Around a Specific Client Problem, Not a Gear List
 Shirin speaking directly to camera about her headshot specialty
Tinati is explicit about what her photography is actually for: it is the first impression an actor makes, often the material that gets them in the room for an audition. She says the photos have to be effective and dynamic, not just beautiful. This distinction is the whole ballgame for headshot and personal branding photographers. When I started shooting corporate personal branding work, I was thinking about lighting ratios and lens choice. My first real mentor in that niche told me to stop thinking about the camera and start thinking about what the photo had to do when the client wasn’t in the room. That reframe changed how I direct people. Every posing decision, every light setup, should serve the function of the final image. For actors, that means personality must read in a thumbnail. For corporate clients, it means authority and approachability have to coexist in a single frame.
Shirin speaking directly to camera about her headshot specialty
Tinati is explicit about what her photography is actually for: it is the first impression an actor makes, often the material that gets them in the room for an audition. She says the photos have to be effective and dynamic, not just beautiful. This distinction is the whole ballgame for headshot and personal branding photographers. When I started shooting corporate personal branding work, I was thinking about lighting ratios and lens choice. My first real mentor in that niche told me to stop thinking about the camera and start thinking about what the photo had to do when the client wasn’t in the room. That reframe changed how I direct people. Every posing decision, every light setup, should serve the function of the final image. For actors, that means personality must read in a thumbnail. For corporate clients, it means authority and approachability have to coexist in a single frame.
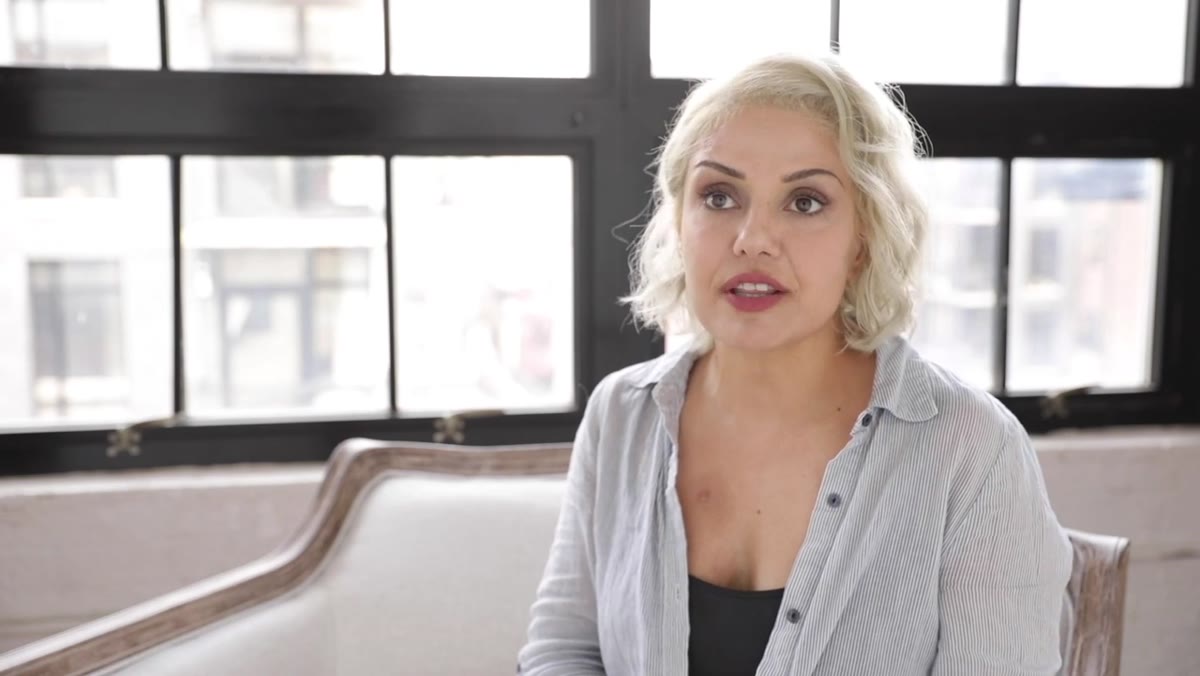
Step 5: Position Comfort With On-Camera Nerves as a Core Technical Skill
 Shirin describing her approach to clients who are uncomfortable on camera
Tinati talks openly about her own discomfort in front of a camera, and she frames that self-awareness as a professional tool. She says she is genuinely skilled at handling people who are nervous or uncomfortable, and she attributes it partly to understanding that feeling from the inside. This is something that cannot be faked with better lighting. Your ability to read a person’s tension and dissolve it with the right cue, whether that’s a specific direction, a moment of humor, or just silence while they reset, produces better images than a more expensive modifier will. Build this into your workflow as deliberately as you build your lighting. I keep a short mental checklist of three or four prompts I cycle through when someone’s expression goes flat. Having that ready means I’m not scrambling for words while also managing exposure.
Shirin describing her approach to clients who are uncomfortable on camera
Tinati talks openly about her own discomfort in front of a camera, and she frames that self-awareness as a professional tool. She says she is genuinely skilled at handling people who are nervous or uncomfortable, and she attributes it partly to understanding that feeling from the inside. This is something that cannot be faked with better lighting. Your ability to read a person’s tension and dissolve it with the right cue, whether that’s a specific direction, a moment of humor, or just silence while they reset, produces better images than a more expensive modifier will. Build this into your workflow as deliberately as you build your lighting. I keep a short mental checklist of three or four prompts I cycle through when someone’s expression goes flat. Having that ready means I’m not scrambling for words while also managing exposure.
What I’d Add From My Own Commercial Work
The one element I’d push further than Tinati covers in this tour is the ceiling height and how it affects your light placement options. The Clock Tower Building clearly has architectural character, and that vertical space is a genuine asset. When I was shooting in a lower-ceilinged space in my early years in Los Angeles, I could not get a large octabank high enough to create the downward angle I needed for a clean clamshell setup without the stand appearing in a wide crop. If you are evaluating a studio space, measure ceiling height before you measure square footage. Twelve feet is functional. Fourteen feet opens up dramatically more options for overhead placement. I label every light position on my studio floor with masking tape marks so I can return to setups I’ve diagrammed, and ceiling height determines how many of those marks are actually useful.
The most transferable lesson from Tinati’s studio tour is that every element of a photography space is either helping your client feel ready to be photographed or working against that goal. The rooftop, the lounge, the prints on the wall, the way she describes her own nerves in front of a camera: all of it is infrastructure for the work, not separate from it. Build your space the way you build a lighting setup, with intention and a clear sense of what the end result needs to do.
Watch the full tutorial on YouTube to see the studio layout and hear Tinati describe her approach in her own words.
Comments
Leave a Comment