Every few months I get a message from someone asking what they should look for in a photography workshop. My answer has always been the same: look at the space before you look at the curriculum. A bad room with great instruction is still a bad workshop. I learned that the hard way after attending a “professional lighting” seminar held in what was essentially a carpeted conference room with nine-foot ceilings. The bounce was a disaster and nothing we shot that day was usable.
That’s why I paid close attention when I came across this studio tour from KL Taylor of Visual Education. Watch the full tutorial on YouTube before or after reading this, but if you’re short on time, here’s what I took from it as someone who’s been running and attending studio workshops for years. The space Taylor has built answers most of the questions I’d want answered before booking.
What follows is a walkthrough of what the tour actually shows you, with the practical implications spelled out for each element. Whether you’re considering attending one of these workshops or just benchmarking your own studio setup, there’s a lot here worth unpacking.
Step 1: Evaluate the Shooting Floor Before Anything Else
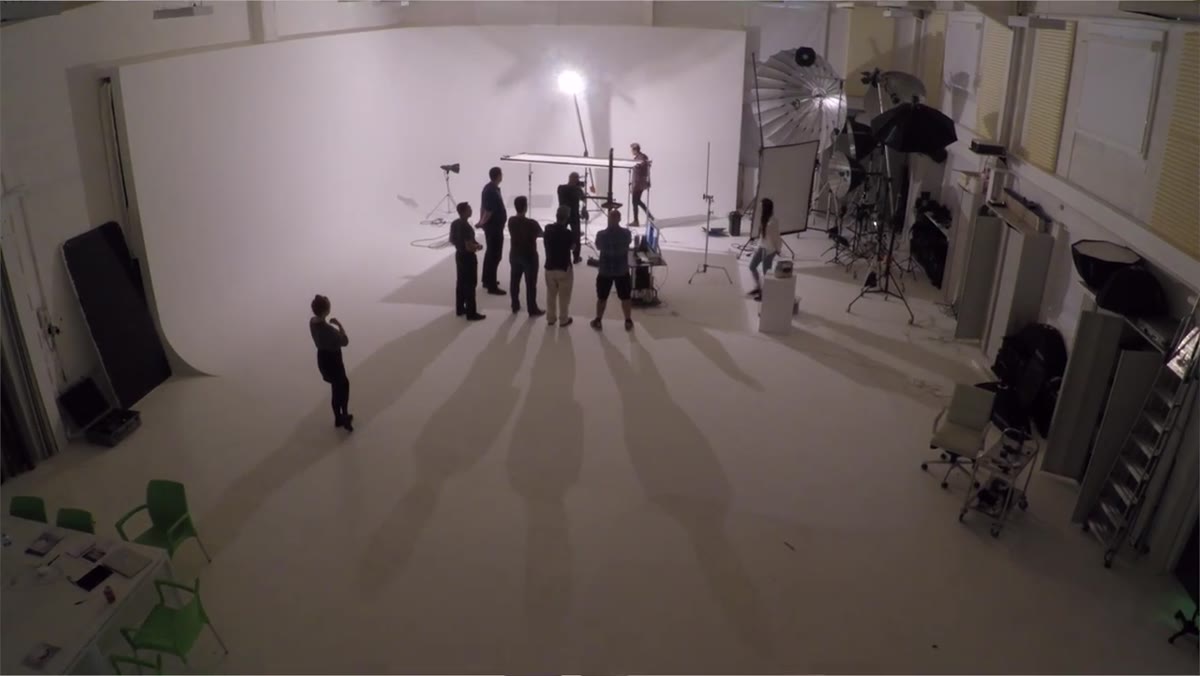 Wide shot of the main studio floor and infinity cove
The first thing Taylor shows is the main floor, and the number that matters is the one he gives immediately: eleven meters by eight meters. That’s not a vanity figure. Floor area directly controls what lighting setups are even physically possible. You need distance between your key light and your subject to soften the effective light size. You need room behind the subject to control background exposure independently. At eleven by eight, you have genuine working distance for fashion, full-length portraiture, and multi-light commercial setups. If a studio tour doesn’t give you these numbers up front, ask for them. I label every light stand position in my own studio with masking tape, and those marks only exist because I know exactly how many meters I have to play with.
Wide shot of the main studio floor and infinity cove
The first thing Taylor shows is the main floor, and the number that matters is the one he gives immediately: eleven meters by eight meters. That’s not a vanity figure. Floor area directly controls what lighting setups are even physically possible. You need distance between your key light and your subject to soften the effective light size. You need room behind the subject to control background exposure independently. At eleven by eight, you have genuine working distance for fashion, full-length portraiture, and multi-light commercial setups. If a studio tour doesn’t give you these numbers up front, ask for them. I label every light stand position in my own studio with masking tape, and those marks only exist because I know exactly how many meters I have to play with.
Step 2: Understand What an Infinity Cove Actually Gives You
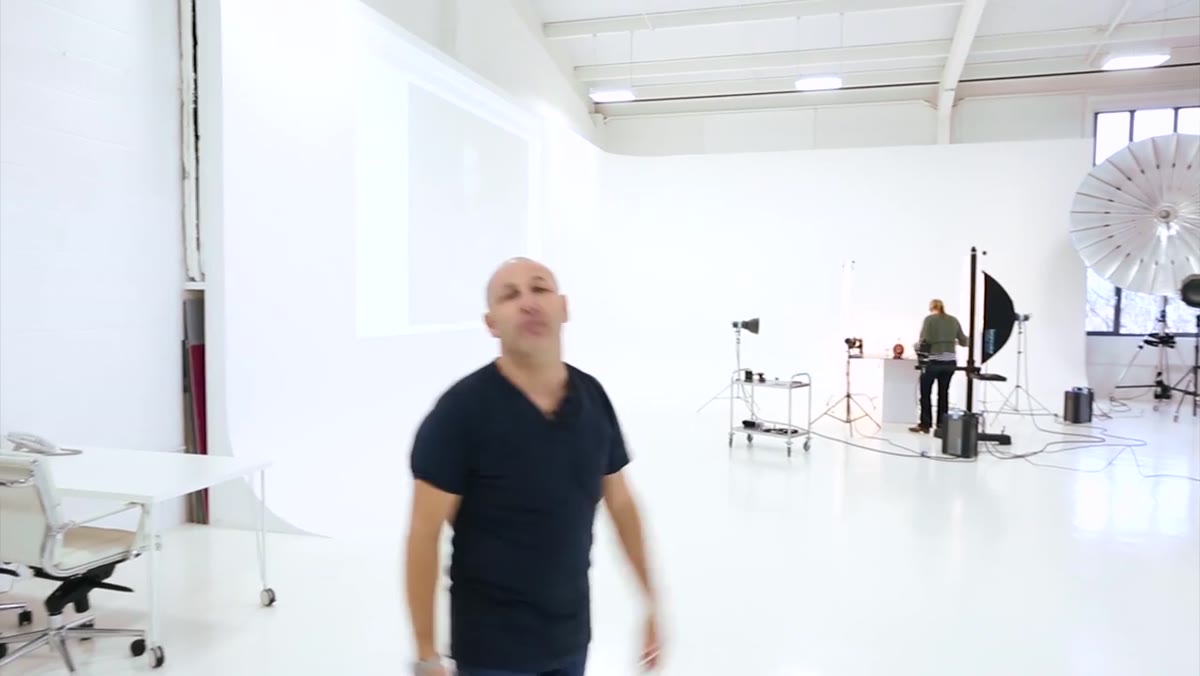 Purpose-built curved infinity cove stretching across the studio
Taylor walks us through the infinity cove, describing it as purpose-built and constructed specifically for this space. That distinction matters more than it sounds. A cove that’s been retrofitted into a room with a visible seam at the floor-wall join creates a horizon line in your image that you’ll spend hours removing in post. A purpose-built cove curves continuously, which means when you light it evenly, there is no visible edge. For fashion and beauty work, that seamless negative space is the whole point. For product and still life, it gives you a controllable white or lit environment without competing architectural elements. If you’re evaluating a workshop studio, get down to camera level and look for that seam. It tells you immediately whether the space was built for photography or adapted from something else.
Purpose-built curved infinity cove stretching across the studio
Taylor walks us through the infinity cove, describing it as purpose-built and constructed specifically for this space. That distinction matters more than it sounds. A cove that’s been retrofitted into a room with a visible seam at the floor-wall join creates a horizon line in your image that you’ll spend hours removing in post. A purpose-built cove curves continuously, which means when you light it evenly, there is no visible edge. For fashion and beauty work, that seamless negative space is the whole point. For product and still life, it gives you a controllable white or lit environment without competing architectural elements. If you’re evaluating a workshop studio, get down to camera level and look for that seam. It tells you immediately whether the space was built for photography or adapted from something else.
Step 3: Match the Modifier List to the Work You Actually Do
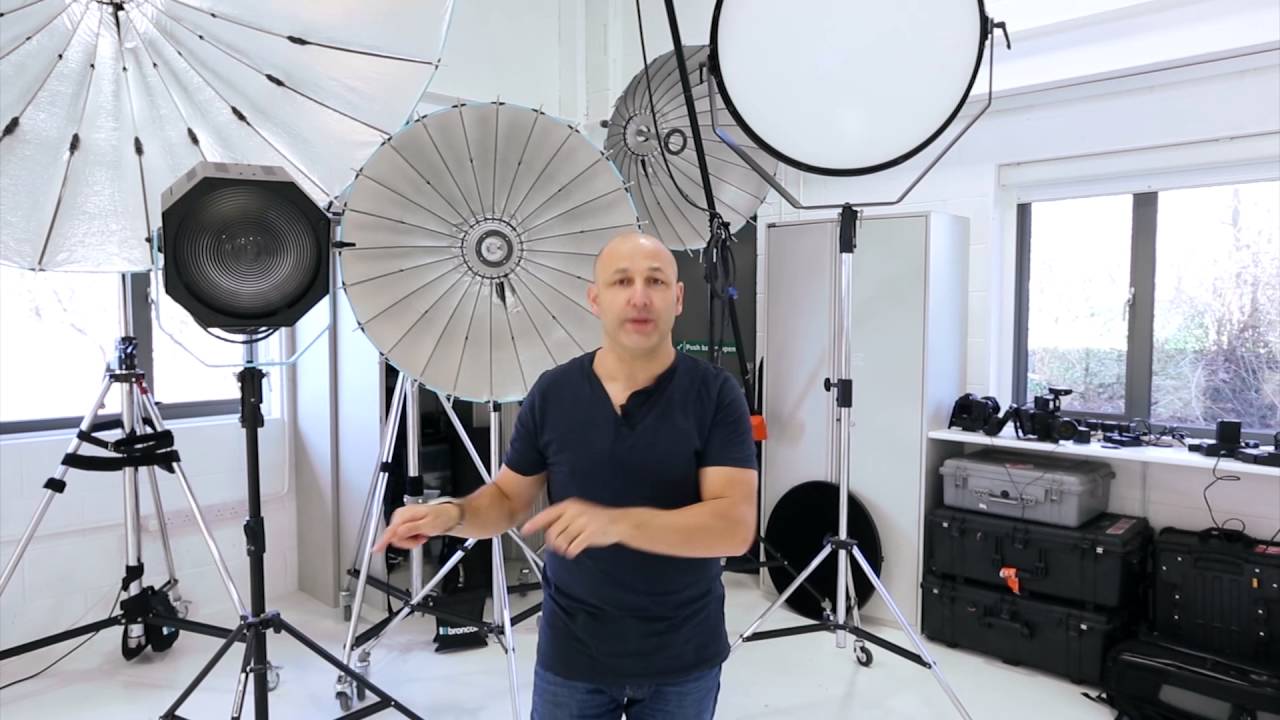
Here’s where I slowed the video down. Taylor lists out the modifier inventory: large paral lights in different sizes, Fresnel fixtures, and satellite starr dishes. That’s not a generic assortment. Paral lights - which are large rectangular softboxes with internal baffles that produce extremely directional, wrap-free soft light - are workhorses for fashion editorial. They give you soft light without the scatter you’d get from a standard octabox. Fresnels give you hard, focused light with a clean edge, essential for dramatic beauty work or any time you want a visible, controllable beam. I test every new modifier I buy the day it arrives, and the thing I’m always checking is the quality of the shadow edge. Soft shadow edge means wrap and fill. Hard shadow edge means drama and definition. A studio that stocks both ends of that spectrum is ready for actual commercial variety, not just a single visual style.
Step 4: Build a Second Shooting Area Into the Plan
Taylor shows a second, separate shooting area with its own background system. For a workshop setting, this is operationally critical. When you have a group of photographers at different skill levels working simultaneously, one shooting area creates a bottleneck. Half the group stands around waiting while the other half shoots. A second area means parallel workflows, which means more shooting time per attendee per day. For those of us who run our own studios, a second setup area also means you can leave a still life or product build in place while you shoot a portrait session, then swap without striking everything. The lost time in a single-setup studio adds up over a working week faster than most people budget for.
Step 5: Use the Meeting and Critique Area as a Teaching Multiplier
The projector setup Taylor describes here is the detail I found most interesting. He’s using a large-format, high-resolution projector specifically for Photoshop instruction, portfolio review, and image analysis. That last use case, studying what makes a successful photograph at projection scale, is something I do every time I keep a session in my lighting journal. I sketch the setup, then I sit with the final image and work backward to understand why the light fell the way it did. Doing that exercise at projection scale, in a group, with an experienced photographer guiding the analysis, compresses learning that would otherwise take years of solo work. A studio that has invested in proper projection infrastructure is signaling that the post-capture teaching is as serious as the shooting itself.
Step 6: Treat Comfort Infrastructure as a Productivity Variable
Taylor mentions a dedicated breakout lounge with catering and lunch provided. I know this sounds like a nicety, but in a full-day workshop context, it’s actually a workflow issue. If attendees have to leave the building to find lunch, you lose 90 minutes of momentum minimum. People come back with different energy levels, some come back late, and the afternoon session never fully recovers the rhythm of the morning. Keeping people fed, rested, and in the same space maintains the collaborative atmosphere that makes workshop days actually productive. When I shoot commercial jobs with a full crew, I always budget catering. The cost is small compared to the time you recover.
What I’d Add From My Own Experience
The one gap in any studio tour video, including this one, is color temperature consistency across the whole space. An eleven-meter cove is only as useful as the light sources you’re filling it with, and mixing color temperatures in a space that large can create subtle casts that ruin your white tones before you’ve taken a frame. I once destroyed an entire editorial shoot early in my career by not calibrating my flash to match my ambient. Everything looked fine on the LCD. The files were green in the shadows. Every setup in a studio this size should be verified with a colorimeter before the first workshop client shows up, and attendees should be taught to do the same check before they shoot.
The clearest takeaway from this tour is that the physical infrastructure of a workshop space is itself a teaching tool. The cove, the modifier selection, the projector, the second shooting area - each one is making a statement about what kind of photographer you’ll be able to practice being there. A studio that’s been built with that intention is worth traveling for.
Watch the full tutorial on YouTube and pay attention to the spatial relationships between the areas Taylor shows. The layout is doing a lot of quiet work.
Comments
Leave a Comment