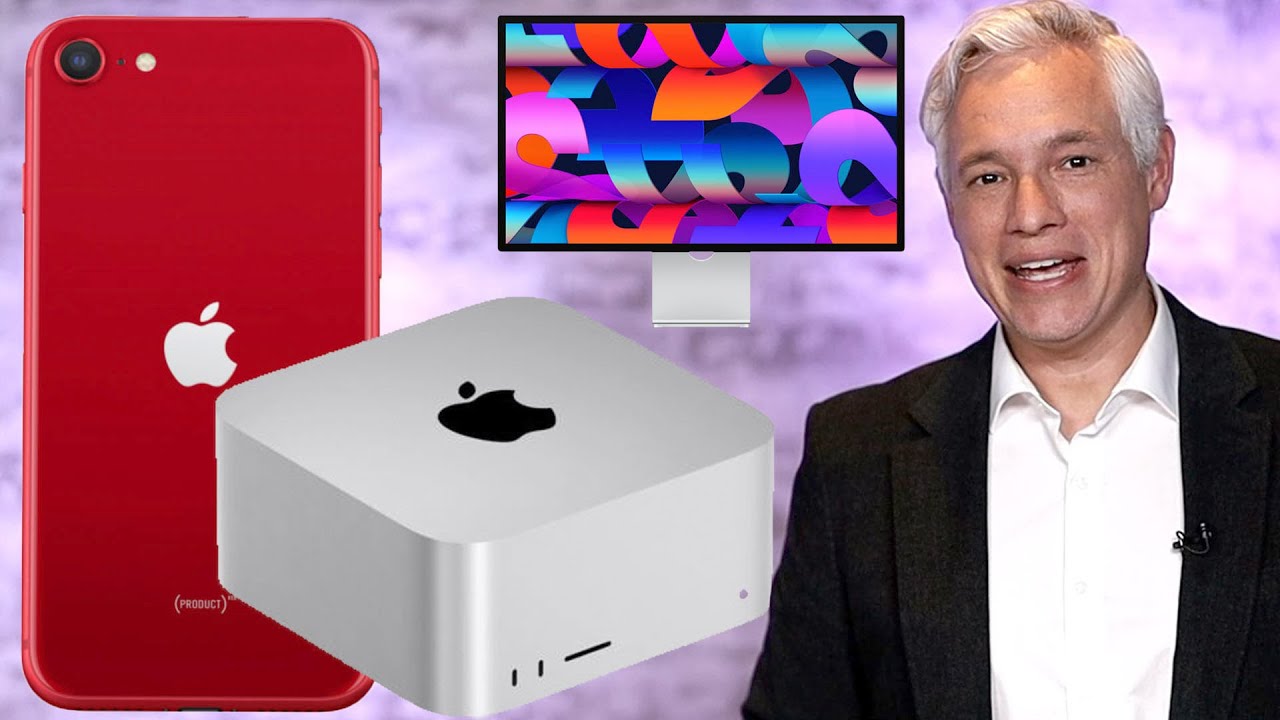
My clients do not care what camera I used. They care whether the skin tones are clean, the shadows hold detail, and the files arrive on time. That sounds obvious until you are on a tethered editorial shoot at 6 PM, reviewing frames on a screen that cannot keep up with your machine, and you realize the bottleneck is not your lighting setup. It is your hardware. So when Apple dropped two new products aimed squarely at creative professionals, I paid attention. In this Tony and Chelsea Northrup tutorial, Watch the full tutorial on YouTube, Tony walks through both announcements methodically and answers the question most of us actually have: does this change anything about how I work?
The short answer, depending on which product you are talking about, is yes and no. The iPhone SE is a budget-friendly device with computational photography that genuinely outperforms cameras costing ten times as much in specific situations. The Mac Studio is a desktop machine that redefines what a non-tower workstation can do for editing, tethering, and processing high-resolution files. Here is a step-by-step breakdown of what Tony covers and how it maps to real studio and location work.
Step 1: Understand What the iPhone SE Actually Is
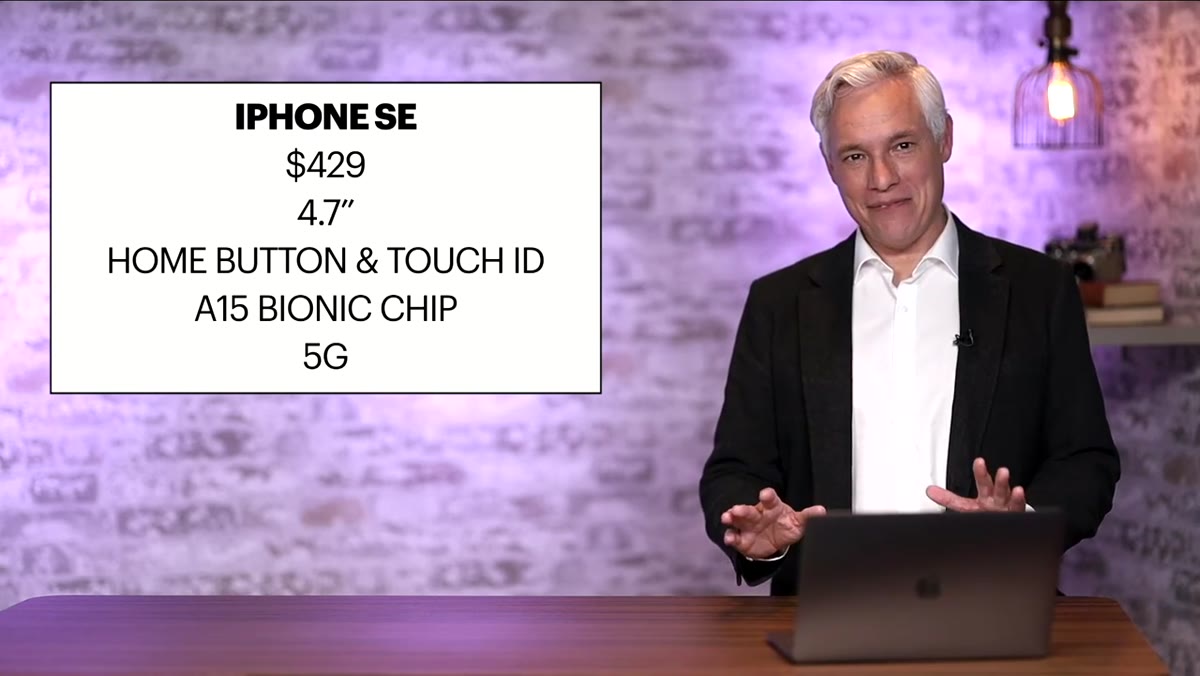 Tony holding the iPhone SE, describing its physical features
The iPhone SE is a 430-dollar phone with a 4.7-inch screen, a home button with a fingerprint scanner, and Apple’s A15 Bionic chip. Tony flags the fingerprint scanner as a feature many photographers quietly miss, especially those shooting with a mask on where face recognition fails constantly. If you use your phone for client communication, light metering apps, or remote triggering during shoots, a phone that unlocks instantly without taking off a mask is not a small thing.
The camera is single-lens, shooting at the equivalent of 24mm. That is a limitation worth naming. You are not getting the telephoto compression of the iPhone 13 Pro, and there is no portrait mode depth data from a second lens. What you do get is a highly capable wide-angle system backed by substantial processing power.
Step 2: Learn What Smart HDR 4 Does That Traditional Cameras Cannot
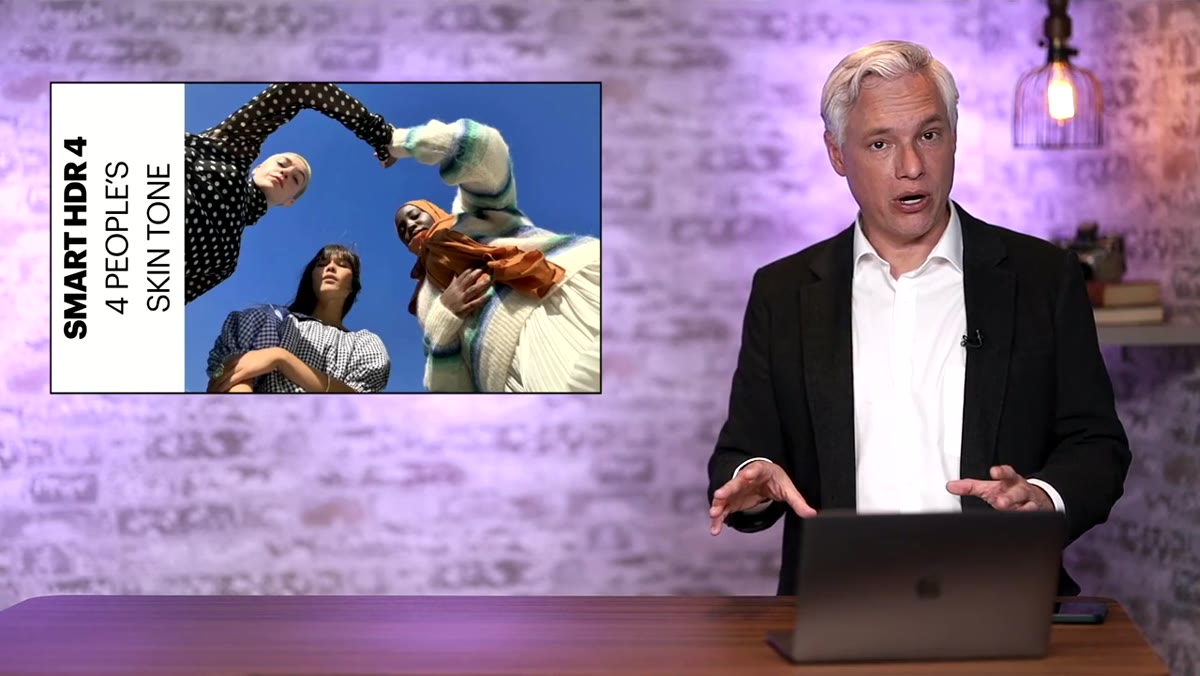 Tony explaining the Smart HDR 4 feature with examples
Smart HDR 4 is the feature that stopped me mid-video. The system captures multiple exposures and combines them, which is not new. What is new is that it can identify up to four distinct faces in a frame and adjust the exposure of each one based on individual skin tone. If you have ever lit a group shot with a wide range of skin tones, you know exactly why this matters. Getting detail and clean shadow rendition across very light and very dark skin in a single frame, without bracketing, without running luminosity masks in post, is genuinely difficult with traditional cameras.
A 6,000-dollar mirrorless body does not do this. The phone does. For documentary work, behind-the-scenes content, or any situation where you are shooting fast without full lighting control, that processing intelligence is a real advantage. In the studio I still use strobes and control everything manually, but on location or during client walk-throughs when I am just grabbing reference frames, knowing the phone is making smart decisions about skin tone exposure saves me cleanup time later.
Step 3: Understand Deep Fusion and Why It Recovers Shots You Would Have Lost
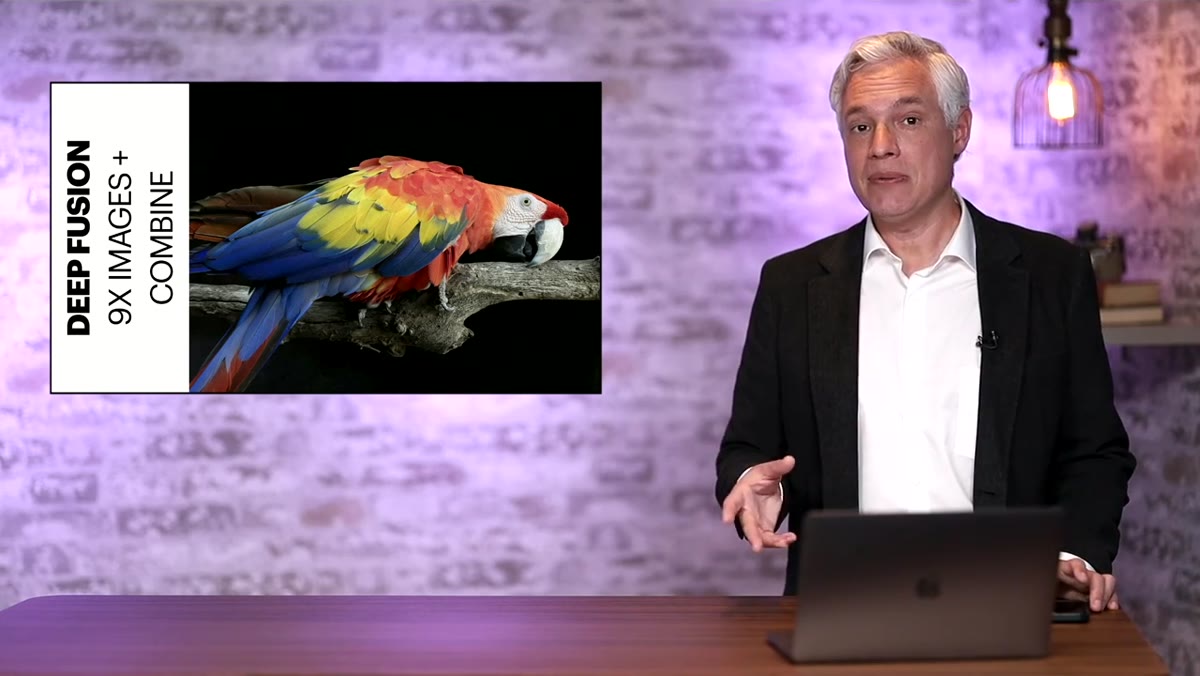 Tony describing Deep Fusion and the nine-image capture process
Deep Fusion combines nine separate captures into one file. Four frames are taken before you press the shutter, one at the moment of capture, and four after. The system analyzes all of them and builds a composite optimized for detail and exposure. What this means practically is that the phone is not reacting to the moment you pressed the button. It is working with a window of time around that moment.
Tony’s story about shooting portraits in a dark park with a Nikon at 1/160th makes the case better than any spec sheet. Every Nikon frame was soft from subject movement. Every iPhone frame was usable, because the phone picked the sharpest moments from across its capture window rather than committing to a single exposure. For photographers who do any low-light people work without full lighting control, this is the kind of behavior that changes your keeper rate without changing your technique.
Step 4: Evaluate Whether the iPhone SE Makes Sense as a Backup or Reference Camera
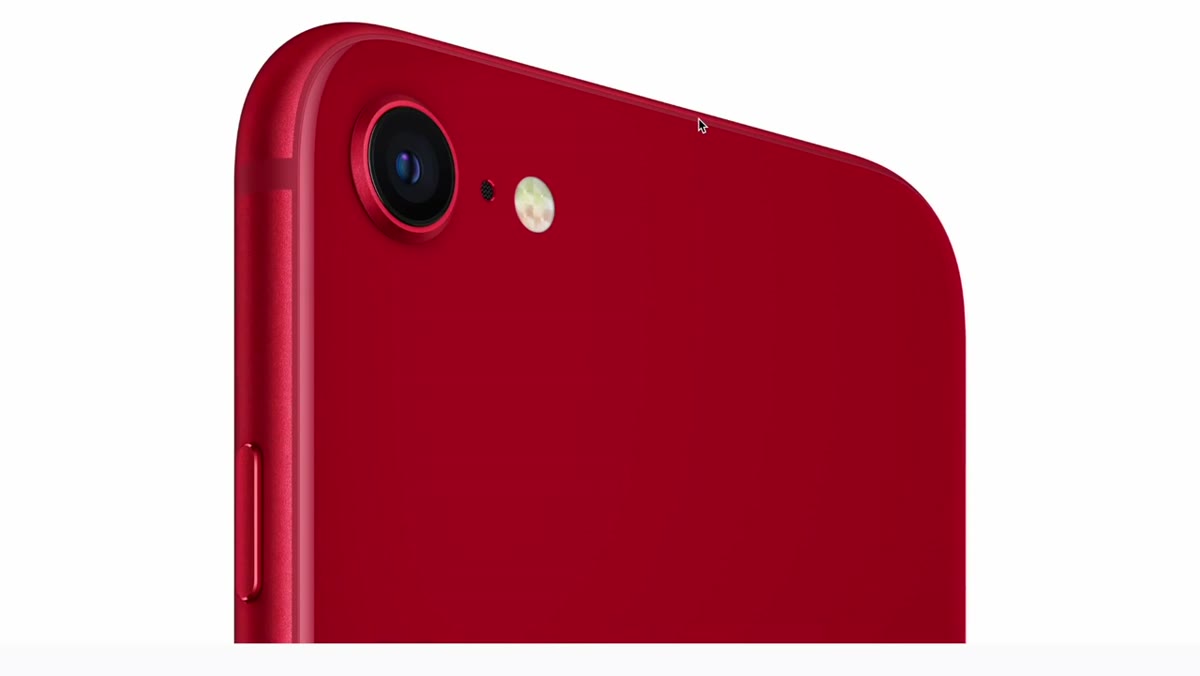 Tony noting the single-lens limitation of the iPhone SE camera
The single lens is the honest limitation here. If you need telephoto compression for portraits or the flexibility of switching focal lengths on the fly, the SE is not your phone. But if you are looking for a compact, affordable device for behind-the-scenes documentation, client-facing quick proofs, or a genuinely capable camera for personal shooting, the 430-dollar price point is hard to argue with given what the processing engine delivers.
I keep a secondary phone in my kit bag specifically for triggering lights via Bluetooth and running my lighting diagram app. The SE would be a smarter, more capable replacement for that role than the aging device I have been using.
Step 5: Understand the Mac Studio’s Position in Apple’s Lineup
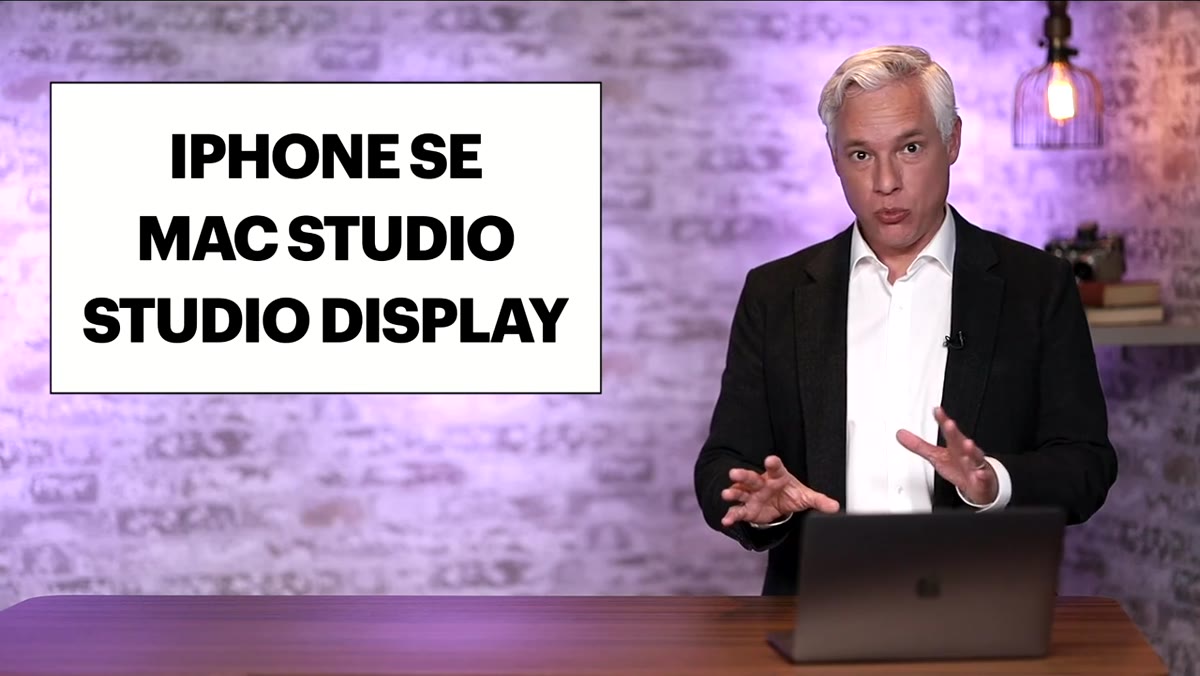 Tony introducing the Mac Studio as more powerful than MacBook Pros
The Mac Studio is a compact desktop running Apple silicon, and Tony’s key point is that it outperforms any MacBook Pro in Apple’s current lineup. For studio photographers who tether to a desktop machine, this matters. If your editing workstation has been a MacBook Pro because you wanted Apple silicon performance without committing to a Mac Pro, the Mac Studio closes that gap significantly at a lower price point than the tower.
The form factor is designed to sit on a desk rather than travel. That is an intentional trade-off. If your editing workflow is centralized in one location, the performance-per-dollar ratio here is better than anything Apple has offered in this size before. For high-resolution fashion or beauty work where you are processing 50-megapixel files and running Capture One tethered simultaneously, that headroom matters.
From My Studio: Where These Tools Fit and Where They Don’t
Computational photography is not replacing controlled studio lighting. What it does is raise the floor on what a device can recover without that control. I label every light in my studio with masking tape and diagram every setup I use. That discipline exists because I want repeatability and precision. No amount of phone processing replaces understanding how light wraps around a subject, how a reflector changes shadow density, or how modifier size affects falloff.
But I have been burned enough times on location by unpredictable conditions to respect what these processing systems do in uncontrolled environments. The iPhone SE’s Smart HDR 4, handling skin tone exposure across a diverse group without manual intervention, is a real tool. The Mac Studio’s processing power for a desktop-centered studio workflow is equally real.
The single most important takeaway from this breakdown is that computational photography has crossed a threshold where it is making decisions that trained photographers make, and making them correctly, in specific situations. That is worth understanding even if you shoot with a Phase One. Watch the full tutorial on YouTube to hear Tony’s complete analysis, including the specs and pricing breakdowns he covers in the second half of the video.
Comments
Leave a Comment