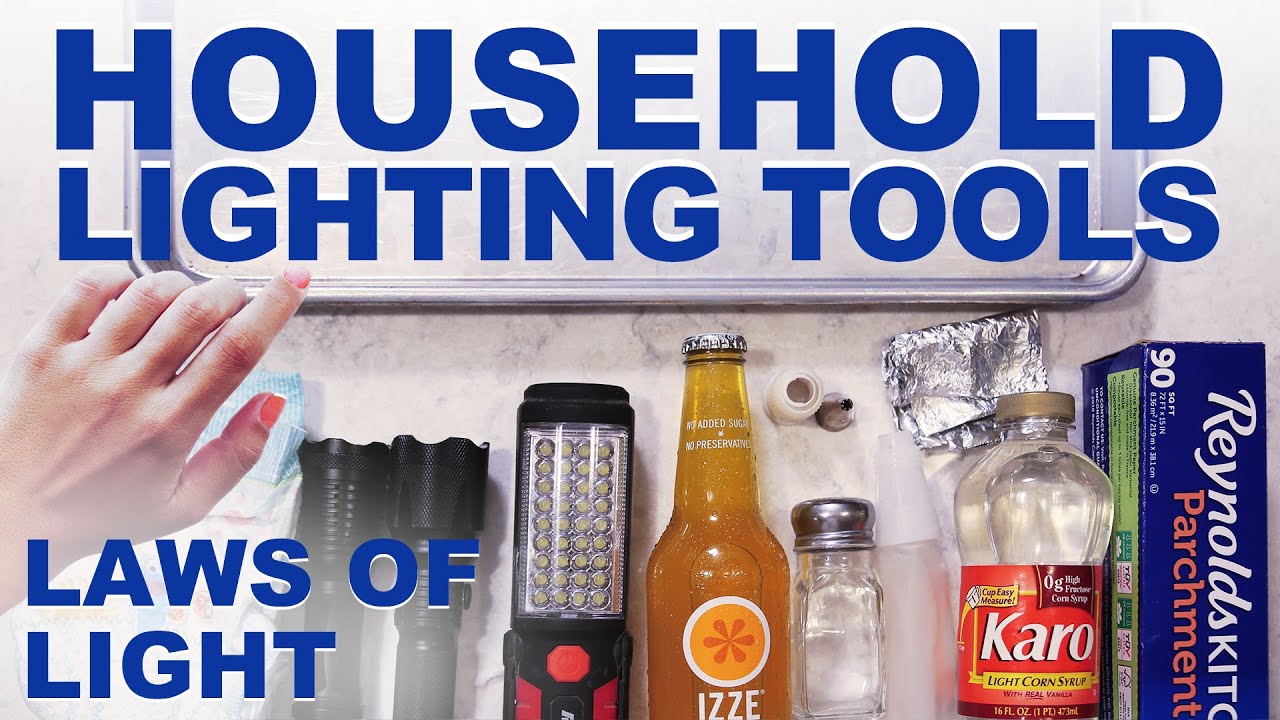
Every commercial photographer hits the same wall at some point: a client wants a polished product shot, you’re not in your studio, and the gear list you’d normally pull from is nowhere within reach. I’ve been in that position more than once, and it has a way of clarifying what you actually understand about light versus what you’ve been leaning on your equipment to solve. That’s why I keep coming back to constraint-based tutorials whenever I want to sharpen my eye. The fundamentals don’t change just because the tools do.
In this The Slanted Lens tutorial on household lighting tools, JP walks through a complete bottle lighting setup using nothing from a camera store. A cookie sheet becomes a backdrop. Parchment paper becomes a diffusion wrap. Pastry nozzles become a stand. It sounds improvised, and it is, but the decisions driving each choice are exactly the same ones I make in a fully equipped studio. That’s what makes this worth your time.
When I first sketched this setup into my lighting journal after watching it, I realized the whole thing is essentially a one-light product setup with a practical backlight, which is a configuration I use constantly for beauty and beverage work. If you can build it in a kitchen, you can build it anywhere.
Step 1: Kill All Ambient Light First
 Blankets hung over windows to block all natural light
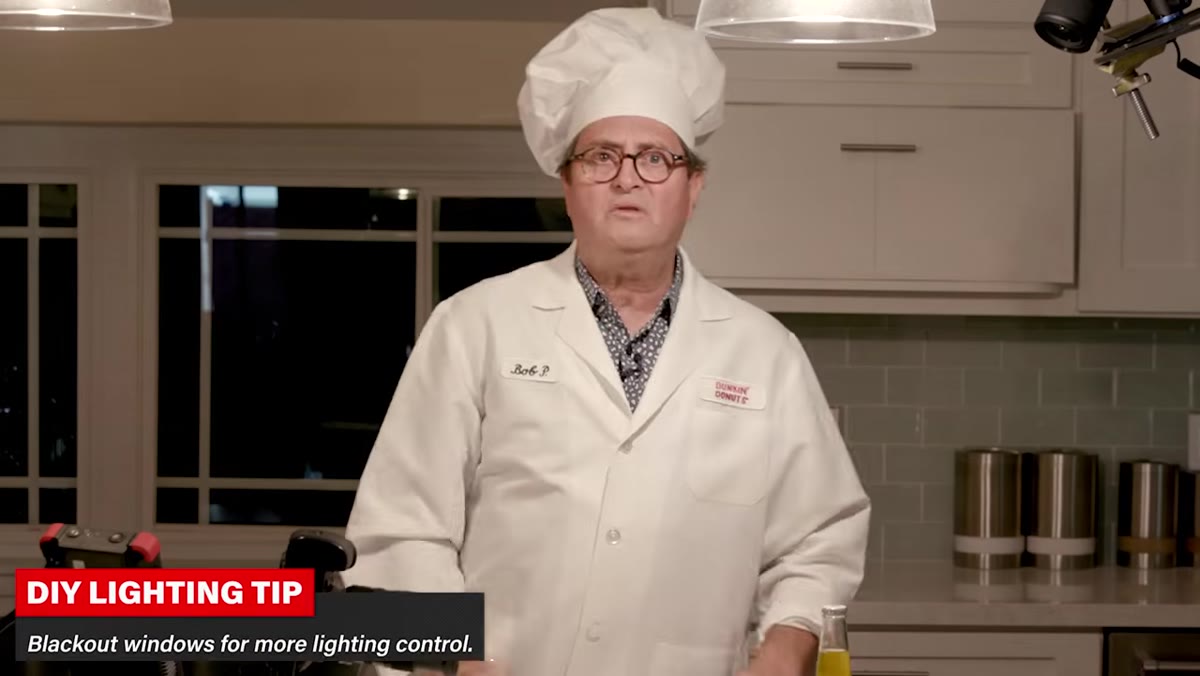
Before a single light gets placed, JP blacks out the room completely. Blankets go over the windows. Every overhead light goes off except the two practical fixtures he’s chosen to work with. This is non-negotiable, and it’s a step that hobbyist photographers skip constantly. If you’re fighting ambient light from two or three uncontrolled sources, no amount of careful modifier placement will give you clean, readable shadows.
Blankets hung over windows to block all natural light
Before a single light gets placed, JP blacks out the room completely. Blankets go over the windows. Every overhead light goes off except the two practical fixtures he’s chosen to work with. This is non-negotiable, and it’s a step that hobbyist photographers skip constantly. If you’re fighting ambient light from two or three uncontrolled sources, no amount of careful modifier placement will give you clean, readable shadows.
The goal here is total control of the light ratio. You can’t dial in a key-to-fill relationship if there’s a window behind you pouring flat daylight into the scene. Black out the space first, then introduce only the light you intend to use.
Step 2: Position Your Subject Relative to the Key Light, Not the Other Way Around
 Bottle being moved upward and back under ceiling fixture to find ideal position
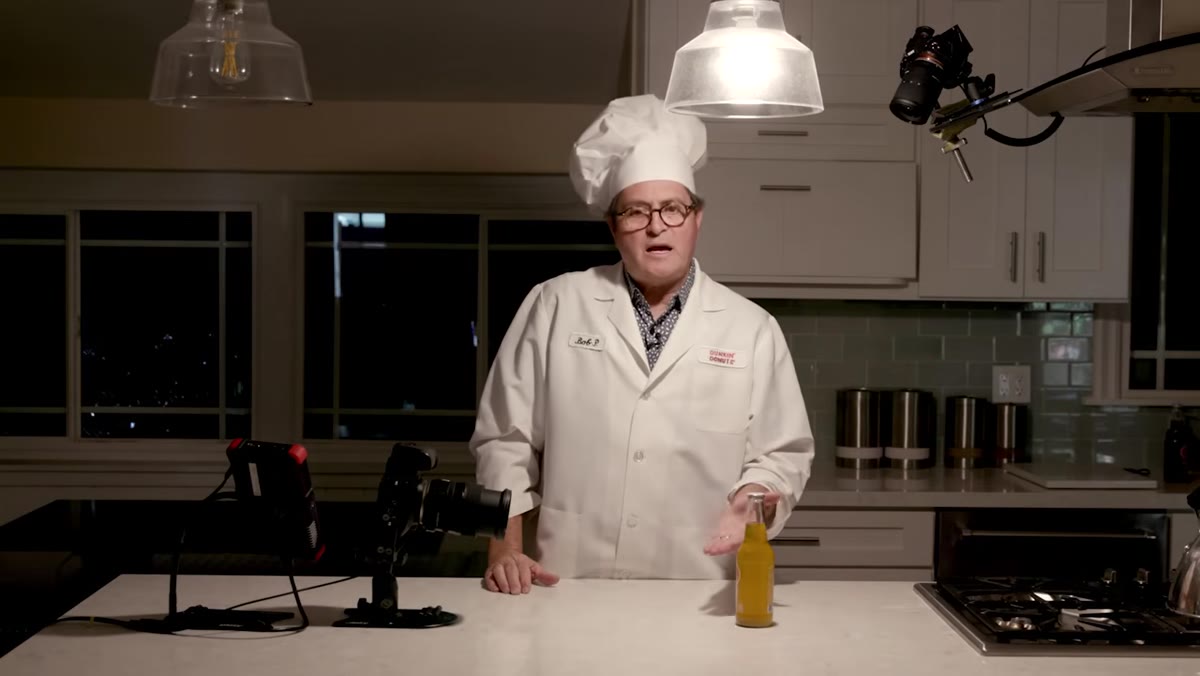
Once JP has a single overhead practical as his key, he doesn’t move the light. He moves the bottle. He slides it forward and back, up and down, until the light falls just above the bottle cap with a natural falloff toward the base. That positioning gives him a small, clean shadow underneath and a highlight that reads across the shoulder of the bottle.
Bottle being moved upward and back under ceiling fixture to find ideal position
Once JP has a single overhead practical as his key, he doesn’t move the light. He moves the bottle. He slides it forward and back, up and down, until the light falls just above the bottle cap with a natural falloff toward the base. That positioning gives him a small, clean shadow underneath and a highlight that reads across the shoulder of the bottle.
This is a discipline worth building into your own workflow. Especially in product photography, I label every light position on my studio floor with masking tape after I’ve found the right angle, so I can replicate it. But the underlying habit is the same as what JP demonstrates here: find where the light already wants to live, and bring the subject to it.
Step 3: Build Your Backdrop from a Textured Cookie Sheet
 Worn cookie sheet being positioned as background behind bottle
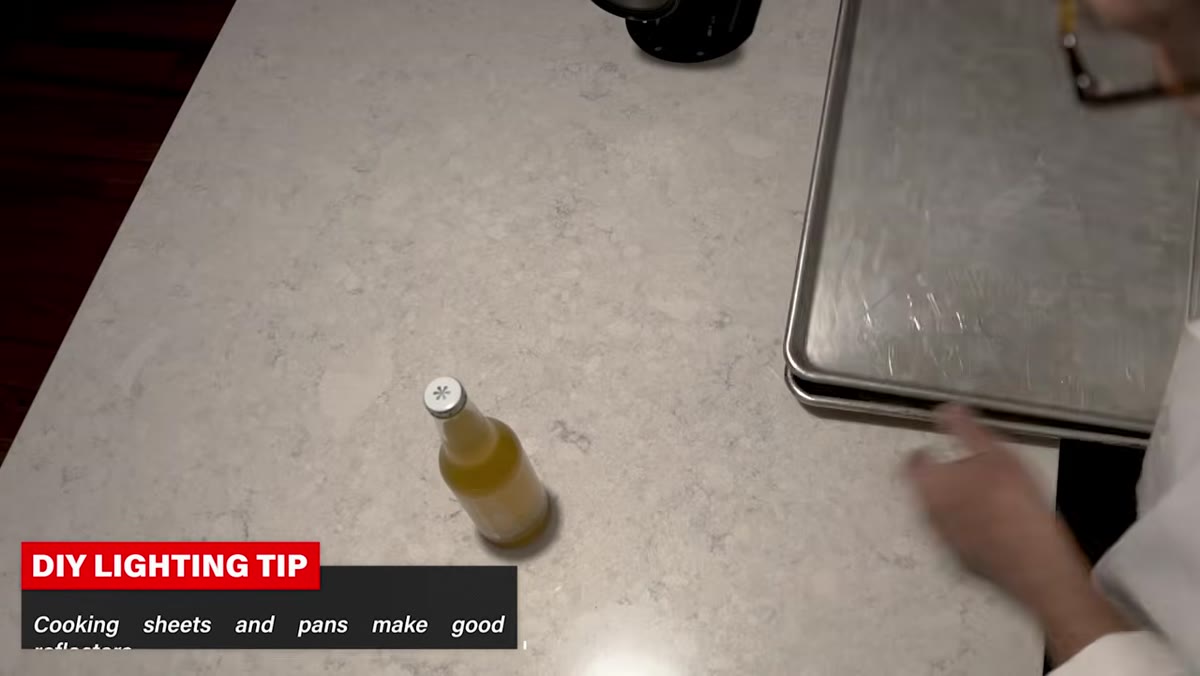
For a backdrop, JP uses an older, beat-up baking sheet rather than a pristine one. The texture and surface variation add depth to an otherwise flat background, which is smart. A perfectly reflective surface would create a mirror effect that competes with the bottle itself. The worn surface gives you something that reads as dimensional without pulling focus.
Worn cookie sheet being positioned as background behind bottle
For a backdrop, JP uses an older, beat-up baking sheet rather than a pristine one. The texture and surface variation add depth to an otherwise flat background, which is smart. A perfectly reflective surface would create a mirror effect that competes with the bottle itself. The worn surface gives you something that reads as dimensional without pulling focus.
The angle of that sheet matters as much as the choice of it. Tilted forward, it goes darker because it’s not catching the key light. Tilted back, it picks up the angle of incidence from the key and brightens. That tilt becomes your background exposure control, completely independent of your subject exposure.
Step 4: Add Water for a Reflective Surface Layer
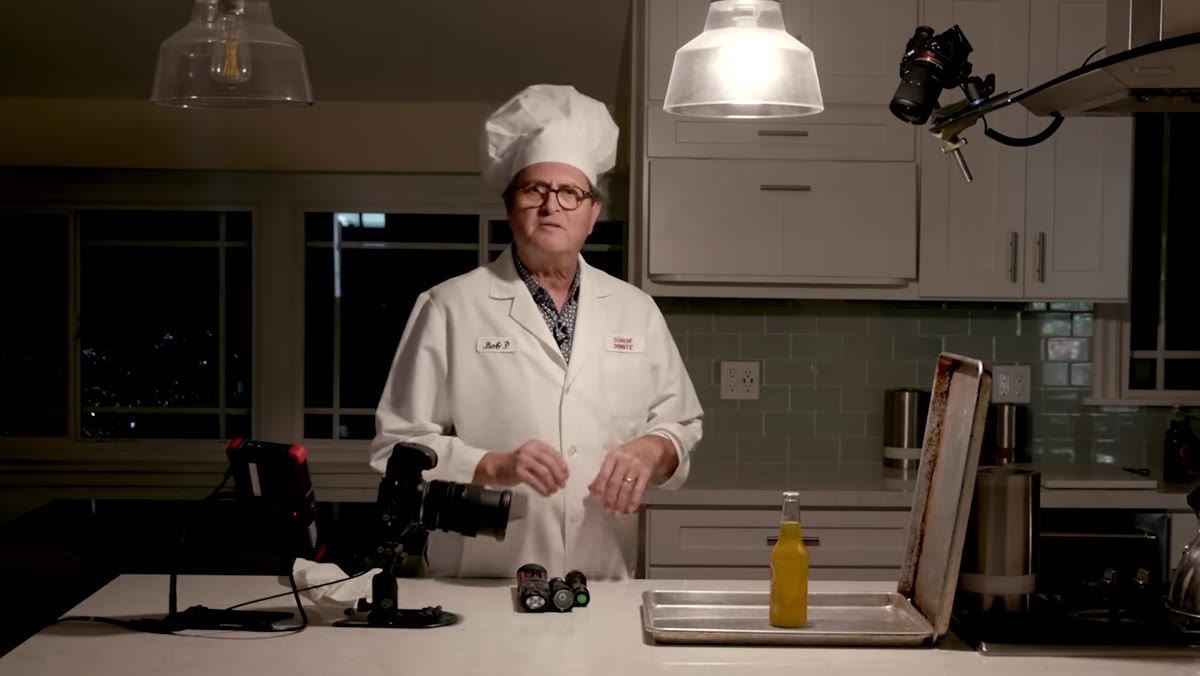 Water being poured onto cookie sheet to create pool reflection
JP pours a thin layer of water into a second baking tray and places the bottle in it. Just enough to cover the surface of the pan. The water creates a mirror reflection of the bottle underneath it, which adds a second visual anchor to the shot and gives the product a premium, slightly editorial quality. You see this technique constantly in beverage advertising.
Water being poured onto cookie sheet to create pool reflection
JP pours a thin layer of water into a second baking tray and places the bottle in it. Just enough to cover the surface of the pan. The water creates a mirror reflection of the bottle underneath it, which adds a second visual anchor to the shot and gives the product a premium, slightly editorial quality. You see this technique constantly in beverage advertising.
Keep the water shallow. Deep water reads as a pool of spill. A thin, even film reads as a reflective surface. The difference is a few millimeters of liquid and whether you can see the bottom of the pan through it.
Step 5: Diffuse the Backlight with Parchment Paper
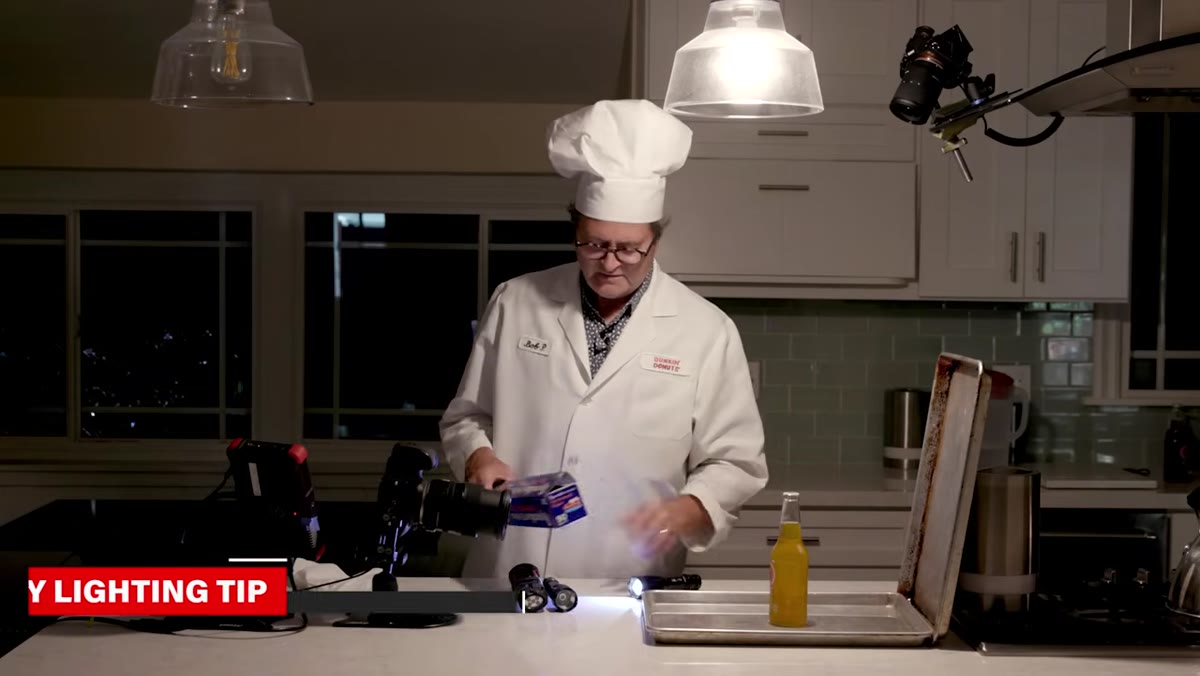 Parchment paper being wrapped around flashlight to reduce intensity
A flashlight aimed directly through the back of a glass bottle blows out completely. JP demonstrates this, then fixes it by wrapping the flashlight head in a cylinder of parchment paper secured with tape. His estimate is that this drops the output by roughly two stops. For product work, that’s a meaningful correction, not a rough fix.
Parchment paper being wrapped around flashlight to reduce intensity
A flashlight aimed directly through the back of a glass bottle blows out completely. JP demonstrates this, then fixes it by wrapping the flashlight head in a cylinder of parchment paper secured with tape. His estimate is that this drops the output by roughly two stops. For product work, that’s a meaningful correction, not a rough fix.
Parchment paper is a genuinely useful diffusion material because it’s heat-tolerant, consistent in density, and available in any kitchen. Wrap it tightly enough that light doesn’t leak from the sides of the cylinder, only from the front face.
Step 6: Elevate the Backlight on Pastry Nozzles
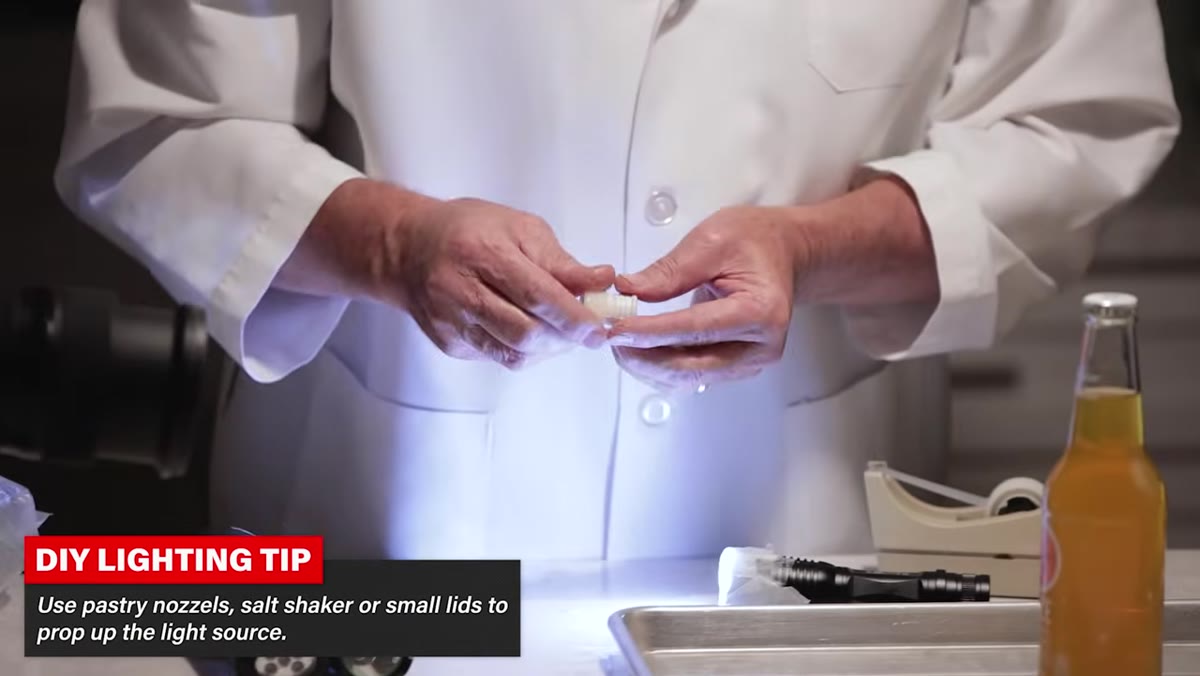 Flashlight resting on two pastry nozzles as a makeshift stand
With the flashlight wrapped and aimed at the bottle’s base, JP needs to get it off the floor of the tray so it doesn’t create a contact reflection in the water. His solution is to rest the flashlight across two large pastry nozzles, essentially building a stand from whatever cylindrical kitchen objects are the right height.
Flashlight resting on two pastry nozzles as a makeshift stand
With the flashlight wrapped and aimed at the bottle’s base, JP needs to get it off the floor of the tray so it doesn’t create a contact reflection in the water. His solution is to rest the flashlight across two large pastry nozzles, essentially building a stand from whatever cylindrical kitchen objects are the right height.
The principle here is elevation control. The backlight’s position relative to the base of the bottle determines whether you get a glow that rises naturally through the liquid or a harsh bright spot at the bottom. Raise it, push it back slightly from the bottle, and let the light spread before it hits the glass.
What I’d Do Differently in a Studio Context
The setup JP builds is genuinely sound, but when I run a similar configuration in the studio I add one thing: a small gobo between the backlight and the camera axis. In a real shoot, even a well-diffused backlight can introduce enough flare to flatten your contrast. A piece of black foamcore flagging the light away from the lens costs nothing and protects the overall image quality. JP’s working fast in a kitchen with what he has, and the result holds up. But if you have an extra two minutes and a piece of board, use it.
The single most transferable lesson from this tutorial is that light modifiers are just materials with a specific relationship to a light source. Parchment paper diffuses. A shiny tray reflects. A tilt angle controls what a surface catches. Once you understand those relationships, the specific object doing the job becomes secondary. That’s a more durable skill than knowing which softbox to buy.
Watch the full tutorial on YouTube to see every adjustment in real time, including how JP fine-tunes the exposure once the backlight is in place.
Comments (2)
Tried this technique this morning. Game changer for real.
Solid advice. Especially the part about taking your time with it.
Leave a Comment