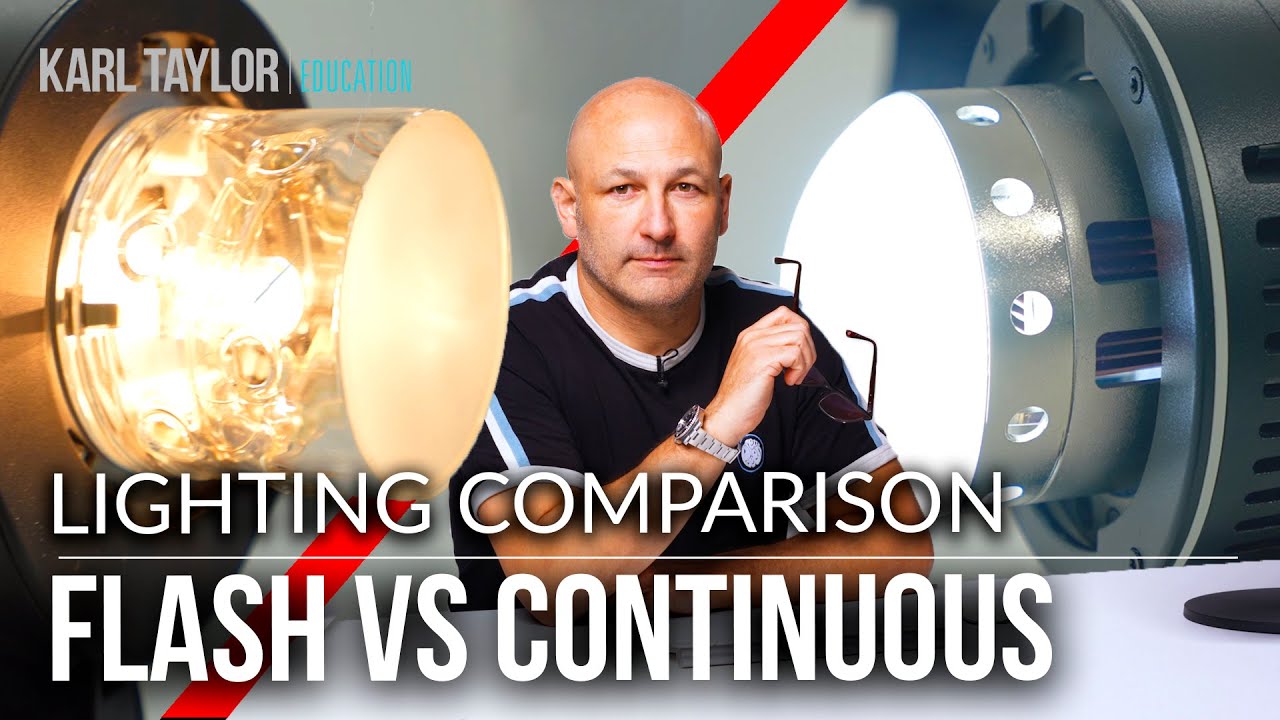
Every few months a client asks me whether they need to rent “the flash stuff” or whether their LED panel will do. I used to give a vague answer. Now I send them a lighting breakdown instead. The truth is the gap between LED and studio flash has closed considerably in recent years, but it has not closed all the way, and knowing exactly where the gap still lives will save you from a ruined shoot.
I came across a tutorial from Visual Education that does the best side-by-side comparison I have seen on this topic. It is not a spec sheet argument. It is two identical modifiers, two different light sources, and an honest look at what each one gives you on set. Watch the full tutorial on YouTube and then come back, because the walkthrough below adds the working context the video moves past quickly.
I have been shooting commercial and editorial work long enough to have a lighting journal full of setups I never want to forget. This comparison earned its own page.
Step 1: Understand What You Are Actually Comparing
 Studio flash head showing modeling lamp and flash tube
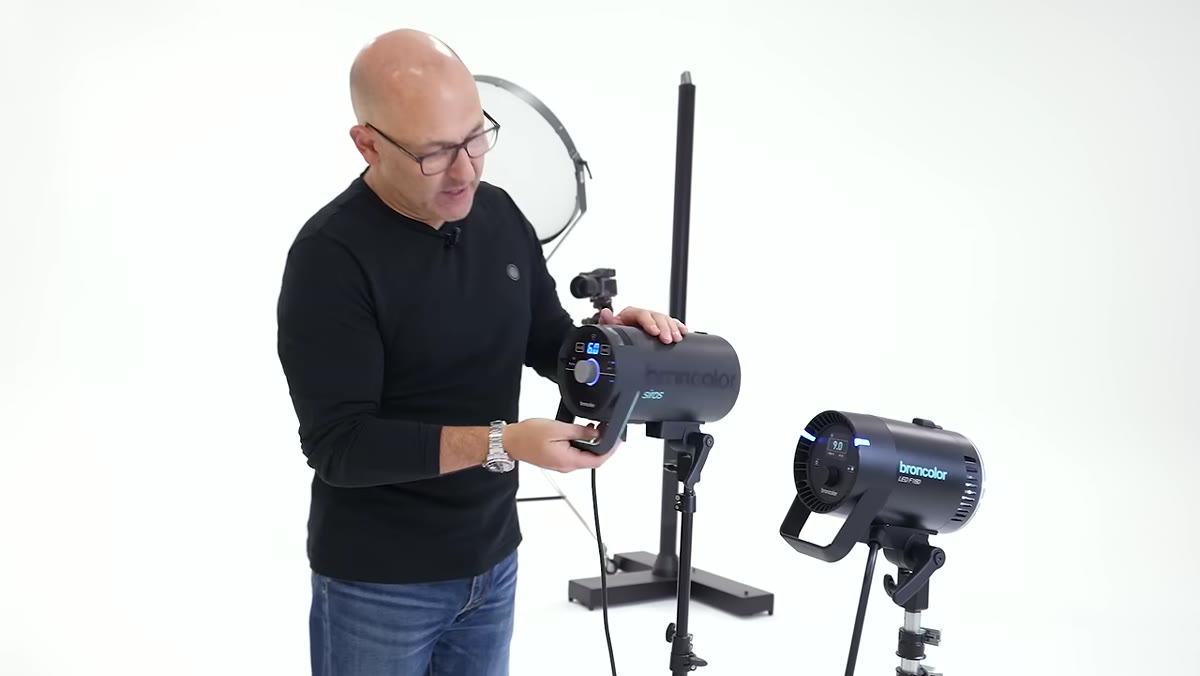
Before you argue about which light source is better, you need to be clear on what each one actually is. A studio flash unit has two separate components doing two separate jobs. The modeling lamp is a continuous light that stays on so you can see how shadows fall and where your light is landing. The flash tube, which wraps around the modeling lamp, is what actually fires when you press the shutter. The modeling lamp is a previewing tool. The flash tube is the exposure.
Studio flash head showing modeling lamp and flash tube
Before you argue about which light source is better, you need to be clear on what each one actually is. A studio flash unit has two separate components doing two separate jobs. The modeling lamp is a continuous light that stays on so you can see how shadows fall and where your light is landing. The flash tube, which wraps around the modeling lamp, is what actually fires when you press the shutter. The modeling lamp is a previewing tool. The flash tube is the exposure.
An LED panel has neither of those divisions. It is one continuous source doing one job all the time. That simplicity is genuinely useful in some situations and genuinely limiting in others. Getting those two architectures clear in your head before you touch a power dial will keep the rest of this comparison from confusing you.
Step 2: Learn the Power Adjustment System on Each Unit
 Studio flash power display showing f-stop increments
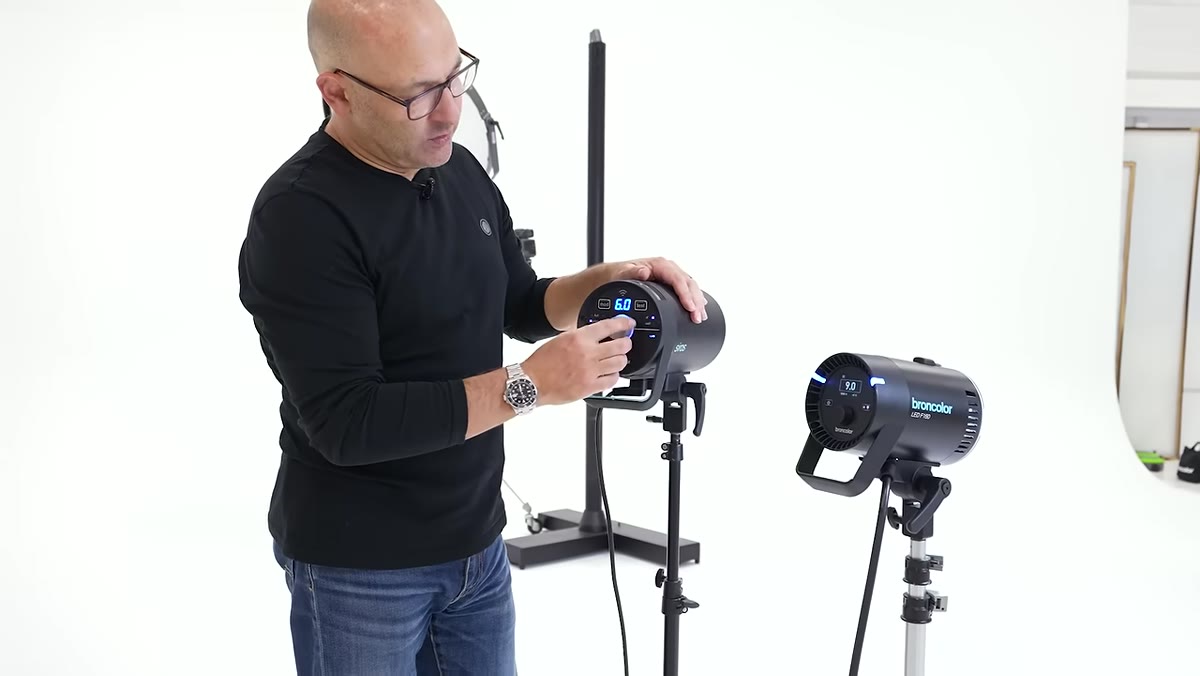
The 800-joule studio flash shown in the tutorial adjusts in either one-stop increments or one-tenth-stop increments. At full power that unit is putting out all 800 joules. Drop one stop and you are at half the power. Another stop and you are at a quarter. That granularity matters when you are dialing in a ratio between a key light and a fill, or when you need to match a specific ambient reading without moving the head.
Studio flash power display showing f-stop increments
The 800-joule studio flash shown in the tutorial adjusts in either one-stop increments or one-tenth-stop increments. At full power that unit is putting out all 800 joules. Drop one stop and you are at half the power. Another stop and you are at a quarter. That granularity matters when you are dialing in a ratio between a key light and a fill, or when you need to match a specific ambient reading without moving the head.
The LED panel in the comparison has a four-stop adjustment range across its power scale. That is workable, but the ceiling is much lower to begin with. When you are already at full power on an LED and you still need more output to reach a usable depth of field for a beauty shot, you have nowhere to go. With studio flash, you have significant headroom on both ends of the range.
Step 3: Use the Trigger System Correctly
 Remote trigger device used to fire studio flash
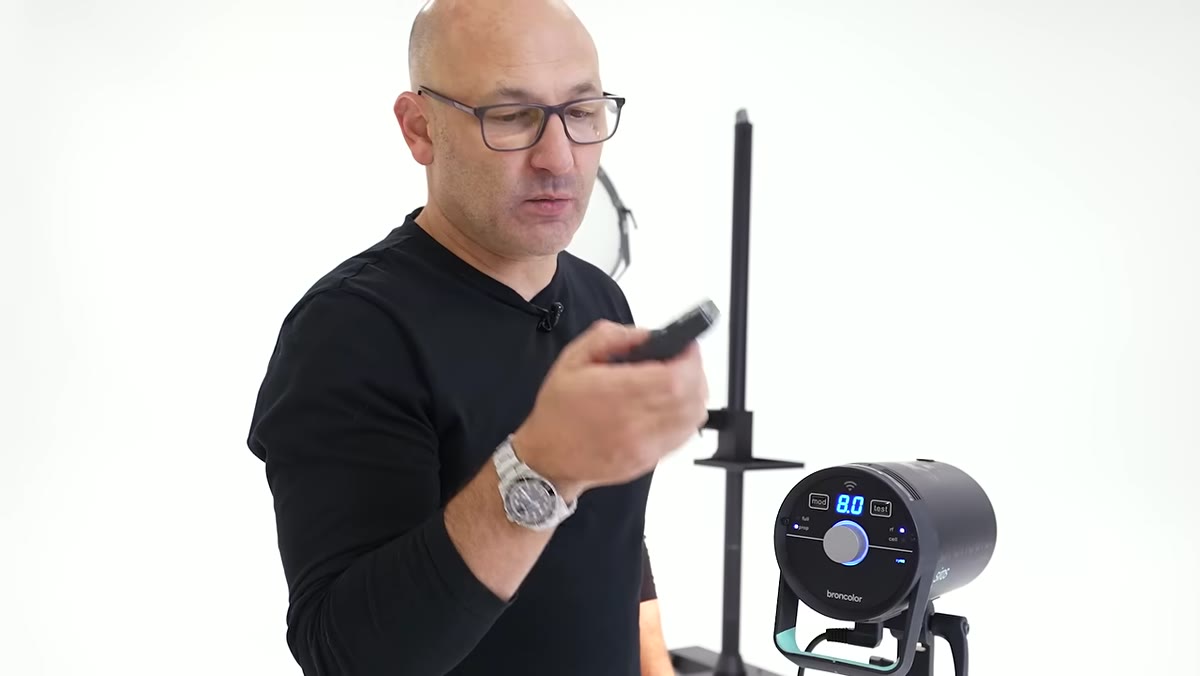
Studio flash units do not fire on their own. They need a remote trigger, a small transmitter that sits in your camera’s hot shoe and sends a signal the instant your shutter fires. The timing has to be exact, and with any quality trigger it is. The flash fires during the exposure, not before or after it.
Remote trigger device used to fire studio flash
Studio flash units do not fire on their own. They need a remote trigger, a small transmitter that sits in your camera’s hot shoe and sends a signal the instant your shutter fires. The timing has to be exact, and with any quality trigger it is. The flash fires during the exposure, not before or after it.
This seems obvious until you switch to continuous LED and forget that the sync relationship no longer applies. With LEDs, your shutter speed becomes a primary exposure control because the light is always on. That changes how you think about motion, ambient light bleed, and the relationship between ISO and aperture. Neither system is inherently harder, but they require different mental frameworks on set.
Step 4: Adjust the Modeling Lamp to Protect Your Subject
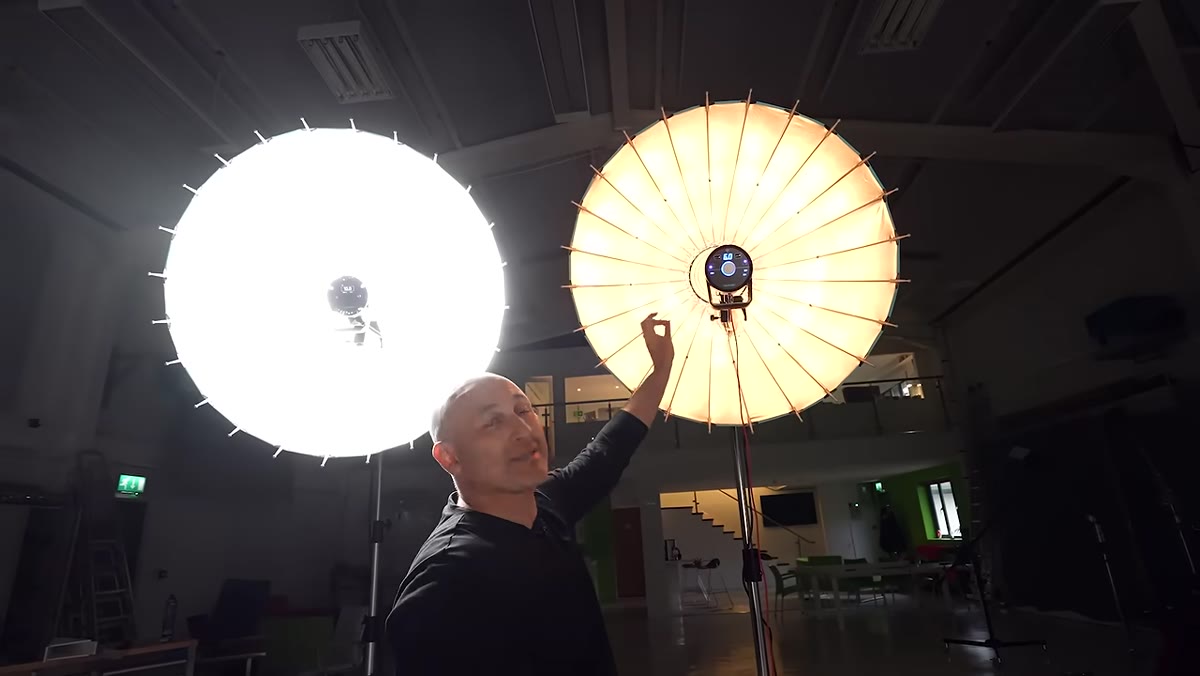 Studio flash with modeling lamp dimmed to low power
Here is the detail that separates photographers who have worked with talent from those who have not. The tutorial makes a point that stopped me the first time I watched it. When you are shooting beauty or fashion and the model needs to look directly at or near the light source, a full-power LED panel is genuinely uncomfortable. It constricts the pupils significantly, which affects how the eyes read on camera and how long your subject can hold a pose without squinting.
Studio flash with modeling lamp dimmed to low power
Here is the detail that separates photographers who have worked with talent from those who have not. The tutorial makes a point that stopped me the first time I watched it. When you are shooting beauty or fashion and the model needs to look directly at or near the light source, a full-power LED panel is genuinely uncomfortable. It constricts the pupils significantly, which affects how the eyes read on camera and how long your subject can hold a pose without squinting.
With a studio flash, you solve this cleanly by turning the modeling lamp down to a fraction of its full intensity. The flash tube output stays the same because you set that independently. Your model is comfortable, her pupils stay open, and you get the eyes you actually want. This is a practical ergonomic advantage that never shows up in spec comparisons and that I consider non-negotiable on portrait work.
Step 5: Exploit the Color Temperature Control on LEDs
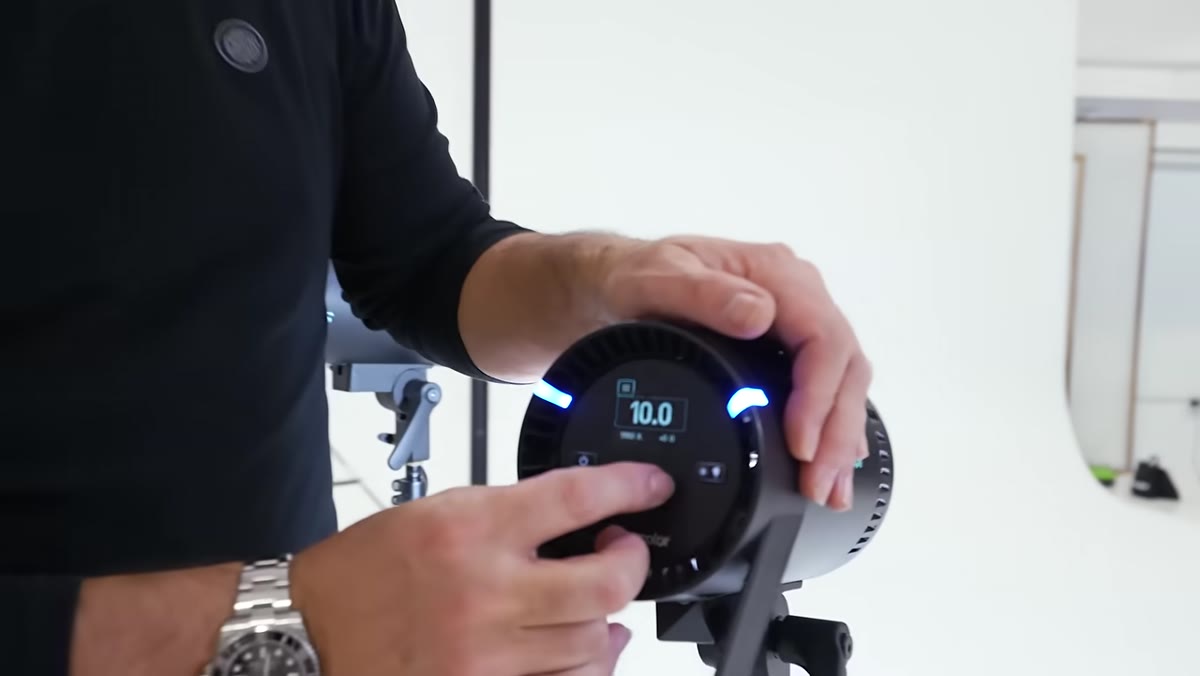 LED panel color temperature shifting from 5500K to warmer tones
LED panels that offer variable color temperature are genuinely useful in mixed-light environments. The unit in the tutorial shifts from 5500K, which is the same daylight-balanced output a studio flash produces, down to around 2800K, which is close to candlelight warmth. Studio flash is fixed at daylight balance and that is that.
LED panel color temperature shifting from 5500K to warmer tones
LED panels that offer variable color temperature are genuinely useful in mixed-light environments. The unit in the tutorial shifts from 5500K, which is the same daylight-balanced output a studio flash produces, down to around 2800K, which is close to candlelight warmth. Studio flash is fixed at daylight balance and that is that.
If you are shooting a product that needs to feel warm and intimate, or if you are working in a location with tungsten practicals that you want to match rather than fight, that variable color temperature is a real creative tool. I keep this in mind when I am building a setup that needs to blend with existing sources on a corporate location shoot.
Step 6: Compare Both Sources Inside Identical Modifiers
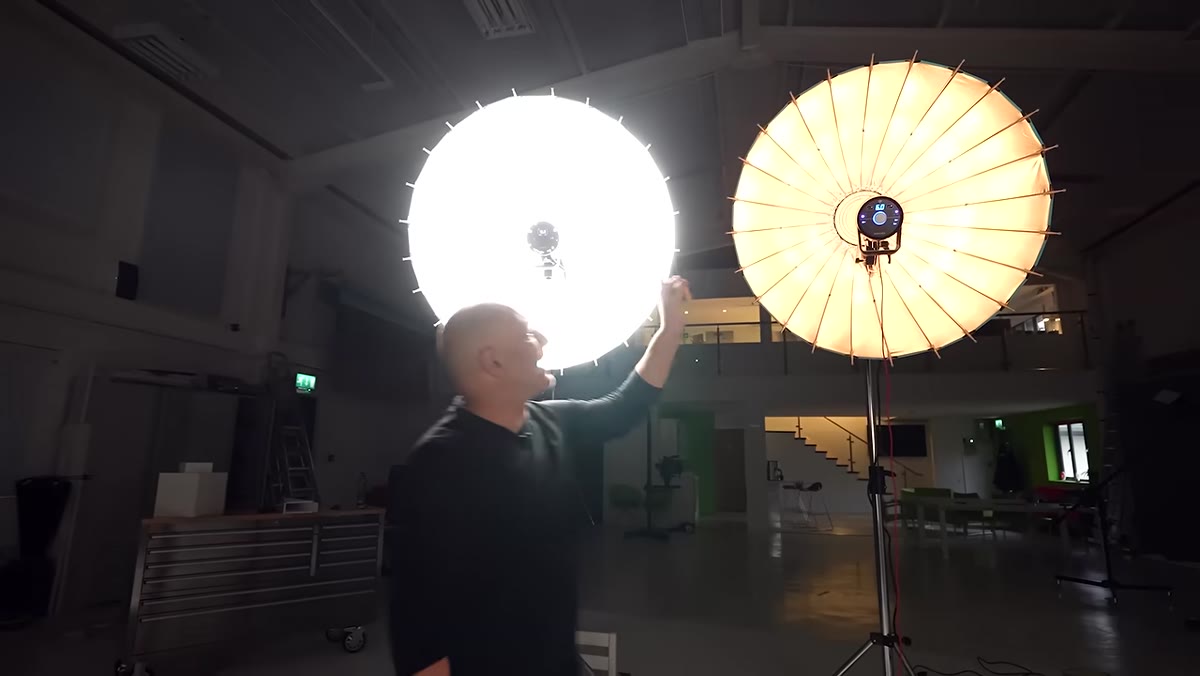 Para 88 parabolic reflector with both light sources demonstrated
The tutorial places both light sources inside the same parabolic reflector and that is the correct way to run this test. A modifier changes light character regardless of source, so matching the modifier isolates the variable you actually care about.
Para 88 parabolic reflector with both light sources demonstrated
The tutorial places both light sources inside the same parabolic reflector and that is the correct way to run this test. A modifier changes light character regardless of source, so matching the modifier isolates the variable you actually care about.
What you notice with flash is that the burst of light at the moment of exposure is independent of anything happening in the room. Ambient light is controlled by shutter speed and does not compete with the flash output. With the LED, ambient light and your continuous source are always in conversation, which is either a problem or a creative tool depending on what you are after.
What the Tutorial Does Not Cover - And What I Would Add
The video focuses on a single LED unit versus a single flash head. On real commercial sets, I am almost never running one light. When you scale up to three or four sources, the power ceiling on LEDs becomes a compounding problem. Each head is already at its limit, and you cannot push further to compensate for a modifier that eats two stops of light. With studio flash at 800 joules per head, I have room to stack modifiers, use diffusion, and still hit the aperture I need for the depth of field the client wants.
The other thing I would add: the “what you see is what you get” advantage of continuous LED is real during setup, but once you have internalized how your flash modifiers behave, you stop needing it. A good lighting journal entry after every shoot builds the same mental model faster than most people expect.
The single most important thing to take from this comparison is that studio flash wins on output ceiling and subject comfort, while LEDs win on portability and color flexibility. Knowing which constraint matters on your specific shoot is the actual skill. Watch the full breakdown from Visual Education and let the side-by-side demonstration make it concrete:
Watch the full tutorial on YouTube
Comments
Leave a Comment