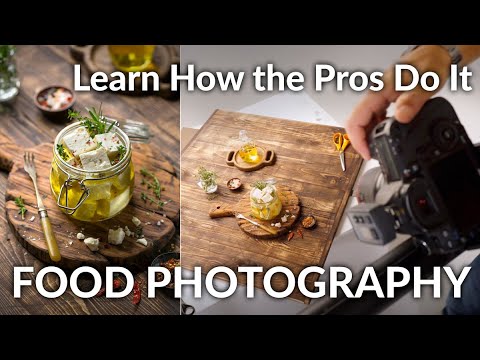
Food photography has always sat at the edge of my comfort zone. I shoot fashion, beauty, corporate headshots — controlled environments where I know exactly how light behaves on a face or a fabric. But food is different. It moves, it wilts, it reflects in ways you don’t expect, and it carries an emotional weight that pure product work doesn’t. When a plate of food looks right in a photograph, you feel it before you understand it. That’s a harder thing to engineer than it sounds.
I’ve been circling food work more seriously this year, and I kept running into the same gaps in my own knowledge — specifically around styling and how to use light to create appetite appeal rather than just accurate exposure. That’s what pulled me into this Visual Education tutorial by Carl Taylor, a still life and lighting specialist who has shot for global brands across food, fashion, cosmetics, and more. Watch the full tutorial on YouTube before or after reading this breakdown — it’s worth the full sit-down.
What I found was a course that treats food photography the way I treat any serious studio discipline: as a craft with learnable structure, not just an aesthetic vibe. Taylor works alongside a professional food stylist named Anna, and the combination of their expertise gives the course a practical depth that most food photography content doesn’t bother with. Here’s how it lays out.
Step 1: Understand What Food Photography Actually Is
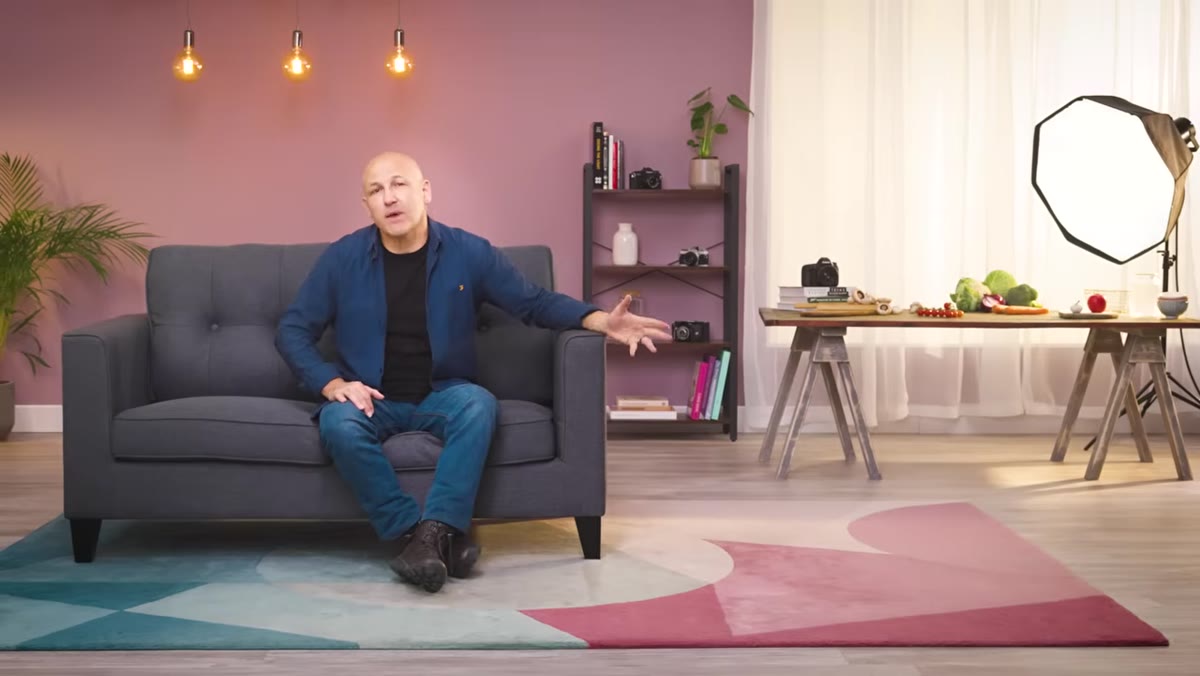 Carl Taylor introducing food photography as storytelling
Before any light is placed or any prop is arranged, Taylor frames the entire discipline around storytelling and emotion. Food photography isn’t documentation. It’s the translation of a sensory experience, taste, desire, texture, memory, into a visual one. That reframe matters more than any technical tip that follows.
Carl Taylor introducing food photography as storytelling
Before any light is placed or any prop is arranged, Taylor frames the entire discipline around storytelling and emotion. Food photography isn’t documentation. It’s the translation of a sensory experience, taste, desire, texture, memory, into a visual one. That reframe matters more than any technical tip that follows.
I keep a lighting journal where I sketch every setup from every shoot, and what I’ve started adding this year are notes on the emotional intention of the shot. What should the viewer feel? Hungry? Comforted? Curious? If you can’t answer that before you set up a single light, you’re going to make technically competent images that land flat. Taylor grounds the whole course in this idea, and it’s the right place to start.
Step 2: Learn the Language of Styling from a Professional
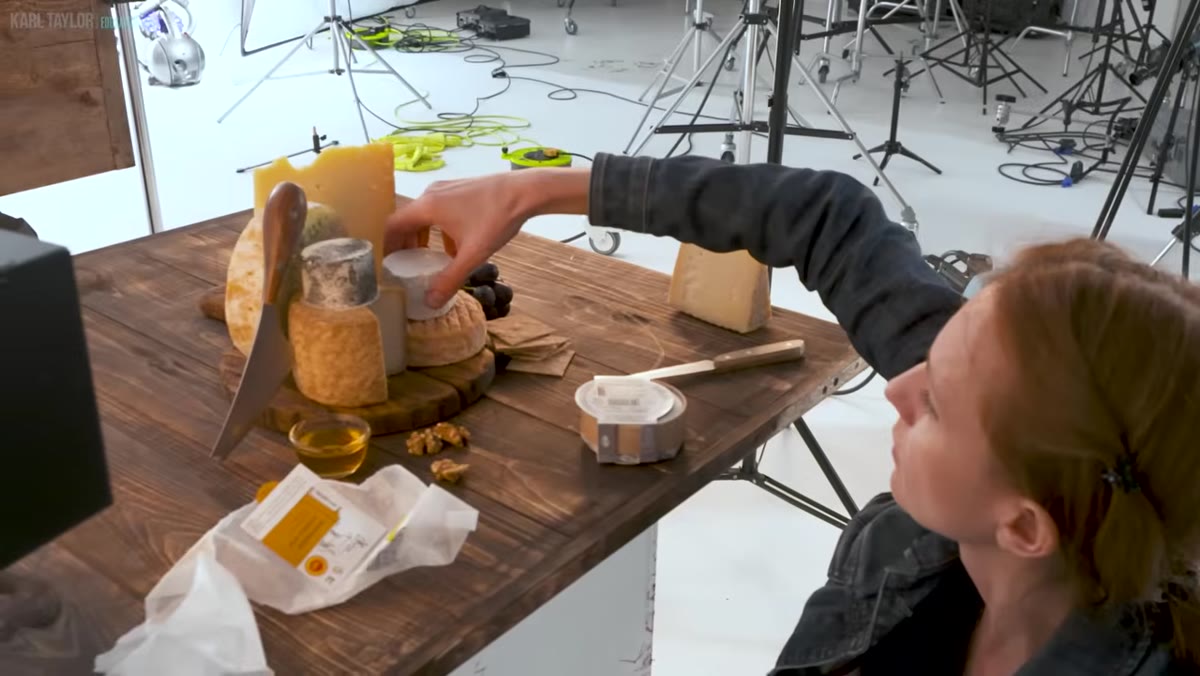 Food stylist Anna discussing keeping food fresh and positioned
Taylor brings in Anna, a professional food stylist, specifically to address the gap that most photographers try to paper over with post-processing. Styling is its own discipline, and Anna’s focus is on keeping food fresh, structurally intact, and visually compelling under studio conditions and studio heat.
Food stylist Anna discussing keeping food fresh and positioned
Taylor brings in Anna, a professional food stylist, specifically to address the gap that most photographers try to paper over with post-processing. Styling is its own discipline, and Anna’s focus is on keeping food fresh, structurally intact, and visually compelling under studio conditions and studio heat.
The practical side of this includes understanding how different foods behave over a shoot. Leafy elements wilt under continuous lighting faster than you’d expect. Sauces migrate. Ice cream is almost never real ice cream. Anna’s knowledge covers the tools and tricks that keep a hero element looking alive from frame one to frame fifty, and Taylor’s point is clear: lighting a poorly styled dish is a losing battle. Get the food right first.
Step 3: Use Light to Reveal Texture and Depth, Not Just to Illuminate
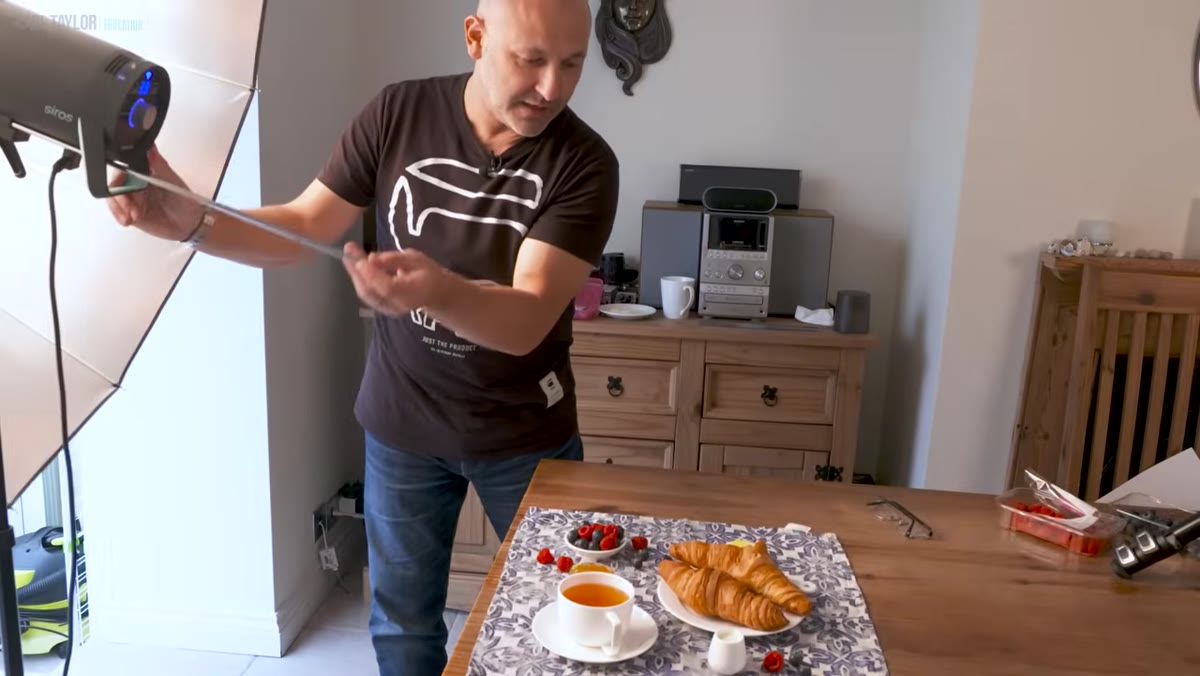 Taylor explaining flagging, shadow control, and depth in food shots
This is where Taylor earns his title as a lighting specialist. His approach to food lighting centers on control: specifically flagging, managing global illumination, and using shadow intentionally to give the image depth and dimension. A flat, fully lit dish looks like a catalog scan. Controlled shadow gives it volume and makes it look edible.
Taylor explaining flagging, shadow control, and depth in food shots
This is where Taylor earns his title as a lighting specialist. His approach to food lighting centers on control: specifically flagging, managing global illumination, and using shadow intentionally to give the image depth and dimension. A flat, fully lit dish looks like a catalog scan. Controlled shadow gives it volume and makes it look edible.
Flagging in this context means blocking light selectively to prevent it from washing out the texture you’ve worked to create. A raking side light will reveal the crust on bread or the glaze on a protein in a way that front light simply won’t. The shadow that falls into the valleys of that texture is doing as much work as the highlight that sits on the peaks. Taylor’s method is precise — he treats shadow as an ingredient, not an accident to correct in Lightroom.
Step 4: Match Your Lighting Style to Your Story
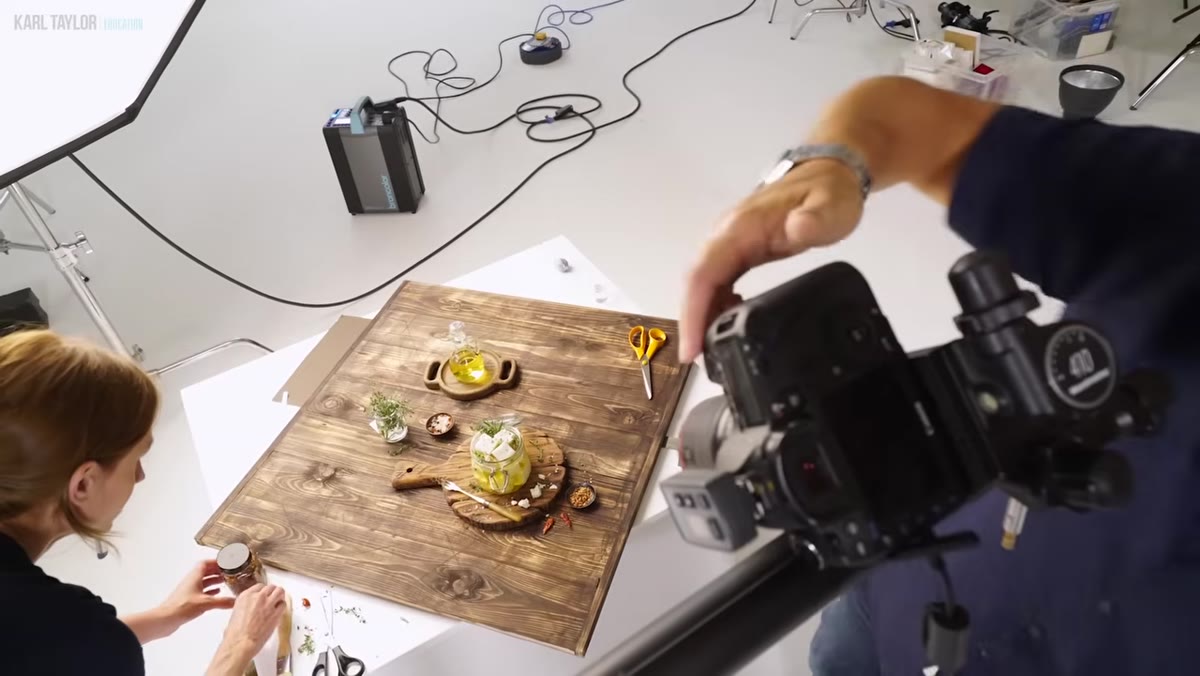 Demonstration of lighting styles from sunlight to dark food photography
Taylor walks through a range of lighting approaches, from broad, soft natural-light simulation to the high-contrast dark food photography style that has dominated editorial and restaurant branding over the last several years. Each style carries a different emotional register, and the choice should come from the story, not from personal habit.
Demonstration of lighting styles from sunlight to dark food photography
Taylor walks through a range of lighting approaches, from broad, soft natural-light simulation to the high-contrast dark food photography style that has dominated editorial and restaurant branding over the last several years. Each style carries a different emotional register, and the choice should come from the story, not from personal habit.
Natural light setups can be replicated in a studio environment using diffused flash through large panels, combined with mirrors, gold card reflectors, and even simple card gobos to bounce or cut light exactly where it’s needed. Taylor makes the point that high-quality results don’t require expensive equipment. The thinking is the expensive part. A well-placed piece of white card and a makeup mirror can do what a $3,000 reflector does if you understand the physics of what you’re trying to achieve.
Step 5: Use Color, Texture, and Props to Separate Hero from Supporting Cast
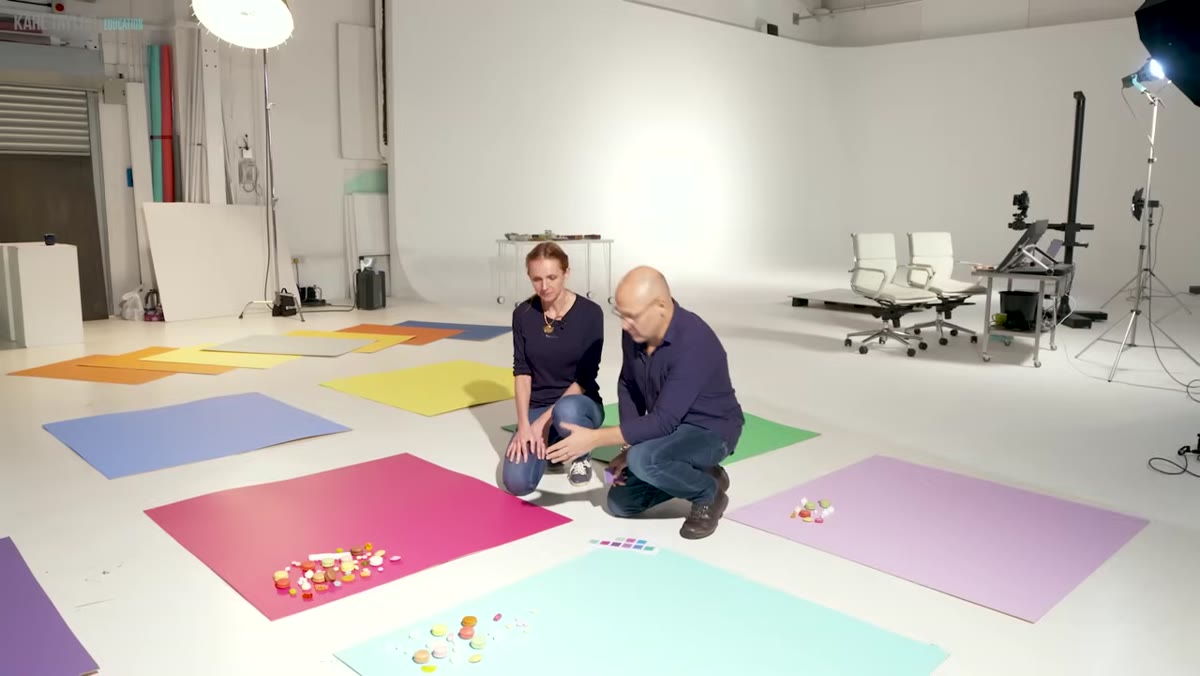 Taylor and Anna discussing color, texture, gloss and matte combinations
Composition in food photography isn’t just arrangement. It’s a hierarchy. The hero element, the dish itself, needs to read immediately as the subject, and everything around it should support that read without competing. Taylor and Anna discuss the interplay of gloss and matte surfaces, warm and cool tones, and how deliberate contrast in texture between props and food draws the eye to the right place.
Taylor and Anna discussing color, texture, gloss and matte combinations
Composition in food photography isn’t just arrangement. It’s a hierarchy. The hero element, the dish itself, needs to read immediately as the subject, and everything around it should support that read without competing. Taylor and Anna discuss the interplay of gloss and matte surfaces, warm and cool tones, and how deliberate contrast in texture between props and food draws the eye to the right place.
This is where prop selection becomes a lighting decision, not just a styling one. A matte, rough-textured linen under a glossy glazed protein is doing compositional work. A shiny plate under a matte dish risks visual confusion. The goal is to make the viewer’s eye move on a path you’ve designed, landing on the hero and staying there.
Step 6: Finish in Post with Intention, Not Habit
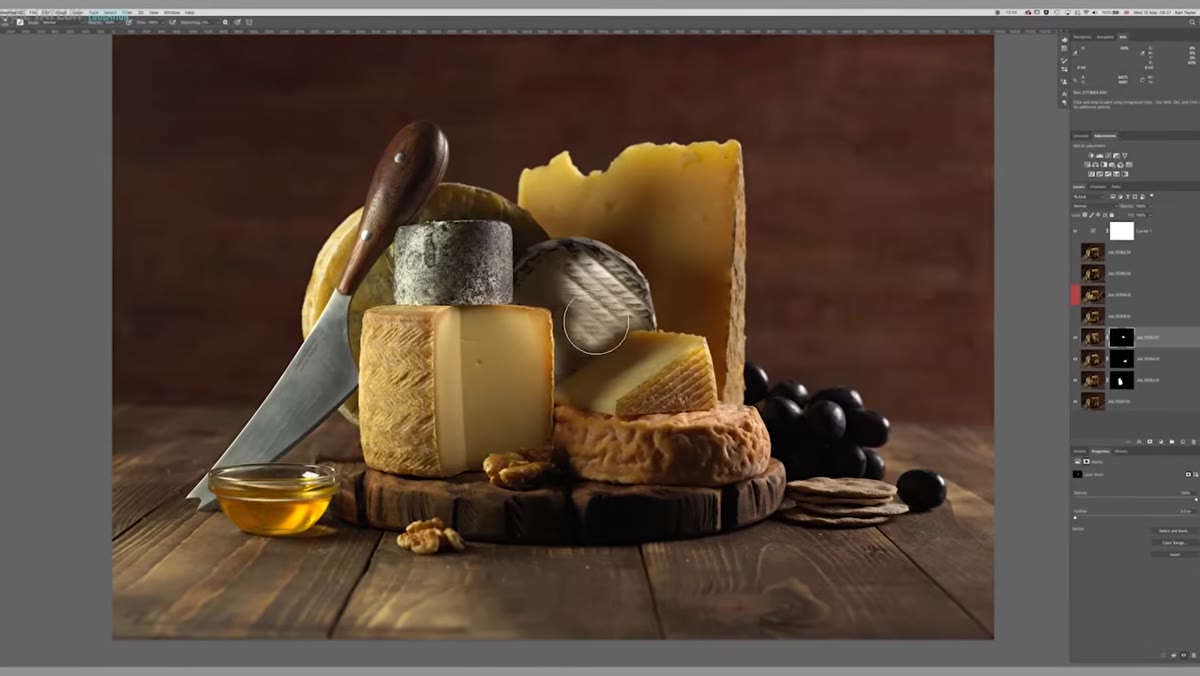 Photoshop workflow for food image color and contrast adjustments
Taylor closes the technical section with a Photoshop workflow focused on color adjustments, contrast, layers, and masks. The key word in his framing is “simple.” These aren’t heavy-handed retouches. They’re refinements that honor the styling and lighting work already done.
Photoshop workflow for food image color and contrast adjustments
Taylor closes the technical section with a Photoshop workflow focused on color adjustments, contrast, layers, and masks. The key word in his framing is “simple.” These aren’t heavy-handed retouches. They’re refinements that honor the styling and lighting work already done.
The approach he describes, using adjustment layers with targeted masks rather than global corrections, is exactly how I work on beauty and fashion images. You protect the choices you made on set. A saturation boost that looks right on the protein might kill the background. Masking keeps those decisions local and controllable.
What I’d Add from My Own Studio Practice
The one thing Taylor doesn’t dig into in this overview, though it likely appears deeper in the course, is color temperature matching when mixing natural and artificial light. This is something I learned the hard way early in my career: a window providing ambient fill at 5600K and a strobe set to 5000K will give you a color cast that no preset will fix cleanly in post. In food photography, that kind of inconsistency reads immediately as a quality problem. I calibrate every light source at the start of every food-adjacent shoot now, using a color checker card and confirming the match before I arrange a single prop. If you’re working near windows, either commit to natural light entirely or block it and build your own.
The single most important idea in this tutorial is also the simplest: food photography is emotional storytelling, and every technical decision, the light quality, the styling choices, the post-processing, should serve that story. If you’re not clear on the emotion you’re after before you set up your first light, the rest of the craft has nothing to anchor to.
Watch the full tutorial on YouTube and work through it with a notebook. Carl Taylor’s breakdown of lighting control alone is worth the time, even if you never shoot food professionally.
Comments
Leave a Comment