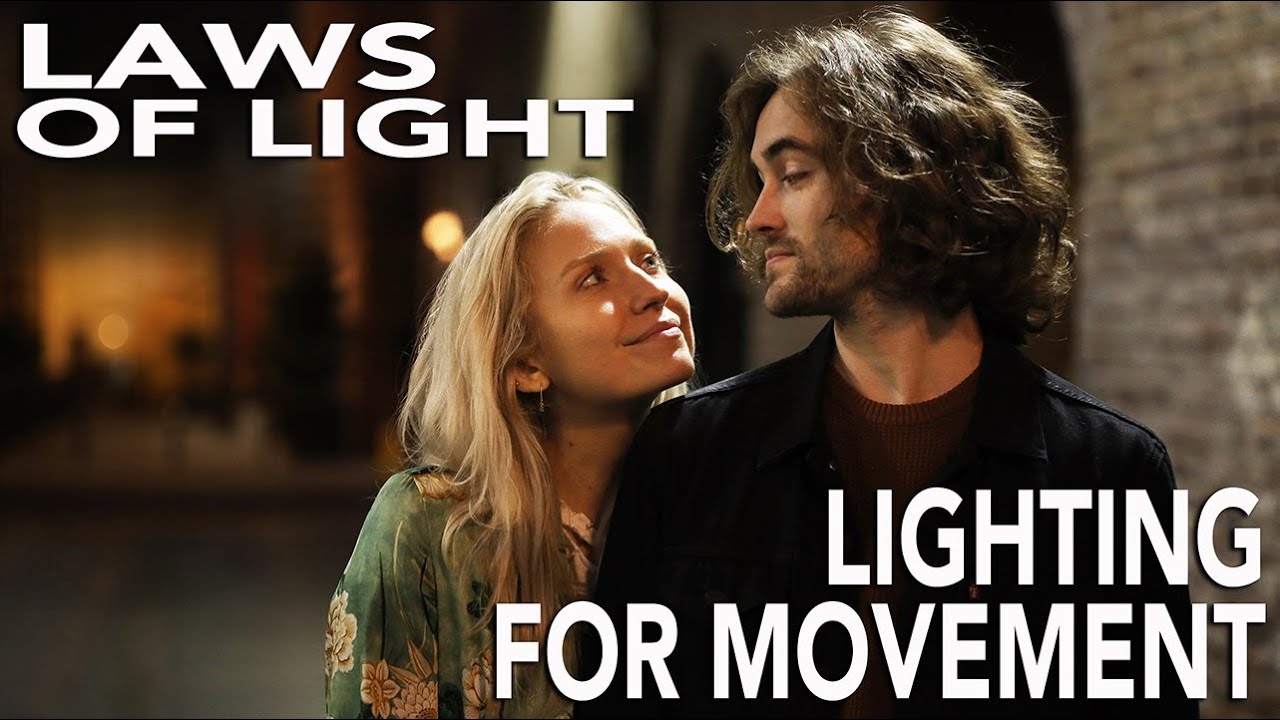
Most of my work happens in a controlled studio where I can tape a light to the floor with painter’s tape and it will be exactly there six hours later. Motion work on location is a different animal entirely. The character is moving through space, the camera is chasing them, and your carefully placed light has about three seconds to do its job before the actor walks out of it. For years I approached this kind of shoot the way I approach a portrait: one key position, fill as needed, done. The results were competent and completely flat.
In this The Slanted Lens tutorial, Watch the full tutorial on YouTube, JP Morgan walks through how to light a dramatic scene in an alley where two characters move through the space together. The technique he demonstrates is less about any single light placement and more about designing a sequence of lighting moments that the character physically travels through. It changed how I think about blocking and light in the same breath.
The core idea is simple once you hear it: instead of lighting a location, you light a path. Each pool of light the character enters is a new emotional beat. The cinematographic language is borrowed from film, but the execution is completely accessible for photographers shooting video or even multi-frame narrative sequences. Here is how it works, step by step.
Step 1: Start with Darkness and a Silhouette
 Character positioned in front of background light, face unlit
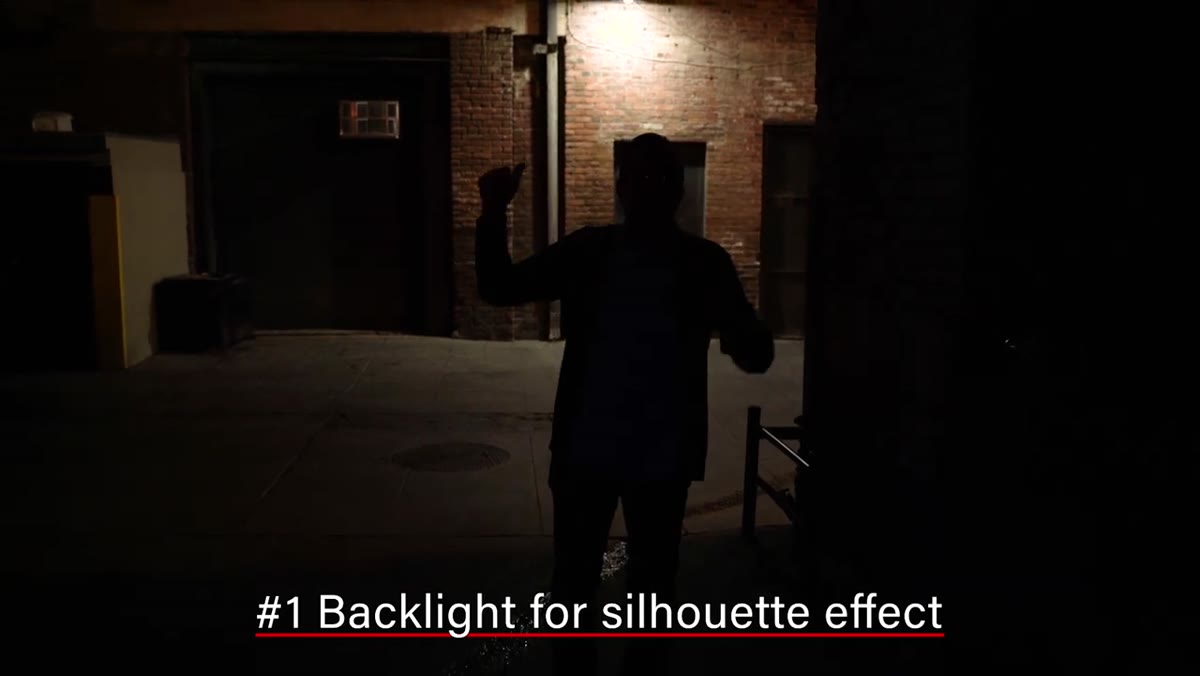
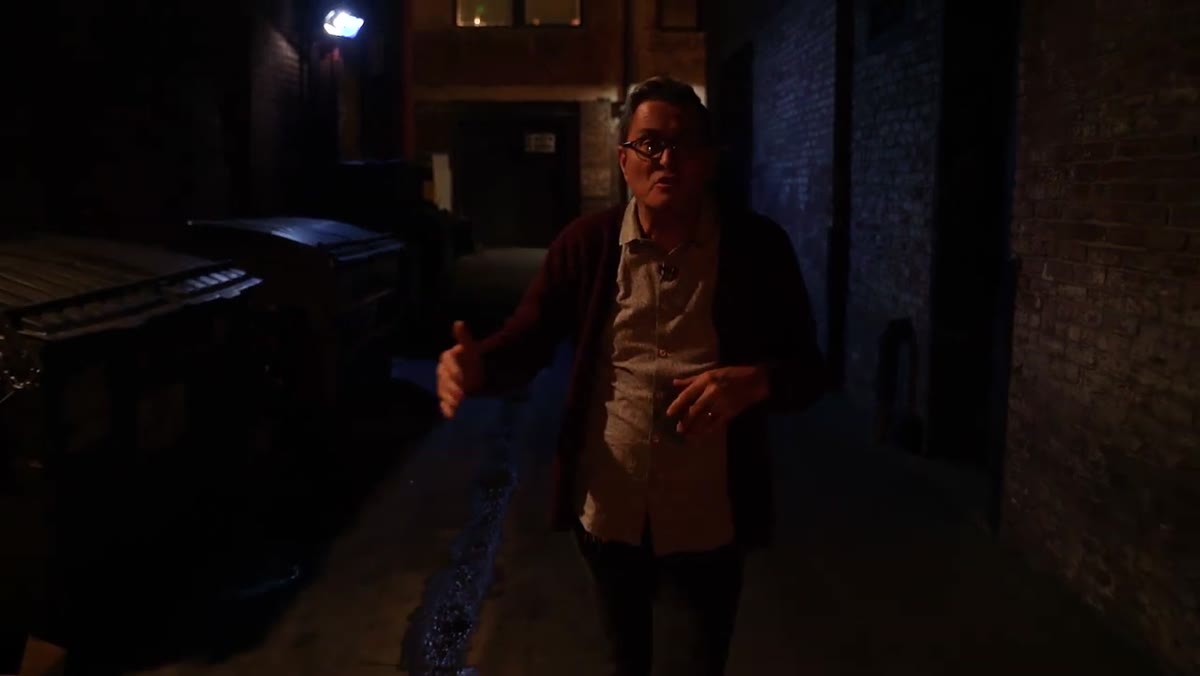
Before you place a single key light, kill every ambient source in the scene. JP’s team pulled bulbs from streetlights and cut every practical in the alley. This gave them full ownership of where light exists and where it does not. The opening position places a light behind the character aimed at the background wall. The actor’s face is dark. The viewer sees shape without identity, which is exactly the dramatic tension you want at the start of a scene. Think of it as the establishing beat: presence without revelation.
Character positioned in front of background light, face unlit
Before you place a single key light, kill every ambient source in the scene. JP’s team pulled bulbs from streetlights and cut every practical in the alley. This gave them full ownership of where light exists and where it does not. The opening position places a light behind the character aimed at the background wall. The actor’s face is dark. The viewer sees shape without identity, which is exactly the dramatic tension you want at the start of a scene. Think of it as the establishing beat: presence without revelation.
The background light here is not incidental. It is deliberate. Plan this placement before anything else so you understand the silhouette you are working with. The character’s outline against that lit wall is your first frame, and it has to read clearly.
Step 2: Build Distinct Pools of Colored Light Along the Path
 Character stepping into blue-tinted pool of light mid-alley
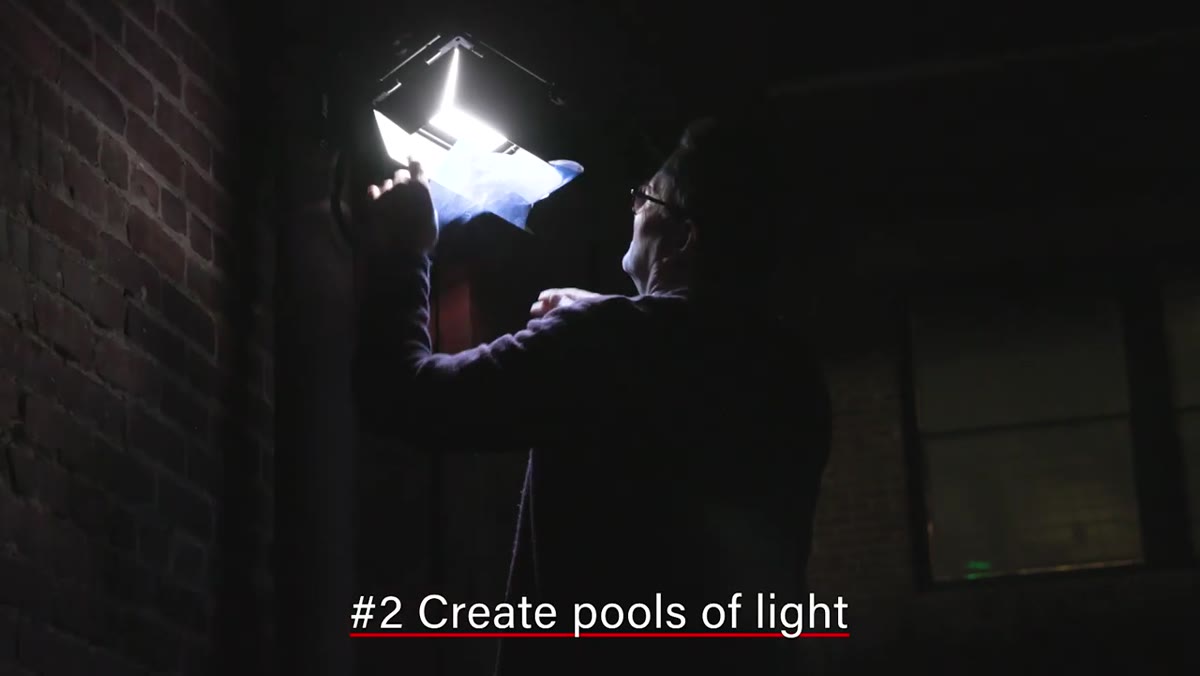
From the silhouette position, the character moves forward into the first pool of colored light. JP uses a blue tone here, mounted high on the alley wall with a Platapod strapped to a pipe. The color shift from neutral background to blue creates an immediate sense of transition, visually signaling that something is changing. As the character continues moving, they pass through another pool in a warmer tone. Each color change adds a layer of depth to the scene and separates the space visually so the alley reads as having dimension rather than as a flat corridor.
Character stepping into blue-tinted pool of light mid-alley
From the silhouette position, the character moves forward into the first pool of colored light. JP uses a blue tone here, mounted high on the alley wall with a Platapod strapped to a pipe. The color shift from neutral background to blue creates an immediate sense of transition, visually signaling that something is changing. As the character continues moving, they pass through another pool in a warmer tone. Each color change adds a layer of depth to the scene and separates the space visually so the alley reads as having dimension rather than as a flat corridor.
The color contrast does not need to be extreme. Blue to warm white is enough. What matters is that the shift is intentional and tied to a moment in the character’s journey rather than applied uniformly across the location.
Step 3: Mount Lights Off the Ground to Keep the Path Clear
 Light mounted to wall with Platapod, no floor stands visible
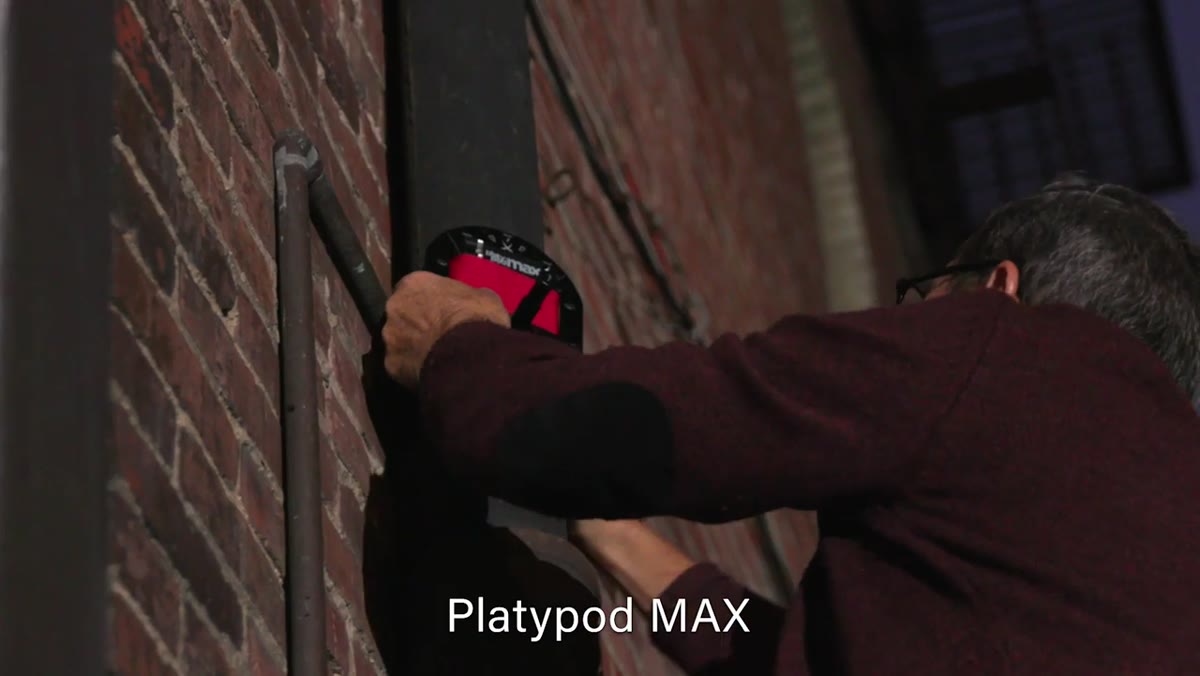
Floor stands are the enemy of moving character work. They restrict where your actor can step, where your camera can push in, and they read in any low-angle shot. JP solves this by strapping his lights to pipes and architectural elements using a Platapod, and he powers them with V-mount or gold-mount batteries so there are no power cables crossing the floor either. The result is a completely open path that the camera can move through without flagging around stands or avoiding cables.
Light mounted to wall with Platapod, no floor stands visible
Floor stands are the enemy of moving character work. They restrict where your actor can step, where your camera can push in, and they read in any low-angle shot. JP solves this by strapping his lights to pipes and architectural elements using a Platapod, and he powers them with V-mount or gold-mount batteries so there are no power cables crossing the floor either. The result is a completely open path that the camera can move through without flagging around stands or avoiding cables.
If you are rigging a location and you find yourself placing a stand anywhere near your actor’s path, stop and find a way to get that light off the ground. It will cost you ten minutes and save you the entire shoot.
Step 4: Shape Each Pool with Barn Doors, Grids, or Flags
 Cardboard used to flag light, shaping a tight pool on the ground
The lights should not flood the scene. Each pool needs a hard edge so the character moves into light and then back into shadow with clarity. JP uses barn doors, grids, and in several spots literal pieces of cardboard to control where each light spills. The goal is for each source to look motivated: a shaft falling from a streetlight fixture above, or a warm glow bleeding from a doorway. If the light looks like it belongs in the physical world of the scene, the viewer stops noticing it and starts feeling it.
Cardboard used to flag light, shaping a tight pool on the ground
The lights should not flood the scene. Each pool needs a hard edge so the character moves into light and then back into shadow with clarity. JP uses barn doors, grids, and in several spots literal pieces of cardboard to control where each light spills. The goal is for each source to look motivated: a shaft falling from a streetlight fixture above, or a warm glow bleeding from a doorway. If the light looks like it belongs in the physical world of the scene, the viewer stops noticing it and starts feeling it.
Shaping light for a moving subject also means thinking about what the light hits at different heights. A foot hitting a puddle on the ground reads completely differently than the same light hitting a face. JP places a small warm source at foot level specifically to catch that puddle moment, which would have been invisible if the light were only aimed from above.
Step 5: Hide Your Sources Inside the Environment
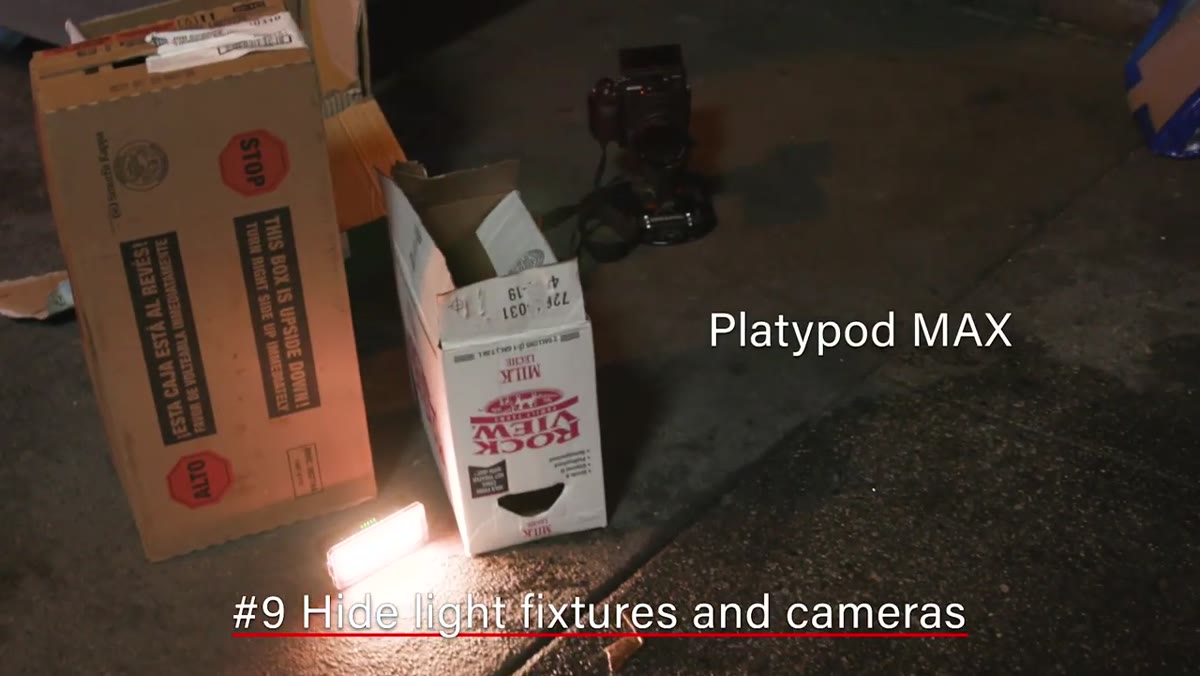 Cardboard boxes and alley debris used to conceal light fixtures
Once the lights are shaped and mounted, the next problem is camera movement. If your camera travels down the alley toward the lights, those sources will enter the frame. JP hides them behind trash, boxes, and natural alley clutter. The practical benefit is obvious, but there is a secondary benefit too: sources nested inside the environment feel found rather than placed. The viewer’s eye accepts them as part of the world.
Cardboard boxes and alley debris used to conceal light fixtures
Once the lights are shaped and mounted, the next problem is camera movement. If your camera travels down the alley toward the lights, those sources will enter the frame. JP hides them behind trash, boxes, and natural alley clutter. The practical benefit is obvious, but there is a secondary benefit too: sources nested inside the environment feel found rather than placed. The viewer’s eye accepts them as part of the world.
Before you roll camera on any moving shot, physically walk the camera path and look for every light source that will enter frame. Then decide if you can hide it or need to reposition entirely.
Step 6: Reserve Your Brightest Light for the Climactic Moment
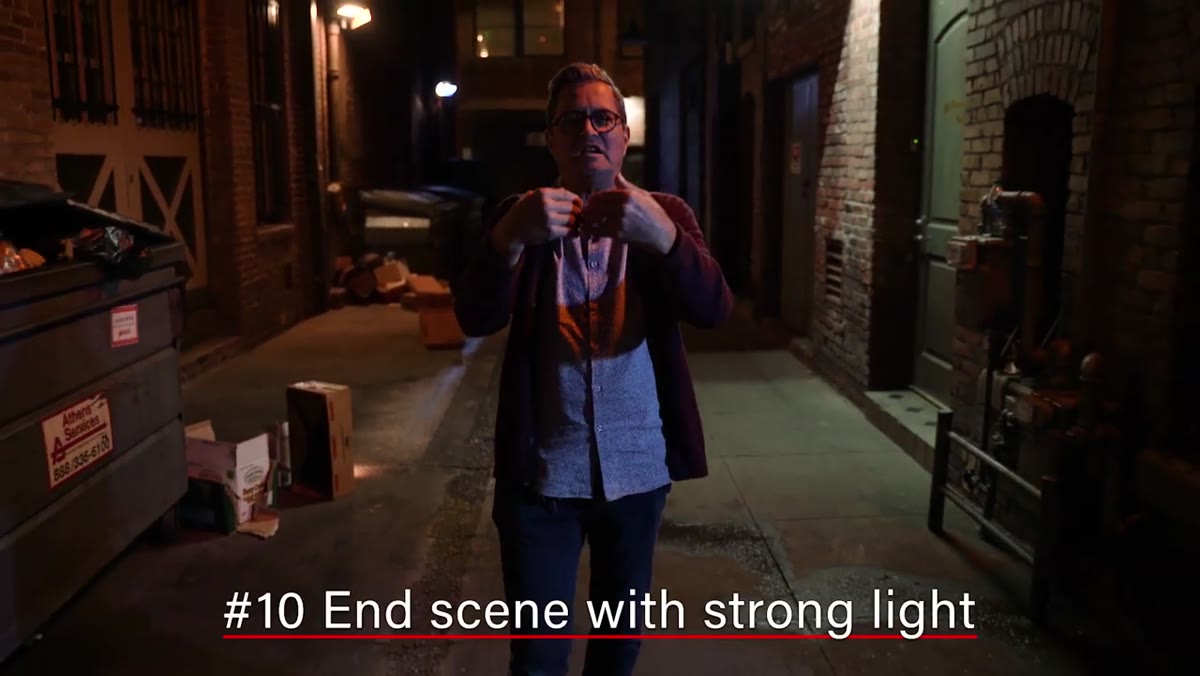 Characters reaching final position in stronger, more directional light
At the end of the scene, JP brings the characters into a pool that is noticeably stronger than anything they have passed through. The increased intensity signals climax without any dialogue or music needed. One character is lit more fully. The other is allowed to fall into shadow, communicating her uncertainty within the same frame. Lighting one character more than the other within the same scene is a choice that carries emotional information, and it is a choice you have to make deliberately during blocking, not during the grade.
Characters reaching final position in stronger, more directional light
At the end of the scene, JP brings the characters into a pool that is noticeably stronger than anything they have passed through. The increased intensity signals climax without any dialogue or music needed. One character is lit more fully. The other is allowed to fall into shadow, communicating her uncertainty within the same frame. Lighting one character more than the other within the same scene is a choice that carries emotional information, and it is a choice you have to make deliberately during blocking, not during the grade.
The escalation from dim to strong also only works if you have maintained discipline earlier. If every pool along the path is already at full intensity, you have nowhere to go when the scene needs to peak.
A Studio Photographer’s Caveat
I keep a lighting journal where I sketch every setup after a shoot, and when I started applying this approach to narrative portrait sessions in the studio, the journal entries got longer almost immediately. The pools of light concept transfers directly to any situation where a subject moves through space, even a short walk from a chair to a window. What I had to unlearn was the instinct to light the room. Light the path instead, and the room takes care of itself.
The one thing I would add to JP’s framework is to test your transitions before the talent arrives. Walk the path yourself, or have an assistant do it, and watch how the light falls at each step. The edge where one pool ends and another begins is where the frame is most vulnerable to looking muddy or accidental. Define that edge precisely, and every pool will read with intention.
The single most important principle in this entire tutorial is that blocking and lighting are the same decision made at the same time. Know exactly where your character will be at each beat, and build a light specifically for that position. Everything else follows from that discipline.
Watch the full tutorial on YouTube to see JP Morgan walk the alley himself and demonstrate each transition in real time. Seeing the color shifts and the shaped pools in motion makes the technique click faster than any diagram.
Comments
Leave a Comment