Every overcomplicated lighting setup I’ve ever seen fails for the same reason: the photographer couldn’t tell you what each individual light was actually doing. They added sources the way some people add seasoning — a little of this, a little of that — until the image looked “about right.” That approach works until it doesn’t, and when something goes wrong on set, they have no idea where to start troubleshooting. The concept of lighting in layers is the antidote to that. It’s a thinking framework, not a specific setup, and once it clicks, you start seeing every light source as a discrete ingredient with a defined job.
Watch the full tutorial on YouTube
In this CreativeLive tutorial, photographer Dan walks through the foundational concept of layered lighting — what it means, why it matters, and how understanding it gives you real control whether you’re working with one light or five. The tutorial is framed as groundwork, the kind of conceptual scaffolding that makes every technique you learn afterward stick properly. I keep a lighting journal where I sketch every setup from every shoot, and the layered approach is essentially the same logic I apply every time I open that notebook. Each source gets its own entry. Each one answers a specific question. This tutorial articulates that process better than most books I’ve read on the subject.
Step 1: Understand What “Layers” Actually Means
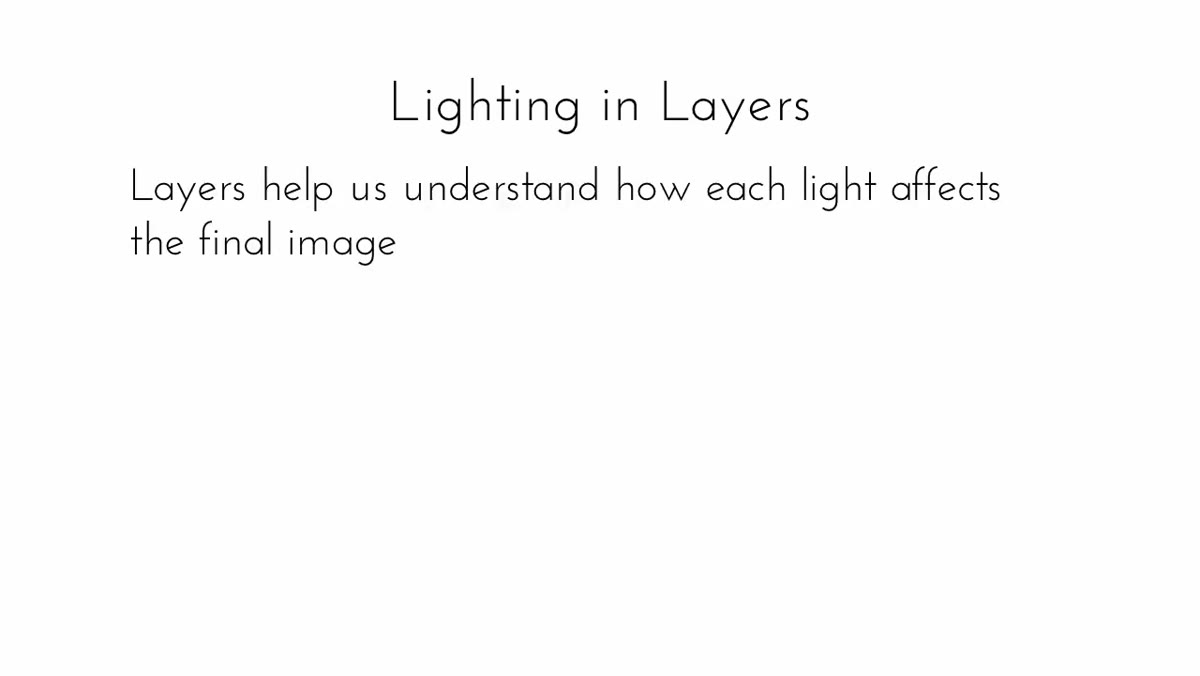 Instructor explaining how each light source affects the final image
Layered lighting doesn’t mean complex lighting. It means thinking of each light source as a separate, controllable variable rather than part of an undifferentiated whole. When Dan introduces the concept, he frames it simply: each layer affects the final image in a specific, identifiable way. Your job as the photographer is to know exactly what that effect is before you fire a single frame.
Start by asking yourself what each light in your setup is responsible for. Key light? Fill? Background separation? Hair? Those are your layers. Even if you’re shooting with a single strobe through a softbox, that one source is still a layer. Understanding it as such means you can modify it deliberately — feather it, change the modifier, move it closer — and predict the result.
Step 2: Build the Vocabulary Before You Build the Setup
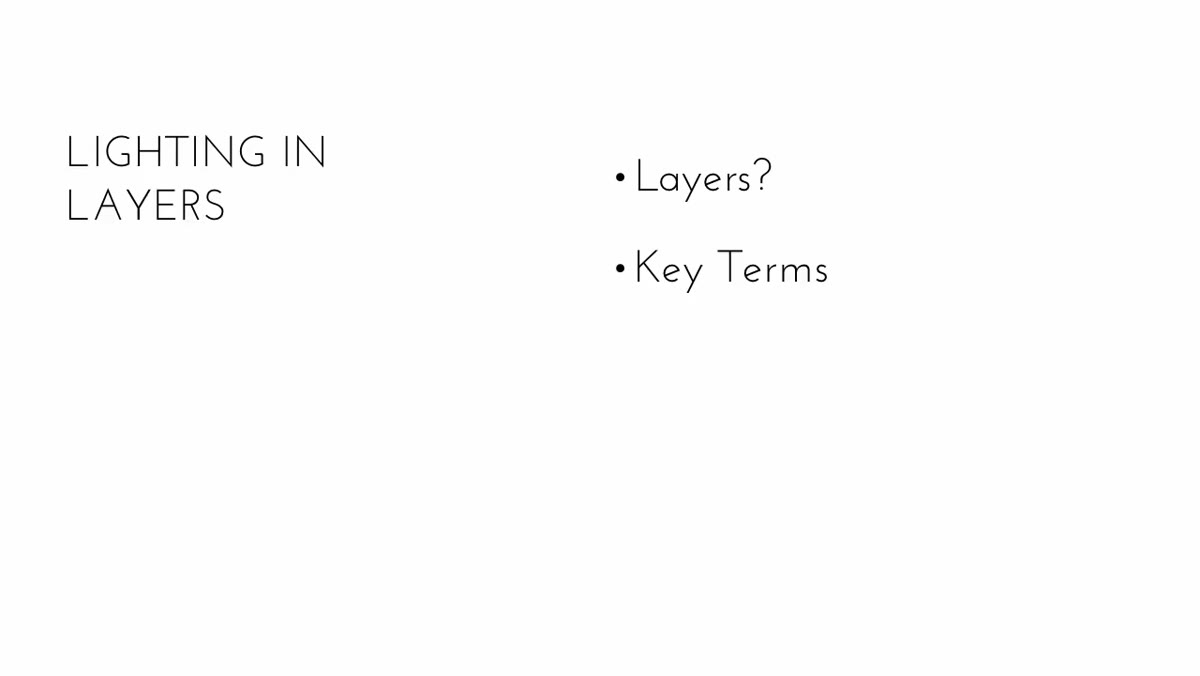 Instructor listing key terms and equipment names used in lighting
One of the most practical things Dan does early in this tutorial is front-load the terminology. He wants viewers to know the names of equipment and understand directional language before any lights go up. That’s not pedantry. That’s how you avoid the situation where a photographer and their assistant are pointing at different things and calling them the same word.
If you’re new to studio work, take this step seriously. Learn the difference between a key light and a fill light. Know what a hair light does versus a rim light. Understand that “camera left” always means the subject’s right as viewed from behind the camera. These aren’t just vocabulary words — they’re the grammar of lighting communication. On a real set, with real clients watching, you don’t have time to pause and clarify what you meant.
Step 3: Recognize That Layers Apply to Any Setup Size
 Instructor describing single-light setups versus five-light setups
Dan makes a point that I’d underline twice: the layered approach applies whether you’re using one light or five. This is where a lot of photographers get confused — they think layered lighting means multiple lights by definition. It doesn’t. A one-light setup has one layer. A five-light setup has five. The framework scales.
In practice, this means you should be able to isolate any single light in your setup and describe its specific contribution to the image. If you turn off your key light, what changes? If you cut your fill by one stop, where does the shadow fall? If you can’t answer those questions, you don’t fully own your setup. Start building this habit on simple one-light work before you add complexity. I still occasionally shoot a full editorial setup with each light powered down except one, just to confirm every layer is doing its job.
Step 4: Let Curiosity Drive Your Technical Education
 Instructor describing browsing forums and studying other photographers’ work
Dan shares something from his own early career that I think is genuinely useful as a method, not just as autobiography. He describes studying images that confused him visually, then working backward to figure out how they were made. Why was the sky dark while the model was bright? Why did the image look almost surreal? Those questions pulled him toward the technical understanding he needed.
This is a legitimate way to learn lighting, and it’s one I’d recommend alongside any formal tutorial. Pull a tear-out from a magazine. Look at a photograph you can’t immediately explain. Then try to reverse-engineer the layer count. How many sources? Where are they placed? What modifiers were likely used? That kind of active study builds intuition faster than passive watching, and it gives you a personal library of setups you’ve mentally dissected.
Step 5: Treat Foundation-Building as Non-Negotiable
 Instructor emphasizing why lighting foundations matter before shooting
The section of the tutorial where Dan talks about why laying the groundwork for lighting matters is easy to skim past if you’re eager to get to the practical demonstrations. Don’t. The argument he’s making is structural: without a conceptual foundation, techniques are just tricks you borrow and can’t reproduce reliably.
Think of it the way I think about gear. I label every light in my studio with masking tape. Key, fill, hair, background — each one tagged before a client walks in. That habit comes from the same logic Dan is describing: when you name the layer and define its role before the shoot, you stop improvising blindly and start making deliberate decisions. The foundation isn’t the boring part. It’s the part that makes everything else repeatable.
What I’d Add From My Own Work
The layered framework becomes especially powerful when something goes wrong on set. When a setup isn’t working and a client is watching you, the worst thing you can do is start adjusting everything at once. That’s how you lose your place entirely. Instead: freeze. Identify which layer is causing the problem. Adjust only that source. Evaluate. Then move to the next one if needed.
I learned this the hard way early in my commercial work, before I had the vocabulary to think about lights as discrete layers. Now it’s reflex. When an image looks flat, I check the fill ratio before I touch anything else. When the background isn’t reading correctly, I adjust that layer in isolation. It sounds mechanical, but that precision is what lets you stay calm and look like you know exactly what you’re doing, because you do.
The single most important idea in this tutorial is also the simplest: know what each light is doing before you add another one. That discipline, applied consistently, is what separates photographers who can light from photographers who occasionally get lucky.
Watch the full tutorial on YouTube
Comments
Leave a Comment