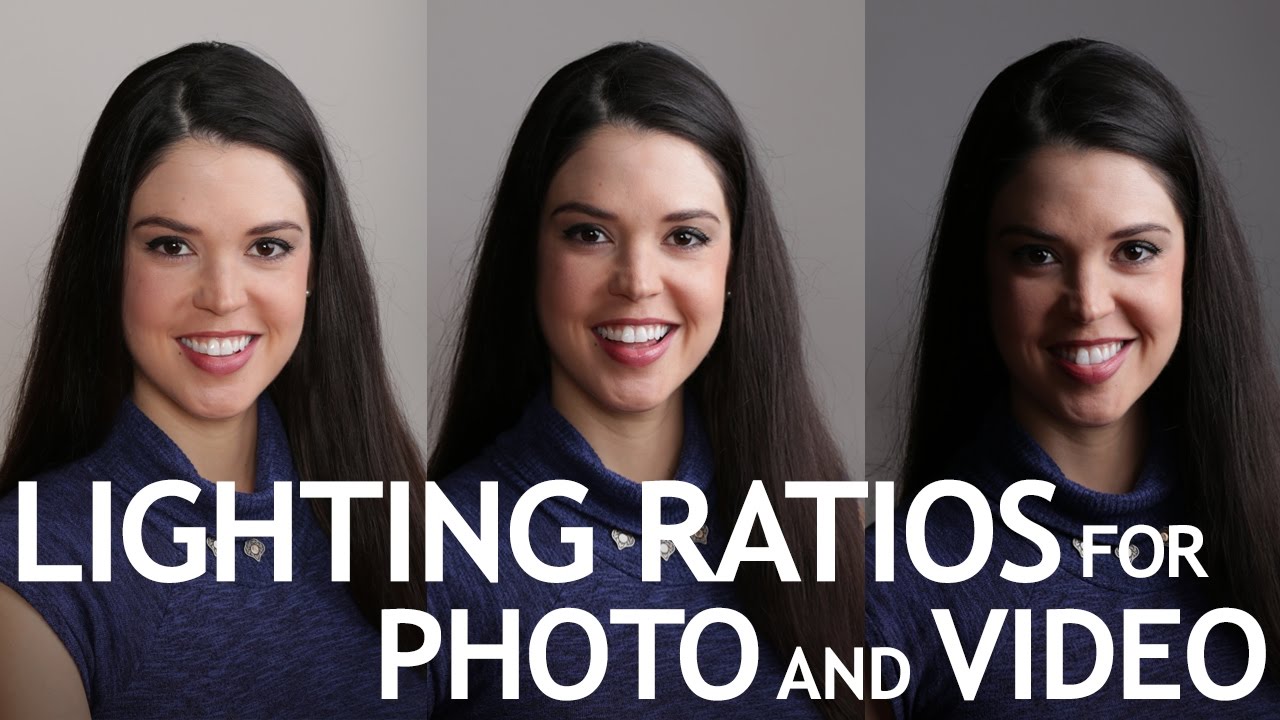
Every light in my studio has a strip of masking tape on it with a label. Key, fill, rim, kicker. It sounds obsessive until you’re forty minutes into a beauty shoot for a client and your assistant asks which light to pull back. Then it’s just efficient. That same obsessive precision is what made me stop mid-scroll when I found JP Morgan’s tutorial on lighting ratios over at The Slanted Lens. Not because it was new information, but because he explained it the way I wish someone had explained it to me fifteen years ago: as a system, not a feeling.
Watch the full tutorial on YouTube
The problem lighting ratios solve is consistency. Early in my career I would dial in a look by eye, get excited about it, and then have no reliable way to recreate it on the next shoot. I kept a lighting journal where I’d sketch every setup, but even with diagrams, “moved the fill a bit left” is not a repeatable instruction. Stop-based ratios are. Once you understand that a 4:1 ratio means your shadow side is exactly two stops darker than your key, you can rebuild that ratio in any studio, with any gear, in under five minutes.
In this The Slanted Lens tutorial, JP Morgan breaks down how to read, set, and use lighting ratios practically, using two light meters simultaneously to monitor highlight and shadow in real time. Here is how to apply everything he covers.
Step 1: Understand What a Lighting Ratio Actually Means
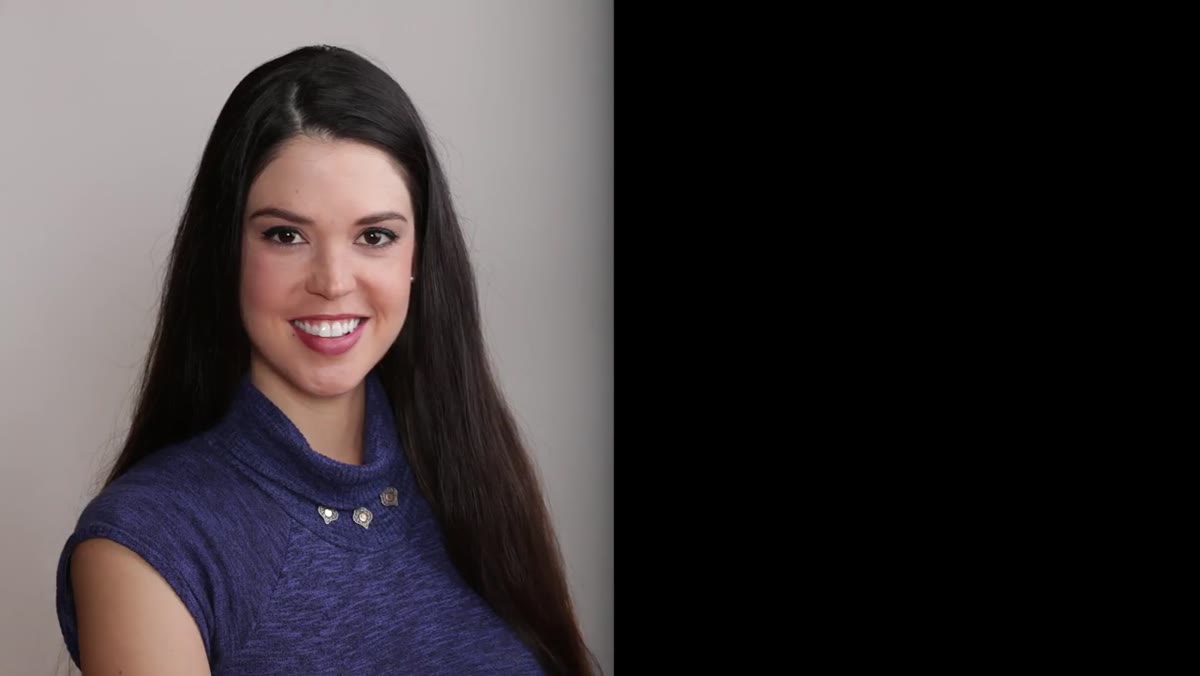 Diagram or verbal explanation of 1:1 highlight and shadow equality
A lighting ratio describes the relationship between the highlight side of your subject and the shadow side, expressed as a ratio tied directly to stops of exposure. A 1:1 ratio means both sides are equally exposed, which produces flat, even, shadow-free light. Think beauty dish centered directly on axis, or a clamshell setup with both sources balanced. It looks clean but it has no depth.
Diagram or verbal explanation of 1:1 highlight and shadow equality
A lighting ratio describes the relationship between the highlight side of your subject and the shadow side, expressed as a ratio tied directly to stops of exposure. A 1:1 ratio means both sides are equally exposed, which produces flat, even, shadow-free light. Think beauty dish centered directly on axis, or a clamshell setup with both sources balanced. It looks clean but it has no depth.
From there, each ratio step doubles the difference because photography operates in powers of two. A 2:1 ratio means the highlight side is one stop brighter than the shadow. A 4:1 means two stops brighter. An 8:1 means three stops brighter, which starts to produce the kind of heavy, dramatic shadows you’d associate with film noir or high-contrast editorial work. Knowing where you are on that scale before you shoot is the entire point.
Step 2: Set Your Key Light First and Meter It
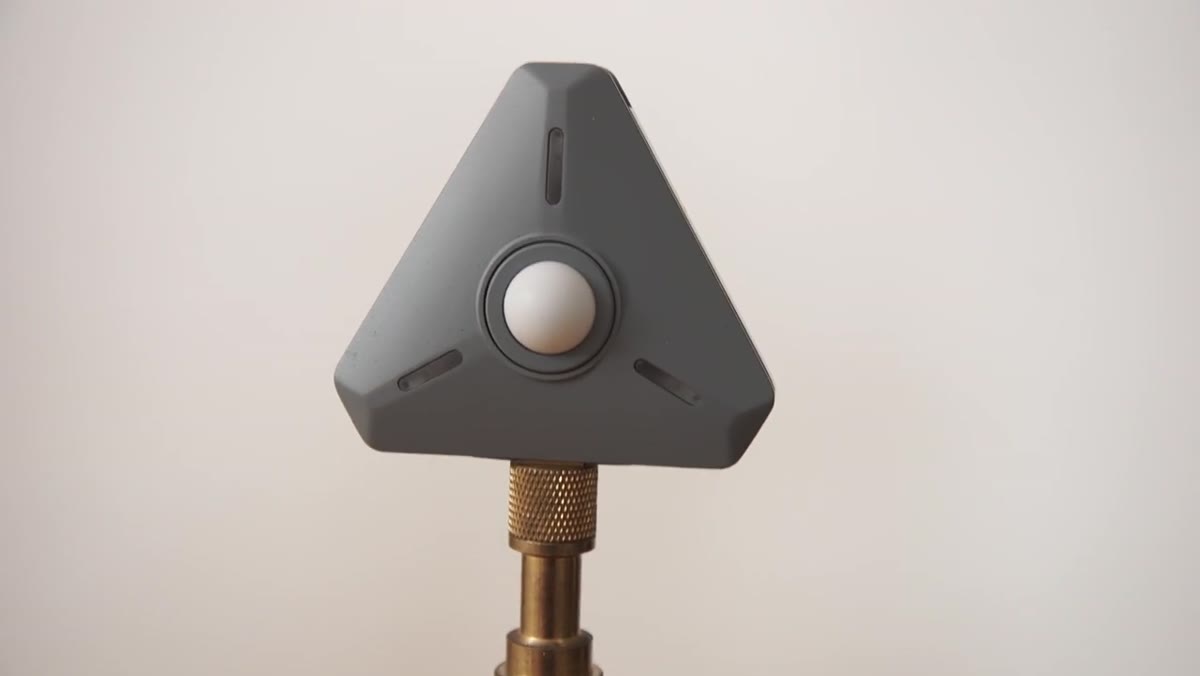 Light meter positioned close to subject on key light side
Place your key light where you want it and take a meter reading on the highlight side of your subject’s face. Get the meter as close to the subject as possible without entering the frame, and angle it slightly toward the key light rather than directly at the camera. You want the reading to favor the light source that is doing the primary work.
Light meter positioned close to subject on key light side
Place your key light where you want it and take a meter reading on the highlight side of your subject’s face. Get the meter as close to the subject as possible without entering the frame, and angle it slightly toward the key light rather than directly at the camera. You want the reading to favor the light source that is doing the primary work.
This reading becomes your anchor. Every other decision you make about fill and shadow is measured against it. I typically shoot beauty work at f/8 to f/11 for skin texture, so I set my key to hit that target first, and then I do not touch it again unless I’m changing the entire exposure.
Step 3: Place a Second Meter in the Shadow to Read the Fill
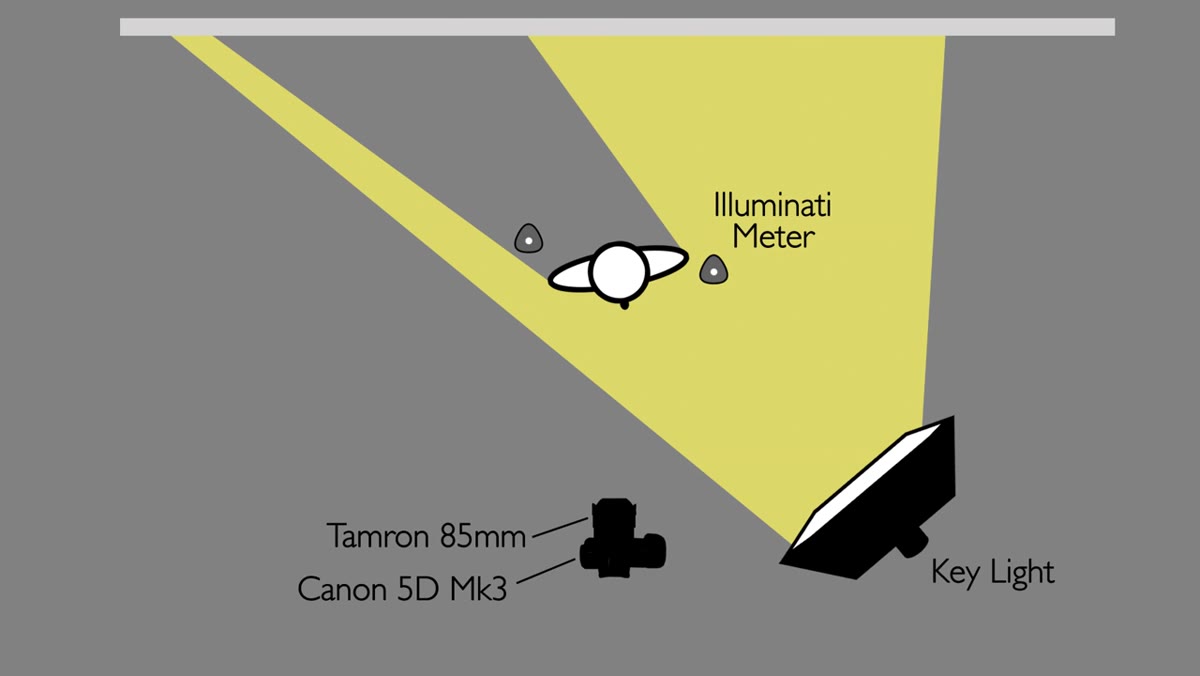 Second meter positioned in shadow area, away from key light
This is where JP’s approach gets genuinely useful in a working studio context. He positions a second meter on the shadow side of the subject, tucked slightly behind and below the face so it receives no direct light from the key at all. The goal is a pure shadow reading, nothing contaminated by spill from the main light.
Second meter positioned in shadow area, away from key light
This is where JP’s approach gets genuinely useful in a working studio context. He positions a second meter on the shadow side of the subject, tucked slightly behind and below the face so it receives no direct light from the key at all. The goal is a pure shadow reading, nothing contaminated by spill from the main light.
On the shadow side, keep the meter aimed toward the camera, not the key. You want to measure the ambient and fill light that is actually wrapping into that side of the face. The difference between this reading and your key light reading tells you exactly what ratio you’re working at. Two stops of difference? You’re at 4:1. Three stops? You’re at 8:1.
Step 4: Use Wireless Meters to Monitor Both Sides Simultaneously
 Phone showing two simultaneous meter readings side by side
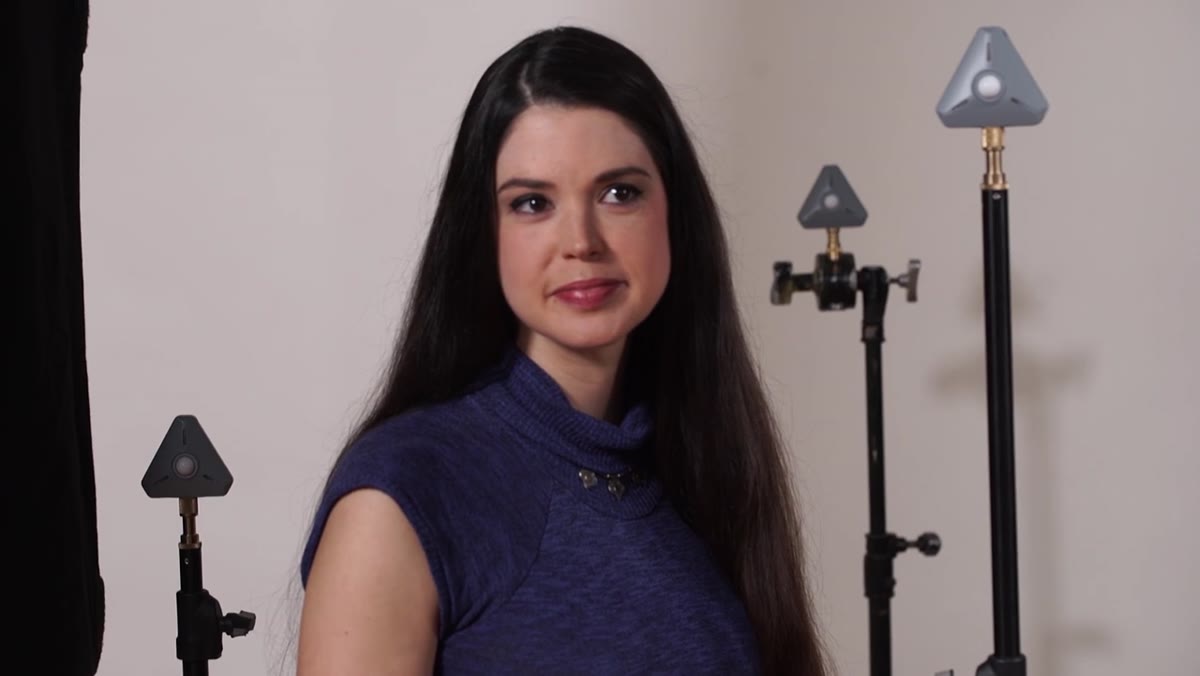
JP uses Illuminati meters because they connect to a phone app and display both readings at once. I’ve worked with traditional incident meters for years and the workflow difference is significant. With conventional meters you’re physically walking back and forth between the highlight and shadow positions, which means you’re adjusting by memory. With two connected meters you can see both values change in real time as you move a light or bring in a fill card.
Phone showing two simultaneous meter readings side by side
JP uses Illuminati meters because they connect to a phone app and display both readings at once. I’ve worked with traditional incident meters for years and the workflow difference is significant. With conventional meters you’re physically walking back and forth between the highlight and shadow positions, which means you’re adjusting by memory. With two connected meters you can see both values change in real time as you move a light or bring in a fill card.
For video especially, this matters. A slight ambient shift during a run-and-gun interview setup can knock your ratio off without anyone noticing until the edit. Having both readings visible simultaneously lets you catch that drift immediately.
Step 5: Adjust Your Fill Light and Watch the Shadow Reading Change
 Fill light or card being introduced, shadow meter reading shifting
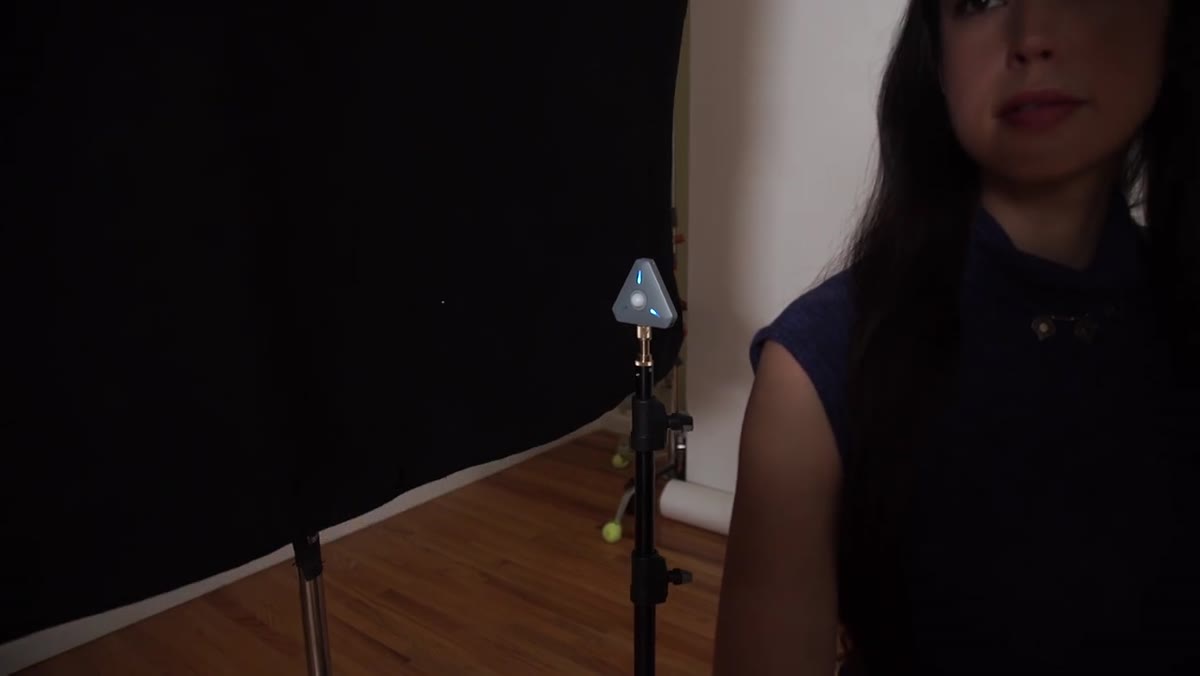
Once both meters are in position, introduce your fill. This could be a reflector card, a dedicated fill light behind the camera, or even a large white foam core panel. As you move it closer or further from the subject, watch the shadow meter reading climb or drop. This is how you dial in your target ratio without guessing.
Fill light or card being introduced, shadow meter reading shifting
Once both meters are in position, introduce your fill. This could be a reflector card, a dedicated fill light behind the camera, or even a large white foam core panel. As you move it closer or further from the subject, watch the shadow meter reading climb or drop. This is how you dial in your target ratio without guessing.
One thing JP points out that I want to emphasize: when you bring a second light source into the setup, it raises the overall exposure slightly. You will likely need to stop down about one stop to compensate when moving from a single key to a key-plus-fill configuration. Check both meters again after any adjustment and confirm you’re still hitting your key light target before you lock in.
Step 6: Choose Your Ratio Intentionally Based on the Look You’re After
 Side-by-side comparison of faces at different ratios
This is the part that separates photographers who use ratios as a tool from those who just set lights until something looks nice. A 2:1 ratio is soft and flattering, well-suited for beauty and commercial skin work. A 4:1 starts to add dimension and is probably the most versatile ratio for portrait and editorial. An 8:1 is aggressive and works best when the story or brand calls for strong contrast.
Side-by-side comparison of faces at different ratios
This is the part that separates photographers who use ratios as a tool from those who just set lights until something looks nice. A 2:1 ratio is soft and flattering, well-suited for beauty and commercial skin work. A 4:1 starts to add dimension and is probably the most versatile ratio for portrait and editorial. An 8:1 is aggressive and works best when the story or brand calls for strong contrast.
Choose your ratio before the model walks in. Write it on the masking tape next to the power setting if you have to. Having that number committed to before the shoot keeps you from second-guessing yourself when a client is standing behind you asking for “more drama.”
What I’d Add from My Own Experience
I shoot a lot of beauty work where skin tone accuracy is non-negotiable, and one thing the ratio system doesn’t automatically account for is how different skin tones respond to shadow depth. What reads as a balanced 4:1 on a light-skinned subject can compress into an almost 8:1 appearance on deeper skin tones because of the way shadow detail renders in the darker tonal range. I’ve started adjusting my target ratio based on the subject rather than treating it as a fixed creative constant. Lighter skin can tolerate a deeper ratio before losing detail. Deeper skin often looks best at 2:1 or a mild 4:1 where the shadow retains texture rather than going to solid black.
If you keep a lighting journal, start logging not just the ratio but the skin tone of the subject alongside it. After a year of shoots you’ll have a reference that tells you exactly where to start for any given look.
The single most important thing to take from this tutorial is that ratios replace guesswork with a language. Once you know that 4:1 equals two stops of separation, you can describe your lighting to another photographer, an assistant, or a director of photography and they will understand you exactly. No more “a little more shadow on the left side.” Just the number.
Watch the full tutorial on YouTube and see JP Morgan walk through each ratio on camera with a real subject. Seeing the difference between a 1:1 and an 8:1 on the same face, in the same setup, is worth more than any diagram I could sketch.
Comments
Leave a Comment