Most of my work happens in a controlled environment. I have my lights labeled, my power drops mapped, and a lighting diagram sketched before the talent ever walks through the door. Location work strips all of that away. No ceiling to bounce from, no dedicated circuit, no ability to predict exactly where the sun will be unless you’ve done the homework ahead of time. That gap between studio comfort and location reality has burned me before, and it’s why I keep returning to tutorials from photographers who clearly approach location work with the same systematic thinking I try to bring to the studio.
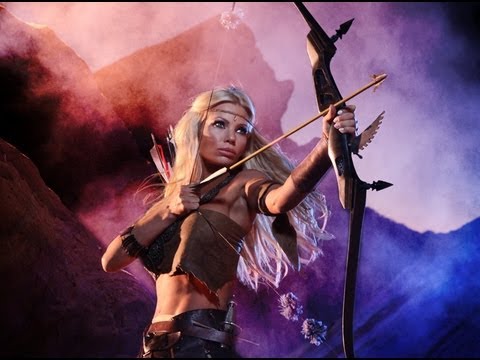
In this The Slanted Lens tutorial, Watch the full tutorial on YouTube, Jay P. Morgan shoots a warrior princess concept at Vasquez Rocks in California, using rim light, an air cannon for dust effects, and a raised platform to give the subject dynamic posing options. The shoot is cinematic in scope, but the principles underneath it apply to any location job, from a headshot session at a city park to a full editorial setup in the desert.
What makes this tutorial worth studying is not the dramatic concept. It is the pre-production thinking that happens before a single frame is captured. Location work rewards preparation and punishes improvisation, and this breakdown shows exactly why.
Step 1: Scout the Location at the Exact Time of Day You Plan to Shoot
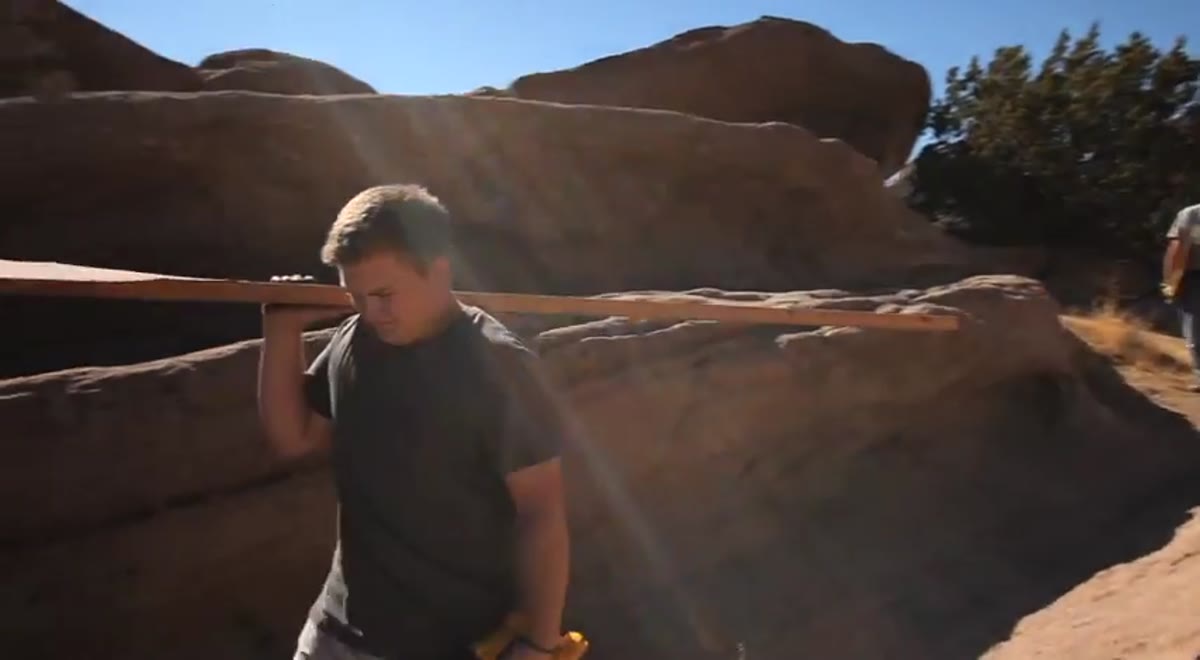 Photographer at Vasquez Rocks during afternoon light
Showing up to a location for the first time on shoot day is a gamble I stopped taking years ago. Morgan is direct about this: you need to visit the location at the same time of day your shoot is scheduled, because the light changes everything. A spot that looks beautiful at noon can be completely unworkable at four in the afternoon, and vice versa.
Photographer at Vasquez Rocks during afternoon light
Showing up to a location for the first time on shoot day is a gamble I stopped taking years ago. Morgan is direct about this: you need to visit the location at the same time of day your shoot is scheduled, because the light changes everything. A spot that looks beautiful at noon can be completely unworkable at four in the afternoon, and vice versa.
During the scout, you are not just looking at scenery. You are identifying where the sun will be relative to your camera position. Morgan’s preference, which I share, is to avoid shooting with the sun directly behind the camera. That flat, on-axis sunlight kills depth and leaves you with almost no creative options. Instead, look for angles where the sun provides rim or back lighting. At Vasquez Rocks, that meant positioning the subject so the afternoon sun would wrap around her edges and create separation from the rocky background.
Step 2: Answer the Logistics Questions Before the Shoot Day
 Wide shot of location base camp setup area
A shoot stalls fast when the basics aren’t solved. Morgan runs through a checklist that I’d argue every photographer, at every budget level, should internalize. Power is first. Is there power on location? How far would an extension cord need to run? Do you need a generator or can you use battery-powered strobes? This single question shapes your entire gear list.
Wide shot of location base camp setup area
A shoot stalls fast when the basics aren’t solved. Morgan runs through a checklist that I’d argue every photographer, at every budget level, should internalize. Power is first. Is there power on location? How far would an extension cord need to run? Do you need a generator or can you use battery-powered strobes? This single question shapes your entire gear list.
Beyond power, the checklist includes bathrooms, directions to the exact staging area using Google satellite imagery, and food. These feel like production manager concerns, but on a small crew they land on the photographer. Sending a detailed location pin, identifying where equipment will be staged, and knowing where lunch is coming from keeps the day moving and keeps your clients and crew confident. Confidence in the photographer comes partly from how prepared the set feels before the camera comes out of the bag.
Step 3: Build a Platform Structure to Expand Posing Options
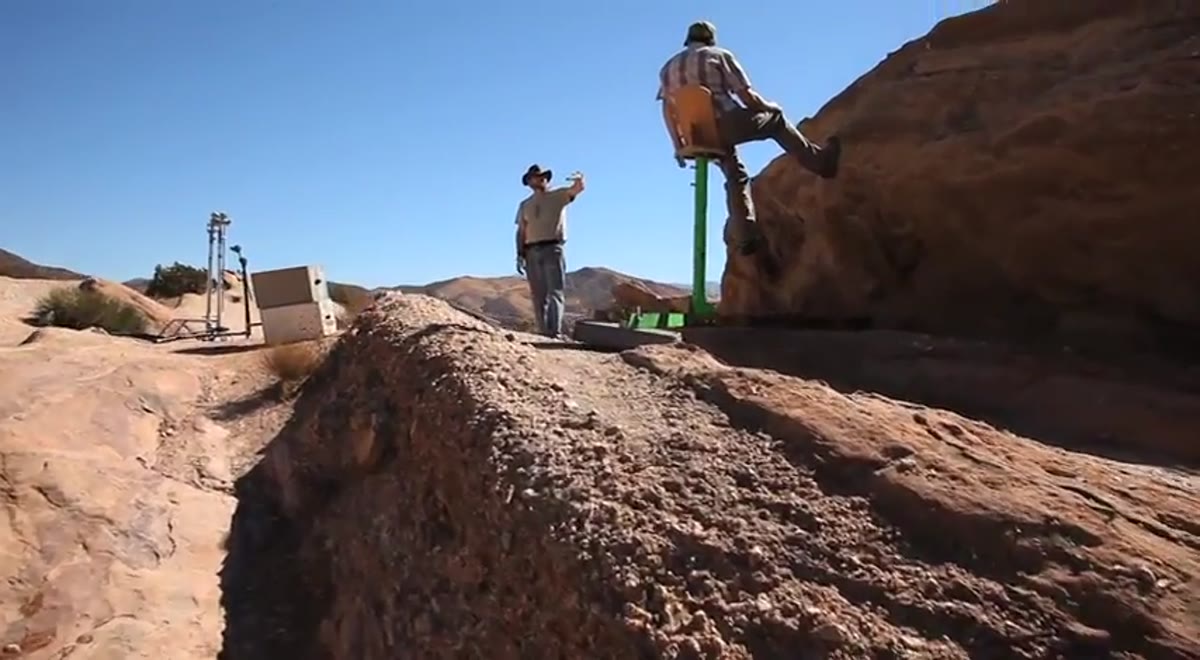 Crew constructing elevated platform structure on rocks
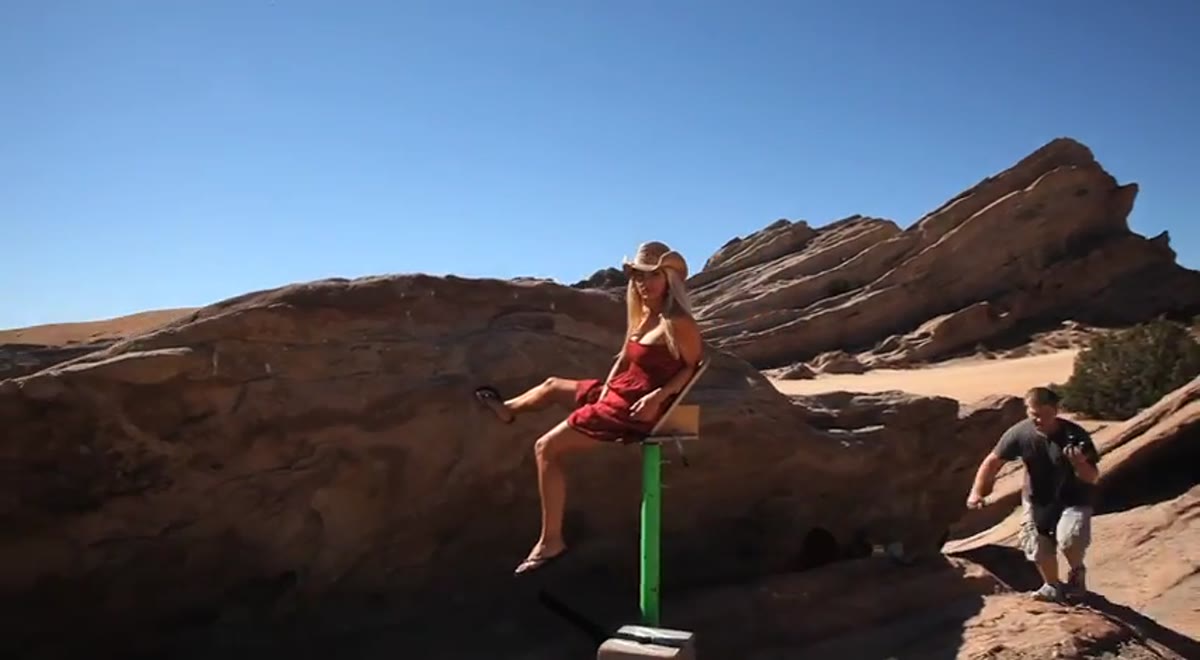
The concept called for the subject to look like she was launching from the rocks with a bow and arrow. To make that physically achievable and safe, the team built a raised platform that gave her a stable surface to pose on while still appearing to be perched on natural rock formations. The structure allowed her legs to move freely, creating the illusion of dynamic action even during a static pose.
Crew constructing elevated platform structure on rocks
The concept called for the subject to look like she was launching from the rocks with a bow and arrow. To make that physically achievable and safe, the team built a raised platform that gave her a stable surface to pose on while still appearing to be perched on natural rock formations. The structure allowed her legs to move freely, creating the illusion of dynamic action even during a static pose.
This is a practical problem that photographers skip over too quickly. You cannot always find a natural environment that puts your subject in exactly the right physical position. Building or bringing a simple structure, even a low apple box or a custom-built platform, is often the difference between a pose that looks like it happened and one that looks like it was forced. Plan the physical setup of your subject the same way you plan the lighting.
Step 4: Plan for Environmental Effects Within Site Restrictions
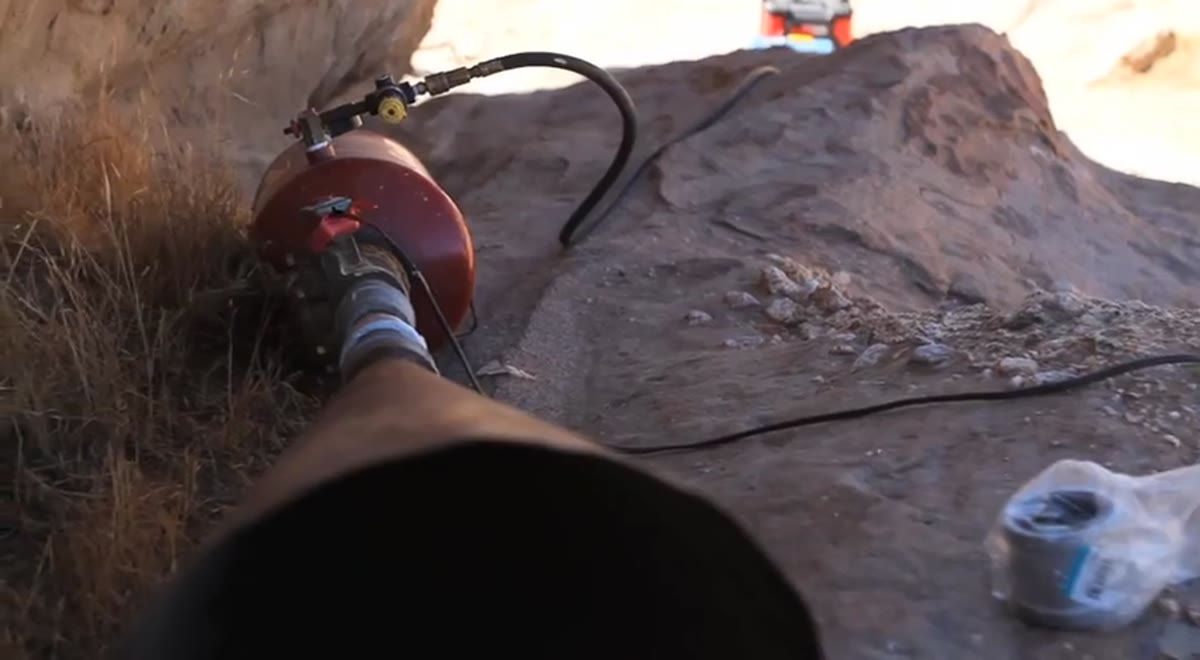
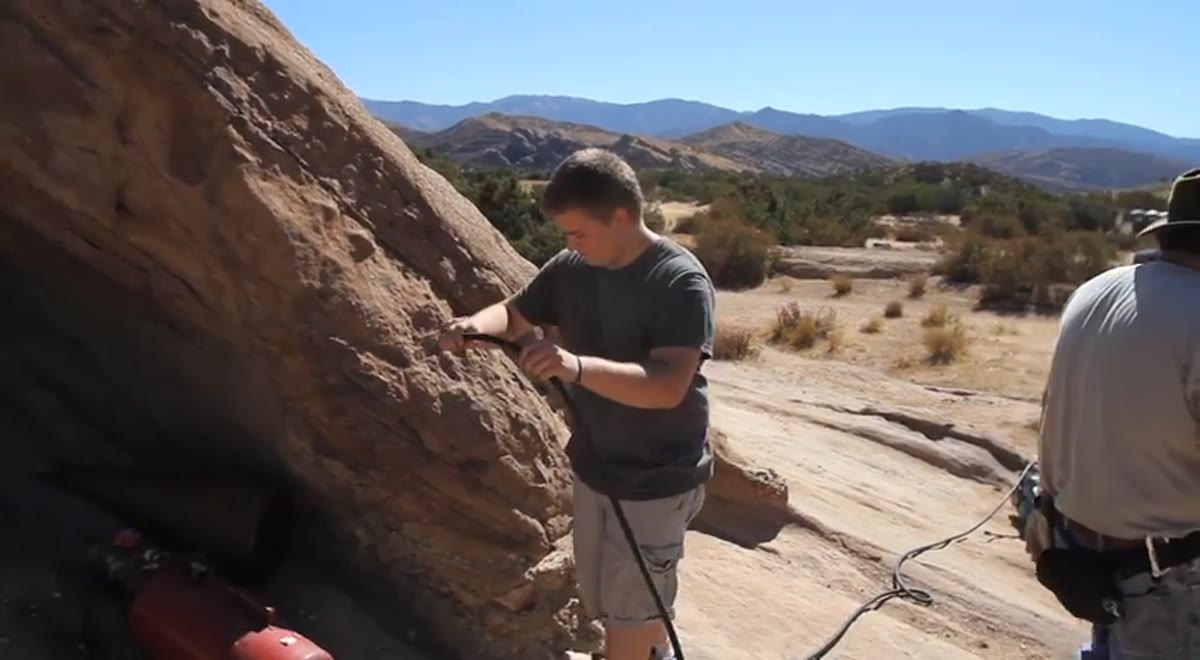 Air cannon being prepared to create dust effect
The original plan included smoke in the background to blend the subject into the landscape and add atmosphere. Vasquez Rocks prohibits open flame and smoke machines, so that was off the table. The solution was an air cannon loaded with dust, which generates a similar visual texture when fired into the frame without requiring anything combustible.
Air cannon being prepared to create dust effect
The original plan included smoke in the background to blend the subject into the landscape and add atmosphere. Vasquez Rocks prohibits open flame and smoke machines, so that was off the table. The solution was an air cannon loaded with dust, which generates a similar visual texture when fired into the frame without requiring anything combustible.
This kind of problem-solving is exactly what location scouting is for. If Morgan had arrived on shoot day expecting to use a smoke machine, the concept would have collapsed. By knowing the restrictions in advance, the team found an alternative that served the same purpose. Always check permit requirements and site rules during the scout, not the morning of.
Step 5: Schedule the Setup During Daylight, Shoot at Sunset
 Crew working on set during full daylight hours
The timeline here is deliberate. Everything, the platform, lighting positions, camera angle, is built and tested while there is still enough light to work comfortably. Then the actual shooting happens as the sun drops toward the horizon and the quality of light changes from workable to exceptional.
Crew working on set during full daylight hours
The timeline here is deliberate. Everything, the platform, lighting positions, camera angle, is built and tested while there is still enough light to work comfortably. Then the actual shooting happens as the sun drops toward the horizon and the quality of light changes from workable to exceptional.
Sunset at a rocky desert location delivers natural rim and back lighting with warm color temperature and long shadows. That window is short, sometimes 20 to 30 minutes. If you spend any of it figuring out where to put the camera, you have already lost the best light. Get all of your problem-solving done while the sun is still high enough to give you flexibility.
What I Would Add From My Own Experience
The tutorial focuses on exterior natural light, but if you are blending artificial strobes with sunlight at a location shoot, color temperature calibration is not optional. I learned this the hard way on an editorial job early in my career where my strobes were running cool against warm late-afternoon sunlight, and the mixed color cast was a nightmare to correct in post. Now I shoot a gray card under the ambient conditions before I introduce any flash, and I gel my strobes to match the color temperature of whatever natural light I am working with. A quarter CTO on a strobe going into golden hour light can be the detail that makes the composite feel seamless rather than assembled.
The single most important idea in this tutorial is that location photography is pre-production photography. The day itself should feel like executing a plan, not making one. Scout, solve logistics, test your effects, and build your setup before the light you actually want arrives. If you treat location work like you would a studio shoot, with the same level of preparation and documentation, the results follow.
Watch the full tutorial on YouTube to see the complete setup and the final images from the Vasquez Rocks shoot.
Comments
Leave a Comment