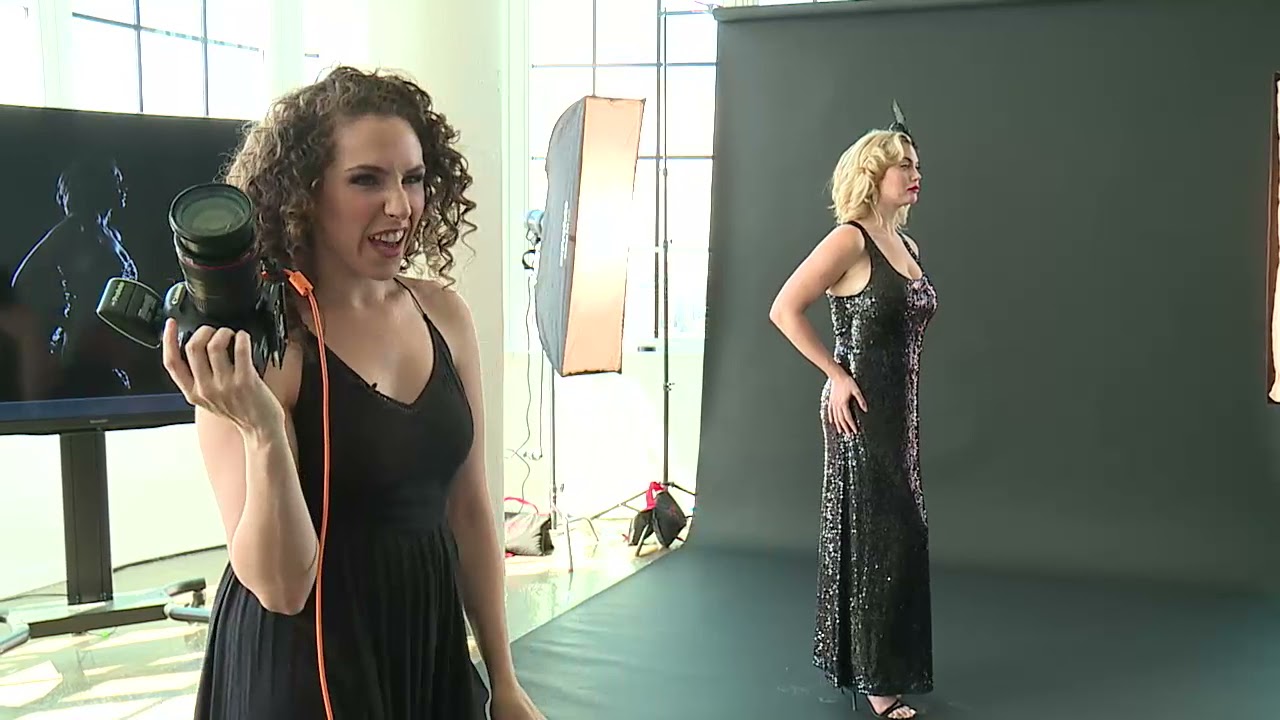
There’s a specific kind of client brief that used to make me nervous early in my career: “dramatic, dark, high-contrast.” It sounds simple until you’re standing in front of a bright, windowed studio trying to sculpt shadows that don’t exist. Low key lighting is one of those techniques that looks effortless in the final image and chaotic in practice if you haven’t built a reliable process around it. I’ve shot enough fashion and beauty work to know that when this setup goes wrong, it goes wrong fast, and usually right before the client walks in.
That’s why I keep coming back to this CreativeLive tutorial on low key lighting. Watch the full tutorial on YouTube. The instructor works through a two-light silhouette setup from scratch, making deliberate decisions about modifier choice and light placement that are easy to miss if you’re not paying attention. What follows is my breakdown of those decisions, expanded with the specifics I wish someone had handed me when I was figuring this out.
The core idea is this: low key lighting is about controlling what you withhold, not what you add. You’re not trying to illuminate the subject. You’re trying to carve them out from darkness using the narrowest, most precise edges of light you can manage.
Step 1: Choose Your Modifiers Before You Touch the Lights
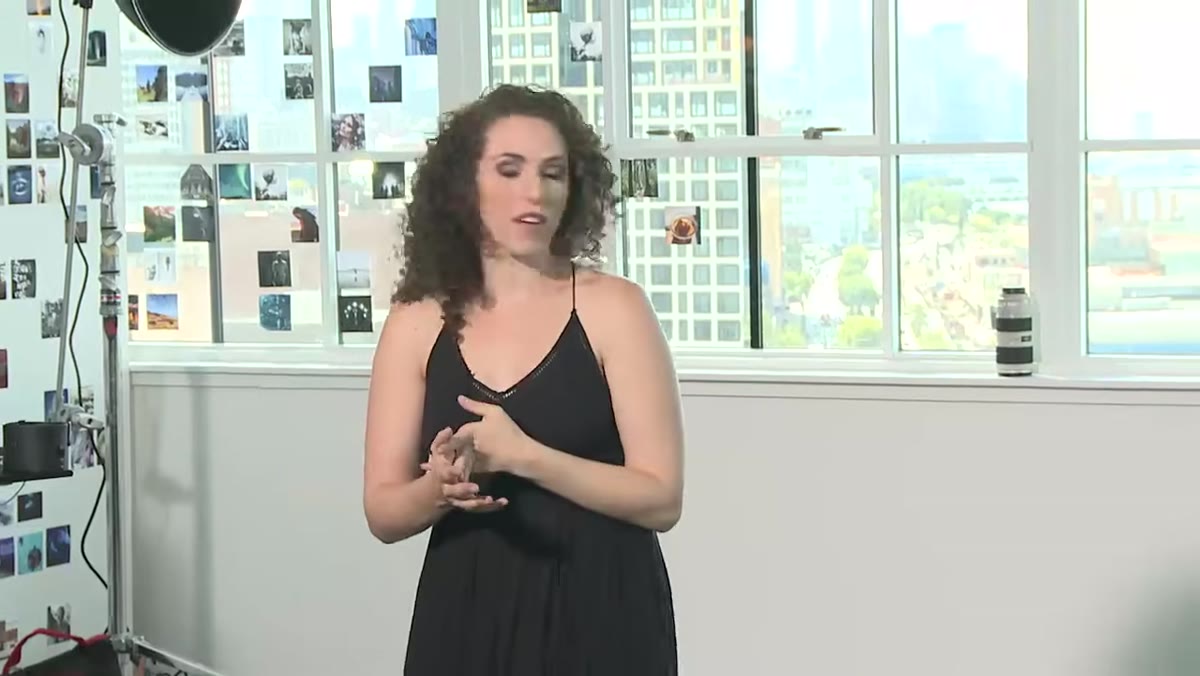 Two 1x4 strip softboxes positioned on either side of subject
The tutorial uses two 1x4 foot strip softboxes, one on each side of the subject, pushed as far to the sides as possible. That placement is doing specific work: the further off-axis the light source sits, the less it wraps around to the front of the face, and the more shadow you preserve across the center of the body. Strip softboxes give you a broad but contained highlight along the edge of the subject’s silhouette.
Two 1x4 strip softboxes positioned on either side of subject
The tutorial uses two 1x4 foot strip softboxes, one on each side of the subject, pushed as far to the sides as possible. That placement is doing specific work: the further off-axis the light source sits, the less it wraps around to the front of the face, and the more shadow you preserve across the center of the body. Strip softboxes give you a broad but contained highlight along the edge of the subject’s silhouette.
If you don’t have strip softboxes, the tutorial offers two solid alternatives. Barn doors will give you a harder, sharper edge of light, almost like a line drawn with a white marker. Cinefoil, which is a matte black heat-resistant foil available at B&H or theatrical supply shops, lets you fashion custom barn doors on the fly. I keep a roll of cinefoil in my kit and use it more than I ever expected to. You can shape it around any light head, crimp it down to a narrow slit, and get a highlight so thin it looks retouched.
Step 2: Position the Lights at the Edges, Not Angled Inward
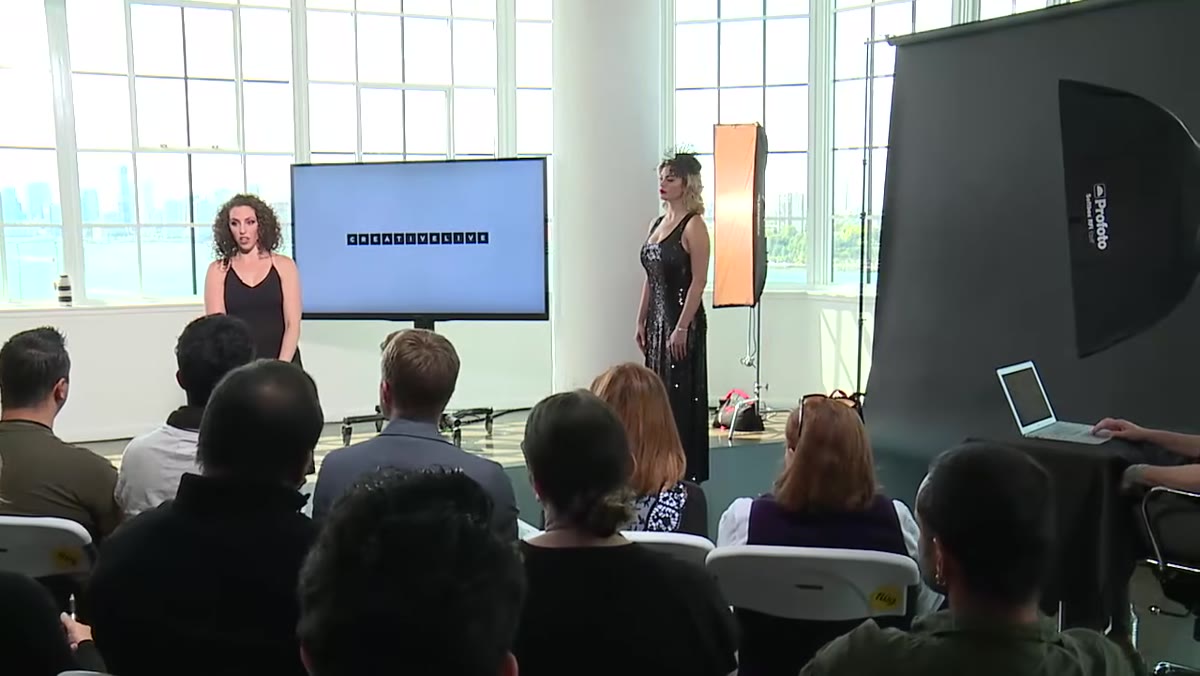 Lights pushed to far sides, aimed along the subject’s profile
Both lights go as far to the sides as the space allows, aimed along the subject’s profile rather than angled toward the camera. The goal is rim or edge lighting, not split lighting. If you angle the lights inward even slightly, you start filling in the front plane of the face and losing the shadows that make low key work feel dramatic.
Lights pushed to far sides, aimed along the subject’s profile
Both lights go as far to the sides as the space allows, aimed along the subject’s profile rather than angled toward the camera. The goal is rim or edge lighting, not split lighting. If you angle the lights inward even slightly, you start filling in the front plane of the face and losing the shadows that make low key work feel dramatic.
The instructor is using Profoto D1 Air 500W monolights here, but the wattage matters less than the placement. I’ve replicated this setup with speedlights in tight spaces and gotten results that held up fine for editorial use. What you cannot replicate with underpowered gear is the ability to overpower ambient light, which becomes the next critical variable.
Step 3: Kill the Ambient Light, or at Least Account for It
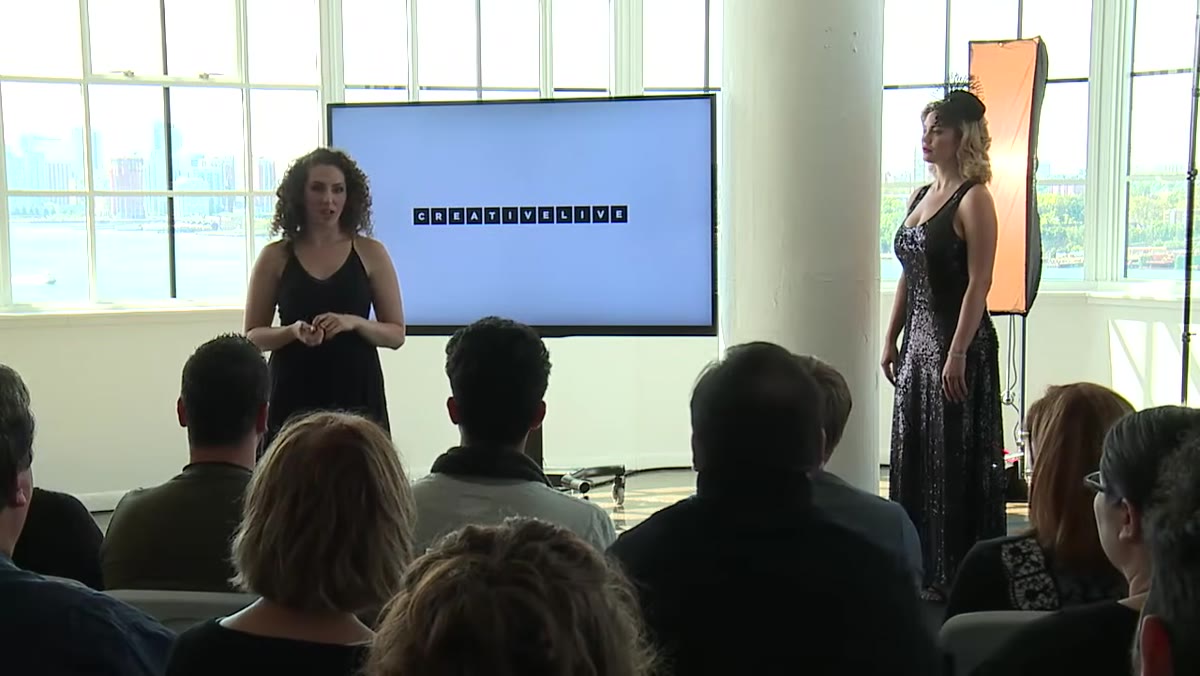 Instructor discussing ambient light interference in a bright studio
The tutorial makes a point that often gets skipped in low key discussions: ambient light is your enemy, and a daylight studio is one of the harder environments to work in for this technique. The problem is not that ambient light overexposes the image. The problem is that it competes with your modeling lights, making it nearly impossible to see where your narrow edge lights are actually falling on the subject before you shoot.
Instructor discussing ambient light interference in a bright studio
The tutorial makes a point that often gets skipped in low key discussions: ambient light is your enemy, and a daylight studio is one of the harder environments to work in for this technique. The problem is not that ambient light overexposes the image. The problem is that it competes with your modeling lights, making it nearly impossible to see where your narrow edge lights are actually falling on the subject before you shoot.
The practical fix is to close blinds, block windows with blackout fabric, or bump your shutter speed up to the sync limit to reduce the ambient contribution. I go one step further and use my modeling lights at full power while doing initial placement. If I can see a clean edge highlight on the subject under the modeling light in a dim room, I know the strobe will capture it. If I can’t see it clearly, I move the light until I can.
Step 4: Use a Profile Pose to Maximize Edge Definition
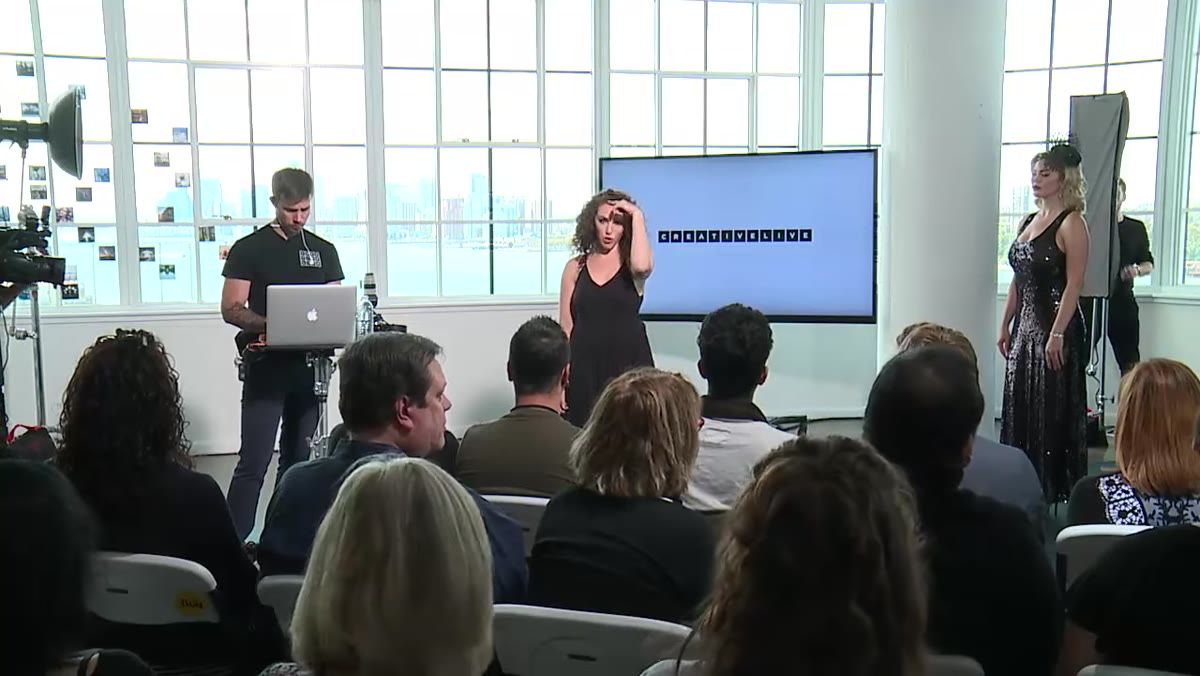 Subject standing in profile, lights aimed along each side
The silhouette effect described in the tutorial depends heavily on posing. The subject stands in profile relative to the camera, which means both strip softboxes are lighting opposite sides of the same narrow silhouette. One light carves the front edge of the body, the other separates the back edge from the background. The camera sees almost no front-facing light at all.
Subject standing in profile, lights aimed along each side
The silhouette effect described in the tutorial depends heavily on posing. The subject stands in profile relative to the camera, which means both strip softboxes are lighting opposite sides of the same narrow silhouette. One light carves the front edge of the body, the other separates the back edge from the background. The camera sees almost no front-facing light at all.
Have your subject stand tall, shoulders back, with a slight chin lift. In profile, posture reads dramatically in a way it doesn’t in a three-quarter or frontal pose. Any slouch compresses the silhouette and muddies the separation between body and background. I usually walk my subject through a slow profile rotation while watching the edge highlights through the modeling lights before we ever fire a test shot.
Step 5: Shoot Tethered So You Can Evaluate Edge Highlights Immediately
 Camera tethered to laptop, Capture One or Lightroom visible
The instructor sets up tethered shooting from the start, and this is not a luxury step for low key work. It’s close to mandatory. When you’re evaluating a sliver of highlight against a near-black background, the camera’s LCD does not give you enough information. Tethered to a proper monitor, you can check whether the highlight is crisp or blooming, whether it’s hitting the jawline or sliding off the shoulder, and whether you need to feather the light forward or back.
Camera tethered to laptop, Capture One or Lightroom visible
The instructor sets up tethered shooting from the start, and this is not a luxury step for low key work. It’s close to mandatory. When you’re evaluating a sliver of highlight against a near-black background, the camera’s LCD does not give you enough information. Tethered to a proper monitor, you can check whether the highlight is crisp or blooming, whether it’s hitting the jawline or sliding off the shoulder, and whether you need to feather the light forward or back.
At my own studio, I sketch the final light placement in my lighting journal the moment I find the sweet spot. That sketch takes thirty seconds and has saved me hours of re-dialing a setup during a second shoot with the same concept.
What I’d Add From My Own Work
The tutorial focuses on two lights, which is the right starting point. But once you’re comfortable with the two-light silhouette, a single additional light placed below and in front of the subject, pointing upward and flagged tightly, can add a ground-level glow that makes the lower body feel anchored rather than floating in blackness. Keep it at least two stops under the edge lights so it reads as ambiance rather than fill. It changes the mood of the image significantly without disturbing the shadow structure you’ve built.
The other thing worth saying plainly: low key lighting punishes sloppy light placement more than almost any other technique. There’s nowhere to hide. A highlight that’s two inches off where it should be is visible immediately because the surrounding darkness has nothing to distract the eye. That’s the reason I label every light position on the floor with tape once I’ve nailed a setup. The tape costs nothing. Resetting a collapsed setup in the middle of a shoot costs time you don’t have.
The single most important idea in this tutorial is this: low key lighting is a subtraction process. You achieve darkness by removing light, not by adding it somewhere else. Start with both lights completely off, introduce them one at a time from the sides, and stop the moment you have the edge definition you want. Every light you add after that point is a negotiation with the shadows you just built.
Watch the full tutorial on YouTube to see the setup demonstrated live, including how the instructor adjusts placement in real time with a model. Watching the light change as the strip softbox moves even a few inches is the kind of thing a diagram cannot fully communicate.
Comments (1)
This is exactly what I needed today. Been struggling with this for weeks.
Leave a Comment