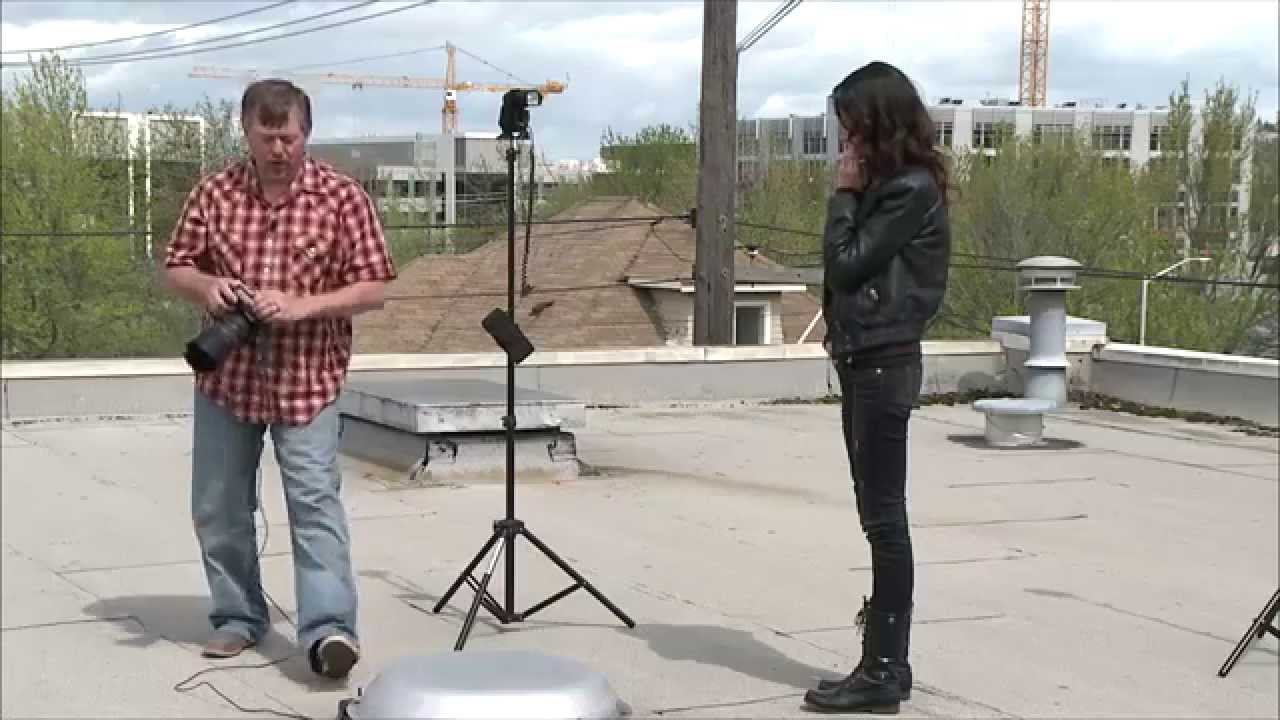
There are two kinds of photographers who shoot with off-camera flash. The ones who rely on TTL to handle power decisions for them, and the ones who understand what TTL is actually doing and can replicate it by hand when it fails. I used to be firmly in the first camp. Then I showed up to a tethered editorial shoot where my master flash died mid-session, TTL communication dropped completely, and I was standing in front of a client with no way to adjust my remote strobes. I had to fake it. It was not pretty. That experience is exactly why I pay close attention whenever I see a working photographer demonstrate a manual fallback workflow with radio triggers.
In this CreativeLive tutorial, the instructor walks through a scenario that most of us treat as a worst case: you’re down to two flashes, your master unit is gone, and you need to keep shooting. Watch the full tutorial on YouTube before reading on if you want to see the gear in hand, but the steps below are written so you can follow along without it. The Radio Popper Junior transmitter is the pivot point of the whole technique, and the lesson the instructor buries at the end about sync speed is the one that will save you from a ruined frame before you ever figure out why it happened.
Step 1: Recognize What the Radio Popper Junior Transmitter Actually Does
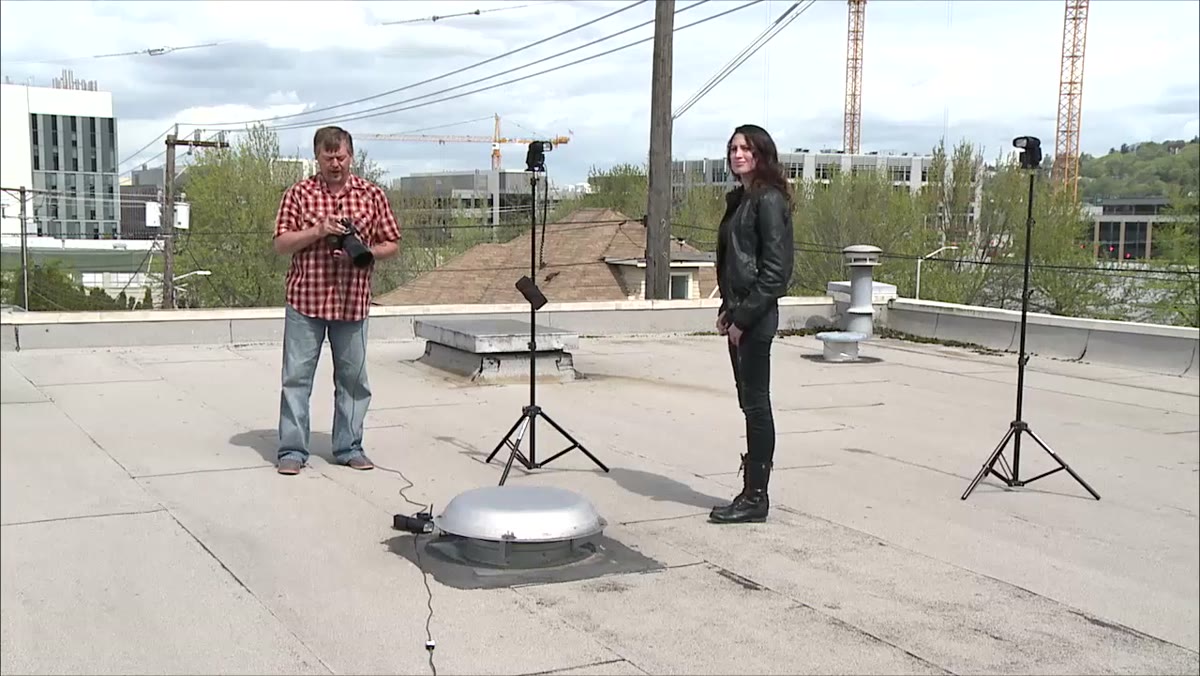 Radio Popper Junior transmitter held up to camera
Most photographers think of radio triggers as dumb relay devices. Fire signal in, fire signal out. The Radio Popper PX system, and the Junior transmitter specifically, goes further. When you’re shooting Canon flashes in manual mode, the Junior gives you direct power control over your remote units from the transmitter in your hand. You don’t need a master flash sending optical signals. You don’t need to walk back to each light to twist a dial. The transmitter becomes your control panel, which matters enormously when your master unit dies or when you’re working in bright conditions where optical TTL signals fail.
Radio Popper Junior transmitter held up to camera
Most photographers think of radio triggers as dumb relay devices. Fire signal in, fire signal out. The Radio Popper PX system, and the Junior transmitter specifically, goes further. When you’re shooting Canon flashes in manual mode, the Junior gives you direct power control over your remote units from the transmitter in your hand. You don’t need a master flash sending optical signals. You don’t need to walk back to each light to twist a dial. The transmitter becomes your control panel, which matters enormously when your master unit dies or when you’re working in bright conditions where optical TTL signals fail.
Step 2: Set Your Flashes to Manual Mode and Assign Groups
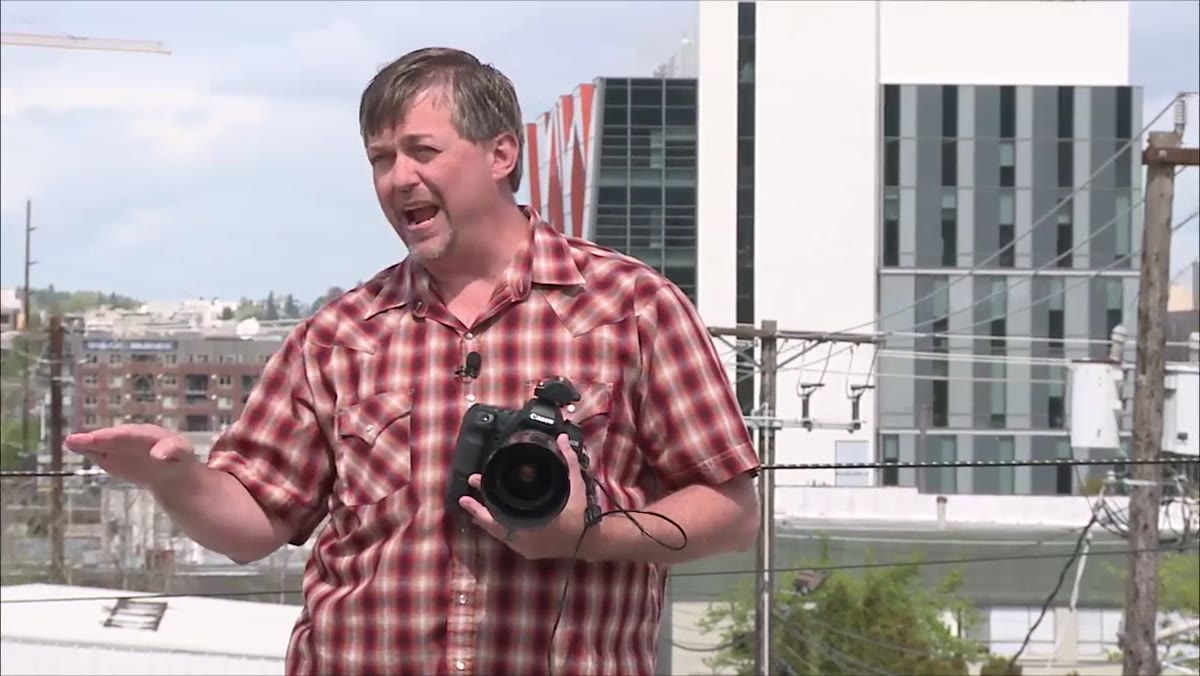 Camera and flash setup with two groups configured
With the Junior transmitter mounted on your camera’s hot shoe, set each of your remote Canon flashes to manual mode and assign them to separate groups, typically Group 1 and Group 2. The transmitter mirrors this grouping. This is important: manual mode strips away the automatic power negotiation that TTL handles invisibly. You are now the exposure system. Every power decision lives with you and the knob on that transmitter. The upside is total predictability. The downside is that one camera setting can wreck your image if you’re not paying attention, which is what the rest of this tutorial is really about.
Camera and flash setup with two groups configured
With the Junior transmitter mounted on your camera’s hot shoe, set each of your remote Canon flashes to manual mode and assign them to separate groups, typically Group 1 and Group 2. The transmitter mirrors this grouping. This is important: manual mode strips away the automatic power negotiation that TTL handles invisibly. You are now the exposure system. Every power decision lives with you and the knob on that transmitter. The upside is total predictability. The downside is that one camera setting can wreck your image if you’re not paying attention, which is what the rest of this tutorial is really about.
Step 3: Take a Test Shot and Read the Light
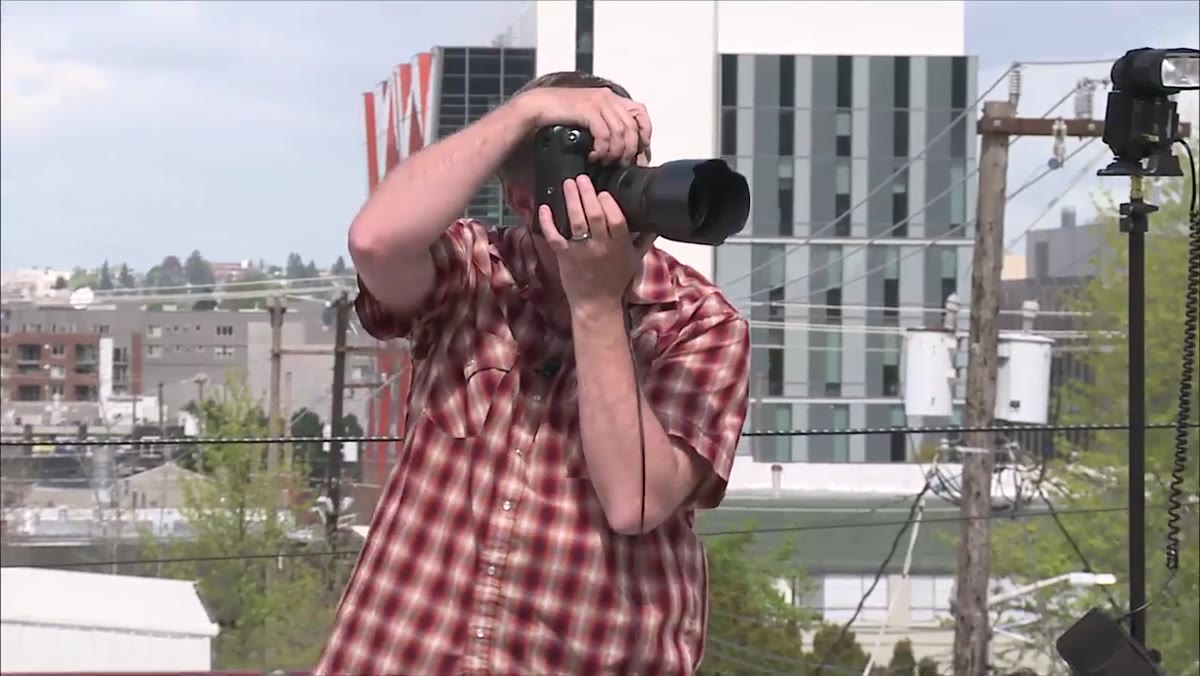 Test shot taken, reviewing image on camera screen
Fire a frame and look at the result critically. In the tutorial, the instructor’s test shot comes back with the front light too dark relative to the background. This is the moment where TTL photographers would normally wait for the camera to correct itself on the next frame. In manual, nothing corrects itself. You read the image, you identify which group is underexposing, and you make the adjustment yourself. Think of it like a recipe: you tasted it, you know it needs more salt, now you add the salt.
Test shot taken, reviewing image on camera screen
Fire a frame and look at the result critically. In the tutorial, the instructor’s test shot comes back with the front light too dark relative to the background. This is the moment where TTL photographers would normally wait for the camera to correct itself on the next frame. In manual, nothing corrects itself. You read the image, you identify which group is underexposing, and you make the adjustment yourself. Think of it like a recipe: you tasted it, you know it needs more salt, now you add the salt.
Step 4: Adjust Group Power at the Transmitter
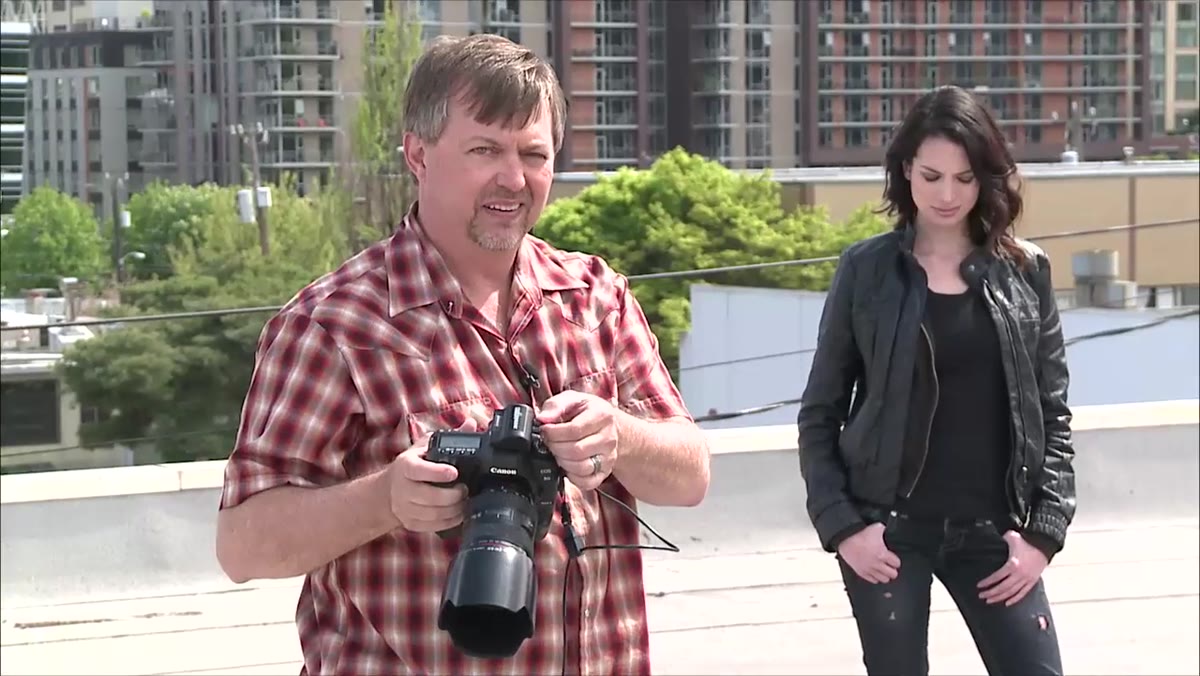 Instructor turning the power control knob on transmitter
Turn the control knob on the Radio Popper Junior to raise or lower the power on whichever group is off. In this case, the front light needs more power, so the instructor dials Group 1 up. No walking to the light stand, no menu-diving on the flash itself. This is the practical efficiency that makes the system worth understanding. On set, time is money, and adjusting remote flash power in two seconds versus two minutes changes the rhythm of a shoot entirely. Get comfortable identifying which group corresponds to which physical light before you’re under pressure.
Instructor turning the power control knob on transmitter
Turn the control knob on the Radio Popper Junior to raise or lower the power on whichever group is off. In this case, the front light needs more power, so the instructor dials Group 1 up. No walking to the light stand, no menu-diving on the flash itself. This is the practical efficiency that makes the system worth understanding. On set, time is money, and adjusting remote flash power in two seconds versus two minutes changes the rhythm of a shoot entirely. Get comfortable identifying which group corresponds to which physical light before you’re under pressure.
Step 5: Check Your Shutter Speed Before You Reshoot
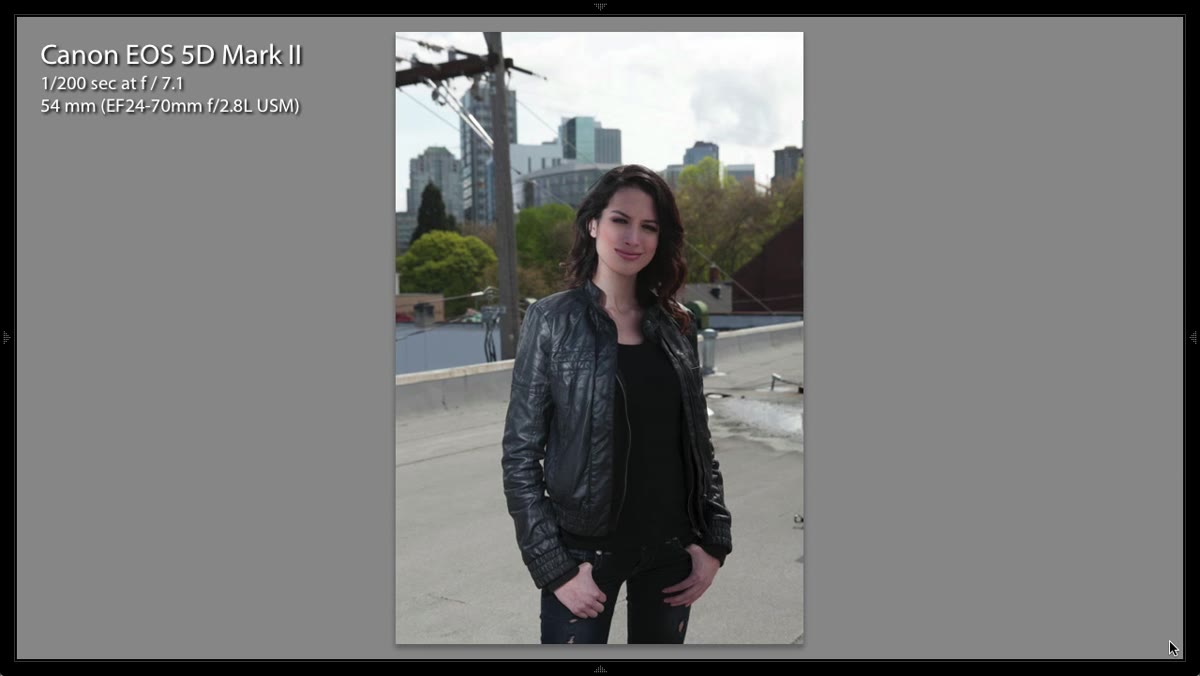 Camera display showing shutter speed at 1/400th of a second
This is the step that bites people. The instructor catches it himself during the demonstration: his shutter speed is sitting at 1/400th of a second. In TTL mode with high-speed sync enabled, the camera and flash communicate to allow that faster speed. In manual mode, that communication is gone. You are now subject to your camera’s native flash sync speed, usually somewhere between 1/160th and 1/250th depending on the body. Shoot above that ceiling in manual and you will get a black bar cutting across your frame, exactly what appears in the tutorial image.
Camera display showing shutter speed at 1/400th of a second
This is the step that bites people. The instructor catches it himself during the demonstration: his shutter speed is sitting at 1/400th of a second. In TTL mode with high-speed sync enabled, the camera and flash communicate to allow that faster speed. In manual mode, that communication is gone. You are now subject to your camera’s native flash sync speed, usually somewhere between 1/160th and 1/250th depending on the body. Shoot above that ceiling in manual and you will get a black bar cutting across your frame, exactly what appears in the tutorial image.
Step 6: Drop to Your Flash Sync Speed or One Stop Below
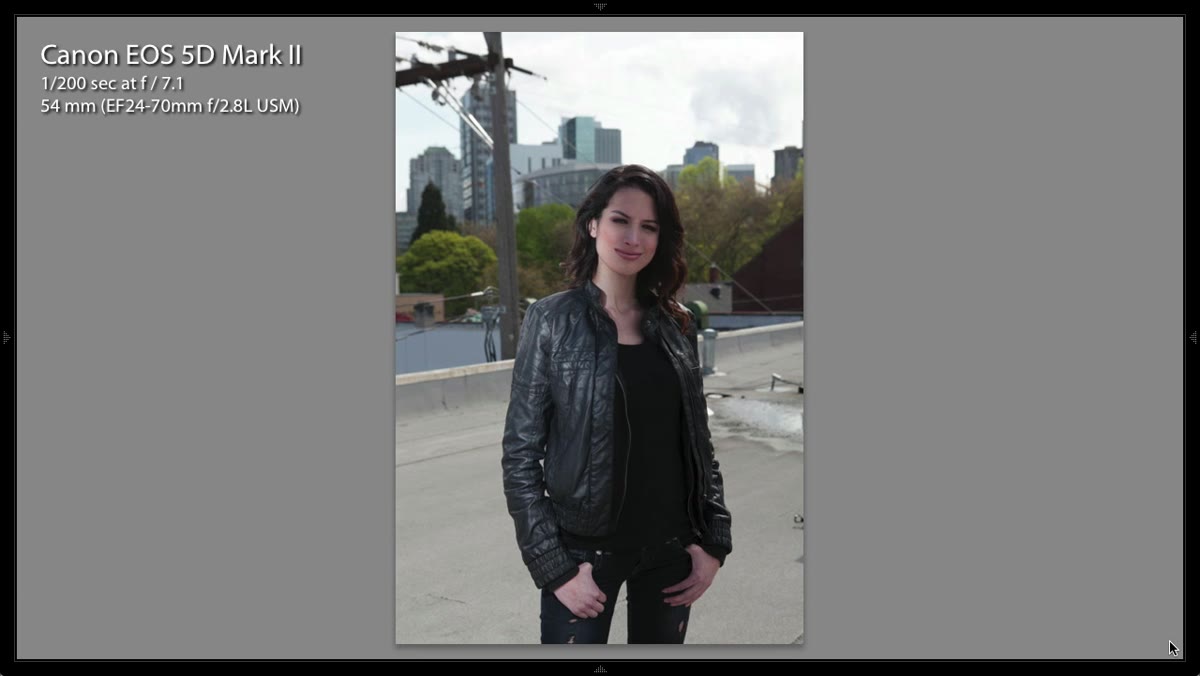 Black bar artifact visible across subject’s face in image
The fix is straightforward but requires discipline, especially if you’ve been shooting at 1/400th to control ambient light. Drop your shutter speed to your flash sync speed or, as the instructor recommends, one stop below it. On most Canon bodies that means landing around 1/100th to 1/160th. The instructor specifically flags the difference between how this sync issue appears with speedlights versus studio strobes. With a strobe, the black bar is hard-edged and binary: one side fully black, the other fully lit. With speedlights through the Radio Popper system, the transition is a gradient. That softer gradient can actually be used creatively when shooting outdoors, where it mimics the kind of sky darkening effect photographers often add in post. But in a controlled studio environment, treat it as a problem and eliminate it by staying below sync speed.
Black bar artifact visible across subject’s face in image
The fix is straightforward but requires discipline, especially if you’ve been shooting at 1/400th to control ambient light. Drop your shutter speed to your flash sync speed or, as the instructor recommends, one stop below it. On most Canon bodies that means landing around 1/100th to 1/160th. The instructor specifically flags the difference between how this sync issue appears with speedlights versus studio strobes. With a strobe, the black bar is hard-edged and binary: one side fully black, the other fully lit. With speedlights through the Radio Popper system, the transition is a gradient. That softer gradient can actually be used creatively when shooting outdoors, where it mimics the kind of sky darkening effect photographers often add in post. But in a controlled studio environment, treat it as a problem and eliminate it by staying below sync speed.
Step 7: Reshoot and Confirm the Exposure
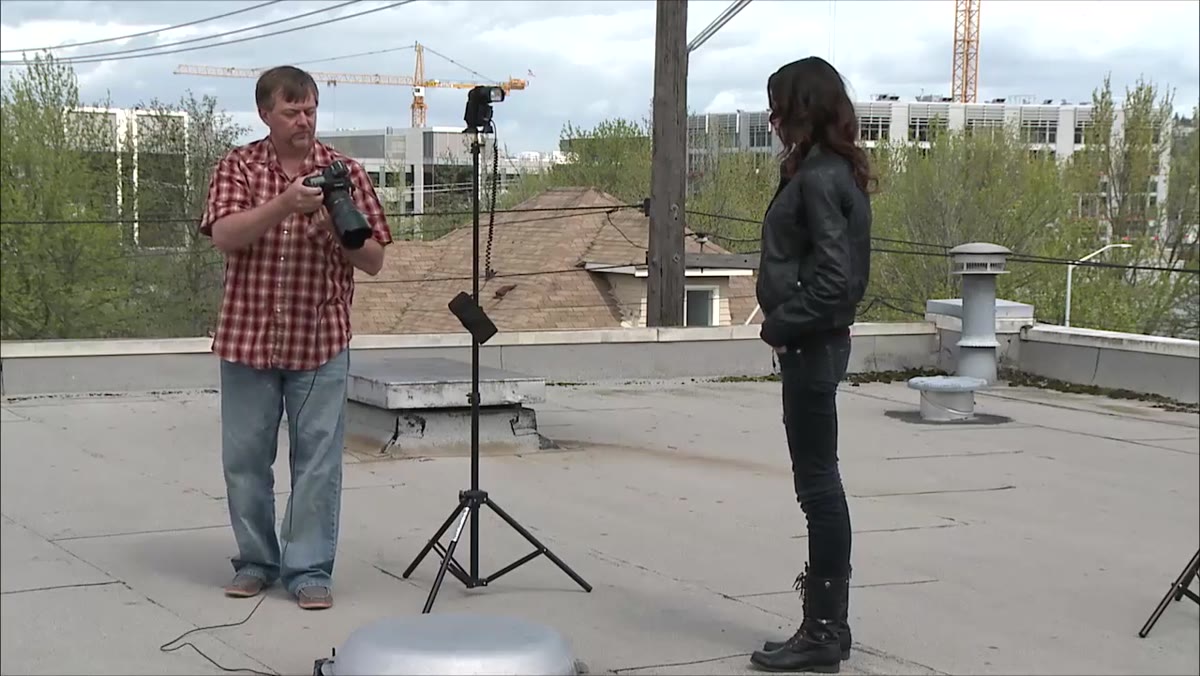 Final adjusted shot showing proper light on subject’s face
Once shutter speed is corrected and group power is dialed in, fire the frame again and confirm that the light is landing where you want it. The instructor’s final result shows balanced front and ambient light with no sync artifacts. At this point you’re operating a fully manual flash system with remote power control, no TTL dependency, and a transmitter that can survive the loss of a master flash unit.
Final adjusted shot showing proper light on subject’s face
Once shutter speed is corrected and group power is dialed in, fire the frame again and confirm that the light is landing where you want it. The instructor’s final result shows balanced front and ambient light with no sync artifacts. At this point you’re operating a fully manual flash system with remote power control, no TTL dependency, and a transmitter that can survive the loss of a master flash unit.
What I’d Add from My Own Studio Work
The sync speed trap is real, and it catches photographers who are used to TTL with high-speed sync as a permanent safety net. When I moved a portion of my studio work to full manual flash control, I started keeping a piece of masking tape on my camera strap with my sync speed written on it, right next to the tape I use to label every light in the room. Embarrassingly low-tech for someone who built his own lighting diagram app, but it works. The other thing I’d add: when you first switch a setup from TTL to manual, reshoot your established TTL exposure in manual at equivalent settings before you start dialing anything. It gives you a baseline to work from rather than guessing from zero.
The single most important idea in this tutorial is that manual flash control is not a backup skill, it’s the foundation skill. TTL is a tool built on top of it. When you understand what TTL is automating, you can replicate it, override it, or abandon it entirely depending on what the shot needs. Watch the full tutorial on YouTube to see the sync speed artifact appear in real time, because seeing that black bar once is worth more than reading about it ten times.
Comments
Leave a Comment