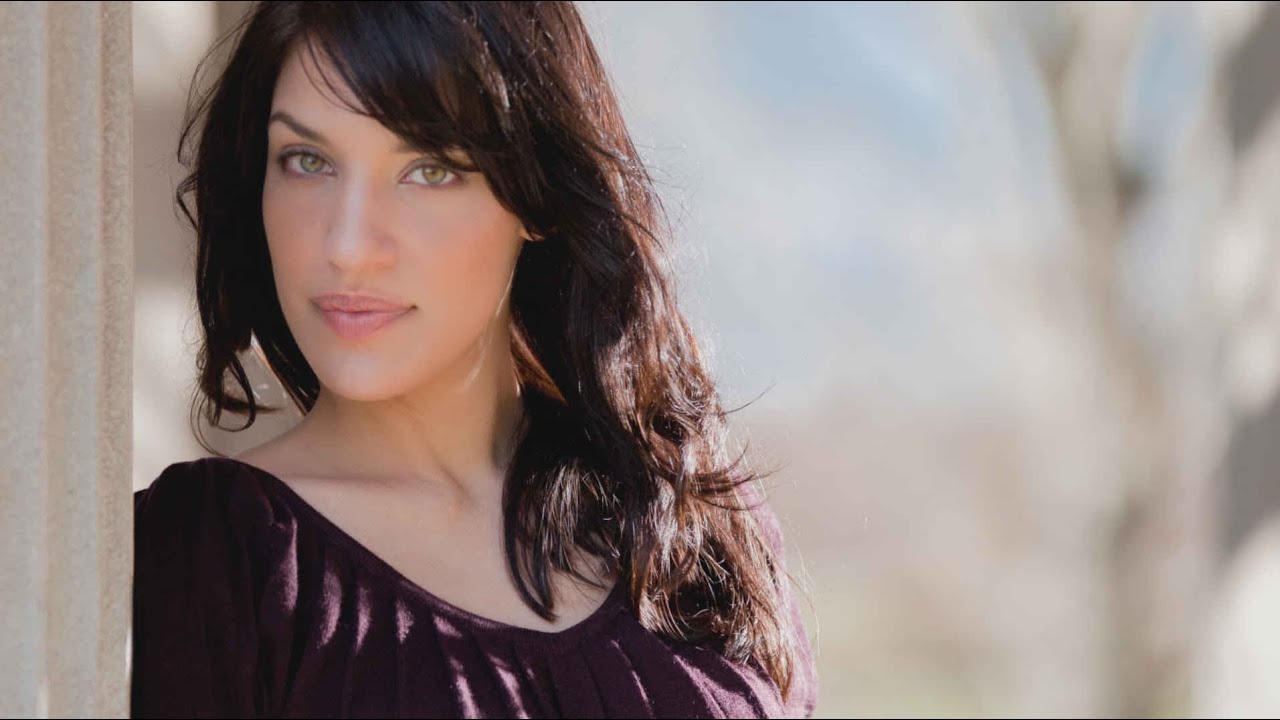
Every flat, lifeless portrait I see traces back to the same mistake: the flash is sitting on top of the camera. I spent my first two years shooting that way, wondering why my portraits looked like mugshots even when the composition was solid. The light was the problem. On-camera flash collapses dimension. It fills in every shadow that would otherwise sculpt a face, and it does it with the efficiency of a machine that doesn’t care about cheekbones.
In this Tony and Chelsea Northrup tutorial, Tony walks through the complete workflow for getting your flash off the camera using wireless triggers. Watch the full tutorial on YouTube before you read, or follow along here. Either way, the core idea is simple enough to explain in a sentence: move the light source away from the lens axis, and the face comes alive. But the execution involves a few gear decisions and one clever compositing trick that I want to unpack properly.
What makes this tutorial worth studying is that Tony doesn’t pretend you need a fully kitted studio to do this. He runs through a genuine gear progression, starting cheap and working up to professional-grade. That matches how I think about introducing new photographers to off-camera work. You do not need to spend five hundred dollars on your first attempt.
Step 1: Choose Your Trigger System
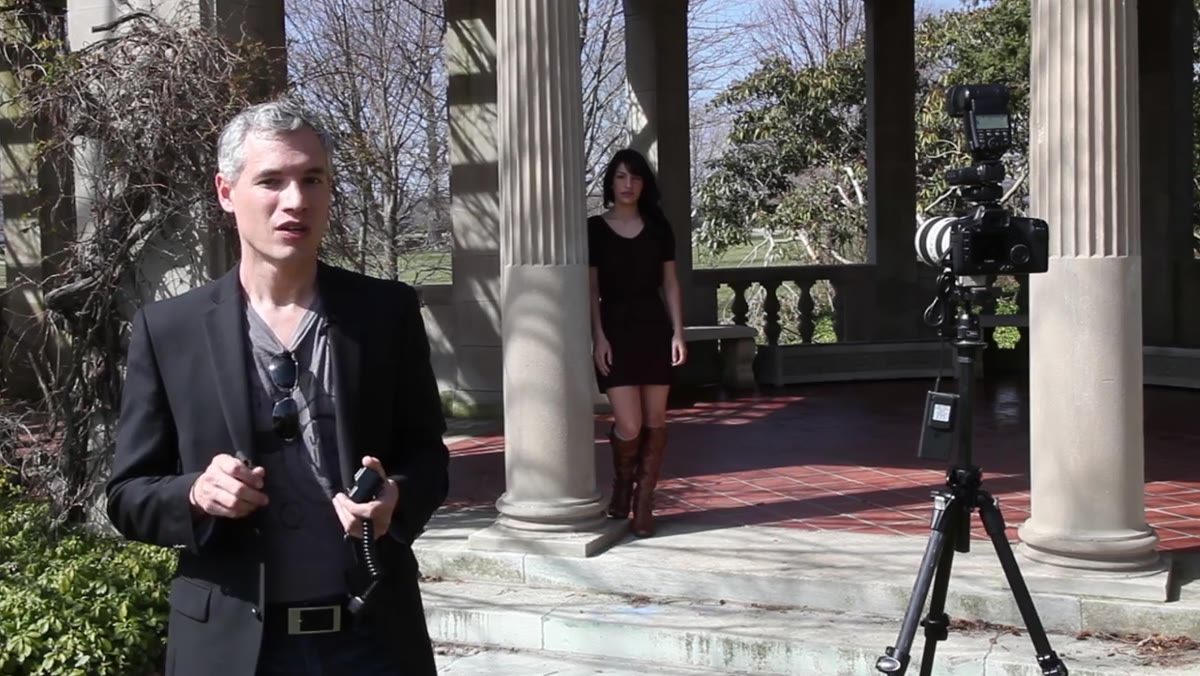 Tony holding an off-camera shoe cord next to his camera
The cheapest entry point is a physical shoe cord, which is a coiled cable that connects your flash to your camera’s hot shoe. Tony mentions these briefly, and honestly, they serve a narrow purpose. Wedding photographers sometimes use them with a bracket system that lets the flash pivot between horizontal and vertical orientations. For anyone who wants real creative freedom with light placement, a cord will hold you back and create a tripping hazard on set.
Tony holding an off-camera shoe cord next to his camera
The cheapest entry point is a physical shoe cord, which is a coiled cable that connects your flash to your camera’s hot shoe. Tony mentions these briefly, and honestly, they serve a narrow purpose. Wedding photographers sometimes use them with a bracket system that lets the flash pivot between horizontal and vertical orientations. For anyone who wants real creative freedom with light placement, a cord will hold you back and create a tripping hazard on set.
The next step up is a set of radio triggers from a budget brand. Tony references a pair that runs around thirty dollars total, one unit for the camera and one for the flash. They work. They fire the flash when you press the shutter. The trade-off is that they are not fully reliable over time, and they do not pass TTL or ETTL data between the camera and flash. That means your camera cannot automatically meter the flash exposure. You are working in manual flash mode. I would argue that is not actually a disadvantage for anyone serious about learning lighting. Manual forces you to understand why a given power setting is right or wrong. If budget is the constraint, start here.
Step 2: Upgrade to a Professional Trigger System When You’re Ready
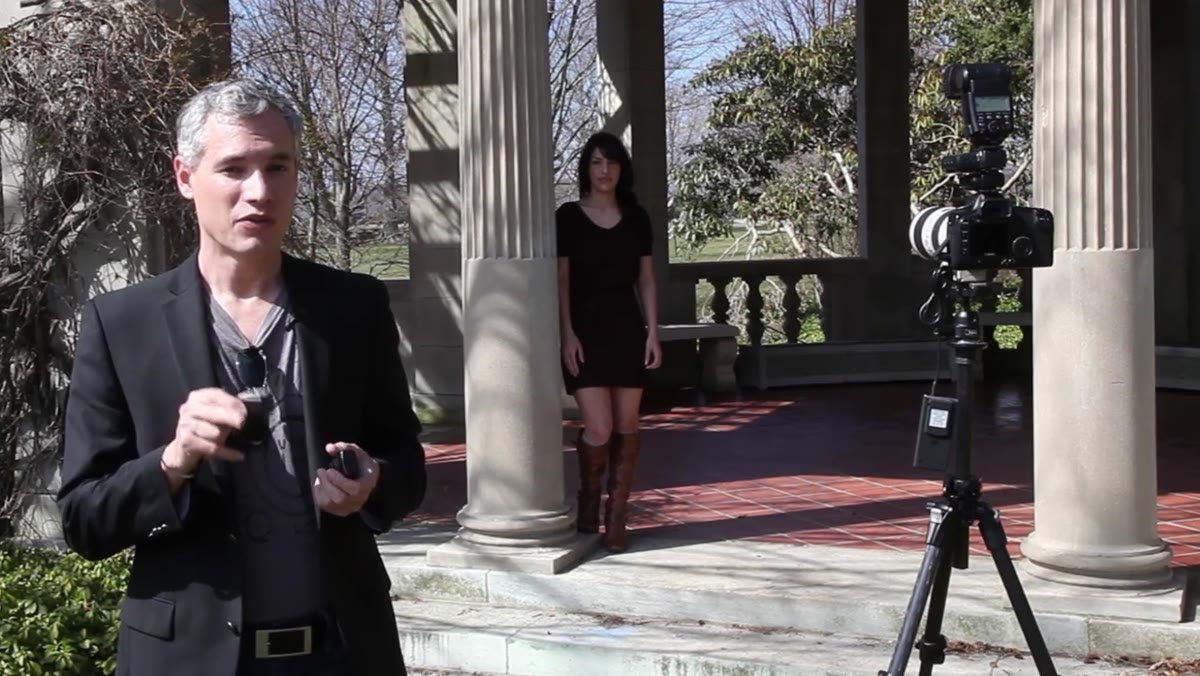 PocketWizard transmitter and receiver units shown side by side
Tony uses PocketWizard, and so do I. The system runs roughly four hundred fifty to five hundred dollars for a transmitter and receiver pair. The price is not trivial, but the reliability is absolute. I have never had a PocketWizard misfire on a commercial shoot. I cannot say that about the budget triggers I tested early in my career. When you are on set with a client and a creative director watching every frame, a trigger that randomly fails is not a minor inconvenience, it is a professional problem.
PocketWizard transmitter and receiver units shown side by side
Tony uses PocketWizard, and so do I. The system runs roughly four hundred fifty to five hundred dollars for a transmitter and receiver pair. The price is not trivial, but the reliability is absolute. I have never had a PocketWizard misfire on a commercial shoot. I cannot say that about the budget triggers I tested early in my career. When you are on set with a client and a creative director watching every frame, a trigger that randomly fails is not a minor inconvenience, it is a professional problem.
If you are shooting for yourself or building skills, the thirty-dollar option is a legitimate starting point. When the work becomes client-facing, move to PocketWizard or an equivalent professional system. Think of the budget triggers as a training tool, not a long-term solution.
Step 3: Shoot a Baseline Frame Without Flash
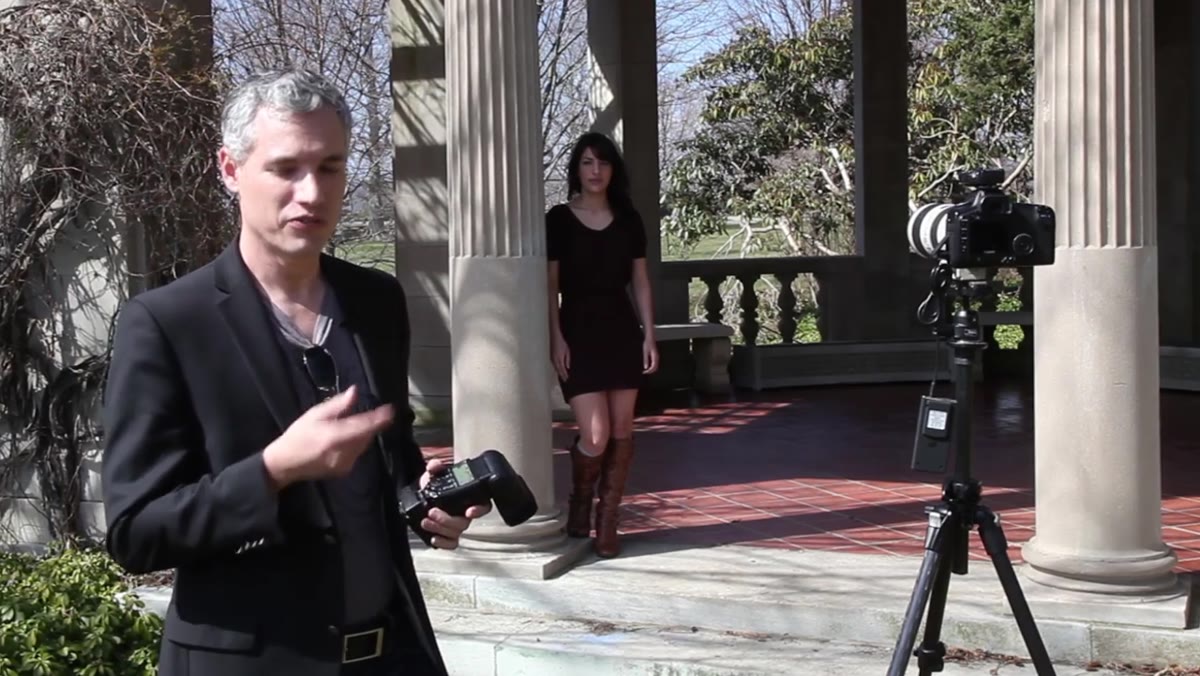 Subject Chelsea posed under ambient light only, no flash firing
Before Tony introduces any flash, he shoots a frame using only available light. This is a step that gets skipped constantly, and it matters. Your ambient exposure is the foundation of the image. You need to know what the scene looks like without flash before you start adding light to it. Set your shutter speed, aperture, and ISO to get the ambient exposure where you want it. In most off-camera flash setups, you will underexpose the ambient slightly, around one to two stops, so that the flash becomes the primary source and the background goes a bit darker and more controlled.
Subject Chelsea posed under ambient light only, no flash firing
Before Tony introduces any flash, he shoots a frame using only available light. This is a step that gets skipped constantly, and it matters. Your ambient exposure is the foundation of the image. You need to know what the scene looks like without flash before you start adding light to it. Set your shutter speed, aperture, and ISO to get the ambient exposure where you want it. In most off-camera flash setups, you will underexpose the ambient slightly, around one to two stops, so that the flash becomes the primary source and the background goes a bit darker and more controlled.
Tony also mentions he is using a separate wireless shutter trigger, which lets him physically move around the set without touching the camera. That detail is easy to overlook but practically useful. Holding a flash in one hand and trying to press a camera shutter with the other is awkward and unnecessary.
Step 4: Compare On-Camera Flash to Off-Camera Flash
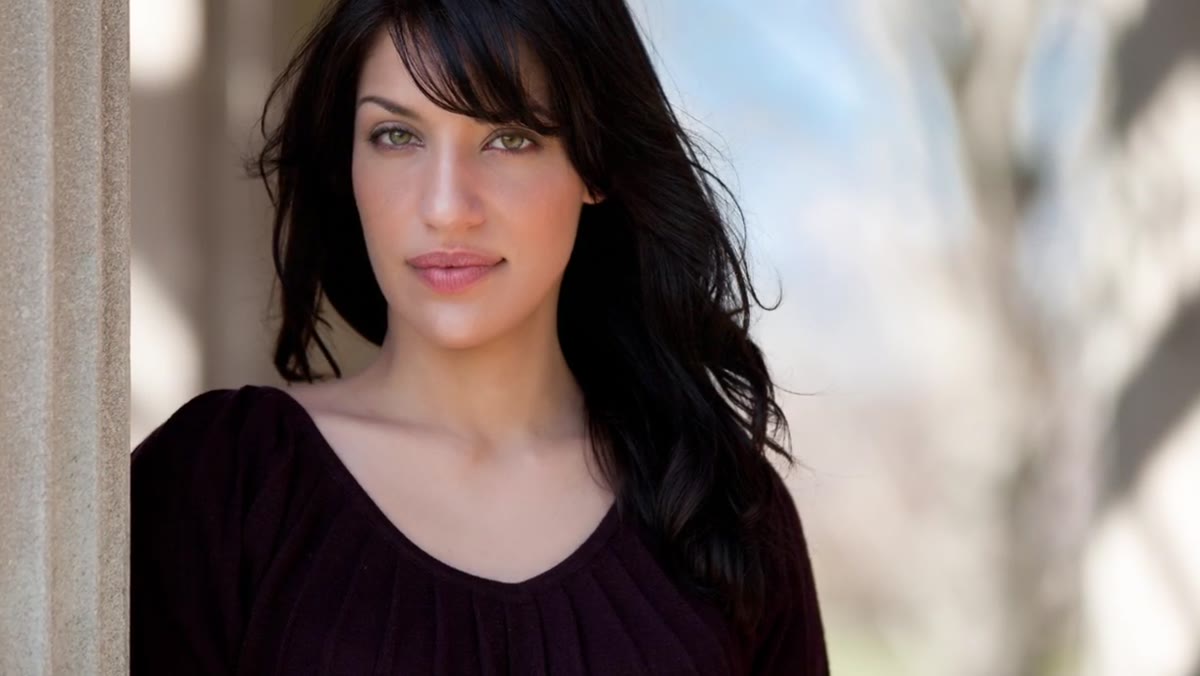 Side-by-side effect of on-camera flash versus slightly elevated off-camera flash
Tony fires one frame with the flash mounted directly on the camera, then moves it off to the side and slightly above the subject. The difference is immediate and instructive. On-camera flash produces a flat, uniform illumination that removes shadow from the face almost entirely. Cheekbones disappear. The face reads as a single plane. Move that same flash even a foot to the side and elevate it slightly, and suddenly you have shape. The nose casts a gentle shadow. The cheekbone catches the light on one side and falls off on the other. That transition from highlight to shadow is what creates the perception of three-dimensional form.
Side-by-side effect of on-camera flash versus slightly elevated off-camera flash
Tony fires one frame with the flash mounted directly on the camera, then moves it off to the side and slightly above the subject. The difference is immediate and instructive. On-camera flash produces a flat, uniform illumination that removes shadow from the face almost entirely. Cheekbones disappear. The face reads as a single plane. Move that same flash even a foot to the side and elevate it slightly, and suddenly you have shape. The nose casts a gentle shadow. The cheekbone catches the light on one side and falls off on the other. That transition from highlight to shadow is what creates the perception of three-dimensional form.
The angle of elevation matters too. Lighting from directly to the side creates a dramatic split. Lighting from about forty-five degrees above and to the side gets you closer to a classic Rembrandt or Paramount pattern depending on how the subject faces. Start at forty-five degrees and move from there.
Step 5: Walk the Flash Around the Subject
 Tony moving the flash to various positions around Chelsea, demonstrating lighting variety
Tony demonstrates this by physically walking the flash to different positions around the subject while firing frames. Side lighting creates drama and reveals texture. Back lighting separates the subject from the background and can create a rim effect. High front lighting is flattering on faces. Each position produces a meaningfully different result from the same single light source.
Tony moving the flash to various positions around Chelsea, demonstrating lighting variety
Tony demonstrates this by physically walking the flash to different positions around the subject while firing frames. Side lighting creates drama and reveals texture. Back lighting separates the subject from the background and can create a rim effect. High front lighting is flattering on faces. Each position produces a meaningfully different result from the same single light source.
This is the part of off-camera flash that people underestimate before they try it. You do not need multiple lights to create variety. One light and a willingness to move it gives you an enormous range of looks. I keep a lighting journal where I sketch every setup I use on commercial shoots, and a surprising number of my editorial portraits are single-source setups with precise positioning.
Step 6: Use Double Exposure Compositing to Remove Yourself from the Frame
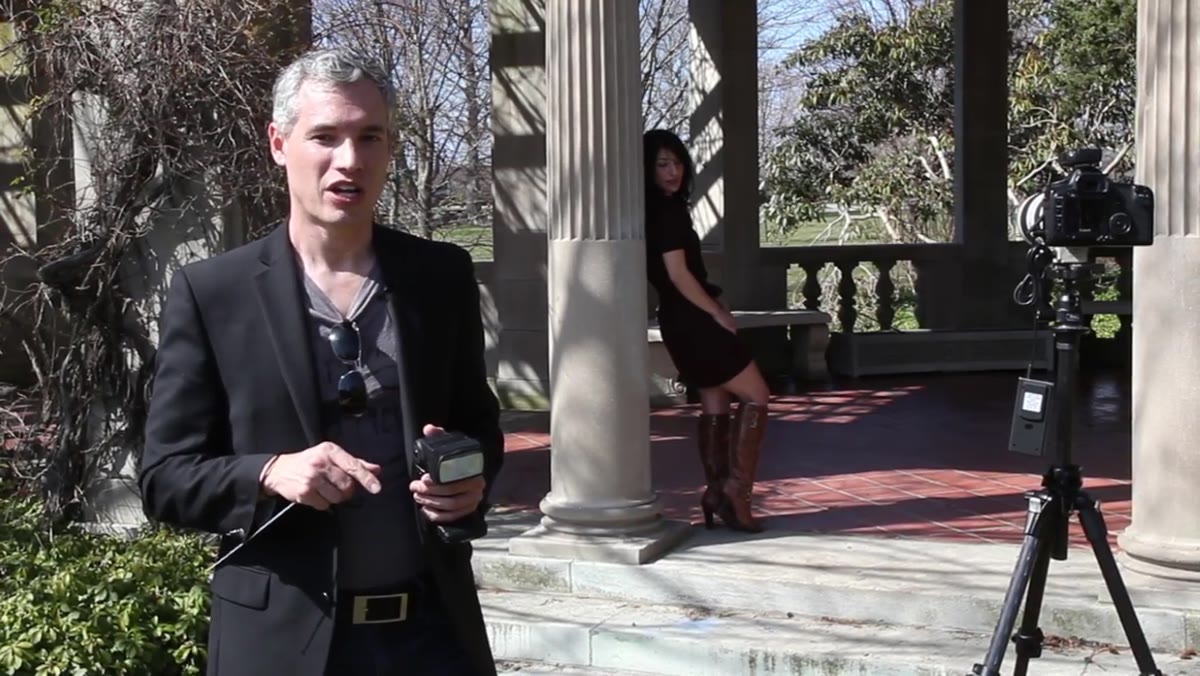 Tony stepping into frame holding the flash close to the subject
This is the technique I wish someone had shown me earlier. When you hold the flash very close to the subject, two things happen: the light gets brighter because you have moved the source closer, and it gets softer because the light source is now larger relative to the subject’s face. Both of those are improvements.
Tony stepping into frame holding the flash close to the subject
This is the technique I wish someone had shown me earlier. When you hold the flash very close to the subject, two things happen: the light gets brighter because you have moved the source closer, and it gets softer because the light source is now larger relative to the subject’s face. Both of those are improvements.
The problem is that you are standing in the frame. Tony’s solution is to shoot two frames on a locked-off tripod. The first frame has no flash and no photographer in it. The second frame has you standing in the shot, holding the flash close. You bring both images into Photoshop as layers, then use the eraser tool to remove yourself from the flash-lit frame. The background from the clean frame shows through wherever you erased. It is a technique that predates digital, used in the film era with double exposures, and it still works exactly as described.
What I Do Differently on Commercial Sets
The tutorial covers the fundamentals cleanly, but one thing Tony does not address is color temperature consistency. When I work with off-camera flash alongside any ambient source, even a small amount of window light or tungsten fill, I gel the flash to match. Mixed color temperatures read as an error on skin tones, and fixing it in post takes time you rarely have in a production environment. Carry a set of CTO and CTB gels. A small piece of quarter-CTO taped to your flash head can save a shot entirely.
The single most important thing this technique teaches is that light direction controls dimension. Flat light comes from a flat position. Moving your source even slightly changes what the face looks like. You do not need a studio, you do not need expensive modifiers, and you do not need perfect gear to start. You need one flash and one wireless trigger. Watch the full tutorial on YouTube and then go put your flash somewhere it has never been before.
Comments (1)
Shared this with my photography group. Everyone loved it.
Leave a Comment