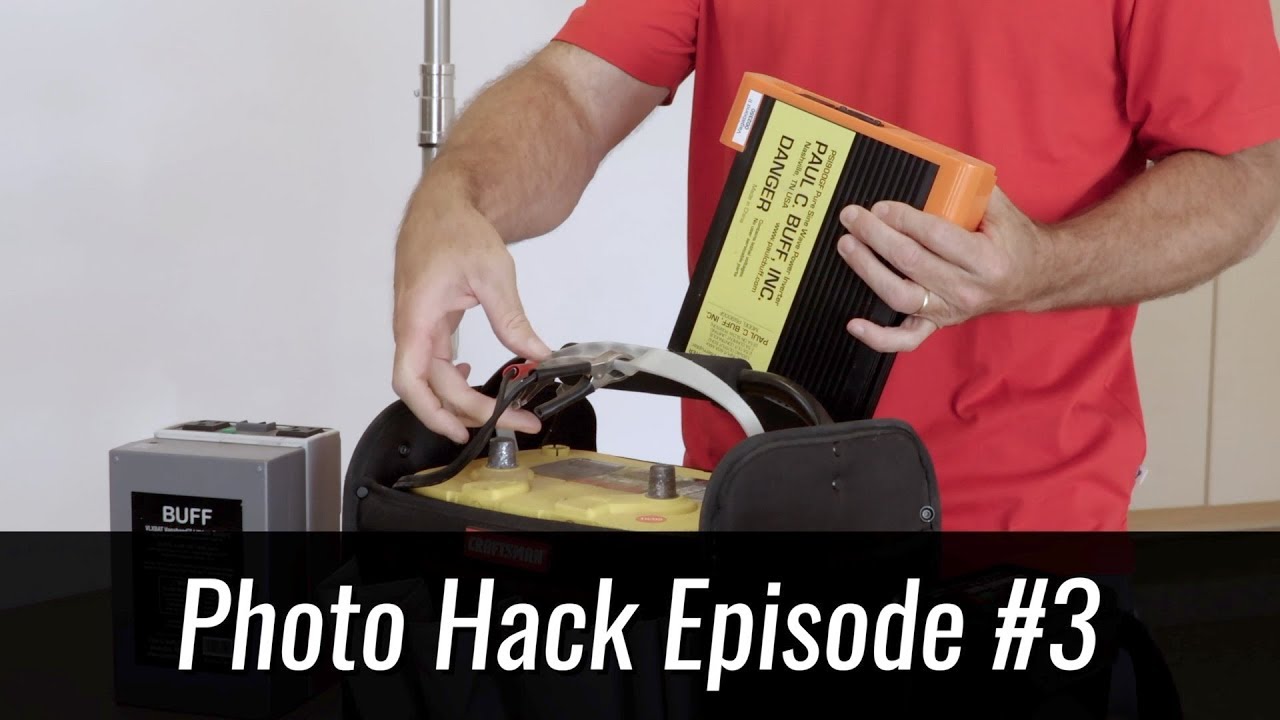
There is one specific kind of dread I know too well: standing on a location shoot, three lights running, no outlet within a hundred yards, and a battery indicator that is not cooperating. I have been doing commercial work long enough to know that power logistics are not glamorous, but they will end your shoot faster than bad light ever will. When I first started doing outdoor work for fashion clients here in Los Angeles, my entire power strategy was “stay close to a building.” That is not a strategy. That is fear wearing a camera strap.
In this Joel Grimes tutorial from his Photo Hack series, Grimes walks through the battery solutions he has actually used on commercial jobs, including an eight-year-old setup that is still delivering thousands of full-power pops. Watch the full tutorial on YouTube before or after reading this breakdown. What I want to do here is extract the actual method so you can build or replicate this system yourself, whether you are running Paul C. Buff gear or something else entirely.
The core insight is simple but easy to overlook: the power problem on location is already solved in other industries. Car batteries, inverters, and portable power units exist in abundance, and most photographers walk right past them at Walmart on their way to spend three times as much on a branded photography solution.
Step 1: Understand the Two Portable Battery Tiers
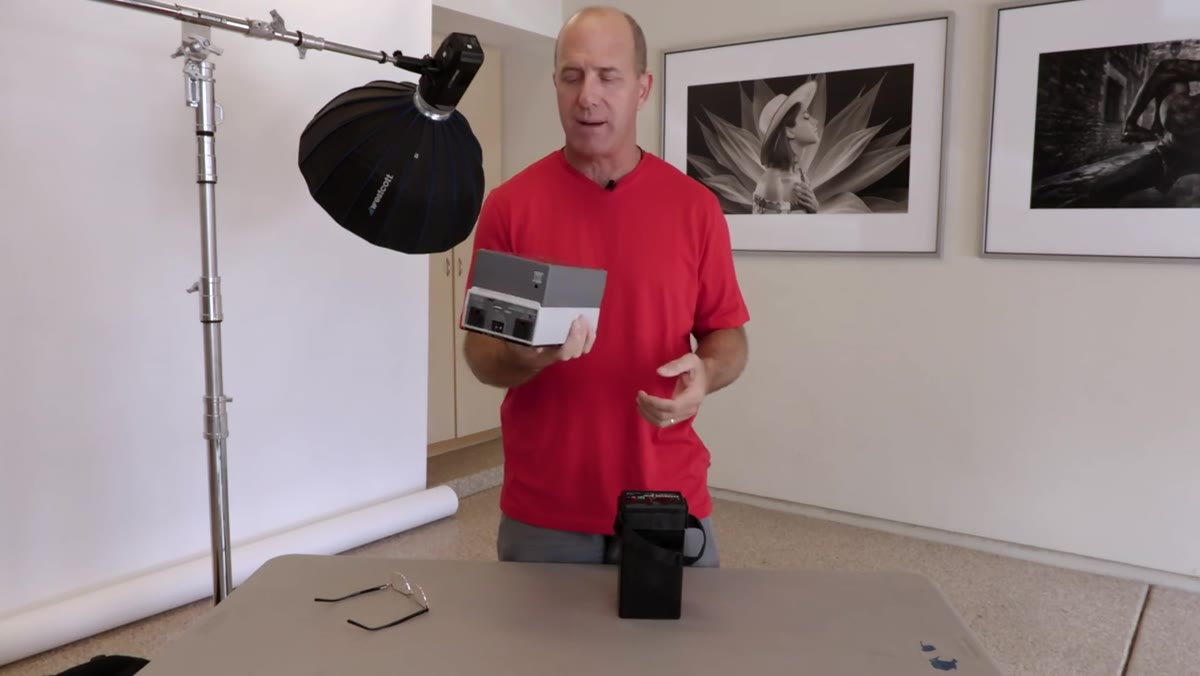 Two Paul C. Buff Vagabond battery units side by side
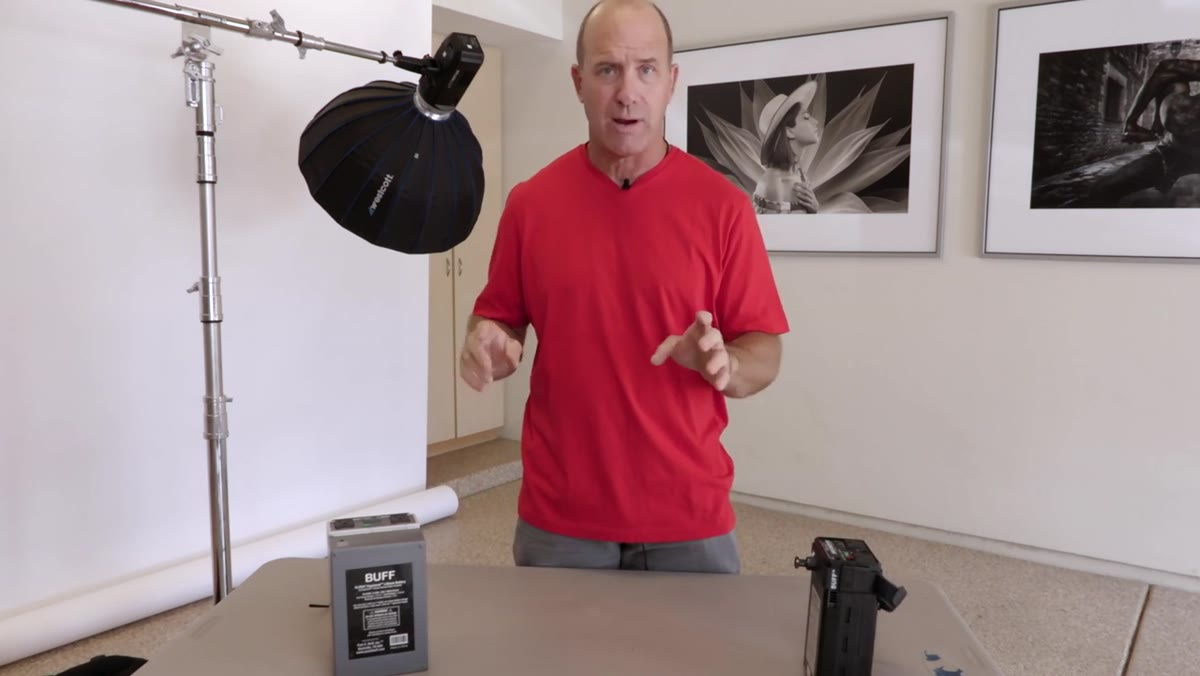
Grimes opens by laying out two versions of the same concept: a full-size portable battery unit and a compact mini version, both from Paul C. Buff. These are purpose-built photography power packs. The full-size unit can push roughly 600 full-power pops or more, while the mini trades some capacity for a lighter form factor. If you are working solo or with a single light on a boom arm, the mini makes sense. If you are running multiple heads on a longer shoot, the larger unit earns its weight. Know which category your shoot falls into before you pack the car.
Two Paul C. Buff Vagabond battery units side by side
Grimes opens by laying out two versions of the same concept: a full-size portable battery unit and a compact mini version, both from Paul C. Buff. These are purpose-built photography power packs. The full-size unit can push roughly 600 full-power pops or more, while the mini trades some capacity for a lighter form factor. If you are working solo or with a single light on a boom arm, the mini makes sense. If you are running multiple heads on a longer shoot, the larger unit earns its weight. Know which category your shoot falls into before you pack the car.
Step 2: Evaluate the Mini Vagabond for Single-Light Rigs
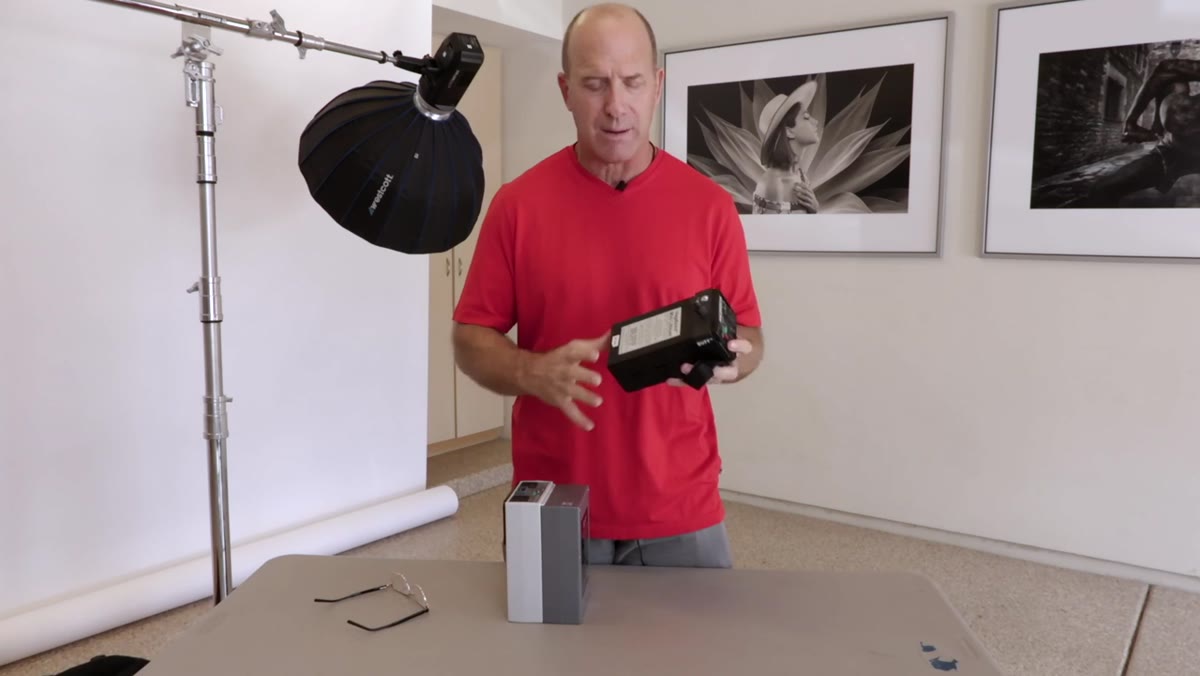 Close-up of the mini Vagabond unit with USB port visible
The mini Vagabond is worth a closer look for anyone rigging a single strobe on a boom. Grimes notes it can serve as a counterweight when hung from the boom end, which is a practical detail that saves you from adding a separate sandbag. It has two power ports and a USB output, which means you can charge a phone or trigger receiver while you shoot. It recycles strobes quickly, and it is compatible with strobes from manufacturers other than Paul C. Buff as long as you verify the voltage and connector requirements. Check the Paul C. Buff website for compatibility specs before you plug in anything unfamiliar.
Close-up of the mini Vagabond unit with USB port visible
The mini Vagabond is worth a closer look for anyone rigging a single strobe on a boom. Grimes notes it can serve as a counterweight when hung from the boom end, which is a practical detail that saves you from adding a separate sandbag. It has two power ports and a USB output, which means you can charge a phone or trigger receiver while you shoot. It recycles strobes quickly, and it is compatible with strobes from manufacturers other than Paul C. Buff as long as you verify the voltage and connector requirements. Check the Paul C. Buff website for compatibility specs before you plug in anything unfamiliar.
Step 3: Locate the Original Vagabond Unit (and Why It Matters)
 Joel Grimes holding the original Vagabond battery pack
The older, original Vagabond unit is where Grimes’ real system begins. This unit was designed with an external battery connection, meaning it does not rely on an internal rechargeable cell. Instead, it pulls power from whatever 12-volt battery you attach to it. That design choice, probably considered outdated now, is actually what makes the whole hack possible. If you can find one of these on eBay, Grimes says people are practically giving them away. Search for “Paul C. Buff original Vagabond” and expect to pay very little. This is the adapter that bridges the photography world and the automotive battery world.
Joel Grimes holding the original Vagabond battery pack
The older, original Vagabond unit is where Grimes’ real system begins. This unit was designed with an external battery connection, meaning it does not rely on an internal rechargeable cell. Instead, it pulls power from whatever 12-volt battery you attach to it. That design choice, probably considered outdated now, is actually what makes the whole hack possible. If you can find one of these on eBay, Grimes says people are practically giving them away. Search for “Paul C. Buff original Vagabond” and expect to pay very little. This is the adapter that bridges the photography world and the automotive battery world.
Step 4: Source a 12-Volt Automotive Battery Locally
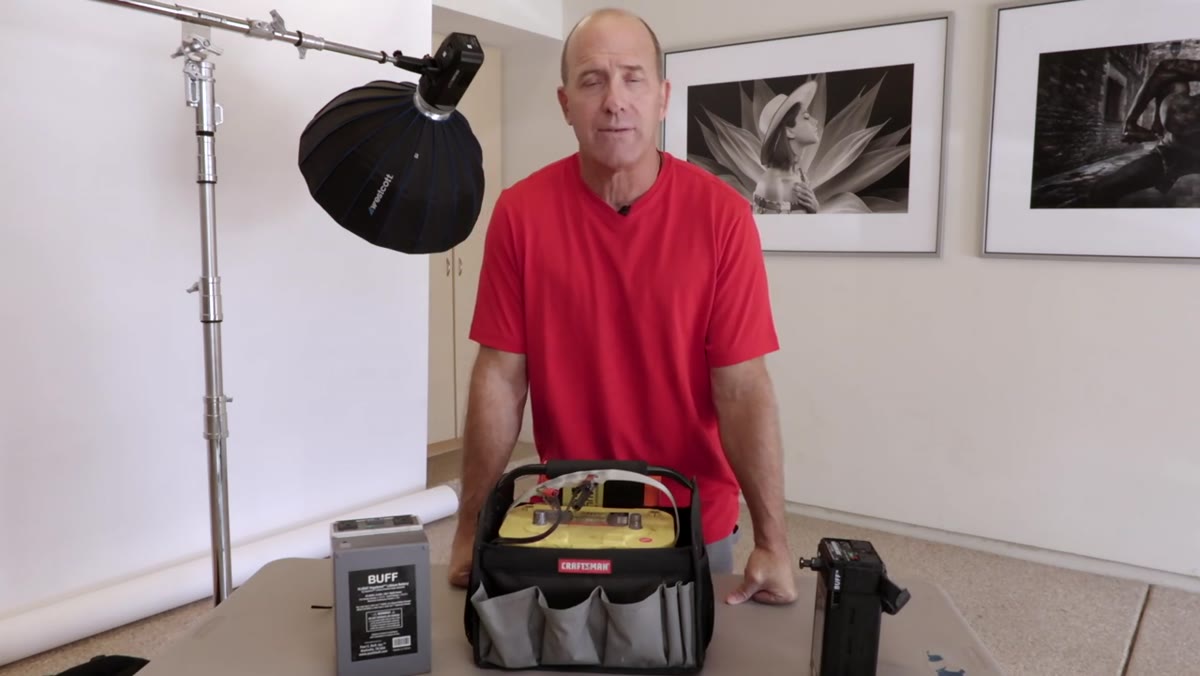 Optima battery connected to the original Vagabond unit
This is the core of the hack. Grimes connects the original Vagabond to an Optima 12-volt car battery, the kind you can find at AutoZone, O’Reilly Auto Parts, or Walmart. His personal battery is eight years old and still running. On travel shoots, he skips bringing a battery entirely and simply buys one at a local auto parts store when he lands. A basic mid-range car battery costs around $80 to $100. He charges it to the client as a supply expense, and at the end of the job, he hands it to a local assistant or donates it. The math works, especially when the alternative is renting a generator or a high-end power pack.
Optima battery connected to the original Vagabond unit
This is the core of the hack. Grimes connects the original Vagabond to an Optima 12-volt car battery, the kind you can find at AutoZone, O’Reilly Auto Parts, or Walmart. His personal battery is eight years old and still running. On travel shoots, he skips bringing a battery entirely and simply buys one at a local auto parts store when he lands. A basic mid-range car battery costs around $80 to $100. He charges it to the client as a supply expense, and at the end of the job, he hands it to a local assistant or donates it. The math works, especially when the alternative is renting a generator or a high-end power pack.
This combination, original Vagabond plus a standard car battery, delivers approximately 2,000 to 3,000 full-power flashes. That is not a typo. For context, the compact branded units top out well below that. If you are shooting all day with multiple setups, this is the difference between rationing your power and shooting freely.
Step 5: Pack a 12-Volt Battery Charger
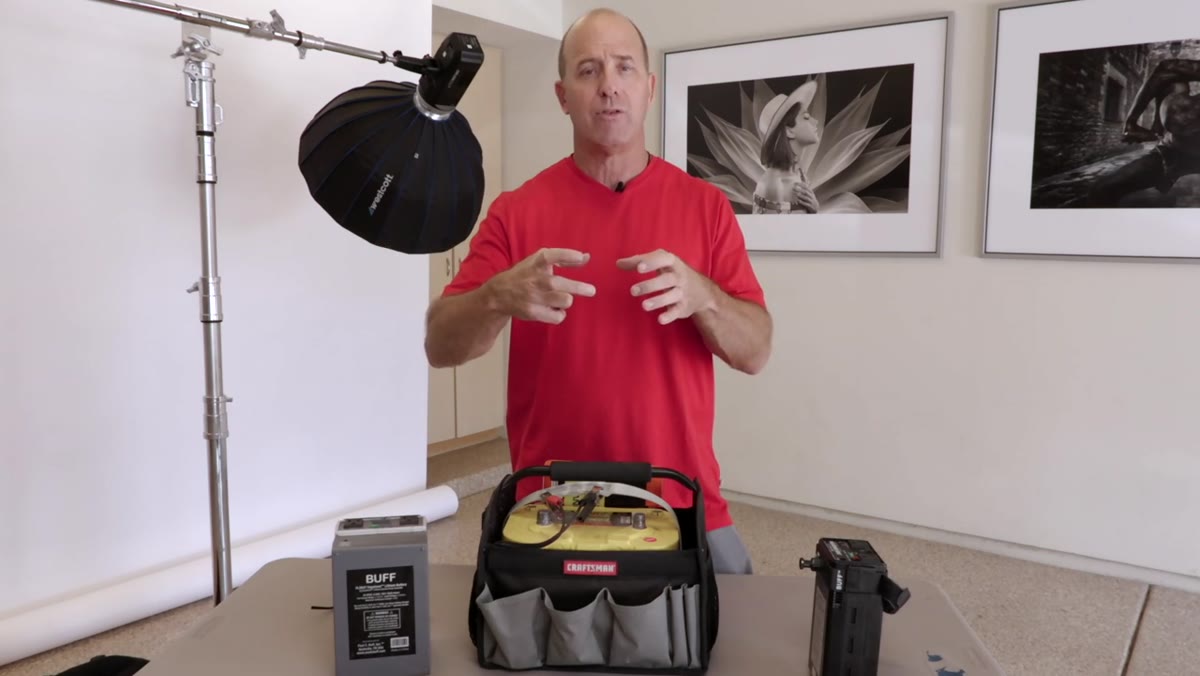 Joel Grimes describing the portable 12-volt charger in his kit
A small 12-volt automotive battery charger goes into the kit alongside the Vagabond unit. These are compact and light enough to fit in a checked bag. When Grimes picks up a battery locally, he charges it before heading out, even if the battery is sold at full charge. Automotive batteries can sit on shelves for weeks, and a partial charge on a shoot day is a problem you can avoid for ten minutes of prep time. A basic trickle charger from any auto parts store works fine. You do not need anything sophisticated.
Joel Grimes describing the portable 12-volt charger in his kit
A small 12-volt automotive battery charger goes into the kit alongside the Vagabond unit. These are compact and light enough to fit in a checked bag. When Grimes picks up a battery locally, he charges it before heading out, even if the battery is sold at full charge. Automotive batteries can sit on shelves for weeks, and a partial charge on a shoot day is a problem you can avoid for ten minutes of prep time. A basic trickle charger from any auto parts store works fine. You do not need anything sophisticated.
Step 6: Add a Power Splitter for Multi-Light Setups
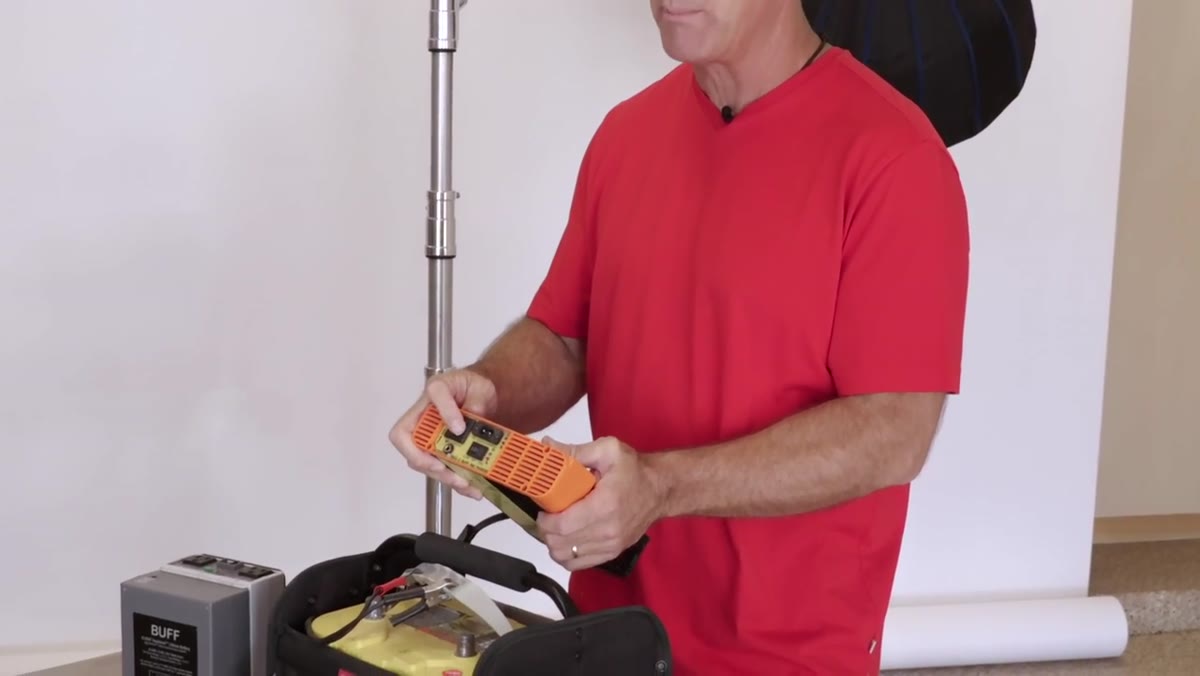 Single outlet on the Vagabond unit, splitter referenced
The original Vagabond has a single AC output. For a one-light setup, that is all you need. But Grimes runs three lights on commercial shoots, so he adds a standard AC splitter to the output. This lets him power multiple strobes from the same battery source without additional hardware. Verify that the combined draw of your strobes does not exceed the inverter’s rated output before you build this chain. Grimes recommends checking Paul C. Buff’s spec listings, and if you are building a DIY version with a standalone inverter purchased through Amazon or eBay, match the inverter’s wattage rating to the total load of your lights with some headroom to spare.
Single outlet on the Vagabond unit, splitter referenced
The original Vagabond has a single AC output. For a one-light setup, that is all you need. But Grimes runs three lights on commercial shoots, so he adds a standard AC splitter to the output. This lets him power multiple strobes from the same battery source without additional hardware. Verify that the combined draw of your strobes does not exceed the inverter’s rated output before you build this chain. Grimes recommends checking Paul C. Buff’s spec listings, and if you are building a DIY version with a standalone inverter purchased through Amazon or eBay, match the inverter’s wattage rating to the total load of your lights with some headroom to spare.
What I Do Differently: Build the Redundancy In
I run a version of this system on location jobs and I have added one layer that Grimes does not mention explicitly. I label every cable in the battery rig with masking tape, including which strobe it feeds and what the draw is. On a fast-moving commercial set, you do not want to be tracing cables to figure out why one light is not firing. I also keep a small wattage meter inline so I can see the actual draw in real time. It costs about $12 on Amazon and it has saved me from an overload situation at least twice.
If you cannot find the original Vagabond unit and do not want to wait on eBay, a standalone modified sine wave inverter rated for your strobe’s wattage will do the same job. Pair it with a deep-cycle marine battery rather than a standard automotive battery if you plan to run it down repeatedly. Marine batteries are designed for repeated discharge cycles in a way that car batteries are not.
The single most important thing this tutorial taught me is that power anxiety on location is a logistics problem, not a gear problem. You do not need the most expensive portable solution. You need enough capacity and a sourcing plan. A car battery, a compatible inverter or legacy unit, and a $10 charger will get you through a full commercial day with strobes blazing.
Watch the full tutorial on YouTube to see Grimes demonstrate the hardware connections and hear his notes on flying with this setup.
Comments (3)
Finally someone explains this in a way that actually makes sense.
Simple but effective. Sometimes that's all you need.
Shared this with my photography group. Everyone loved it.
Leave a Comment