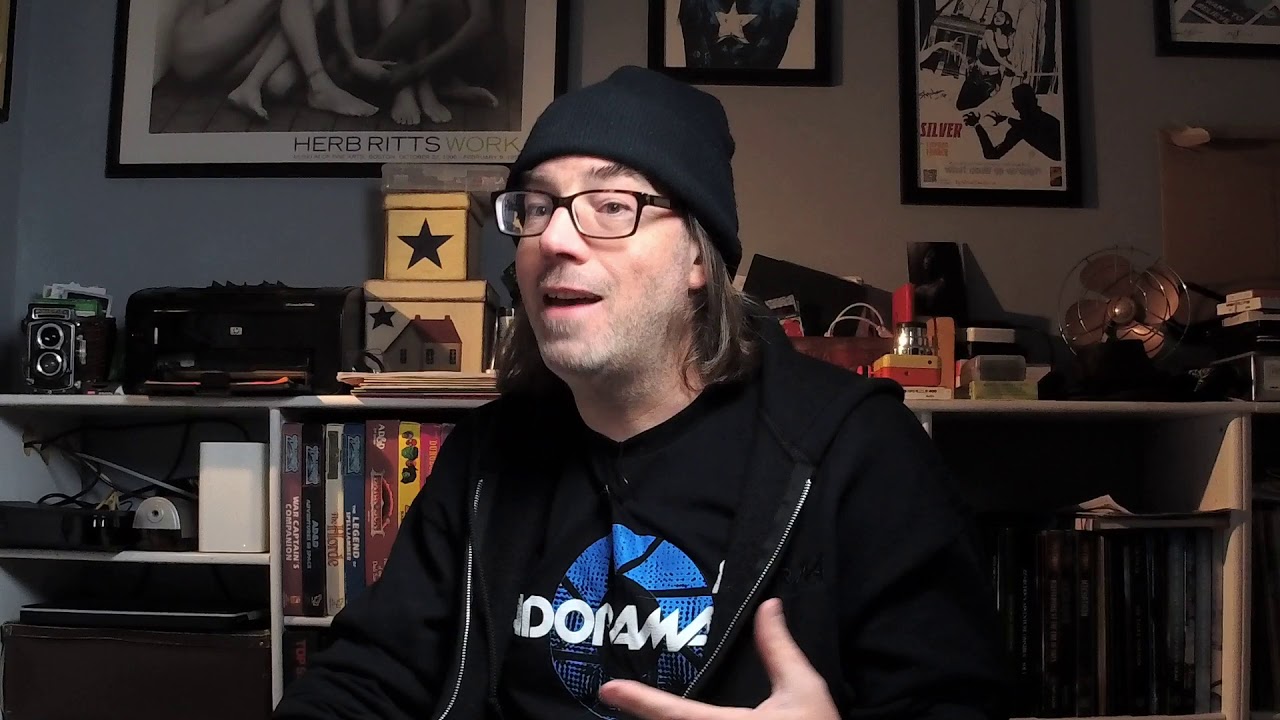
Wedding receptions are one of the few situations where I genuinely have to fight my studio instincts. My default is control: flagged lights, metered backgrounds, everything taped and labeled. A reception hall gives you none of that. The light is already doing something, the room has a mood, and your job is to work inside it rather than override it. That tension between “enough light to get the shot” and “too much light to keep the feeling” is exactly what this tutorial addresses.
In this Daniel Norton Photographer tutorial, Daniel responds to a viewer question about where to place an off-camera flash during a wedding reception. The viewer is working with an on-camera unit and a Profoto B10, and wants to know whether to position the B10 by the stage, on the side of the room, or somewhere else entirely. Whether or not you use a B10 specifically, the thinking Daniel walks through applies to any portable battery strobe at any reception. It is a short video, but the logic inside it is worth unpacking step by step.
Step 1: Understand What the On-Camera Flash Is Actually For
 On-camera flash discussed as primary ambient-feel light source
Your on-camera flash is not your main light. It is your connection to the subject in front of you. At a reception, it preserves the ambient feel of whoever you are photographing, filling shadows without changing the character of the room. Daniel is clear that the on-camera unit, in his scenario a 1X, handles the foreground subject. The moment you ask it to do more than that, you start fighting the existing light in the room rather than working with it.
On-camera flash discussed as primary ambient-feel light source
Your on-camera flash is not your main light. It is your connection to the subject in front of you. At a reception, it preserves the ambient feel of whoever you are photographing, filling shadows without changing the character of the room. Daniel is clear that the on-camera unit, in his scenario a 1X, handles the foreground subject. The moment you ask it to do more than that, you start fighting the existing light in the room rather than working with it.
Think of it as a maintenance light. It keeps faces readable and skin exposed correctly regardless of where you are standing or where the subject happens to be standing. Everything beyond that is the job of the secondary strobe.
Step 2: Treat the Secondary Strobe as a Kicker, Not a Fill
 Secondary light positioned as kicker, not room fill
The B10, or whatever secondary unit you are running, should function as a kicker. That means edge light, separation light, something that adds dimension rather than something that powers up the whole room. Daniel is direct about this: flooding a reception hall with strobe turns a warm, atmospheric space into a flat, evenly lit room. The reception lighting, the DJ rigs, the candles, the colored washes on the dance floor, all of that disappears the moment you throw enough strobe at it.
Secondary light positioned as kicker, not room fill
The B10, or whatever secondary unit you are running, should function as a kicker. That means edge light, separation light, something that adds dimension rather than something that powers up the whole room. Daniel is direct about this: flooding a reception hall with strobe turns a warm, atmospheric space into a flat, evenly lit room. The reception lighting, the DJ rigs, the candles, the colored washes on the dance floor, all of that disappears the moment you throw enough strobe at it.
A kicker coming from the side or slightly behind your subjects adds the structure you need without obliterating what the venue’s light is already doing. It is the same principle I use in commercial beauty work where I want to see the shape of a face, not just illuminate it.
Step 3: Have Someone Hold the Light
 Assistant holding light discussed as ideal solution
Daniel’s first preference is an assistant carrying the secondary strobe. This is the answer most photographers do not want to hear because it costs money and adds a person to manage. But a handheld strobe follows the shot. It moves when you move. It can be angled for a table shot and repositioned thirty seconds later for a group on the dance floor.
Assistant holding light discussed as ideal solution
Daniel’s first preference is an assistant carrying the secondary strobe. This is the answer most photographers do not want to hear because it costs money and adds a person to manage. But a handheld strobe follows the shot. It moves when you move. It can be angled for a table shot and repositioned thirty seconds later for a group on the dance floor.
A static strobe on a stand does one thing well from one position. An assistant holding a strobe does the right thing for every position. If you are serious about wedding work and you are using a portable strobe unit, budget for the assistant. The light is only as good as where it is pointed.
Step 4: If You Must Fix the Light, Move It Between Setups
 Light repositioned between table sections during reception
If you are working alone and the assistant is not an option, Daniel’s next recommendation is to move the strobe deliberately between different sections of the room throughout the night. Do not park it in one corner and call it done. Think in zones. If you are working the tables on one side of the room, position the strobe to bounce off the nearest wall and create ambient fill for that cluster. When you shift to the other side, move the light.
Light repositioned between table sections during reception
If you are working alone and the assistant is not an option, Daniel’s next recommendation is to move the strobe deliberately between different sections of the room throughout the night. Do not park it in one corner and call it done. Think in zones. If you are working the tables on one side of the room, position the strobe to bounce off the nearest wall and create ambient fill for that cluster. When you shift to the other side, move the light.
This requires you to plan your shooting order rather than roam freely, but it also makes you more intentional. I sketch lighting zones before events exactly the way I sketch them for studio shoots. Knowing where your light is and what it is doing gives you confidence in the frame before you even raise the camera.
Step 5: Read the Dance Floor Before You Fire
 Colored dance floor LEDs discussed as reason to limit strobe output
This is the step most photographers skip until they ruin a roll of frames. If the dance floor has colored LED wash, moving heads, or any kind of atmospheric lighting rig, a full-power strobe burst will kill all of it. Your image will show people dancing in a gray room with flat light instead of the electric environment the venue actually created.
Colored dance floor LEDs discussed as reason to limit strobe output
This is the step most photographers skip until they ruin a roll of frames. If the dance floor has colored LED wash, moving heads, or any kind of atmospheric lighting rig, a full-power strobe burst will kill all of it. Your image will show people dancing in a gray room with flat light instead of the electric environment the venue actually created.
Before you fire the strobe anywhere near the dance floor, look at what the existing light is doing and decide whether your strobe is helping or hurting. Sometimes the answer is to turn the B10 off entirely and shoot available light with a higher ISO. Your strobe’s job is to serve the image, not to guarantee that your exposure settings stay comfortable.
Step 6: Adjust the Light for Each Distinct Shot
 Different shots require repositioning and reconsidering the light
Daniel frames the whole approach around this: each shot is its own problem. A tight portrait at the sweetheart table needs different light placement than a wide frame of fifty people doing the YMCA. The group shot might call for bouncing the strobe off the ceiling to get even coverage. The portrait might need the strobe raked to the side for shape and dimension.
Different shots require repositioning and reconsidering the light
Daniel frames the whole approach around this: each shot is its own problem. A tight portrait at the sweetheart table needs different light placement than a wide frame of fifty people doing the YMCA. The group shot might call for bouncing the strobe off the ceiling to get even coverage. The portrait might need the strobe raked to the side for shape and dimension.
The mistake is setting the light once and then shooting everything in the room from the same position. The B10 is portable precisely because you are supposed to move it. Use that.
What I Would Add: Modifier Choice Matters at This Stage Too
The viewer in Daniel’s scenario also asks about whether to add a modifier, and this is where I want to extend the conversation. A bare strobe at a reception is aggressive. The light is hard, the falloff is fast, and the shadows are unflattering on anything it hits directly. A small dome diffuser or even a bounce card on the B10 softens the output enough to blend more naturally with the ambient light in the room.
I run a small MagSphere-type diffuser on any portable strobe I use off-camera in mixed lighting situations. It costs almost nothing in terms of output, but it changes the quality of that kicker light from “obviously artificial” to “just a little more light over here.” The goal at a wedding is always to look like you did less than you actually did.
The single most important idea in this tutorial is one that applies far beyond weddings: your secondary light should add to the image, not take over it. Positioning, power, and modifier choice all serve that one principle. A strobe that overpowers the environment is not better light, it is just more light, and more is not always better.
Watch the full tutorial on YouTube and pay attention to how Daniel thinks through the viewer’s specific scenario. The answer he gives is not a formula, it is a way of reasoning about light that you can apply to any reception, any venue, any portable strobe you happen to be running.
Comments
Leave a Comment