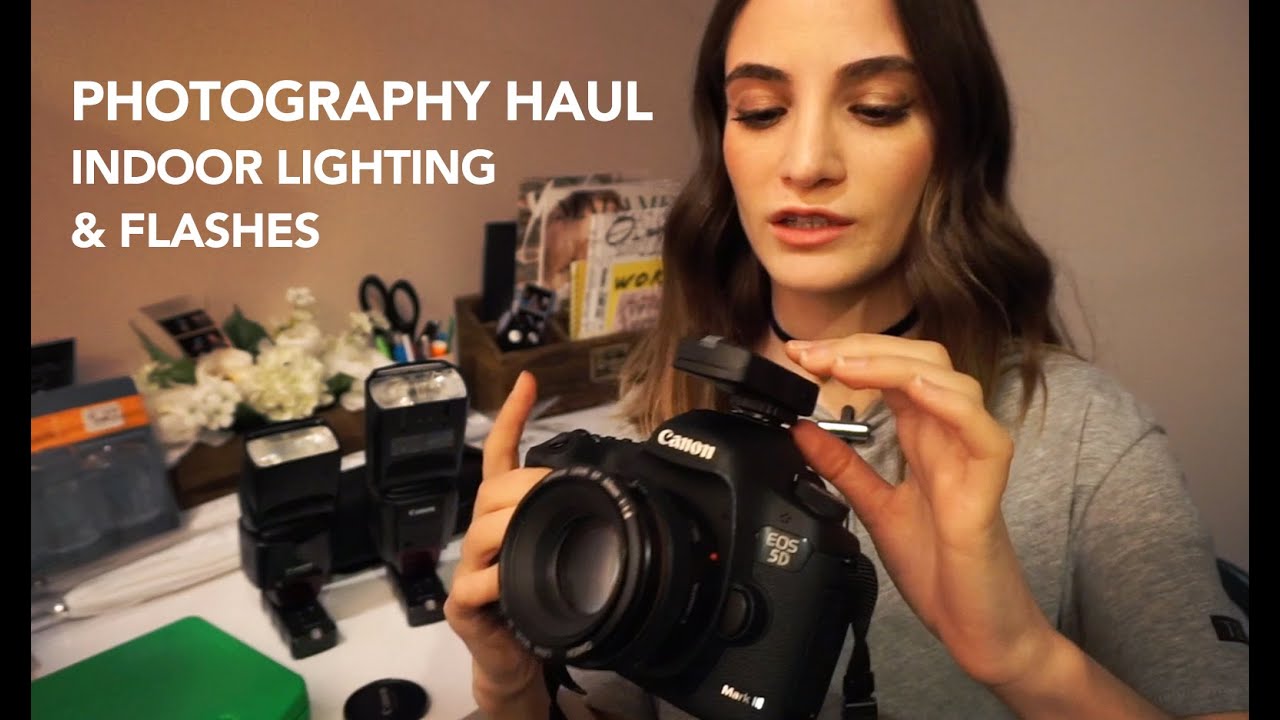
Most of my work happens in controlled studio environments where I’ve labeled every light with masking tape and sketched the setup in my lighting journal before the first test shot fires. But event photography is a different animal. Receptions, corporate galas, indoor ceremonies with no windows and ugly overhead fluorescents - these are situations where my usual workflow doesn’t apply and where a lot of natural-light photographers find themselves completely lost. I’ve seen talented shooters freeze up the moment the sun goes away because they never built a reliable off-camera flash system to fall back on.
That’s exactly the problem Jessica Kobeissi addresses in this tutorial. She’s candid about being a natural-light shooter who had to build an indoor lighting system from scratch for a specific event, and that honesty makes the video more useful than most gear explainers. She’s not performing expertise she already had. She’s documenting the process of acquiring it, which means she asks the questions beginners are too embarrassed to ask and explains things without assuming prior knowledge. Watch the full tutorial on YouTube and follow along below with my breakdown of each step.
Step 1: Understand Why One Flash Is Rarely Enough Indoors
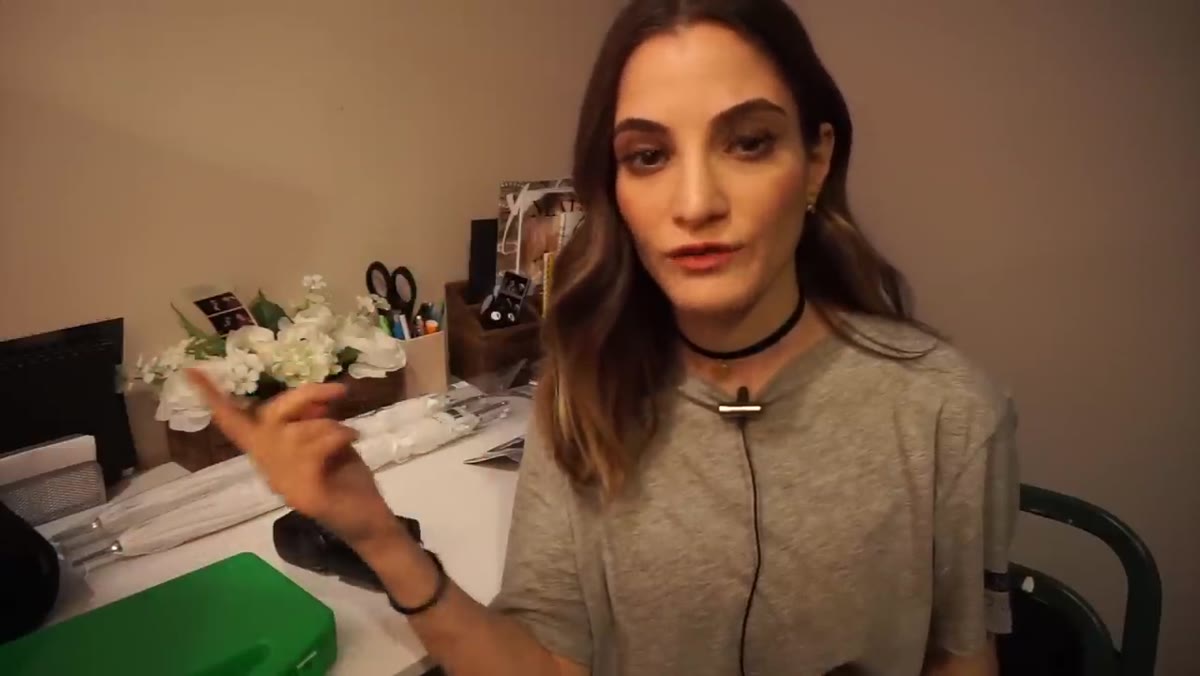 Jessica explaining the case for a two-flash system
A single on-camera flash produces flat, harsh light that hits your subject straight-on and kills dimension. Jessica’s starting point is a recommendation she received from a camera shop specialist: use two flashes positioned off-camera rather than one. This is standard commercial practice for a reason. Two light sources let you control shadows independently. You can use one as a key light on the subject and a second to fill shadows, light a background, or provide rim separation. Even if budget or logistics forces you to start with one flash, design your system with a second unit in mind from the beginning so you’re not rewiring everything later.
If you’re coming from natural light, think of two off-camera flashes as your sun and your open sky. One gives you directional illumination, the other wraps and softens the shadow side. The ratio between them determines how dramatic or even the final look reads.
Step 2: Choose a Flash That Can Work Off-Camera
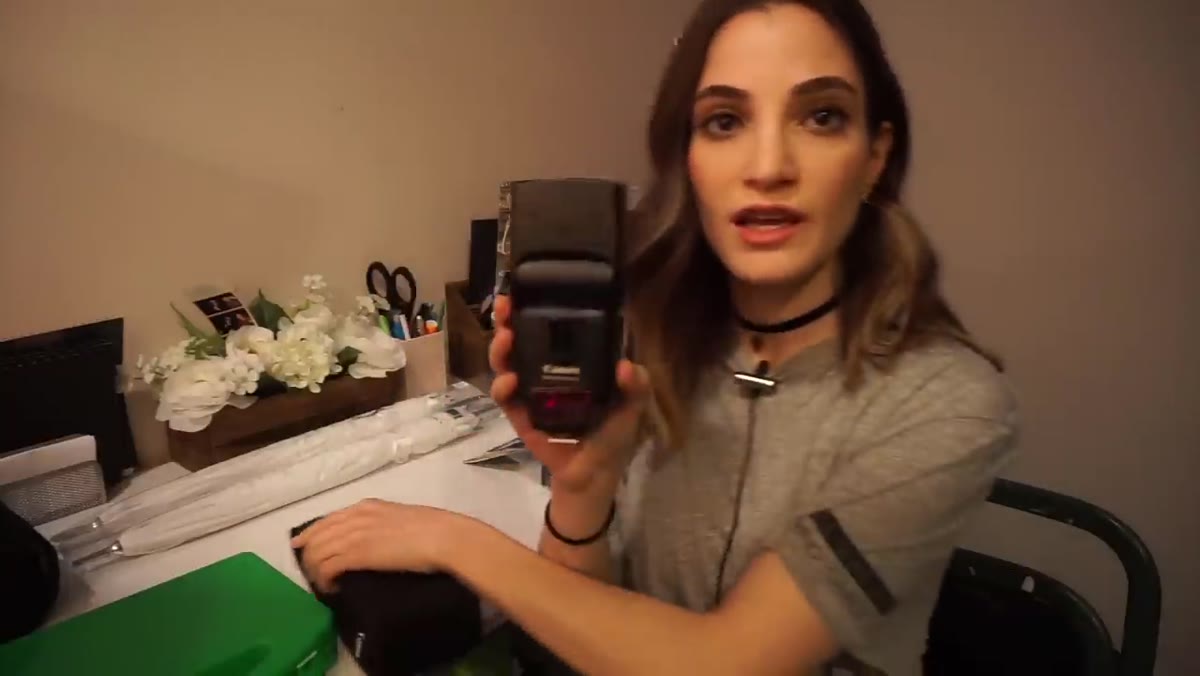 Close-up of the external flash unit Jessica purchased
Not every speedlight is built for off-camera triggering. Jessica shows the external flash unit she purchased based on the shop specialist’s recommendation, and the key feature to look for is a hot shoe mount combined with a sync port or built-in wireless receiver. You want a flash with manual power control, ideally in full-stop and third-stop increments, so you can dial output precisely rather than relying on the camera’s automatic exposure judgments. For event work, I recommend setting flash power manually and adjusting from there rather than using TTL, which can produce inconsistent results as your subject moves closer or farther from the light.
A second consideration is recycle time. Under-powered flashes at high output need several seconds between pops, which will cost you moments at a reception. Test your flash at the power level you plan to shoot before the event, not during it.
Step 3: Mount the Flash on a Light Stand
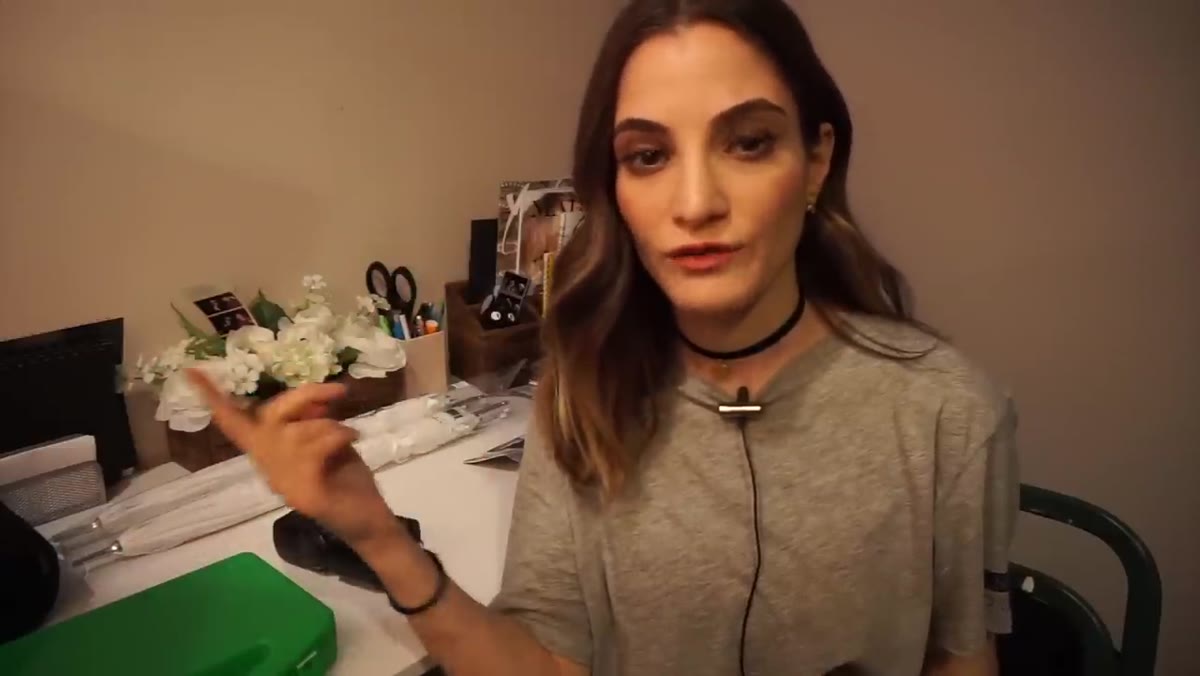 Flash mounted on stand with umbrella bracket visible
A light stand gets your flash off the ground and lets you position it at a height and angle that actually flatters your subject. Jessica uses a standard air-cushioned stand, which is a smart choice for portability - the air cushion prevents the stand from collapsing suddenly if a knob slips, which protects both your flash and anyone standing nearby. Set stand height so the flash is roughly 45 degrees above and to the side of your subject’s face. That angle mimics where natural window light typically originates, which is why it reads as pleasing rather than theatrical.
An umbrella bracket attaches to the stand and holds both the flash and the umbrella. Make sure your bracket has a tilting knob so you can angle the flash head into the umbrella properly rather than firing it straight forward.
Step 4: Add a Reflective Umbrella as Your Modifier
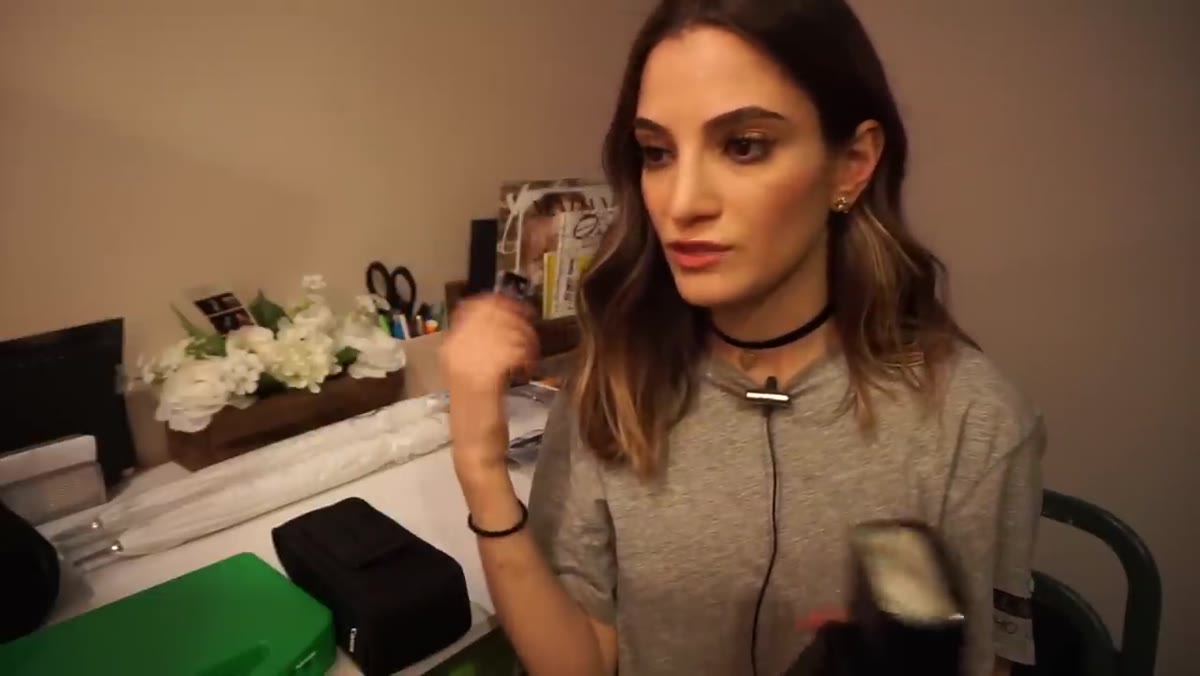 Jessica opening and demonstrating the reflective umbrella
A bare flash produces a hard, specular light source. An umbrella spreads and softens it. Jessica uses a reflective umbrella, which means the flash fires into the inside of the umbrella and the light bounces back toward the subject. This is the simplest and most portable diffusion tool available, and for event work it’s hard to argue with it. Softboxes produce more directional, controlled light, but they take longer to set up and don’t survive crowded venues as gracefully.
Position the flash head so it’s pointing directly into the umbrella’s reflective interior. The umbrella shaft slides through the bracket, and you adjust how far the flash sits from the umbrella surface to control the spread of light - closer gives you a tighter, slightly harder output, farther back creates a larger, softer source. For most event portraiture, pulling the flash back about two-thirds of the umbrella’s depth is a reliable starting point.
Step 5: Connect the System with a Wireless Trigger
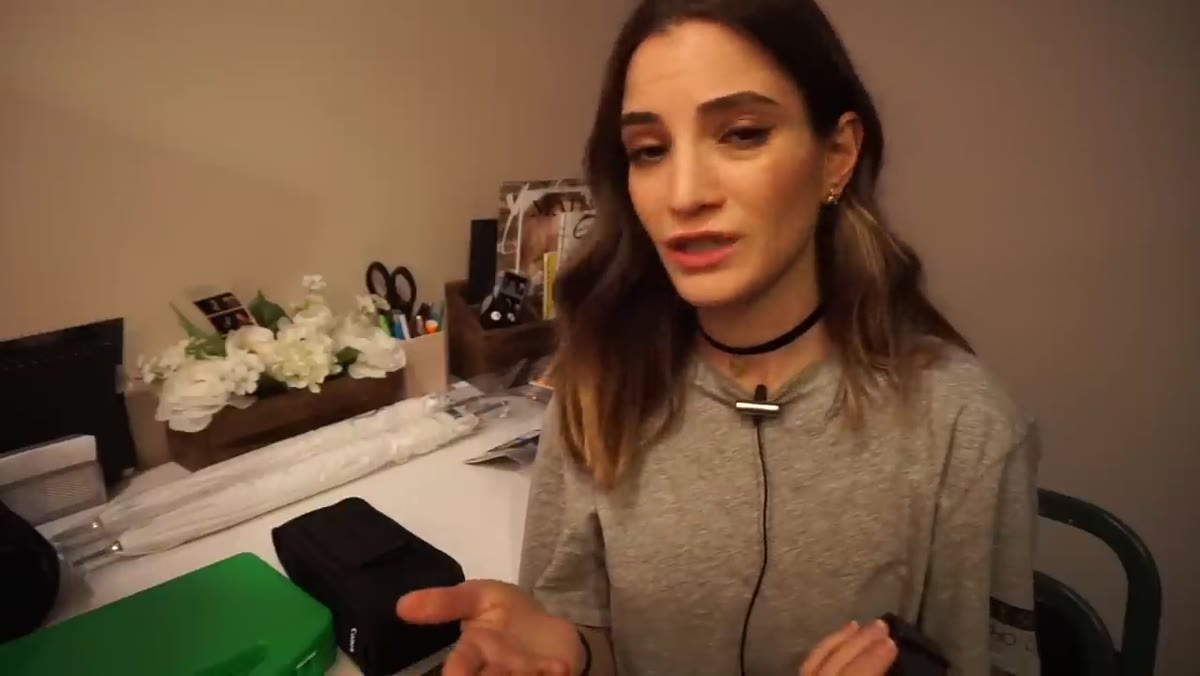 Trigger unit mounted on camera hot shoe
This is where the system becomes wireless, which is non-negotiable for event work. You can’t have a sync cable running across a dance floor. A trigger consists of two parts: a transmitter that sits on your camera’s hot shoe, and a receiver that connects to the flash. When you press the shutter, the transmitter sends a radio signal to the receiver, which fires the flash in sync. Jessica’s system uses this exact setup, and it’s the most reliable approach for mixed environments where optical triggers fail under ambient light.
Set both units to the same channel and group before the event and confirm they’re communicating with a test shot. Carry a spare set of batteries for both units. Wireless triggers eat batteries quietly and die without warning.
Step 6: Test the Full System Before You’re on Location
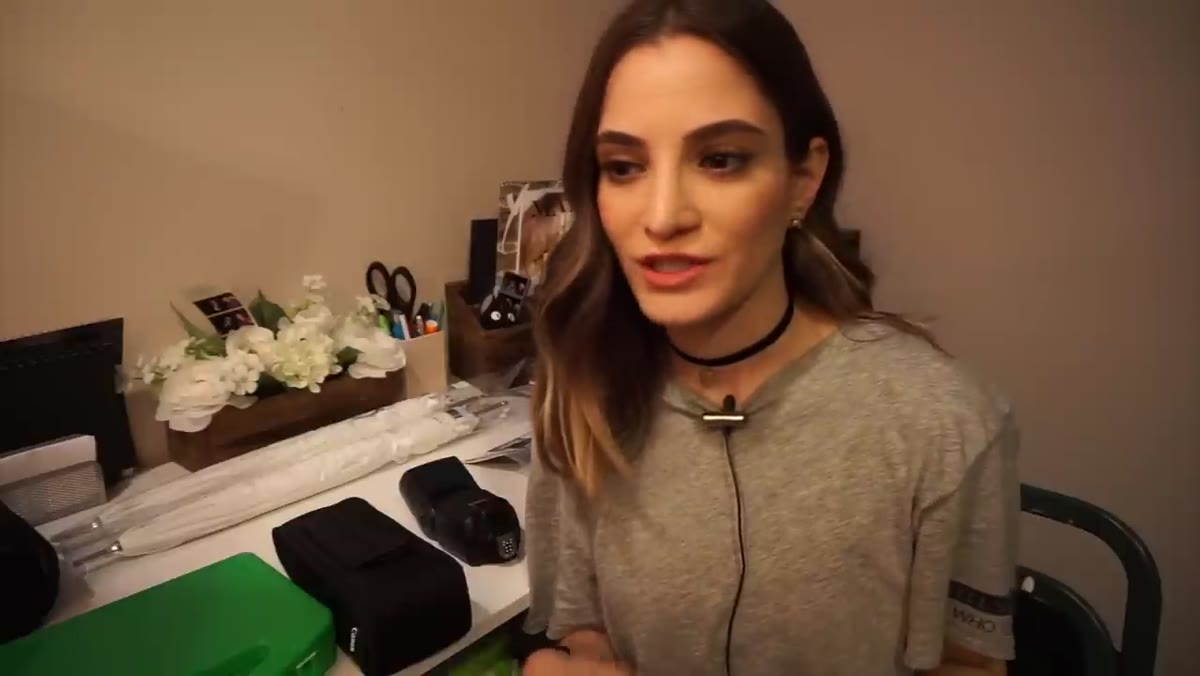 Jessica firing the full system as a test at home
Jessica specifically mentions testing the entire setup at home before her event, and I can’t stress this enough. When I first started integrating off-camera flash into event work, I assumed that equipment that worked in the studio would behave identically on location. It doesn’t always. Ceiling height, room color, and ambient light levels all affect how your flash output reads on the sensor. Run a full test shoot at a comparable distance to what you’ll be working at the event, and adjust your power settings based on actual results rather than assumptions.
Shoot a few frames at different flash power levels and compare them side by side. Lock in the settings that give you a correct exposure at your preferred aperture and ISO combination, then write them down. At an event, you don’t want to be doing math.
What I’d Add to This Setup
One thing the tutorial doesn’t get into, understandably given its scope, is color temperature matching. Your off-camera flash fires at approximately 5500K, which is daylight. But most reception venues run tungsten or LED ambient lighting that sits anywhere from 2700K to 4500K. If you don’t gel your flash to match the ambient, your subjects will look correct while everything else in the frame goes orange or green. I keep a set of CTO gels in my kit at all times and dial in the gel strength by shooting a test frame with a gray card in the scene. It’s a five-minute calibration that prevents a problem you cannot fix cleanly in post.
The single most important shift this tutorial delivers is the move from one on-camera flash to two off-camera flashes working together as a system. That transition changes what’s possible indoors more than any other single variable. Watch the full breakdown directly from Jessica to see the gear in hand and the umbrella setup demonstrated in real time: Watch the full tutorial on YouTube.
Comments
Leave a Comment