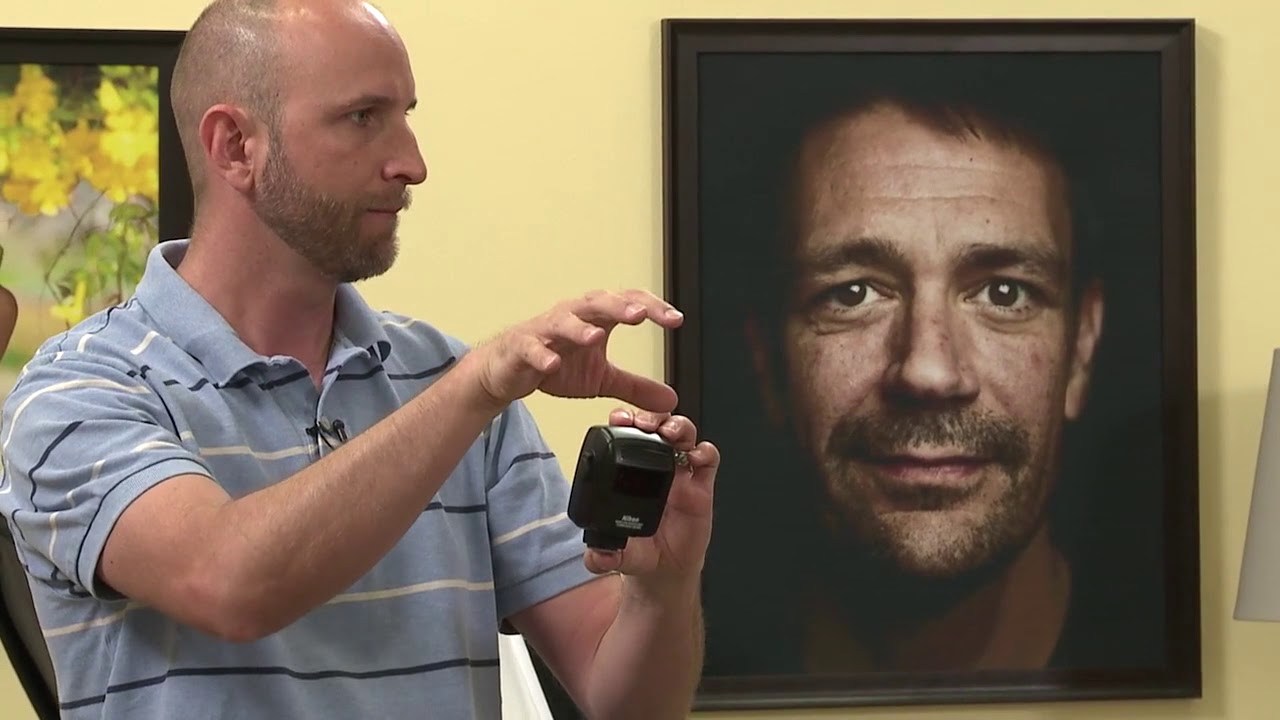
Every time I walk into a new studio space, the first thing I do is tape labels on every light. Masking tape, black marker, “KEY,” “FILL,” “KICKER.” It looks ridiculous. It has saved me from catastrophic mistakes more times than I can count. That habit came from learning, the hard way, that when you’re managing multiple off-camera flashes, confusion is expensive. Missed sync, wrong zone triggering the wrong light, two photographers’ systems fighting each other at an event shoot — these are real problems that happen to real working photographers.
This is exactly why I keep coming back to the fundamentals of flash triggering systems. In this CreativeLive tutorial on off-camera flash options, the instructor walks through the core methods for getting your flash off the camera and controlling it reliably. Watch the full tutorial on YouTube. It covers the kind of practical, system-level thinking that most gear reviews skip entirely, and it maps almost perfectly to decisions I make on commercial shoots every week.
The tutorial is paced quickly by design — about 45 minutes of dense content — so I want to slow it down here and translate it into steps you can actually follow with your equipment in hand.
Step 1: Understand Why You Need to Take Flash Off the Camera
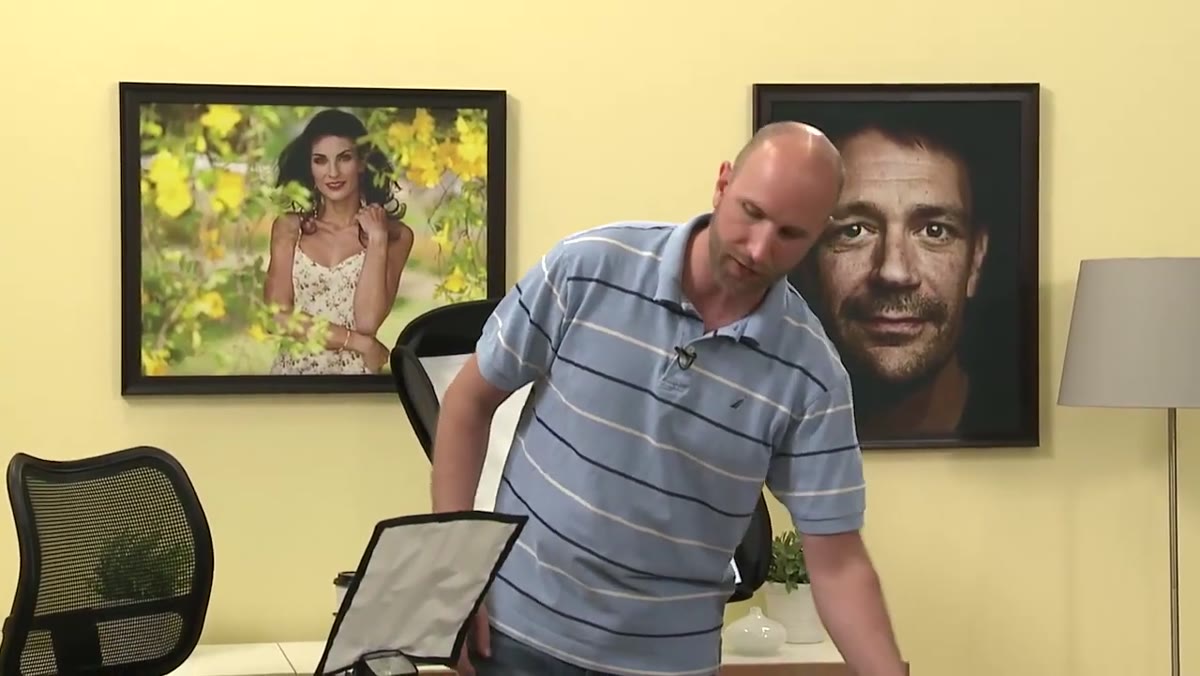 Instructor introduces off-camera flash and light modifier concepts
On-camera flash is a compromise. It’s convenient, but it gives you flat, unflattering light that comes from the exact same angle as your lens. The moment you move your flash even a few feet to the side, you start sculpting — shadows appear, dimensionality enters the frame, your subject stops looking like a passport photo. The whole point of off-camera flash is control over where light originates, and therefore how it falls on your subject. That’s not an aesthetic preference. That’s the fundamental tool of portrait and commercial photography.
Instructor introduces off-camera flash and light modifier concepts
On-camera flash is a compromise. It’s convenient, but it gives you flat, unflattering light that comes from the exact same angle as your lens. The moment you move your flash even a few feet to the side, you start sculpting — shadows appear, dimensionality enters the frame, your subject stops looking like a passport photo. The whole point of off-camera flash is control over where light originates, and therefore how it falls on your subject. That’s not an aesthetic preference. That’s the fundamental tool of portrait and commercial photography.
Before you touch any triggering system, commit to this premise: the position of the light source is your most powerful creative decision. Everything else — modifiers, power settings, ratios — serves that positioning choice.
Step 2: Know Your Built-In Triggering Option First
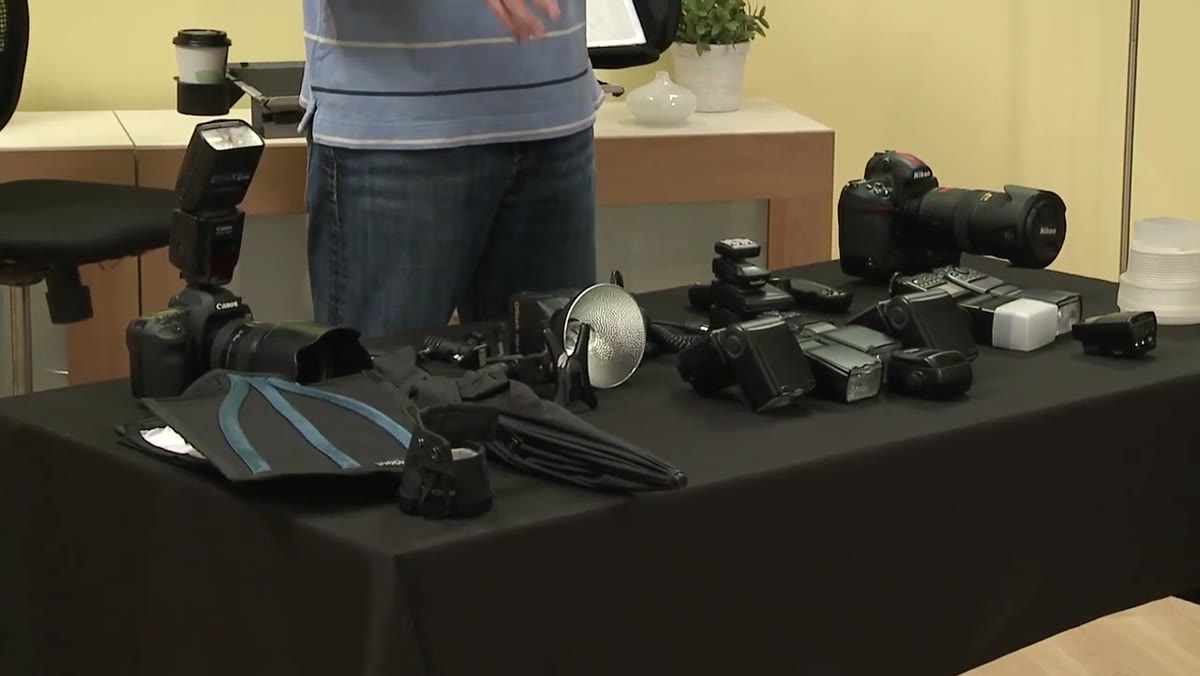 Instructor discusses pop-up flash as infrared commander on Nikon cameras
Some cameras already have an off-camera flash triggering system built in, and many photographers don’t realize it. Certain Nikon bodies use the pop-up flash as an infrared commander, sending control signals to compatible remote flashes without any additional hardware. Some Canon bodies have similar functionality baked into their menus — the 70D was specifically called out as one example. If you own one of these bodies, dig into your menu system and look for a commander mode or built-in wireless controller option. You may already have the tools.
Instructor discusses pop-up flash as infrared commander on Nikon cameras
Some cameras already have an off-camera flash triggering system built in, and many photographers don’t realize it. Certain Nikon bodies use the pop-up flash as an infrared commander, sending control signals to compatible remote flashes without any additional hardware. Some Canon bodies have similar functionality baked into their menus — the 70D was specifically called out as one example. If you own one of these bodies, dig into your menu system and look for a commander mode or built-in wireless controller option. You may already have the tools.
The critical limitation here is line of sight. Infrared triggering requires a relatively clear, unobstructed path between the commander and the remote flash sensors. It works well in controlled studio environments. It will frustrate you at outdoor shoots with bright ambient light, or any time a modifier blocks the sensor on your remote unit. Know this constraint before you rely on it for client work.
Step 3: Set Up a Master Flash on Your Camera
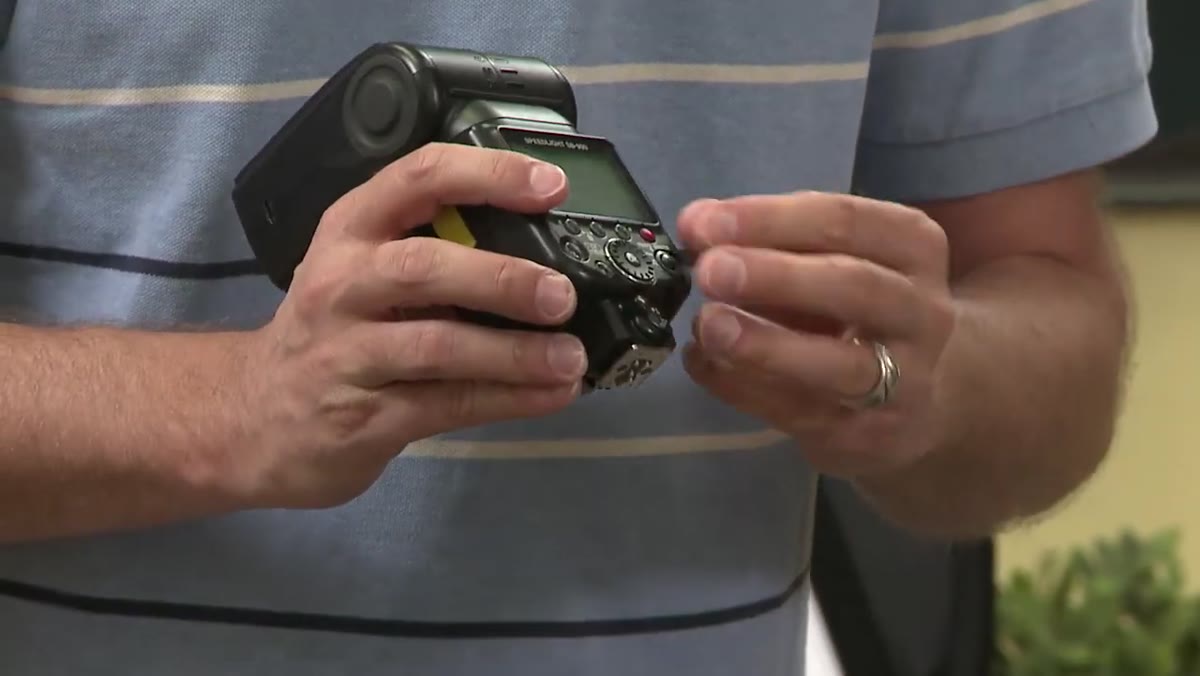 Instructor sets Nikon flash switch to master position on hot shoe
When you’re using a system flash — a Nikon speedlight, for example — you’ll see a physical switch on the unit with positions for “on,” “remote,” and “master.” For controlling other flashes wirelessly, you set the unit on your camera to master. This flash now acts as the brain of your lighting system. It can fire itself as a light source, or you can suppress its output so it only sends control signals without contributing to the exposure. That second option is useful when you want clean off-camera light with no flat fill from the camera position.
Instructor sets Nikon flash switch to master position on hot shoe
When you’re using a system flash — a Nikon speedlight, for example — you’ll see a physical switch on the unit with positions for “on,” “remote,” and “master.” For controlling other flashes wirelessly, you set the unit on your camera to master. This flash now acts as the brain of your lighting system. It can fire itself as a light source, or you can suppress its output so it only sends control signals without contributing to the exposure. That second option is useful when you want clean off-camera light with no flat fill from the camera position.
Once you’re in master mode, the flash’s rear panel gives you access to group controls — labeled M, A, B, and C. M refers to the master flash itself. A, B, and C are remote groups you assign to your off-camera flashes. You can set independent power levels and modes for each group, which is the real power of this system.
Step 4: Understand Channels Before You Shoot an Event
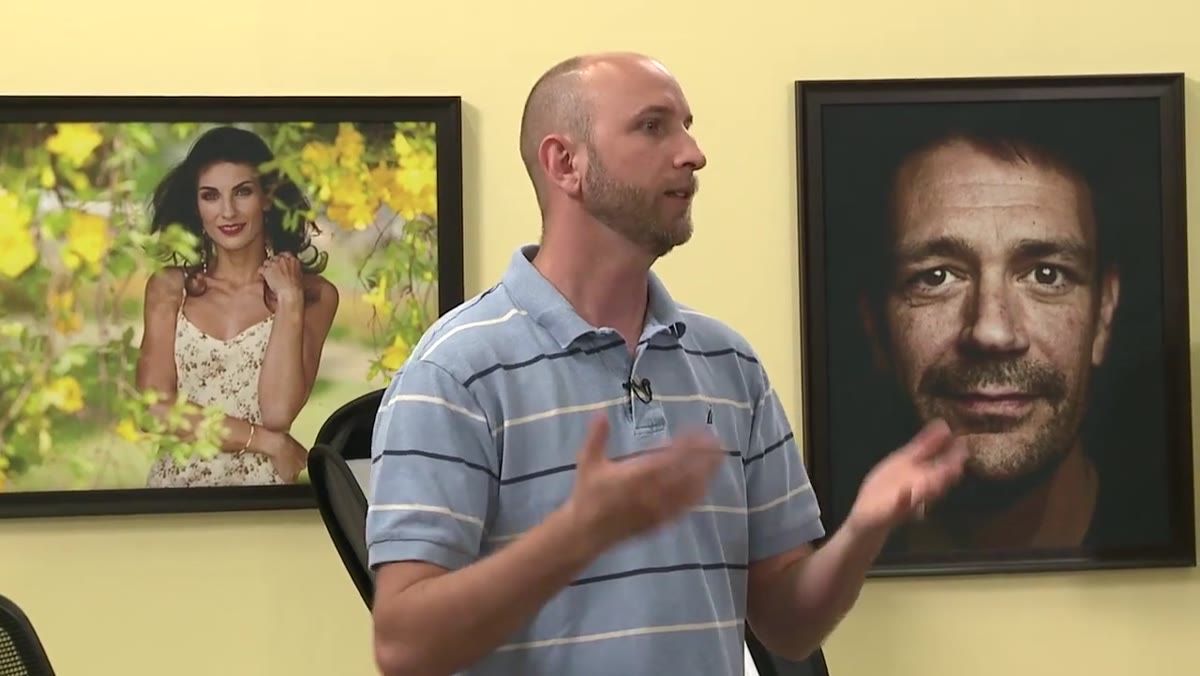 Instructor explains channel separation for two photographers shooting same event
Channels exist to prevent interference between separate photographers’ systems. The scenario in the tutorial is clear: two photographers covering the same event, both using remote flashes. If both systems are on the same channel, every trigger either photographer fires will activate both sets of flashes. You lose control of your own lighting. The fix is simple — each photographer picks a different channel. Your flashes respond to your triggers. Theirs respond to theirs. Problem solved.
Instructor explains channel separation for two photographers shooting same event
Channels exist to prevent interference between separate photographers’ systems. The scenario in the tutorial is clear: two photographers covering the same event, both using remote flashes. If both systems are on the same channel, every trigger either photographer fires will activate both sets of flashes. You lose control of your own lighting. The fix is simple — each photographer picks a different channel. Your flashes respond to your triggers. Theirs respond to theirs. Problem solved.
In practice, I use channel discipline on every multi-photographer job. Even if I think I’m the only one using off-camera flash, I’ll set my system to channel 2 or 3 by default, because channel 1 is where most photographers land when they haven’t thought about it. One less variable to troubleshoot mid-shoot.
Step 5: Use Zones to Control Individual Lights Independently
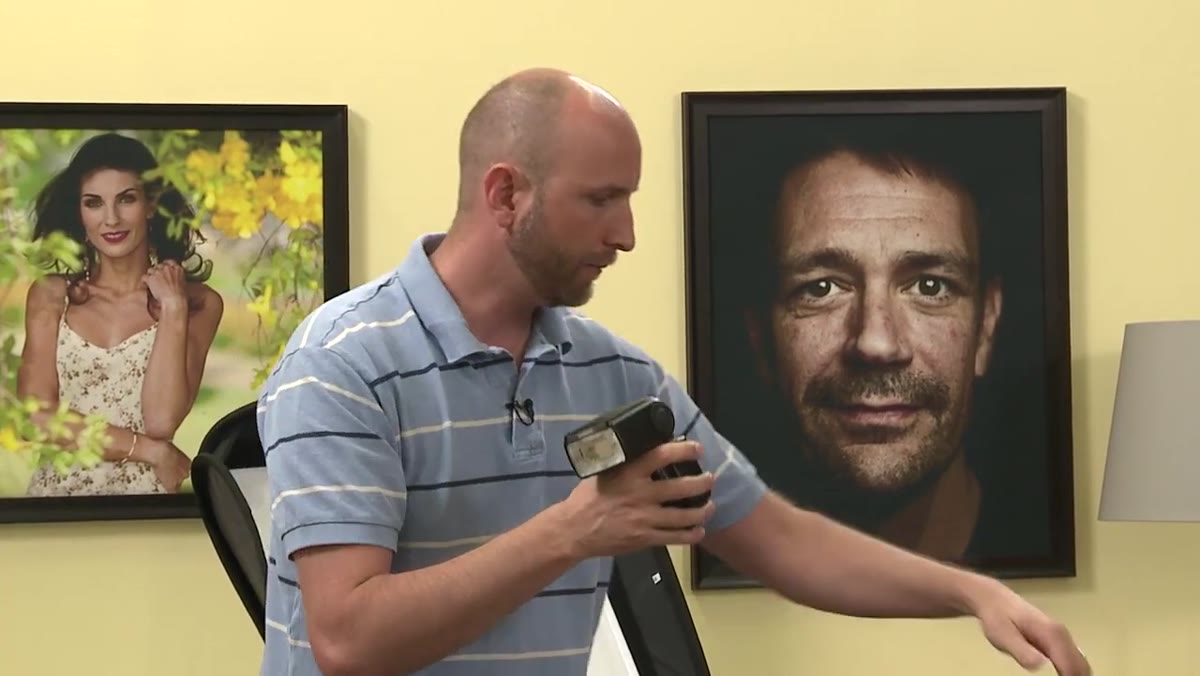 Instructor assigns zone A to key light and zone B to kicker light
This is where the system gets genuinely useful for portrait and commercial work. Zones — the A, B, C groups controlled from your master flash — let you adjust each light in your setup independently without walking over to it. Your key light sits on zone A. Your kicker or hair light sits on zone B. Your background light, if you’re using one, goes on zone C. From the master panel on your camera, you dial in flash exposure compensation for each zone separately.
Instructor assigns zone A to key light and zone B to kicker light
This is where the system gets genuinely useful for portrait and commercial work. Zones — the A, B, C groups controlled from your master flash — let you adjust each light in your setup independently without walking over to it. Your key light sits on zone A. Your kicker or hair light sits on zone B. Your background light, if you’re using one, goes on zone C. From the master panel on your camera, you dial in flash exposure compensation for each zone separately.
This means you can shift the lighting ratio between key and fill without touching a single light stand. In a fast editorial shoot, that’s not a convenience feature. It’s the difference between staying in the flow of a session and constantly breaking it to run back and forth across the studio. I sketch every zone assignment into my lighting journal before a shoot so there’s no ambiguity when we’re moving quickly.
What I’d Add From My Own Studio Work
The tutorial covers the Nikon and Canon ecosystems, which makes sense given their market share. But I want to flag something the video doesn’t have time to address: third-party radio triggers have largely replaced infrared systems in professional practice for good reason. Systems like PocketWizard, Godox, and Profoto Air work across brands, don’t require line of sight, and function reliably in bright outdoor conditions. If you’re building a kit from scratch today, I’d look hard at the Godox ecosystem in particular — it gives you TTL, HSS, and multi-zone control at a fraction of the cost of manufacturer-native systems.
The zone and channel logic the tutorial explains applies directly to those radio systems. Learn the concept here, then choose the hardware that fits your shooting environment and budget.
The single most important idea from this tutorial is the distinction between channels and zones. Channels keep separate shooters from stepping on each other. Zones give you independent control over individual lights in your own setup. Those are two different problems with two different solutions built into the same system. Once that clicked for me, multi-light setups stopped feeling like organized chaos and started feeling like a repeatable process.
Watch the full tutorial on YouTube to see the full walkthrough, including the live modifier comparisons and front versus side light demonstrations the instructor covers after the triggering section.
Comments (2)
The tip about off camera flash without the g was the missing piece for me. Thank you.
Excellent tutorial. I'd add that from a gear standpoint, this technique is incredibly versatile.
Leave a Comment