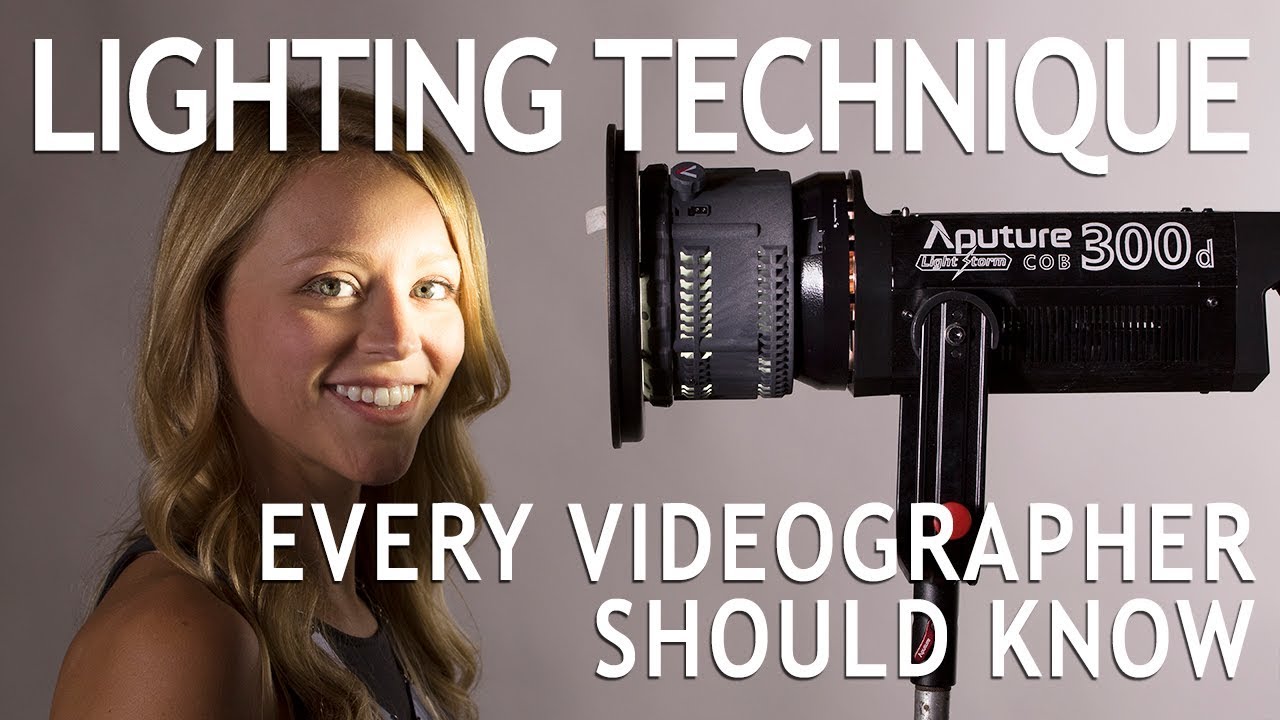
Every cinematographer I’ve ever talked to has a version of the same complaint: too much gear, not enough control. They’re hauling Fresnels and Source Fours and a Joker to get through a single interview setup, when half the time what they actually need is one well-modified light and the knowledge to shape it. That’s the tension JP Morgan at The Slanted Lens addresses head-on in his tutorial on using a single LED unit with interchangeable modifiers, and it’s worth breaking down for anyone who shoots both stills and video.
Watch the full tutorial on YouTube
What struck me immediately is how closely this mirrors how still photographers have always worked. In my studio, I’ve been building entire editorial setups around one light for years. I keep a masking tape label on every light in the room with the modifier currently on it, partly because I swap them constantly and lose track, and partly because I’ve learned that modifier choice is the actual decision. The light itself is almost secondary. This tutorial makes that case for videographers in a way that’s practical and immediate.
Step 1: Start With a 7-Inch Reflector as Your Baseline
 7-inch reflector mounted on single LED light
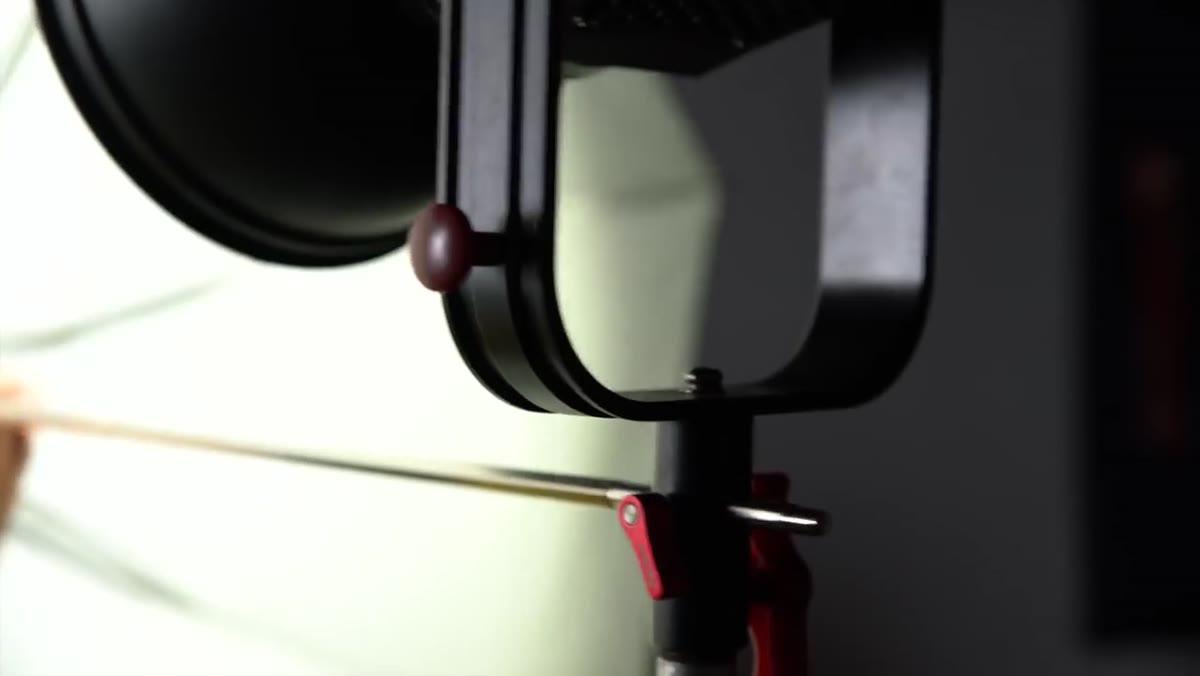
Before you touch a softbox or an umbrella, mount a 7-inch reflector dish on your LED and understand what you’re actually working with. The reflector acts as an amplifier. Light from the LED bounces around the interior of that dish and gets redirected forward, and the gain is significant, often a full stop, sometimes approaching two. This is your hardest, most specular output from the unit. The highlight-to-shadow transition is quick and punchy.
7-inch reflector mounted on single LED light
Before you touch a softbox or an umbrella, mount a 7-inch reflector dish on your LED and understand what you’re actually working with. The reflector acts as an amplifier. Light from the LED bounces around the interior of that dish and gets redirected forward, and the gain is significant, often a full stop, sometimes approaching two. This is your hardest, most specular output from the unit. The highlight-to-shadow transition is quick and punchy.
Get familiar with this look before you modify it further. On a face, you’ll see a sharp falloff from the lit side to the shadow side. It’s a dramatic, high-contrast look that works well for certain editorial styles but is unforgiving on skin texture. Think of it as the raw material. Everything from here is about softening or restricting that light.
Step 2: Restrict the Spread With Honeycomb Grids
 40-degree grid attached to 7-inch reflector
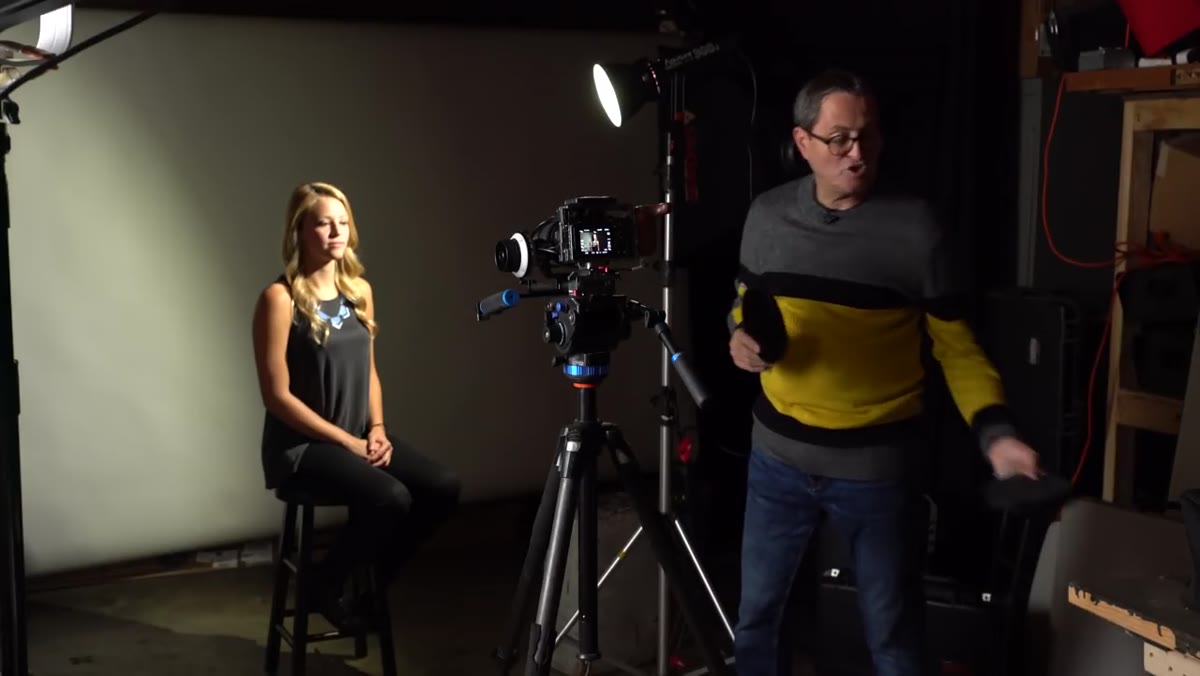
The 7-inch reflector has a channel around its front edge designed to accept honeycomb grids, and this is where things get genuinely useful on a real set. A 40-degree grid narrows the beam enough that you can light a subject’s face and kill almost all the spill onto your background. Drop to a 10-degree grid and you’re down to a tight, focused pool of light, barely reaching the subject’s chest.
40-degree grid attached to 7-inch reflector
The 7-inch reflector has a channel around its front edge designed to accept honeycomb grids, and this is where things get genuinely useful on a real set. A 40-degree grid narrows the beam enough that you can light a subject’s face and kill almost all the spill onto your background. Drop to a 10-degree grid and you’re down to a tight, focused pool of light, barely reaching the subject’s chest.
For video work, this is a specific problem-solver. When you’re shooting in a location you can’t fully control, whether that’s a cramped office or a room with a distracting wall, grids let you keep your subject lit and your background dark without physically moving anything. In my commercial work, I use grid setups like this whenever a client’s location has branding or logos they don’t want competing with their spokesperson. One grid, problem solved, no flags required.
Step 3: Open the Light With a Shoot-Through Umbrella
 Large shoot-through umbrella mounted on LED unit
Moving to a shoot-through umbrella is the opposite of the grid. You’re maximizing the apparent size of the light source, which directly controls how soft the transition between highlight and shadow appears on your subject. A large shoot-through umbrella wraps light around the subject’s features in a way that a reflector dish simply cannot. The falloff is gradual and flattering.
Large shoot-through umbrella mounted on LED unit
Moving to a shoot-through umbrella is the opposite of the grid. You’re maximizing the apparent size of the light source, which directly controls how soft the transition between highlight and shadow appears on your subject. A large shoot-through umbrella wraps light around the subject’s features in a way that a reflector dish simply cannot. The falloff is gradual and flattering.
The tradeoff is coverage. A large umbrella at moderate distance will light your background almost as much as your subject. You lose the ability to separate them tonally. For portraits where you want an even, luminous look and your background is either neutral or part of the story, this is ideal. For anything where you need subject-background separation, you’ll need to either move the umbrella closer to the subject or switch to a modifier with more control.
Step 4: Bounce for a Different Quality of Soft Light
 Umbrella used in bounce configuration
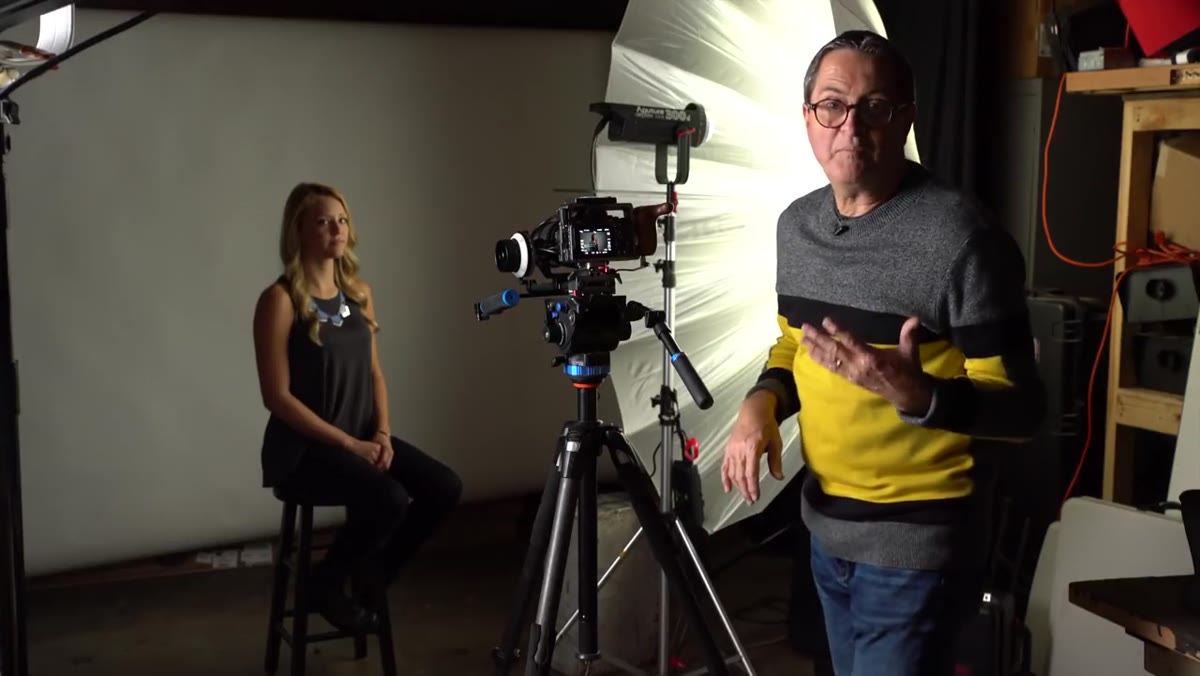
The same umbrella used in a bounce configuration, where the light fires into the umbrella and reflects back toward the subject rather than passing through it, produces a subtly different quality. It’s softer and more diffuse than shoot-through, with slightly less directionality. The light feels less like it’s coming from a specific place and more like a bright room.
Umbrella used in bounce configuration
The same umbrella used in a bounce configuration, where the light fires into the umbrella and reflects back toward the subject rather than passing through it, produces a subtly different quality. It’s softer and more diffuse than shoot-through, with slightly less directionality. The light feels less like it’s coming from a specific place and more like a bright room.
I use bounce umbrellas in beauty work when I want skin to appear almost luminous. It’s forgiving on texture and age lines in a way that a softbox isn’t quite. The catch is efficiency: you lose some output compared to shoot-through because light scatters in all directions inside the umbrella before reflecting. If you’re already near the ceiling of your LED’s output, shoot-through gives you more usable brightness.
Step 5: Move to a Rectangular Softbox for Controlled, Directional Softness
 30x40 softbox mounted, light falling across subject’s face
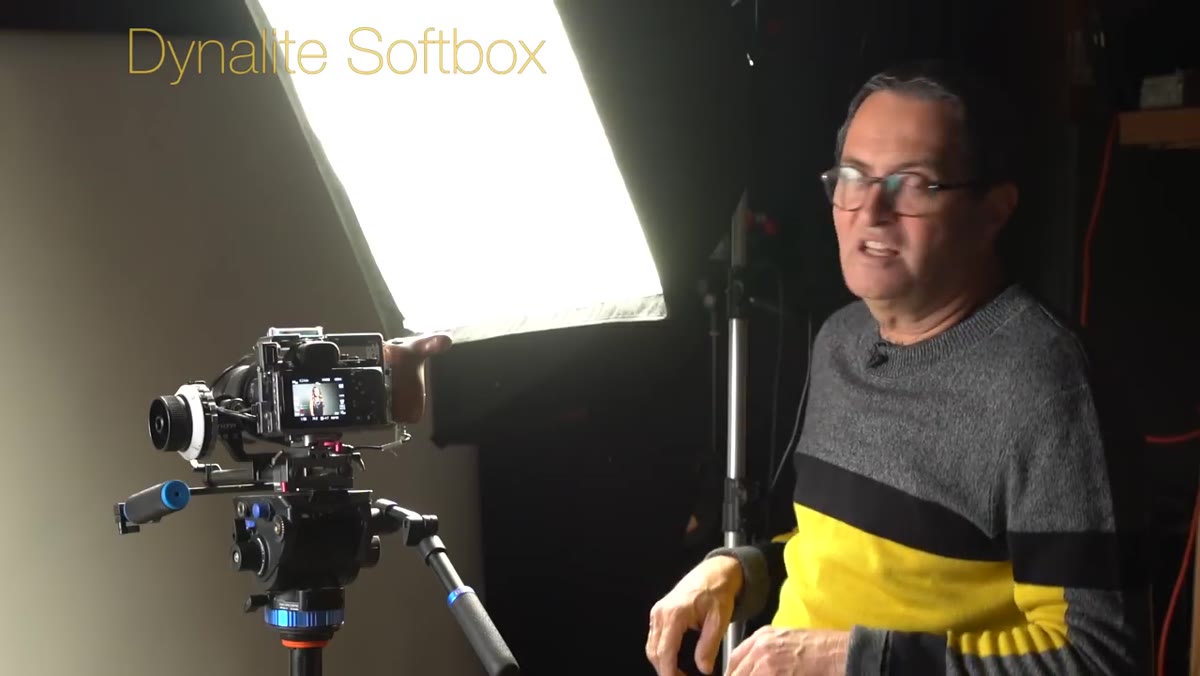
A 30 by 40 inch rectangular softbox is the workhorse modifier in most studio setups, and for good reason. The size gives you soft light. The shape gives you control. At this size, you start to get light wrapping around to the shadow side of a face, which is the quality that reads as professional and polished in portraits, headshots, and corporate video alike.
30x40 softbox mounted, light falling across subject’s face
A 30 by 40 inch rectangular softbox is the workhorse modifier in most studio setups, and for good reason. The size gives you soft light. The shape gives you control. At this size, you start to get light wrapping around to the shadow side of a face, which is the quality that reads as professional and polished in portraits, headshots, and corporate video alike.
The rectangular format also means you can orient it vertically or horizontally depending on what you need. Vertical for a full-length subject, horizontal for a seated interview, or for a product shot where you want a long specular highlight along a surface. At the settings demonstrated here, shooting at f/2.8 and ISO 160, there’s still significant headroom in the LED’s output, which means you’re not fighting for exposure. That matters in production when you need to stop down for depth of field or add a second light without rebuilding the whole exposure.
My Own Addition: Map Your Modifiers Before the Shoot
The part this tutorial doesn’t cover is prep time, specifically what happens when you show up on set without having tested a modifier on your specific subject in your specific location. I learned this the hard way early in my career. I now test every new modifier the day it arrives, running it against a subject at three distances and noting the f-stop, the quality of shadow transition, and how much background spill I get. I sketch it in a lighting journal I’ve kept for years.
For videographers using this approach for the first time, the recommendation is simple: before any paid job, shoot the same subject with each modifier at a consistent distance and ISO. Compare the results side by side. After one session, you’ll be able to predict what you need for a given situation before you ever walk on set.
The single most transferable idea from this tutorial is that modifier choice is the lighting decision. The LED itself is just a power source. What you put in front of it determines the entire character of the light, the hardness, the spread, the separation, the skin quality. If you’re a cinematographer who has been renting different fixtures for different jobs, it’s worth asking whether one well-chosen LED with a set of modifiers gets you 80 percent of the way there at a fraction of the cost and weight.
Watch the full tutorial on YouTube and follow along with the modifier comparisons. Seeing the transitions on skin in real time makes the differences between each setup immediately clear.
Comments
Leave a Comment