The Setup That Keeps Humming When Everything Else Falls Apart
I have forty-three lights in my studio. I know this because I label every single one with masking tape, the gaffer’s kind, with the wattage, the mount type, and the year I bought it written in black marker. I can walk into a dark room and pull the right head off a shelf without turning on the overheads. And after all of that, the setup I come back to more than any other involves exactly one light.
Not because I’m lazy. Because one light, placed correctly, does something that a six-light rig often can’t: it forces the image to have a single, readable story. Shadow falls one direction. Highlight reveals one truth. The viewer’s eye doesn’t negotiate competing sources. It just follows.
This is the setup I use when a client gives me three hours and a model who’s never been in a studio. It’s the setup I use when I need to move fast between looks on a fashion shoot. And it’s the one I sketch into my lighting journal after almost every session, because I keep finding new variations on it that I want to remember.
What One Light Actually Does to a Face
Before we get into gear and positioning, you need to understand why single-source lighting is so powerful, not just aesthetically but technically.
When you photograph a face with one light, you’re creating a ratio between the lit side and the shadow side that the camera reads as dimensionality. The human eye interprets that contrast as depth. The steeper the ratio, the more dramatic the depth. A 3:1 ratio, where the lit side is roughly three times brighter than the shadow side, reads as classic editorial. Push it to 6:1 and you’re in high-fashion or character territory. Drop it to 2:1 and you’re closer to beauty and commercial work.
That ratio is determined by three variables: the modifier you choose, the distance of the light from the subject, and the angle of the light relative to the subject’s face. Change any one of those and you change the image. That’s not a complication. That’s control.
The Gear I Reach For and What It Costs
My go-to one-light setup starts with a Profoto B10 Plus, which runs around $1,995, paired with a 3-foot Profoto RFi Octa Softbox, which adds another $299. If that budget is out of range, a Godox AD300 Pro at $349 with a 90cm Godox octa at around $80 gets you 90% of the same result. The physics don’t change because the logo does.
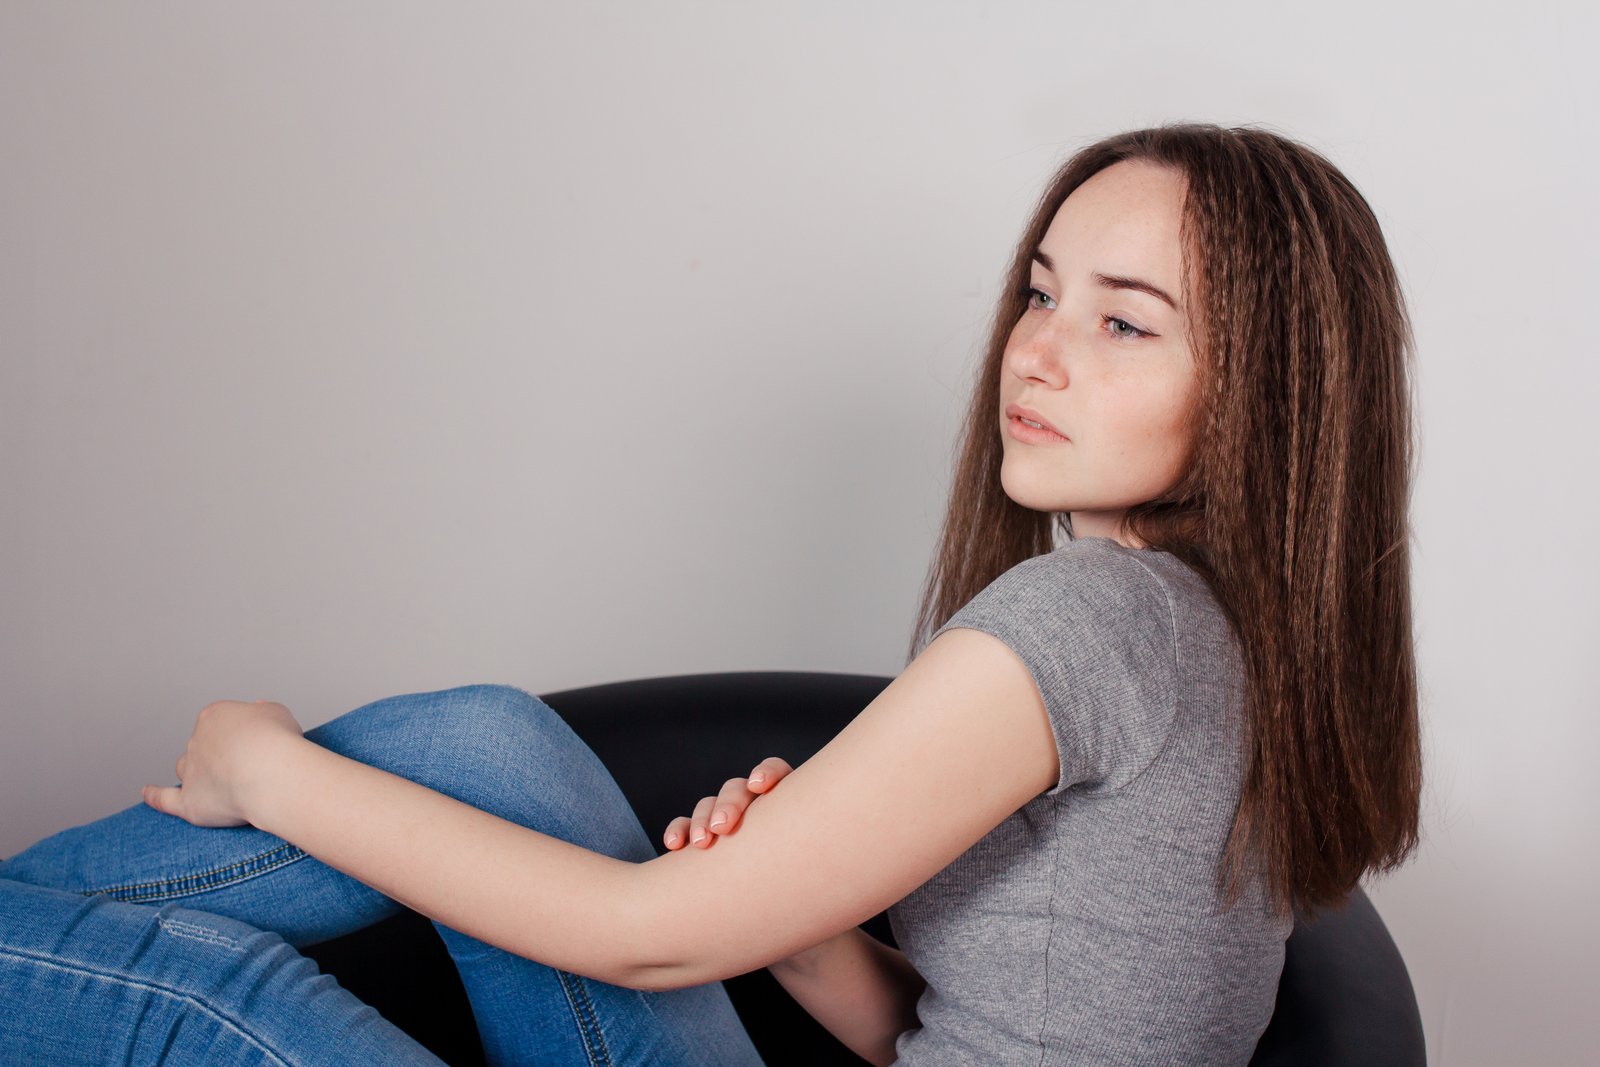
I position the light at approximately 45 degrees to the side of the subject’s face and 30 degrees above eye level. This produces a Rembrandt-adjacent pattern, the small triangle of light on the shadow side of the nose, without going full theatrical. The softbox face sits roughly 30 inches from the subject’s cheek. At that distance on the B10 Plus, I’m typically at f/8, ISO 100, 1/200 of a second with a modeling light on to confirm shadow placement before I meter.
I do not use a reflector to fill the shadow side. Not because reflectors are wrong, but because in this setup, the shadow is doing the work. A reflector would flatten exactly what the single source is building. If a client specifically requests a cleaner commercial look, I’ll move the light closer to the lens axis and bring the power down half a stop before I’d ever reach for a fill card.
The Shoot That Taught Me to Stop Adding Lights
About five years ago I was doing a beauty editorial for a mid-size skincare brand, six looks, tight deadline, and I made the mistake of starting with four lights because I wanted options. By look three I was chasing my own tail, adjusting one source and creating a problem with another, re-metering every ten minutes. The images were technically correct and visually inert.
My wife had come by the studio that afternoon and stood in front of my set while I was adjusting a kicker. She said, without any intention of giving a photography lesson, that the light on the left side of her face felt like it was “pushing back” against the light on the right. She wasn’t using technical language. She didn’t need to. She was describing exactly what I had built, two sources fighting for ownership of the same surface. I killed three of the four lights before the next look and the images from that point on were the ones the client used.
She has taught me more about how light falls on skin than any workshop I’ve paid for.
Angle, Distance, and the One Adjustment That Changes Everything
Once your single source is placed, the most impactful thing you can do is change the light-to-subject distance rather than the power output. Moving a 3-foot octa from 24 inches to 48 inches from the face does two things simultaneously: it reduces the effective size of the source relative to the subject, which increases contrast and hardness, and it pushes the falloff point further back, which darkens the background without touching a background light.
At 24 inches you get soft, wrapping light with minimal shadow definition. At 48 inches the shadows sharpen, the specular highlights tighten, and the whole image reads as more structured. Neither is better. They serve different images. But understanding that distance is your primary contrast control, not the power dial, gives you a level of precision that most photographers who rely on multiple sources never develop.
One light, placed with intention, is not a limitation. It is a decision that every other element in the frame has to respect.
Comments
Leave a Comment