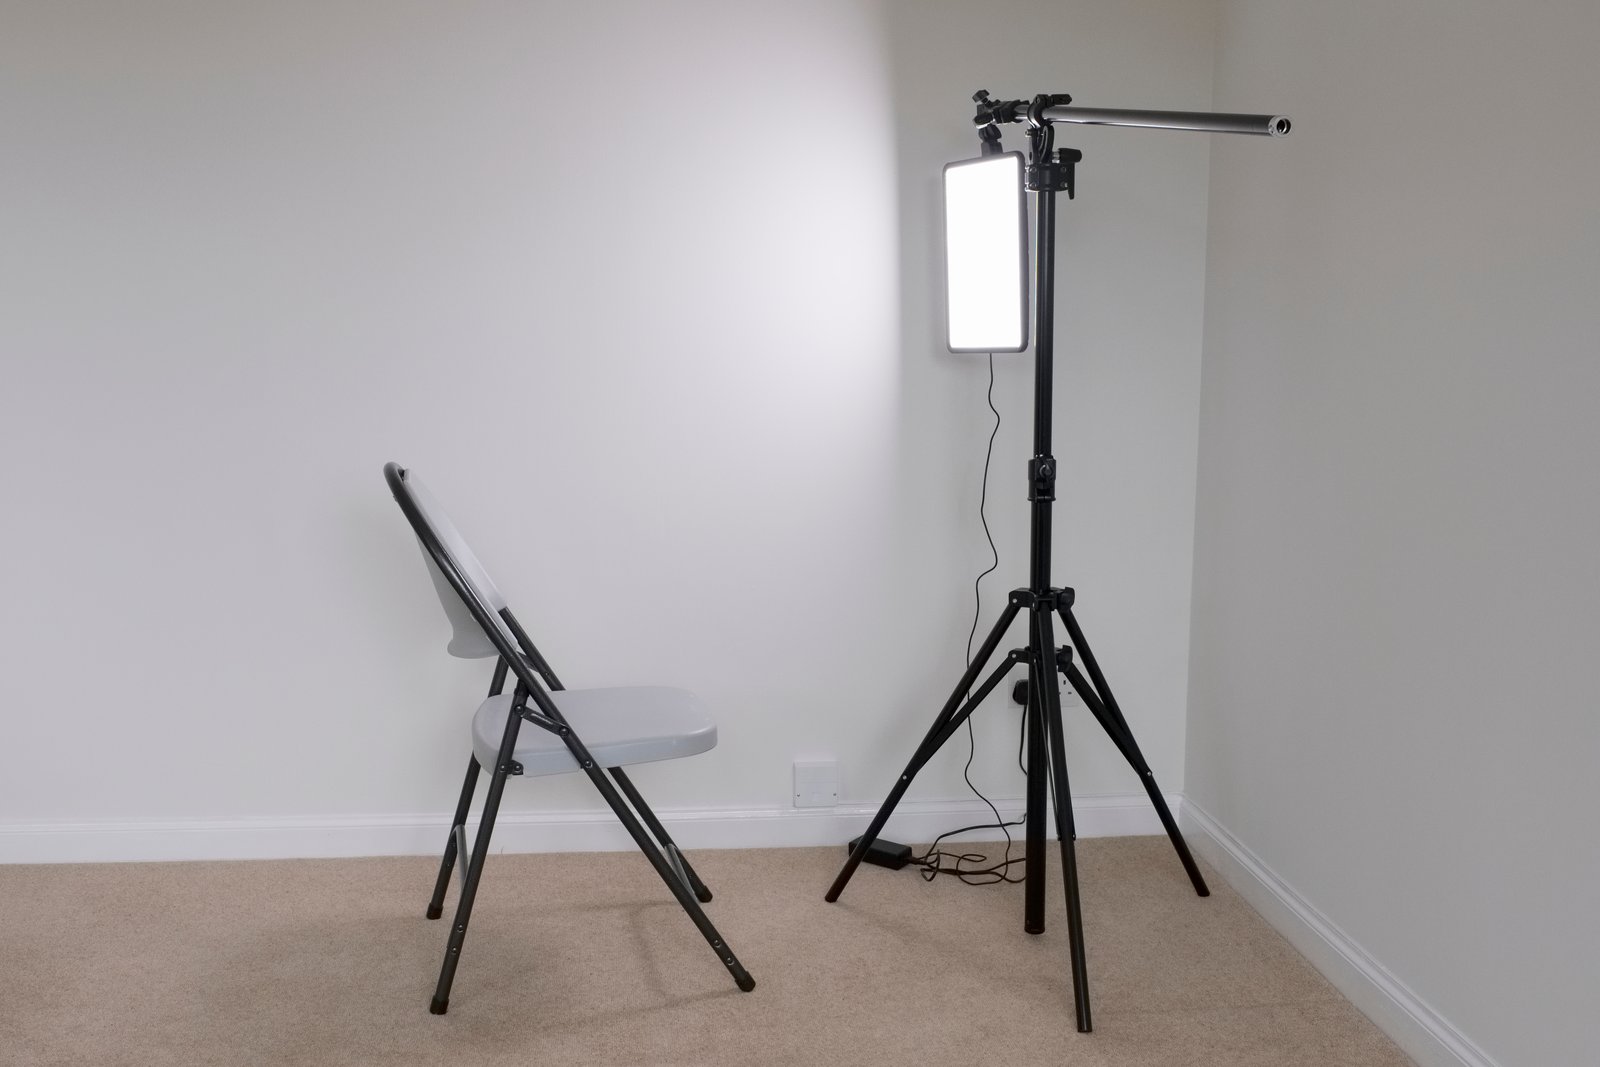
The Overcomplicated Studio Is Usually a Confidence Problem
I have a masking tape label on every light in my studio. “Key 1.” “Fill Left.” “Rim A.” When I started out, I thought having more labeled lights meant I was doing more serious work. I was wrong. Some of my best-performing editorial images, pieces that ran in print and got licensed multiple times, came from a single Profoto B10 and a 5-foot Octabox. The overcomplicated setup is often just anxiety wearing a C-stand.
There’s a real skill gap in the photography community around single-source lighting. Most tutorials jump straight to ratios, multiple heads, and fill cards before a photographer has ever truly understood what one well-placed light actually does to a face. If you can’t make one light look intentional and controlled, a second light won’t save you. It will just give you two problems instead of one.
What One Light Actually Does to a Subject
When you strip a setup down to a single source, every decision you make becomes visible in the final image. There is nowhere to hide. That is the point.
A single light source creates one set of shadows. Those shadows define form. The distance between your light and your subject controls the falloff rate, governed by the inverse square law: double the distance, quarter the light intensity. At 3 feet, your light wraps aggressively and shadow transitions are soft. At 8 feet, the light becomes more specular, transitions harden, and the texture of skin becomes much more apparent. Neither is wrong. Both are choices you need to make deliberately.
The modifier determines the quality of that shadow edge. A 7-inch reflector dish at 6 feet gives you a punchy, hard-edged shadow. A 4-foot Westcott Rapid Box at 3 feet wraps the light around a face and softens that edge dramatically. For beauty and fashion, I almost always start with something large and close. For dramatic portraiture or anything with a structural, architectural feel, I’ll strip it back to a smaller, harder source.
The Setup I Use Most Often in Client Work
My default one-light portrait setup looks like this. One Profoto D2 500Ws monolight, set to 5.0 on the power scale (roughly f/8 at ISO 100 with a 200mm lens on a medium format body, though always confirm with a meter). I mount a 3-foot Profoto RFi Softbox, strip-style, positioned 45 degrees off the subject’s face and about 18 inches above eye level, angled down at roughly 30 degrees. That position gives me a clean Rembrandt triangle on the shadow side without me having to chase it around the frame.
I bounce a California Sunbounce Pro reflector, the 4x6 foot silver/white version, on the opposite side at about 4 feet from the subject. This isn’t a second light. It’s a passive fill using the spill from the key. The fill ratio stays roughly 3:1 naturally, which is flattering without looking flat.
Camera settings: 1/160s sync speed, f/8, ISO 100. I shoot tethered to Capture One Pro, and I calibrate my color temperature to the strobe using an X-Rite ColorChecker Passport before every session. I learned that lesson the hard way early in my career, when a magazine shoot came back with a color cast so stubborn it burned half my retouching budget to fix. I have not skipped calibration since.
When to Move the Light, Not Add Another One
Before any photographer reaches for a second head, I want them to try three moves first.
Move the light closer. At 18 inches from the subject, a 3-foot softbox becomes enormous relative to the subject’s face. The shadows go nearly invisible. This is the setup for skincare and beauty brands that need even, glowing skin.
Feather the light. Instead of pointing the center of your softbox directly at the subject, aim the edge of it at them. The light that hits them is coming from the softer, spilling edge of the modifier, which is noticeably less contrasty than the hot center. Most photographers never try this.
Change the angle from horizontal to vertical. Rotating a rectangular softbox from landscape to portrait orientation changes shadow behavior entirely. Vertical strips mimic window light. Horizontal strips flatten faces and are better suited to three-quarter body or product work.
Each of these adjustments takes less than two minutes and costs nothing. A second strobe costs $800 and takes 10 minutes to set up and sync properly.
The Setup I Keep Coming Back to, and Why It Works
My lighting journal, a spiral-bound sketchbook I’ve filled three of over the years, has one setup that reappears more than any other. Single octa, camera left, 45 degrees up, reflector opposite, subject on a seamless. It shows up in fashion tests, in corporate headshots, in beauty close-ups. The modifier and the power changes, but the geometry stays the same.
The reason it keeps coming back is not laziness. It’s that the geometry is based on how light actually falls on the human face. My wife, years ago, pointed out to me the way afternoon light through our kitchen window fell across her cheekbone. That single observation taught me more about light quality and placement than any workshop I paid money to attend. That kitchen window is, functionally, a large softbox at 45 degrees. I’ve been recreating it ever since.
Master the single source before you complicate your studio. The light itself doesn’t know whether it’s the only one or one of six. But you will know, and your work will show whether you do.
Comments (1)
Love how you break down complex stuff into manageable steps.
Leave a Comment