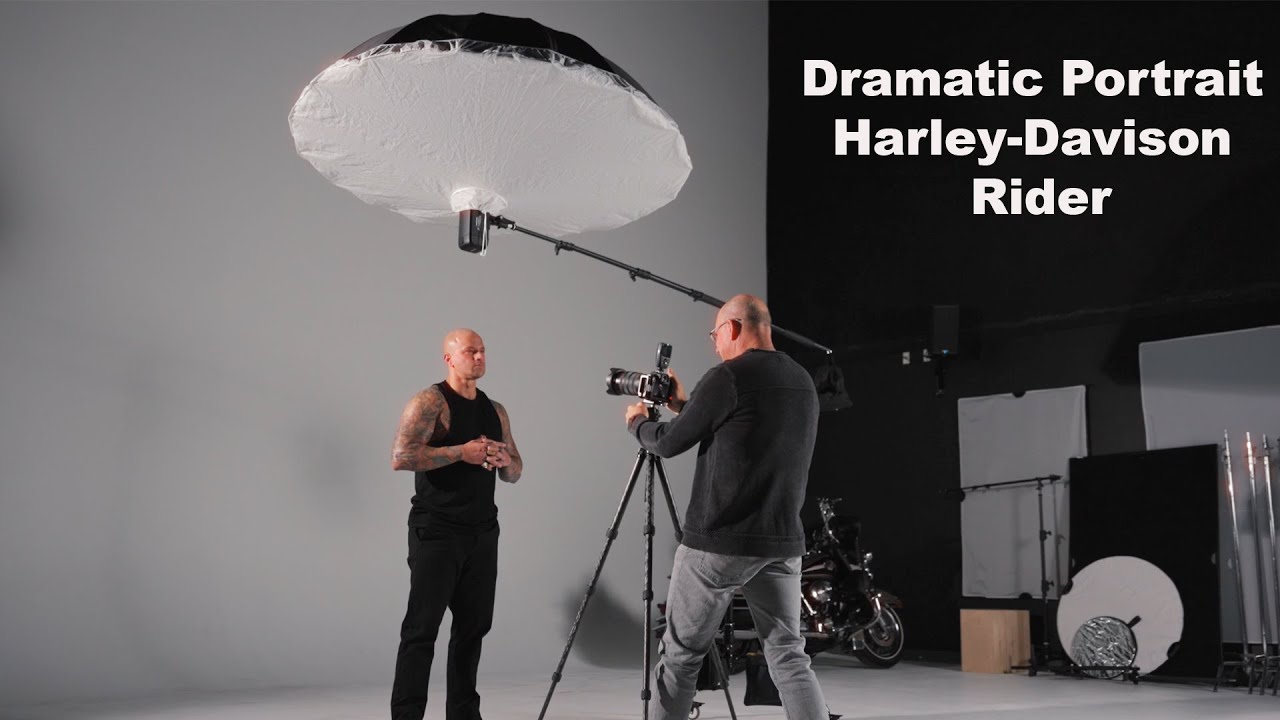
Every working photographer has a client who wants “cinematic.” They say it casually, like it’s a vibe you dial in, and then you have to build something in thirty minutes that looks like a $200,000 film shoot. I keep a lighting journal, sketched diagrams of every setup I’ve ever used, and the page I return to most often is a single overhead source with nothing else in the frame. No fill card, no hair light, no kicker. Just one modifier doing the whole job.
That’s exactly what Joel Grimes demonstrates in Watch the full tutorial on YouTube with a Harley rider named Nick. The setup is ruthlessly simple: a 7-foot umbrella with diffusion, mounted on a boom directly above the subject. No second light. No reflector. And the results look like a movie poster. What makes the tutorial worth studying isn’t just the gear list. It’s how Grimes controls light and shadow using nothing more than subject placement and head position. Those are two variables that cost nothing and take ten seconds to adjust.
I’ve shot beauty campaigns where I would never touch this kind of lighting. A nose shadow that drops all the way to the upper lip is a beauty photographer’s nightmare. But for a tattooed subject you want to read as powerful, weathered, and larger than life? That same shadow becomes the whole point. The technique lives or dies on understanding what you’re trying to say with the image before you fire a single frame.
Step 1: Mount a Large Diffused Umbrella on a Boom Directly Overhead
 Single overhead umbrella on boom above subject
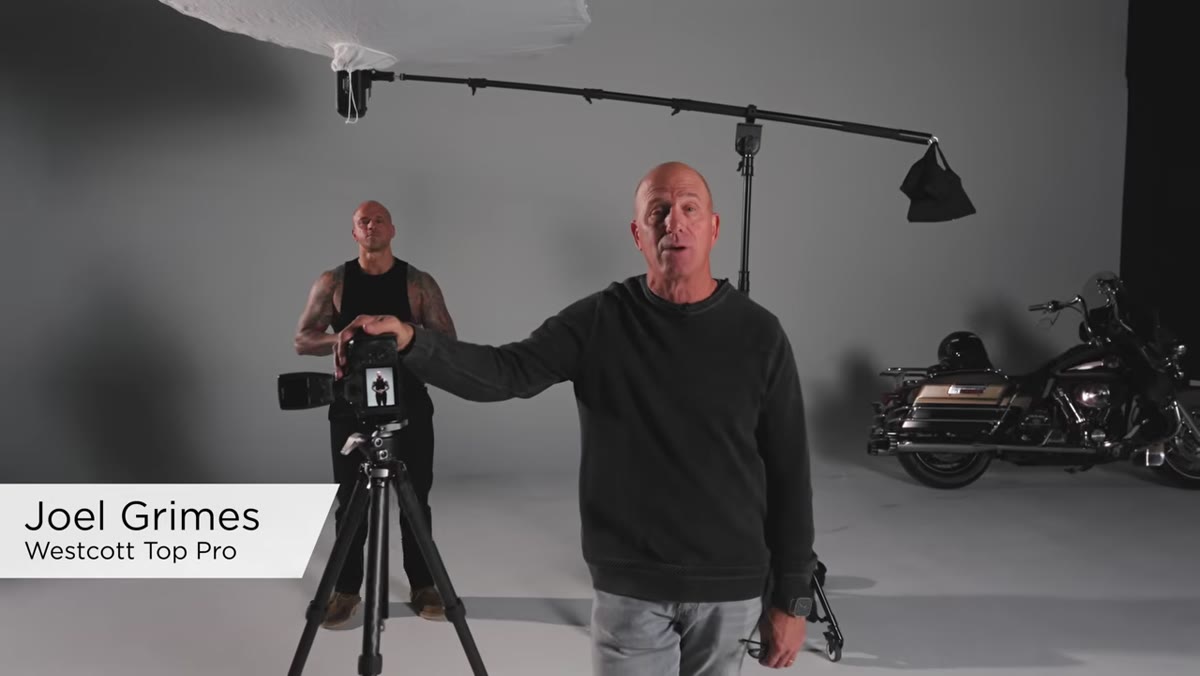
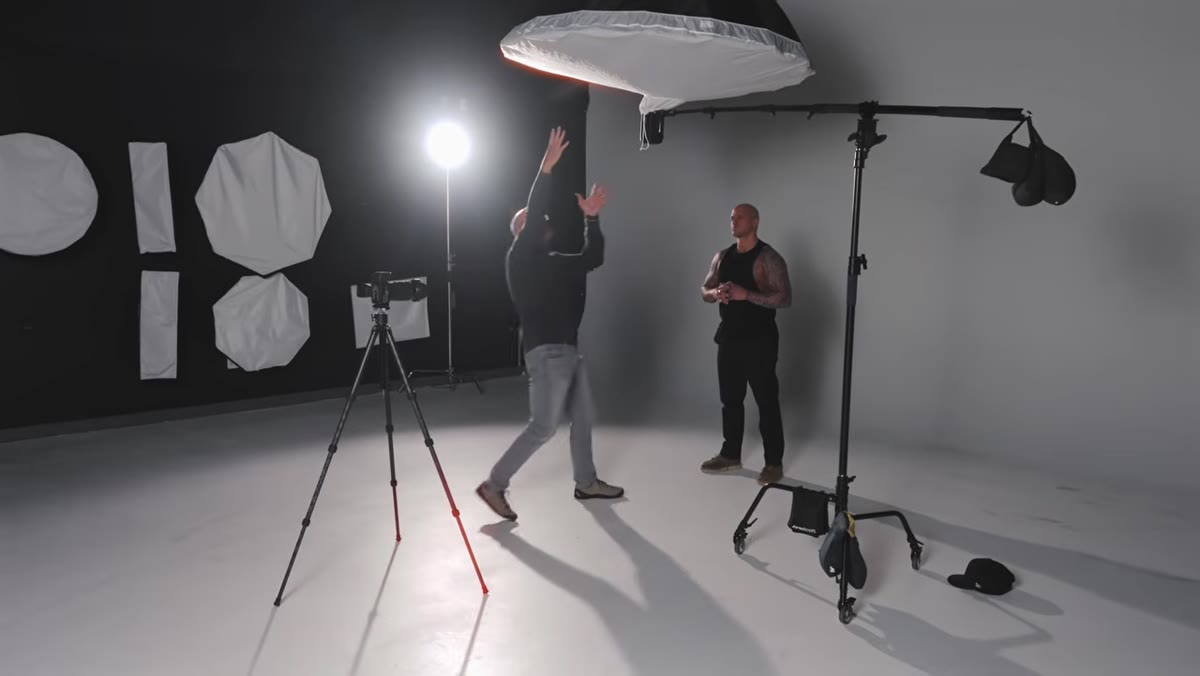
The modifier here is a 7-foot umbrella with a diffusion panel. The key word is large. A small source directly overhead creates harsh, unflattering shadows with hard edges. A large source softens those shadows while still letting them fall dramatically downward. Grimes positions the umbrella on a boom arm so it sits straight above the subject, not angled from the front or side. This is not a butterfly/clamshell position. It is genuinely overhead, which is what separates it from standard portrait lighting and gives it that otherworldly, almost theatrical quality.
Single overhead umbrella on boom above subject
The modifier here is a 7-foot umbrella with a diffusion panel. The key word is large. A small source directly overhead creates harsh, unflattering shadows with hard edges. A large source softens those shadows while still letting them fall dramatically downward. Grimes positions the umbrella on a boom arm so it sits straight above the subject, not angled from the front or side. This is not a butterfly/clamshell position. It is genuinely overhead, which is what separates it from standard portrait lighting and gives it that otherworldly, almost theatrical quality.
Safety matters here more than people admit. A 7-foot umbrella on a boom is a lot of sail area. Sandbag the stand heavily, and if you’re shooting in a space with any air movement from HVAC or a nearby door, add a second sandbag. I once watched a rig like this go over in slow motion because someone opened a loading dock door. It’s not a moment you want to repeat.
Step 2: Start with the Subject Directly Beneath the Light
 Subject positioned under umbrella, photographer framing shot
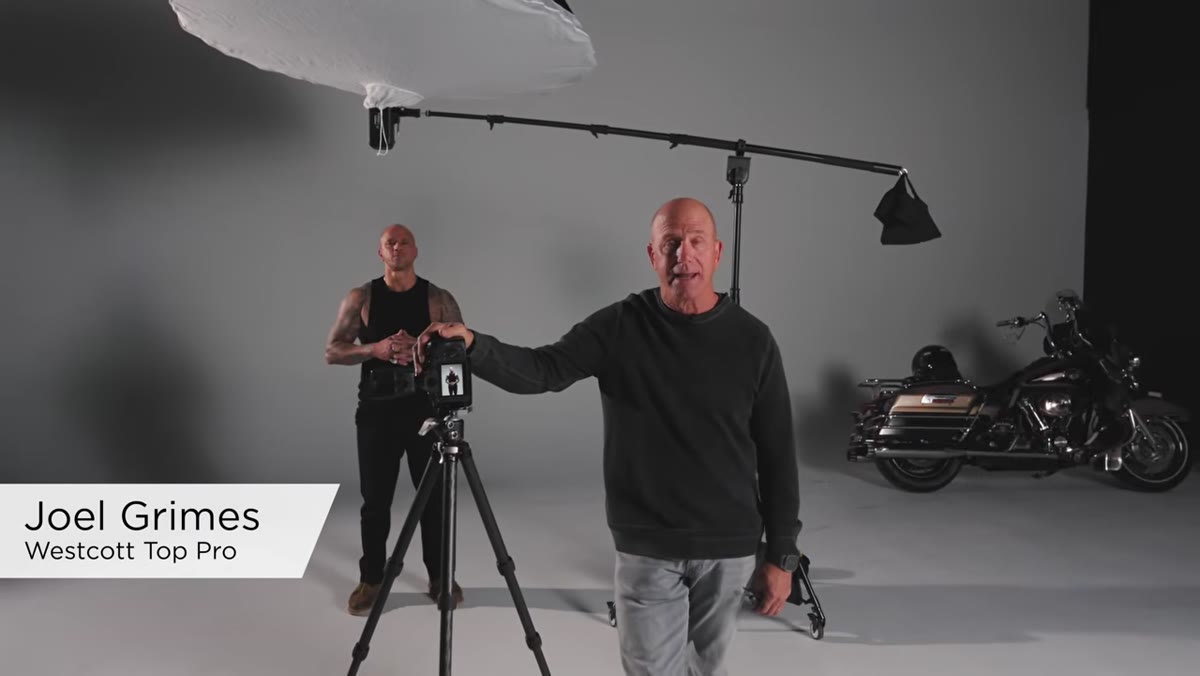
Before you start adjusting anything, get a baseline. Place your subject directly underneath the center of the modifier and shoot a frame. This gives you the maximum shadow depth: eye sockets go dark, the nose casts a hard line downward, and the chin creates a shadow across the neck. For a subject like Nick, this reads as intense and powerful. For most commercial portrait clients, it would be too severe. Either way, you need to see the extreme before you dial it back.
Subject positioned under umbrella, photographer framing shot
Before you start adjusting anything, get a baseline. Place your subject directly underneath the center of the modifier and shoot a frame. This gives you the maximum shadow depth: eye sockets go dark, the nose casts a hard line downward, and the chin creates a shadow across the neck. For a subject like Nick, this reads as intense and powerful. For most commercial portrait clients, it would be too severe. Either way, you need to see the extreme before you dial it back.
At this stage, Grimes is shooting roughly waist-up. Framing from the waist lets you evaluate how the light falls across the chest and shoulders, which matters as much as the face when you’re building a character portrait rather than a headshot.
Step 3: Feather the Light by Moving the Subject Back
 Subject stepping back, shadow pattern shifting on face
This is the control mechanism most photographers overlook. Instead of adjusting the power or moving the light, Grimes moves the subject. Stepping back roughly eight inches from directly beneath the umbrella changes the angle at which the light strikes the face. The shadows soften slightly, the eyes catch a little more light, and the overall effect becomes marginally less severe without losing the dramatic character of the setup.
Subject stepping back, shadow pattern shifting on face
This is the control mechanism most photographers overlook. Instead of adjusting the power or moving the light, Grimes moves the subject. Stepping back roughly eight inches from directly beneath the umbrella changes the angle at which the light strikes the face. The shadows soften slightly, the eyes catch a little more light, and the overall effect becomes marginally less severe without losing the dramatic character of the setup.
Think of it as feathering the edge of the modifier across the subject’s face rather than pointing the hot center directly at them. The further back they step, the more the light wraps. This gives you a continuous spectrum of looks from one light in one position. In a working studio with limited time, that range of adjustment is enormously practical.
Step 4: Control Shadow Depth with Head Tilt
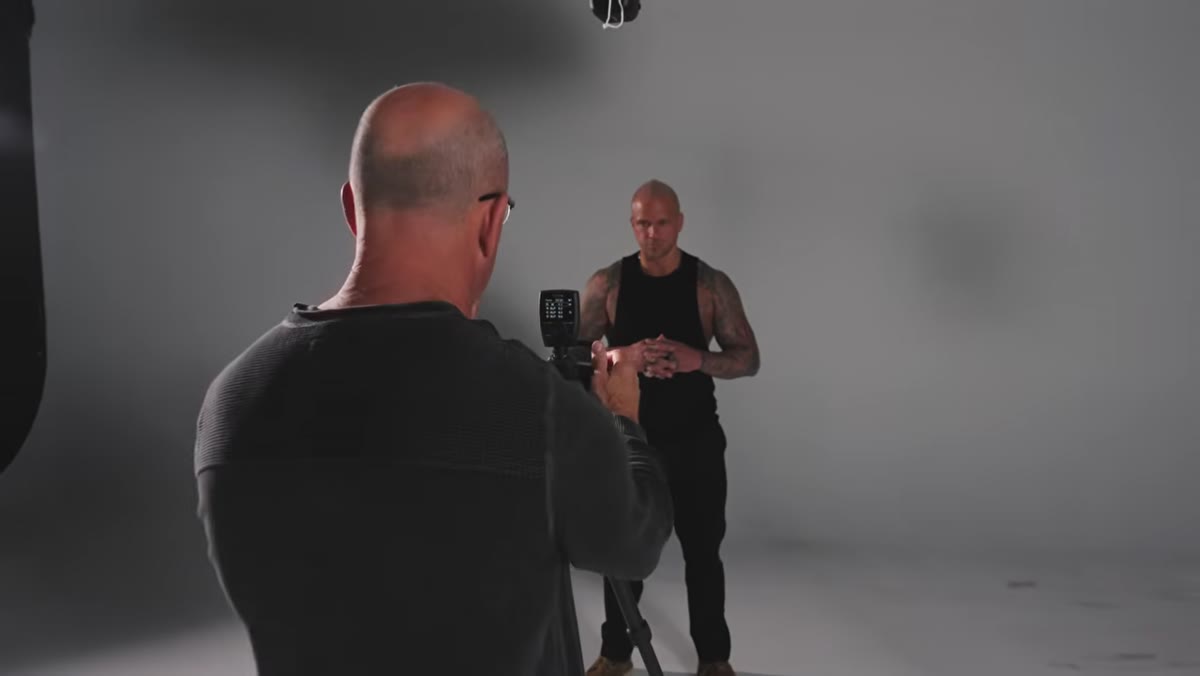 Subject slowly raising chin, shadow pattern changing under nose
The second variable Grimes uses is head angle. With the subject stationary, asking them to slowly raise or lower their chin changes where the nose shadow falls and how much of the eye socket catches light. Chin down deepens the shadow, makes the brow more prominent, and pushes the portrait toward brooding. Chin up catches more light across the face, brings out detail in the eyes, and can lighten the mood of the image without touching a single piece of gear.
Subject slowly raising chin, shadow pattern changing under nose
The second variable Grimes uses is head angle. With the subject stationary, asking them to slowly raise or lower their chin changes where the nose shadow falls and how much of the eye socket catches light. Chin down deepens the shadow, makes the brow more prominent, and pushes the portrait toward brooding. Chin up catches more light across the face, brings out detail in the eyes, and can lighten the mood of the image without touching a single piece of gear.
Grimes works through this incrementally, shooting a frame at each position. That’s worth doing even when you think you’ve found the shot. A chin that’s two degrees higher than you think is optimal often reads completely differently on a full-resolution file than it does on a camera LCD. Shoot the progression and edit later.
Step 5: Drop Low and Shoot Full Length
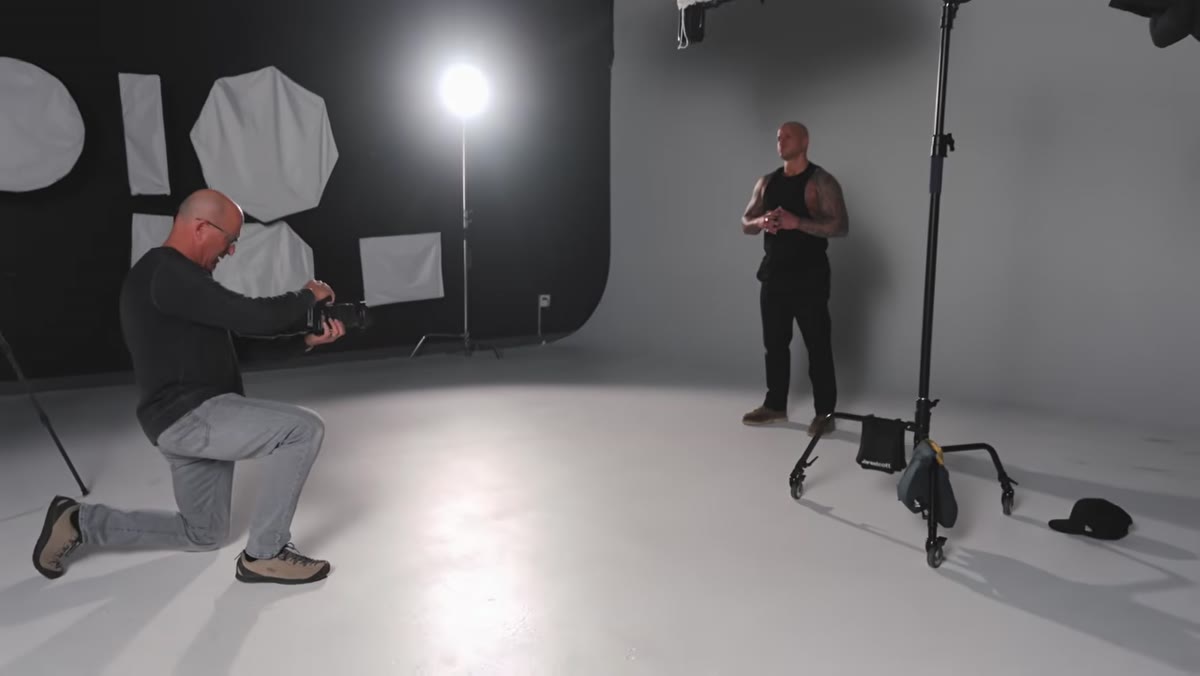 Camera low, shooting up toward subject for full-length frame
Once the waist-up framing is working, Grimes goes low. A camera position below the subject’s eyeline combined with overhead light is a classic combination for projecting power. The viewer is looking up at the subject while the light presses down from above. The two forces create tension in the frame that reads immediately as cinematic.
Camera low, shooting up toward subject for full-length frame
Once the waist-up framing is working, Grimes goes low. A camera position below the subject’s eyeline combined with overhead light is a classic combination for projecting power. The viewer is looking up at the subject while the light presses down from above. The two forces create tension in the frame that reads immediately as cinematic.
For a composited shot, where the subject will be placed against an architectural background like a city skyline, this angle also makes the perspective read correctly. If you shoot a subject from eye level and drop them onto a background photographed from below, the perspective mismatch will kill the realism instantly.
My Caveat: White Floors Change the Equation
Grimes mentions briefly that his studio has a white floor, which bounces a small amount of fill light back up into the subject from below. That detail matters more than it sounds. On a dark floor, a dark seamless, or a location with no reflective surface underfoot, this setup gets significantly darker in the lower face and chin area. If you’re replicating this in a space without a white floor, keep a white foam core panel just out of frame below the frame line. You’re not adding a fill light. You’re replacing the bounce that would have happened naturally.
I learned this the hard way on a shoot where my dark grey seamless was eating all the bottom fill I expected from memory. The subject looked great from the nose up and like a silhouette from the mouth down. A piece of foam core fixed it in thirty seconds. Now it’s the first thing I check when I walk into an unfamiliar studio.
The single most important idea in this entire tutorial is that drama in lighting is often about what you choose not to illuminate. One overhead source, positioned and feathered carefully, earns its keep by controlling shadows as much as light. Master that, and you have a technique that works for character portraits, composite work, and any brief that calls for cinematic impact on a one-light budget. Watch the full tutorial on YouTube to see Grimes work through it in real time with a real subject.
Comments (6)
The before and after really sells it. Incredible difference.
Well explained. I think my audience would really benefit from this — mind if I link to it?
This is going in my reference folder. Incredibly useful.
This is fantastic. I've been recommending this approach to my readers too.
Quality content like this is rare. Keep it up.
Wow, I had no idea you could do this. Mind blown.
Leave a Comment