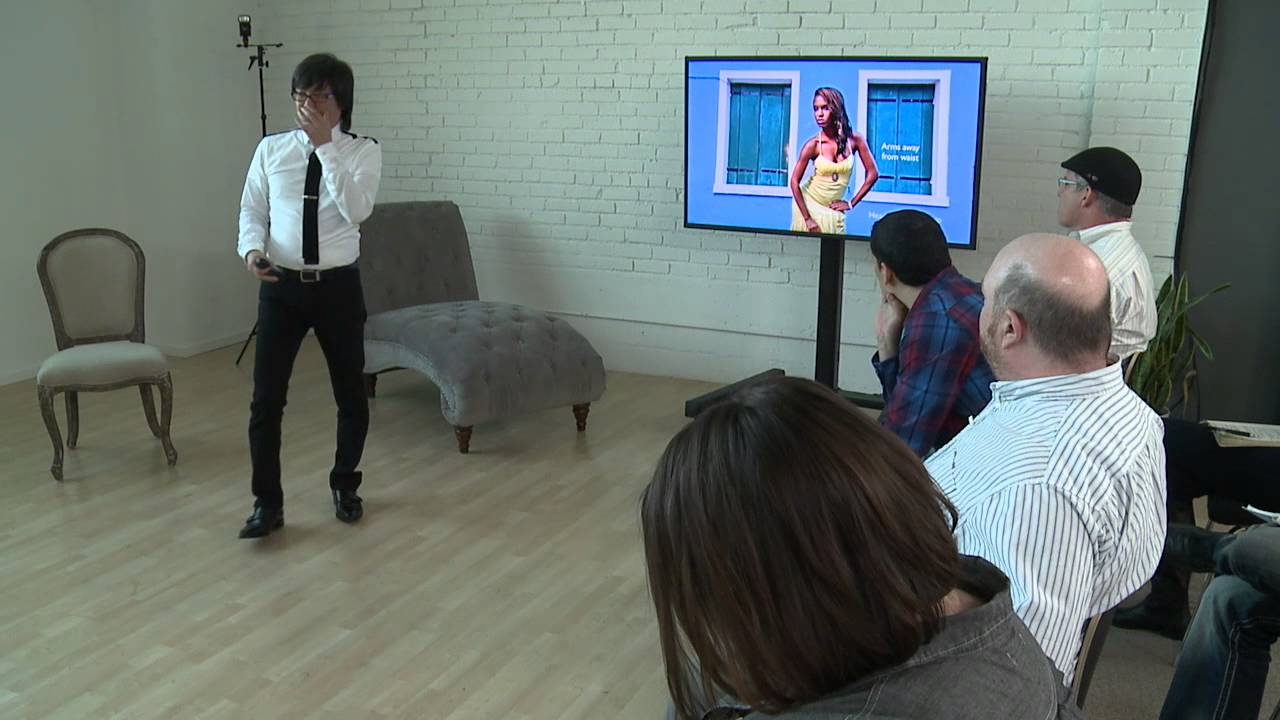
Posing is the part of studio work I underestimated the longest. I could dial in a five-light setup in twenty minutes, sketch the diagram in my lighting journal before the client walked in, but the moment a subject stood in front of the backdrop, I’d freeze up and start improvising badly. Lighting a body and posing a body are different skills, and for years I treated them as unequal, which meant technically well-lit photographs of people standing awkwardly. The poses in my head came from vague aesthetic instincts, not from a repeatable system.
That’s what stopped me when I came across Scott Robert Lim’s posing tutorial on CreativeLive. Watch the full tutorial on YouTube. What struck me immediately was his core argument: you don’t need a separate posing vocabulary for every body and every gender. Learn a small set of structural poses, understand why they work anatomically, and you can adapt them to almost anyone standing in front of your lens. That’s the kind of system I can actually use on a shoot day when I’m also managing lighting, a client’s art director, and a model who has fifteen minutes before another booking.
What follows is my breakdown of the technique, written so you can apply it without having to pause and rewind.
Step 1: Understand That the Best Poses Are Gender-Neutral Structures
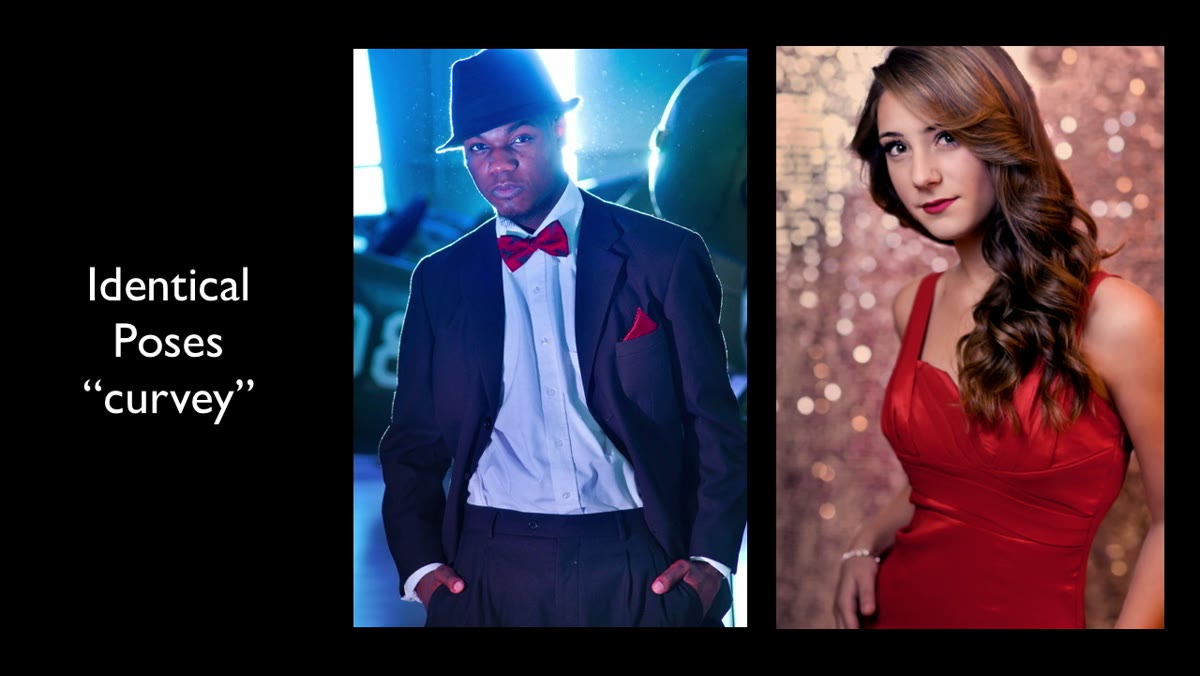 Side-by-side comparison showing identical poses on two subjects
The foundational insight Lim opens with is deceptively simple: the poses that create flattering curves on women also work, with minor adjustment, on men. Rather than memorizing two separate pose libraries, you’re working from one architectural blueprint and tweaking the execution. On a man, the hip shift is subtle, designed to add a slight diagonal to the torso without reading as overtly feminine. On a woman, you can push that same hip displacement further toward the camera to exaggerate the curve. Same skeleton, different emphasis. The moment I started thinking about poses as structures rather than gender-specific formulas, my on-set confidence jumped considerably.
Side-by-side comparison showing identical poses on two subjects
The foundational insight Lim opens with is deceptively simple: the poses that create flattering curves on women also work, with minor adjustment, on men. Rather than memorizing two separate pose libraries, you’re working from one architectural blueprint and tweaking the execution. On a man, the hip shift is subtle, designed to add a slight diagonal to the torso without reading as overtly feminine. On a woman, you can push that same hip displacement further toward the camera to exaggerate the curve. Same skeleton, different emphasis. The moment I started thinking about poses as structures rather than gender-specific formulas, my on-set confidence jumped considerably.
Step 2: Start with the Hip-Forward Lean Against a Surface
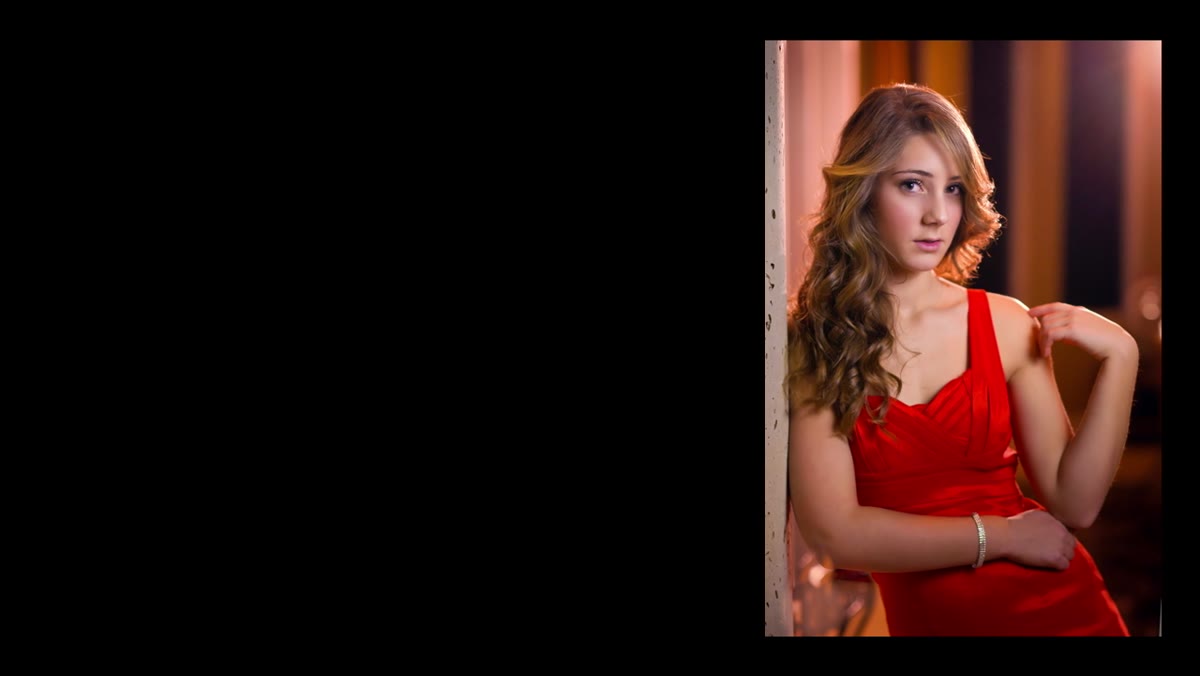 Subject leaning against surface, hip angled toward camera
The first pose Lim demonstrates uses a wall or prop as an anchor. The subject leans against it, but the key detail is where the hips go. For a man, Lim pushes the hips back and away slightly, which lifts the near shoulder and creates a diagonal line through the upper body. For a woman, the hips can come forward toward the camera instead, which amplifies the waist-to-hip ratio visible in the frame. The lean itself isn’t the pose. The lean is just the scaffolding. The hip position is the actual pose. Get that distinction right and you’ll stop accidentally making both men and women look like they’re waiting for a bus.
Subject leaning against surface, hip angled toward camera
The first pose Lim demonstrates uses a wall or prop as an anchor. The subject leans against it, but the key detail is where the hips go. For a man, Lim pushes the hips back and away slightly, which lifts the near shoulder and creates a diagonal line through the upper body. For a woman, the hips can come forward toward the camera instead, which amplifies the waist-to-hip ratio visible in the frame. The lean itself isn’t the pose. The lean is just the scaffolding. The hip position is the actual pose. Get that distinction right and you’ll stop accidentally making both men and women look like they’re waiting for a bus.
Step 3: Exaggerate the Hip Pop Deliberately
 Subject with exaggerated hip displacement and head tilt
Once you have the lean established, Lim introduces the hip pop as an active, exaggerated element rather than a subtle suggestion. The subject pushes one hip out hard in the direction away from the camera-facing shoulder. On camera this reads as a pronounced S-curve from the shoulder through the waist to the hip. He pairs this with a head tilt toward the raised hip, which reinforces the curve visually and prevents the neck from looking stiff. I’ve started giving this direction as two separate cues, hip first, then head, because doing both at once tends to produce a half-committed version of each.
Subject with exaggerated hip displacement and head tilt
Once you have the lean established, Lim introduces the hip pop as an active, exaggerated element rather than a subtle suggestion. The subject pushes one hip out hard in the direction away from the camera-facing shoulder. On camera this reads as a pronounced S-curve from the shoulder through the waist to the hip. He pairs this with a head tilt toward the raised hip, which reinforces the curve visually and prevents the neck from looking stiff. I’ve started giving this direction as two separate cues, hip first, then head, because doing both at once tends to produce a half-committed version of each.
Step 4: Treat Arm Position as a Visibility Problem, Not a Style Problem
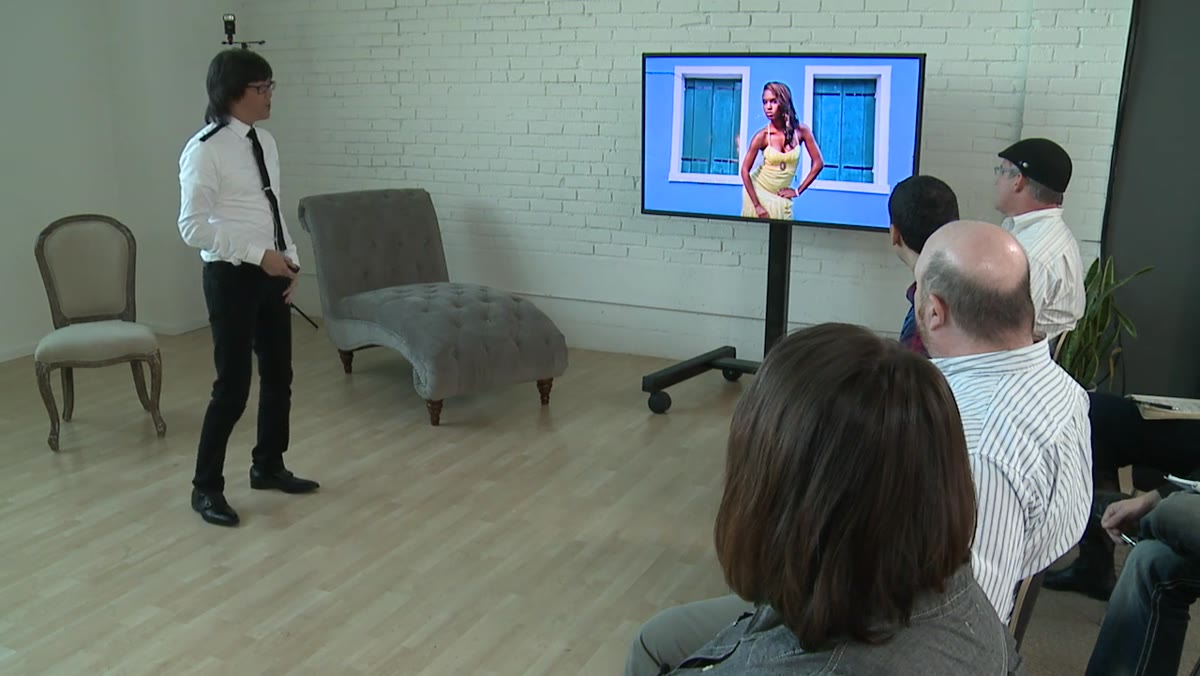
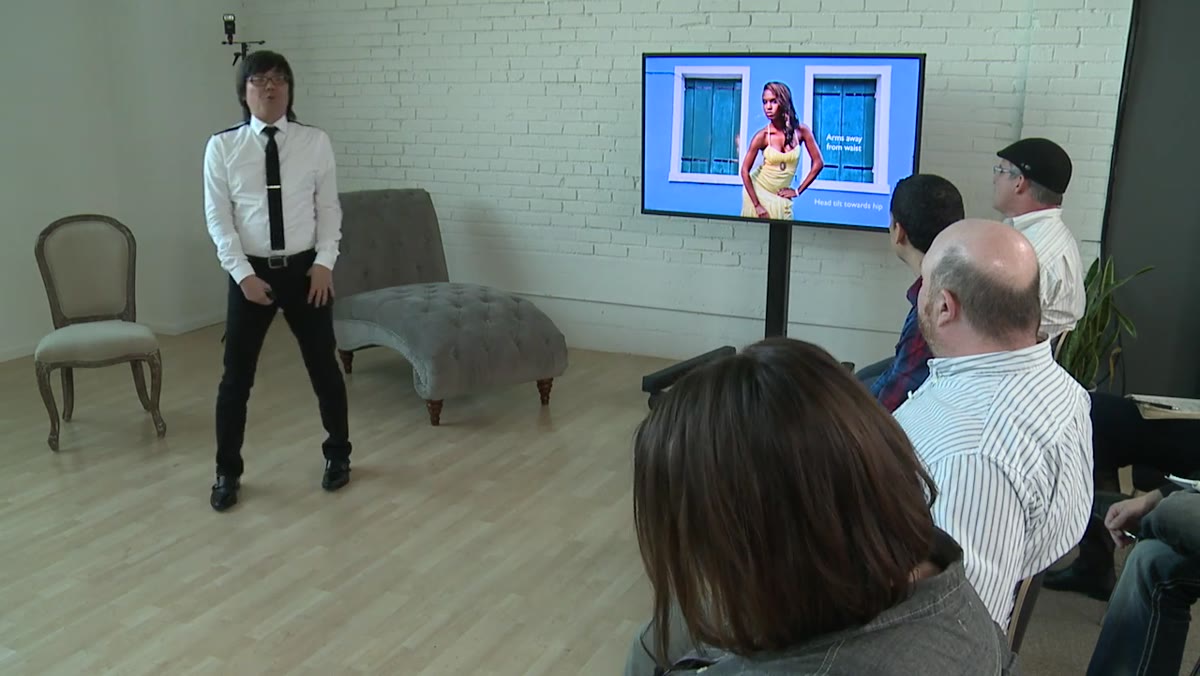 Arms pulled away from waist showing visible space at the sides
This is the step most photographers skip, including me for longer than I’d like to admit. If the subject’s arms rest against their waist, they cover the narrowest part of the torso. The camera sees a solid silhouette from shoulder to hip, and the curve disappears. Lim frames this as a visibility issue: if you can’t see the space between the arm and the body, you cannot see the waist, and if you cannot see the waist, you’ve lost the defining characteristic of the pose. The fix is to move the arms away from the body so a clear gap is visible on both sides of the torso. Some subjects can accomplish this by placing a hand on the hip behind them, which also adds a natural gesture. Others simply need to be told to push their elbows out slightly.
Arms pulled away from waist showing visible space at the sides
This is the step most photographers skip, including me for longer than I’d like to admit. If the subject’s arms rest against their waist, they cover the narrowest part of the torso. The camera sees a solid silhouette from shoulder to hip, and the curve disappears. Lim frames this as a visibility issue: if you can’t see the space between the arm and the body, you cannot see the waist, and if you cannot see the waist, you’ve lost the defining characteristic of the pose. The fix is to move the arms away from the body so a clear gap is visible on both sides of the torso. Some subjects can accomplish this by placing a hand on the hip behind them, which also adds a natural gesture. Others simply need to be told to push their elbows out slightly.
Step 5: Use a Wrong-Pose Demo to Calibrate Your Eye
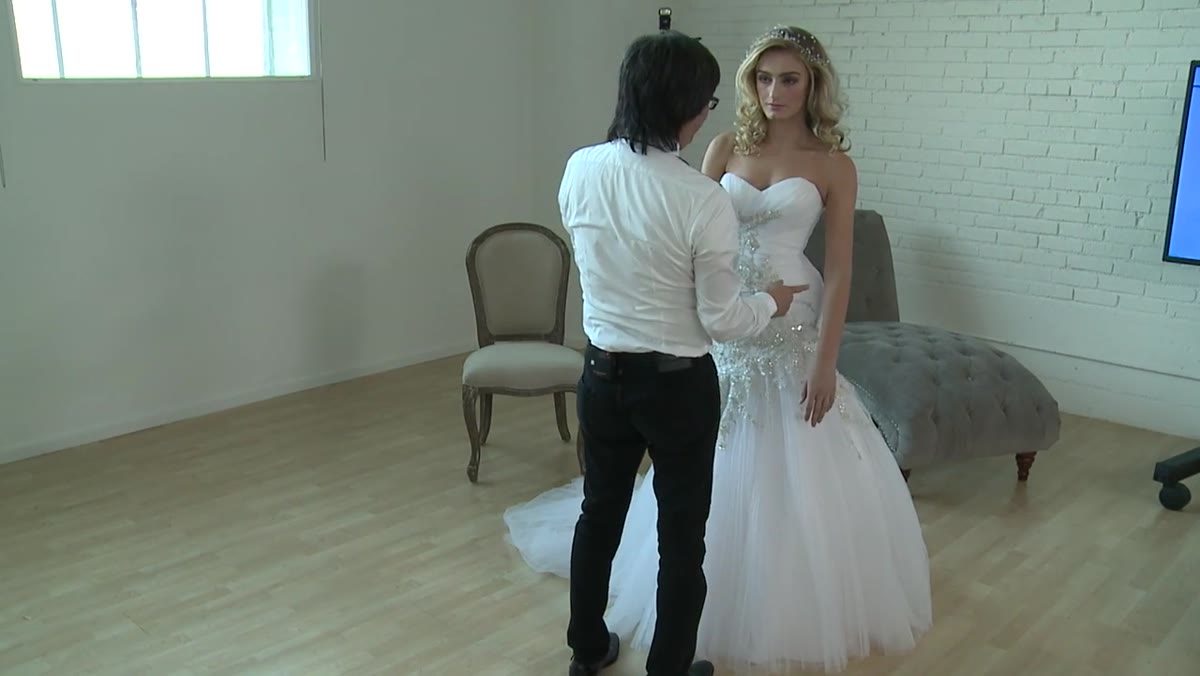 Deliberate incorrect pose with arms covering waist for comparison
Lim does something I’ve started incorporating into my own shoots: he demonstrates the incorrect version of the pose on purpose. Arms flat against the waist, hip displaced, and the curve is completely neutralized. Even on a very lean subject the effect is significant. Seeing the wrong version immediately before the right version trains your eye to catch the problem in real time rather than in post when there’s nothing you can do about it. I now do this during test shots at the start of a session, shoot the bad version deliberately, then correct it, so both the subject and I are calibrated to what we’re looking for.
Deliberate incorrect pose with arms covering waist for comparison
Lim does something I’ve started incorporating into my own shoots: he demonstrates the incorrect version of the pose on purpose. Arms flat against the waist, hip displaced, and the curve is completely neutralized. Even on a very lean subject the effect is significant. Seeing the wrong version immediately before the right version trains your eye to catch the problem in real time rather than in post when there’s nothing you can do about it. I now do this during test shots at the start of a session, shoot the bad version deliberately, then correct it, so both the subject and I are calibrated to what we’re looking for.
Step 6: Confirm the Curve Is Readable from the Camera Position
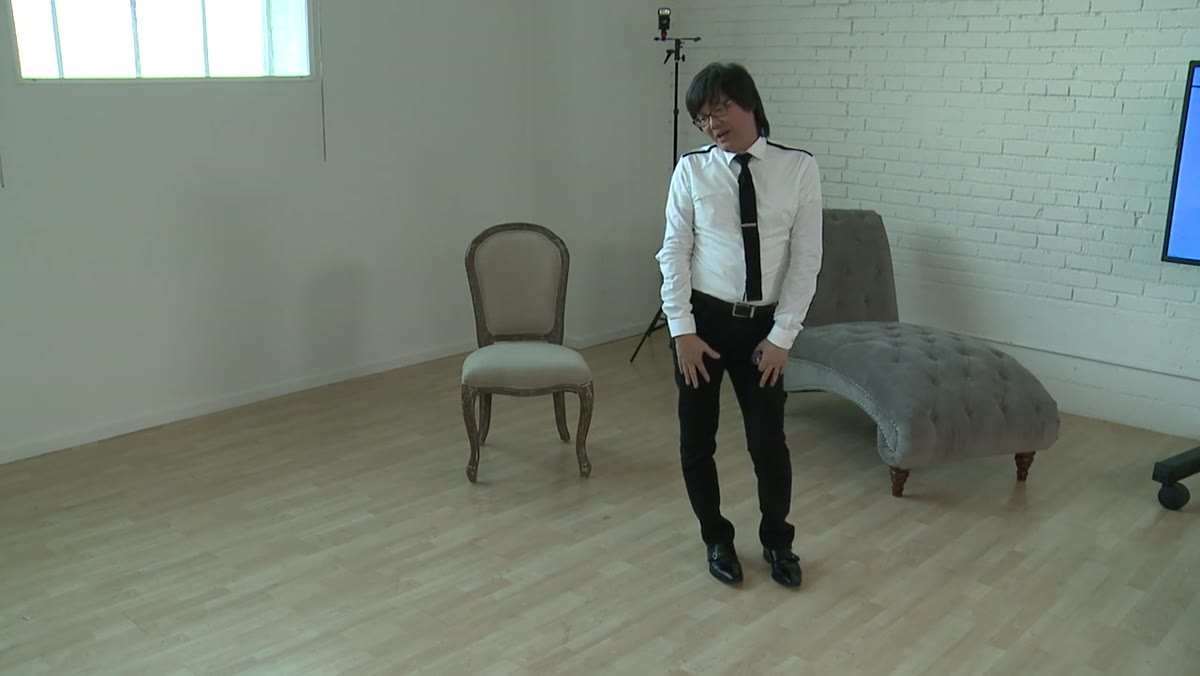 Photographer’s view showing visible gap at waist and full S-curve
The final check in Lim’s workflow is to confirm the pose from the camera’s actual point of view, not from the side or from where you’re standing while giving directions. A hip displacement that looks dramatic from the front might flatten completely from a three-quarter angle. After I set the pose I walk back to the camera, look through the viewfinder, and check three things: the gap between arms and waist is visible on at least one side, the shoulder-to-hip diagonal is present, and the head tilt is reinforcing rather than fighting the direction of the curve. If any of those are missing, I adjust from the camera position, not by walking back to the subject and guessing.
Photographer’s view showing visible gap at waist and full S-curve
The final check in Lim’s workflow is to confirm the pose from the camera’s actual point of view, not from the side or from where you’re standing while giving directions. A hip displacement that looks dramatic from the front might flatten completely from a three-quarter angle. After I set the pose I walk back to the camera, look through the viewfinder, and check three things: the gap between arms and waist is visible on at least one side, the shoulder-to-hip diagonal is present, and the head tilt is reinforcing rather than fighting the direction of the curve. If any of those are missing, I adjust from the camera position, not by walking back to the subject and guessing.
A Note from My Studio Practice
The thing Lim’s tutorial reinforced for me is that posing works on the same logic as lighting: both are about controlling what the camera sees, not what’s physically there. My wife pointed this out to me years ago when she watched me obsess over a rim light’s placement. She said I was lighting what I thought was there instead of watching what the camera was actually recording. The same mistake shows up in posing. You can feel like a pose is dramatic while you’re directing it and have it read as flat the moment you step behind the lens. The correction in both cases is the same: stop directing from intuition and start reading from the camera’s single eye.
The single most transferable idea from this tutorial is that arms away from the waist is not a stylistic preference. It is the mechanism by which the curve becomes visible at all. Every other element of the pose can be refined on the fly, but if the arms are covering the waist, the photograph is already not working. Get that gap visible first, then refine everything else.
Watch the full tutorial on YouTube to see Lim demonstrate all of this in real time with multiple subjects.
Comments
Leave a Comment