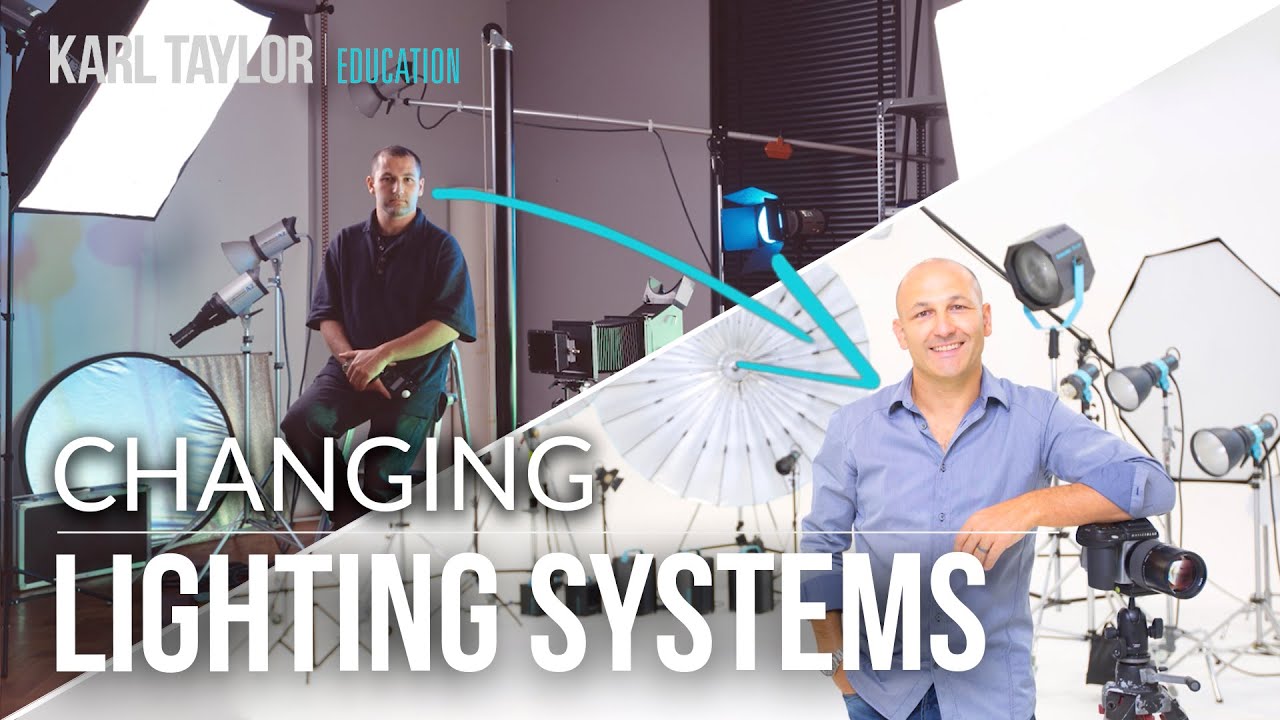
I spent years shooting with the same lighting system out of inertia. Not loyalty, not satisfaction — inertia. Switching meant replacing modifiers, learning new mount systems, retiring gear that still technically worked. So I kept renting when a job demanded something my kit couldn’t deliver, telling myself it was more practical than committing to a full system change. It wasn’t until I started losing hours on set to workarounds that I finally admitted the system was slowing me down.
That’s exactly the tension at the center of this Visual Education tutorial on choosing a flash lighting system. Watch the full tutorial on YouTube — the presenter spent 16 years with one brand before switching, and his reasoning is methodical in the best way. He’s not selling you on a brand. He’s giving you the framework to audit your own needs before you spend a dollar.
What I appreciate most is that this isn’t a specs video. It’s a workflow video disguised as a gear video. The difference matters enormously when you’re trying to make a real purchasing decision and not just consume content about cameras.
Step 1: Understand What You’re Actually Comparing
 Presenter introduces continuous LED versus studio flash comparison
Before you can choose a system, you need to know what category of light you’re even shopping in. The tutorial separates the field into continuous LED sources and studio flash, and this distinction shapes everything downstream. Continuous lights let you see exactly what you’re getting before you fire a shot, which is useful for video and for photographers still building their eye for light. Studio flash delivers far more power for a fraction of the cost and size, and it freezes motion in a way continuous sources simply can’t match at equivalent brightness.
Presenter introduces continuous LED versus studio flash comparison
Before you can choose a system, you need to know what category of light you’re even shopping in. The tutorial separates the field into continuous LED sources and studio flash, and this distinction shapes everything downstream. Continuous lights let you see exactly what you’re getting before you fire a shot, which is useful for video and for photographers still building their eye for light. Studio flash delivers far more power for a fraction of the cost and size, and it freezes motion in a way continuous sources simply can’t match at equivalent brightness.
If you’re shooting moving subjects, products with liquid or reflective surfaces, or any commercial work where output consistency matters across a long shoot, flash is the answer. The tutorial doesn’t hedge on this. Neither do I.
Step 2: Decide Between Power Packs and Monoblocks
 Presenter explains power pack versus monoblock head configuration
This is the fork in the road that most photographers don’t think carefully enough about. A power pack sits on the floor or a stand and runs multiple flash heads through cables. All your controls are in one place, the heads themselves are lighter, and output is generally higher. Monoblocks, by contrast, contain all their electronics inside the head unit itself. Each light is self-contained and independent.
Presenter explains power pack versus monoblock head configuration
This is the fork in the road that most photographers don’t think carefully enough about. A power pack sits on the floor or a stand and runs multiple flash heads through cables. All your controls are in one place, the heads themselves are lighter, and output is generally higher. Monoblocks, by contrast, contain all their electronics inside the head unit itself. Each light is self-contained and independent.
The practical tradeoff comes down to control and convenience. Power packs traditionally kept all your adjustments at waist level, which meant no climbing a ladder to check a setting mid-shoot. Monoblocks gave you independent power per light without the tangle of cables running back to a central unit. For the kind of commercial and product work I do in Los Angeles, I’ve moved almost entirely to monoblocks with wireless control, and I label every head with masking tape so I can read its assignment from across the room without walking over.
Step 3: Know the Difference Between Symmetric and Asymmetric Packs
 Presenter describes symmetric power adjustment affecting all heads equally
This is the technical detail that catches a lot of photographers off guard when they’re comparing packs. A symmetric pack adjusts the power output across every head plugged into it simultaneously and by the same amount. If you want a two-to-one lighting ratio between your key and fill, you can’t maintain it by simply dialing the pack up or down. You’re locked in.
Presenter describes symmetric power adjustment affecting all heads equally
This is the technical detail that catches a lot of photographers off guard when they’re comparing packs. A symmetric pack adjusts the power output across every head plugged into it simultaneously and by the same amount. If you want a two-to-one lighting ratio between your key and fill, you can’t maintain it by simply dialing the pack up or down. You’re locked in.
Asymmetric packs solve this by letting you set power independently per output channel. That means your key can sit at full power while your fill stays two stops under, and you can adjust either one without touching the other. If you’re doing any kind of portraiture or product work where lighting ratios are fundamental to the image, an asymmetric system isn’t a luxury. It’s a requirement. The tutorial makes the point that some brands were slow to offer true asymmetric control, which pushed photographers toward monoblock setups as a workaround.
Step 4: Evaluate Wireless Control as a Workflow Feature
 Presenter discusses wireless remote control limitations of older monoblock systems
Early wireless remote options for monoblocks were inconsistent at best. The tutorial describes sync connections that were unreliable and remotes that couldn’t confirm what power level the light was actually set to. You’d walk to the head to check, adjust, walk back, test again. On a paid shoot with a client waiting, that burns real time.
Presenter discusses wireless remote control limitations of older monoblock systems
Early wireless remote options for monoblocks were inconsistent at best. The tutorial describes sync connections that were unreliable and remotes that couldn’t confirm what power level the light was actually set to. You’d walk to the head to check, adjust, walk back, test again. On a paid shoot with a client waiting, that burns real time.
Modern systems have addressed this comprehensively. Current wireless solutions let you turn individual lights on or off, adjust power levels, toggle modeling lamps, and confirm settings from a phone app or desktop interface without leaving your camera position. If you’re evaluating any monoblock or pack system today, treat wireless control as a non-negotiable. Check whether the app actually shows confirmed settings from the light, not just the last command you sent to it. There’s a difference.
Step 5: Prioritize Output Consistency for Digital Capture
 Presenter explains need for consistent color temperature in digital product photography
This is where the conversation shifts from convenience to image quality. When the presenter moved fully into digital capture for product work, he discovered that slight variations in color temperature and exposure between flashes were creating problems when combining multiple frames in post. Film had more latitude for this kind of drift. A raw file does not forgive it the same way.
Presenter explains need for consistent color temperature in digital product photography
This is where the conversation shifts from convenience to image quality. When the presenter moved fully into digital capture for product work, he discovered that slight variations in color temperature and exposure between flashes were creating problems when combining multiple frames in post. Film had more latitude for this kind of drift. A raw file does not forgive it the same way.
Consistent flash output matters most in composite photography, beauty retouching where skin tone accuracy is critical, and any product shoot where the client will be doing color matching against physical samples. If your lights are shifting even a few Kelvin between frames or delivering slightly different exposures shot to shot, your post-production time increases significantly. Test this before you commit to a system by firing a sequence of shots at a gray card and checking for deviation in your histogram.
Step 6: Rent Before You Commit to a System Change
 Presenter describes renting equipment before switching full systems
The presenter’s own approach before switching brands was to rent equipment for specific shoots when his existing system couldn’t deliver what he needed. That’s exactly the right move before a major investment. Renting lets you stress-test a system under real conditions, with real deadlines, with real clients. You’ll discover the workflow issues, the mount incompatibilities, and the modifier limitations faster in one paid shoot than in six months of reading spec sheets.
Presenter describes renting equipment before switching full systems
The presenter’s own approach before switching brands was to rent equipment for specific shoots when his existing system couldn’t deliver what he needed. That’s exactly the right move before a major investment. Renting lets you stress-test a system under real conditions, with real deadlines, with real clients. You’ll discover the workflow issues, the mount incompatibilities, and the modifier limitations faster in one paid shoot than in six months of reading spec sheets.
Build a shortlist of two or three systems you’re seriously considering, and rent each one for a different job. Keep notes on what you had to adapt around and what felt seamless. I sketch every lighting setup I try in a small journal I keep in my kit bag, and I write a one-line workflow note next to each one. After three or four sessions with a rented system, the pattern is obvious.
What I’d Add From My Own Experience
The tutorial stops short of one thing I think deserves a direct mention: modifier ecosystems. When you switch lighting brands, you’re not just replacing heads. You’re evaluating whether you need to replace every softbox, beauty dish, and grid in your studio. Some brands use proprietary mount systems that are genuinely incompatible with third-party modifiers. Others have adopted more open standards.
Before I committed to my current system, I laid out every modifier I owned and confirmed which ones I could adapt with a speed ring and which ones I’d be replacing outright. The cost of the modifiers nearly equaled the cost of the lights themselves. That math changes the decision considerably. Factor it in before you assume the price of the heads is the price of the switch.
The single most important idea in this tutorial is that a lighting system is infrastructure, not equipment. You’ll build years of muscle memory, modifier collections, and workflow habits around whatever you choose. Changing systems costs money twice: once when you buy and once in lost time while you rebuild what you already knew. Choose deliberately, rent first, and weight wireless control and output consistency more heavily than raw joule counts.
Watch the full tutorial on YouTube for the complete walkthrough, including the presenter’s specific reasoning for his own brand switch and the modifier considerations he factored into that decision.
Comments (3)
Quality content like this is rare. Keep it up.
Finally someone explains this in a way that actually makes sense.
Couldn't agree more. I've seen this make a huge difference in color grading work specifically.
Leave a Comment