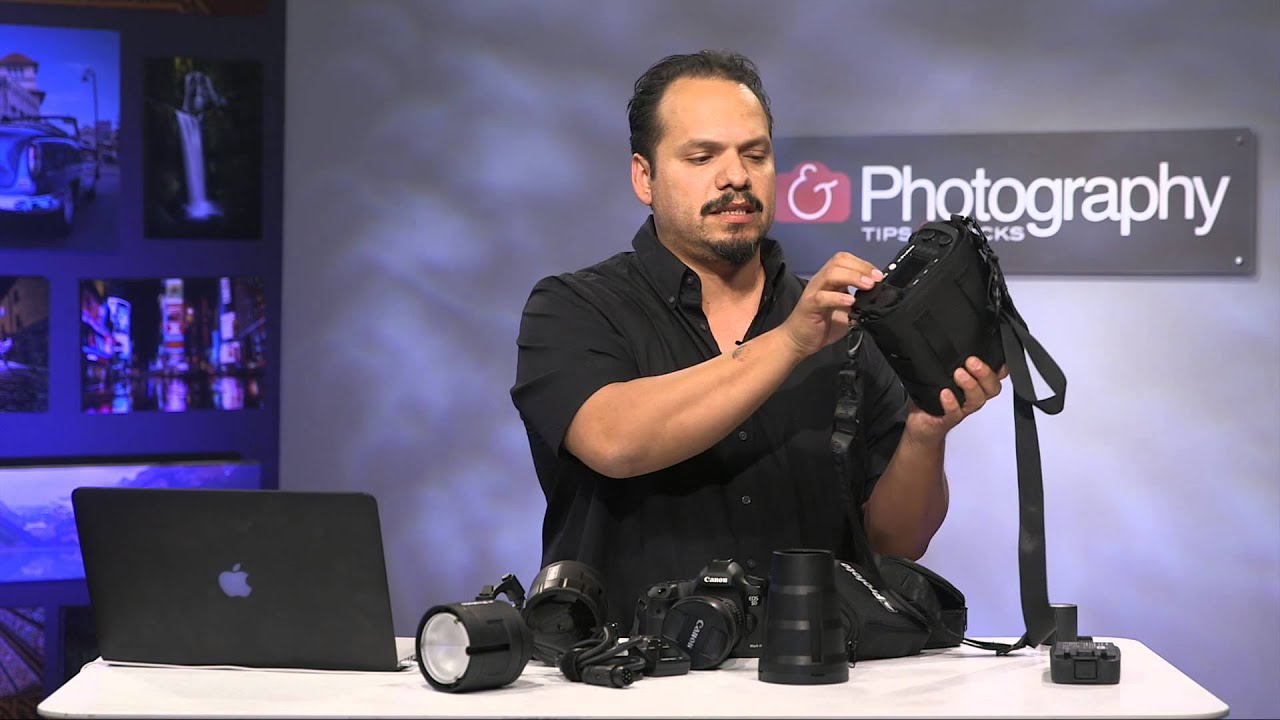
Every location shoot I’ve ever done has involved a version of the same negotiation: how much light quality am I willing to sacrifice to get the gear through a door, up a staircase, or into the back of a car? For years, the answer was “more than I’d like.” Studio strobes give you the consistency and power you need, but they’re not exactly grab-and-go. Battery-powered speedlights travel easily but often fall short on light quality and modifier options. That gap is exactly what Profoto is addressing with the B2 system and their OCF modifier line, and it’s why I spent a morning watching this KelbyOne tutorial closely. Watch the full tutorial on YouTube
In this KelbyOne tutorial, RC walks through both the Profoto B2 pack and the new OCF (Off Camera Flash) modifier family with the kind of hands-on familiarity that comes from actually using the gear, not just reading the spec sheet. What I appreciate about his approach is that he ties every feature back to a practical shooting scenario. That’s how I think about gear too. The question is never “what does this do?” It’s always “what does this let me shoot that I couldn’t before?”
The B2 and OCF system answers that question clearly. Here’s how the tutorial breaks it down, and where my own experience adds a wrinkle or two.
Step 1: Understand What the B2 Actually Is
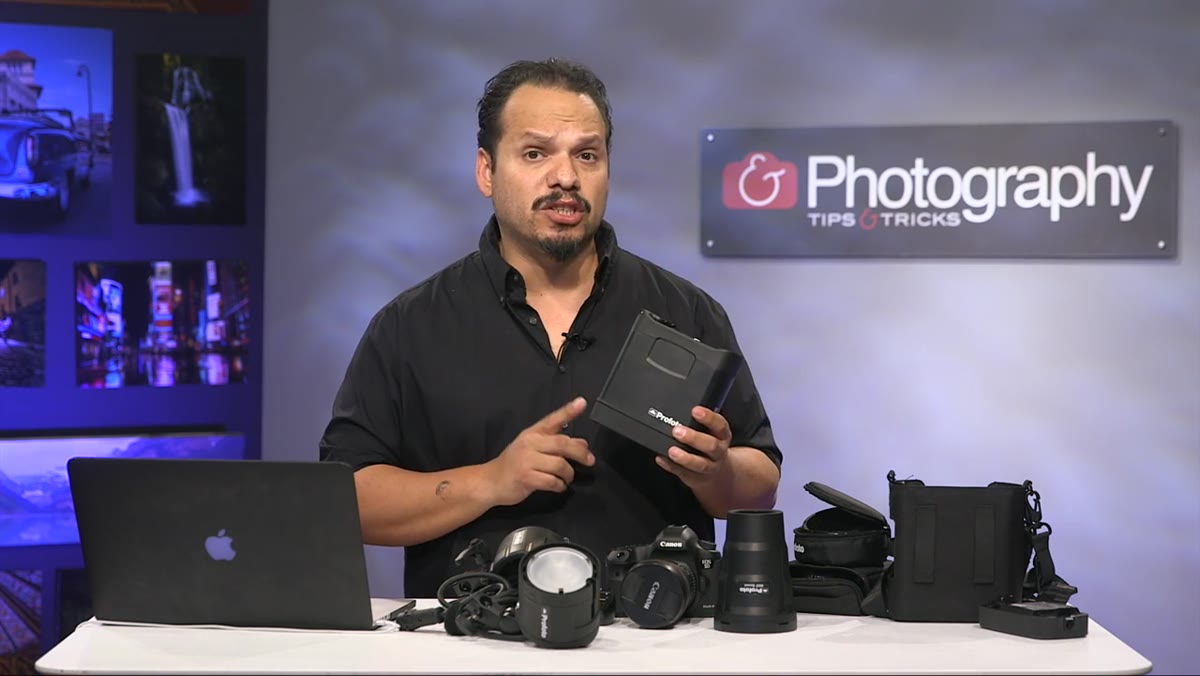 RC holds the Profoto B2 pack up to camera
The B2 is a 250 watt-second battery-powered pack, and the emphasis belongs on “pack” – this isn’t a monolight. It’s a separate power unit connected to a dedicated flash head. RC’s point is that Profoto engineered this system specifically for portability without stripping out the build quality their studio units are known for. The whole unit with battery attached weighs around 2.2 pounds. That is not a rounding error. That is genuinely light for what it delivers.
RC holds the Profoto B2 pack up to camera
The B2 is a 250 watt-second battery-powered pack, and the emphasis belongs on “pack” – this isn’t a monolight. It’s a separate power unit connected to a dedicated flash head. RC’s point is that Profoto engineered this system specifically for portability without stripping out the build quality their studio units are known for. The whole unit with battery attached weighs around 2.2 pounds. That is not a rounding error. That is genuinely light for what it delivers.
The lithium battery pushes out approximately 215 full-power flashes per charge, and there’s a battery indicator built directly into the unit. For a half-day editorial shoot, that’s enough headroom to work confidently without rationing your pops.
Step 2: Know the Power Range and Recycling Times Before You Shoot
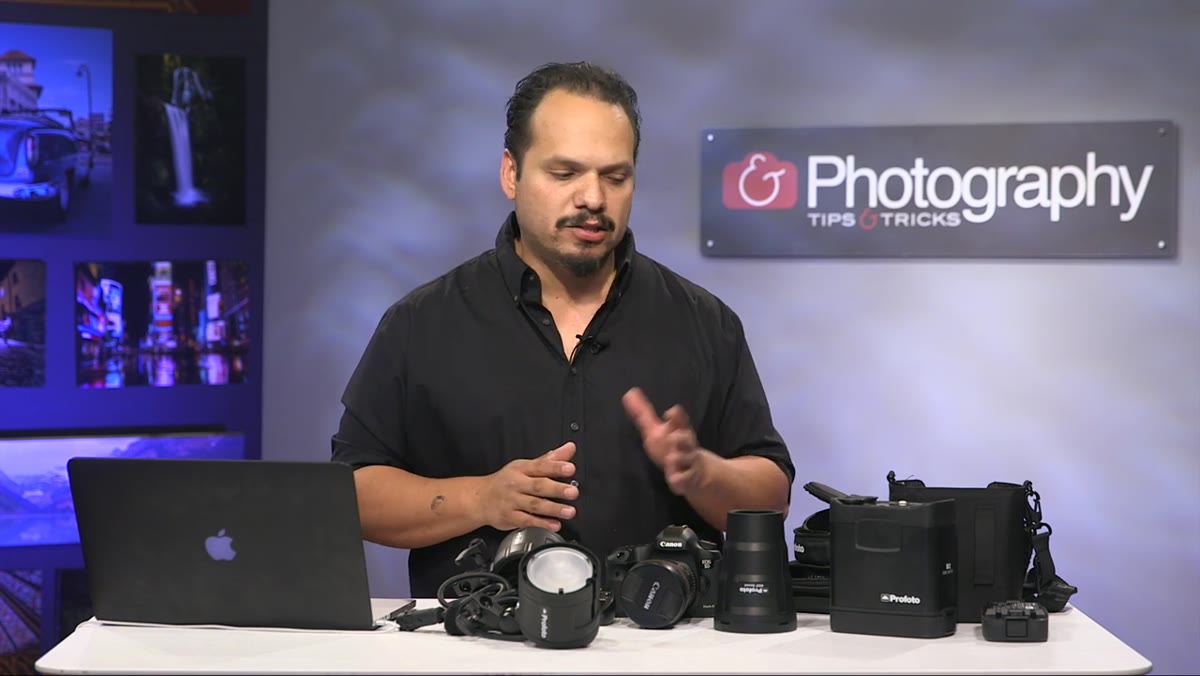 Close-up of B2 power controls and settings panel
The B2 covers roughly nine f-stops of power range, running from 1 watt-second up to the full 250. You can dial in adjustments in 1/10 f-stop increments, which is the kind of precision that matters when you’re trying to hold a specific exposure ratio between a key and fill. RC points out the unit has two asymmetrical power outlets, meaning you can run two heads from one pack at different power levels – genuinely useful for a main-and-fill configuration without needing a second pack.
Close-up of B2 power controls and settings panel
The B2 covers roughly nine f-stops of power range, running from 1 watt-second up to the full 250. You can dial in adjustments in 1/10 f-stop increments, which is the kind of precision that matters when you’re trying to hold a specific exposure ratio between a key and fill. RC points out the unit has two asymmetrical power outlets, meaning you can run two heads from one pack at different power levels – genuinely useful for a main-and-fill configuration without needing a second pack.
Recycling time runs from 0.3 seconds at low power to about 1.35 seconds at full power. Flash duration tops out at 1/15,000th of a second on the short end and 1/1,000th on the long end. Built-in Air TTL supports wireless operation with existing Profoto transceivers out to roughly 300 meters, and the system handles both TTL and high-speed sync. For anyone shooting in bright outdoor conditions where you need to overpower the sun, that high-speed sync support is not optional – it’s the feature that makes the system viable.
Step 3: Evaluate the Flash Head as a Standalone Tool
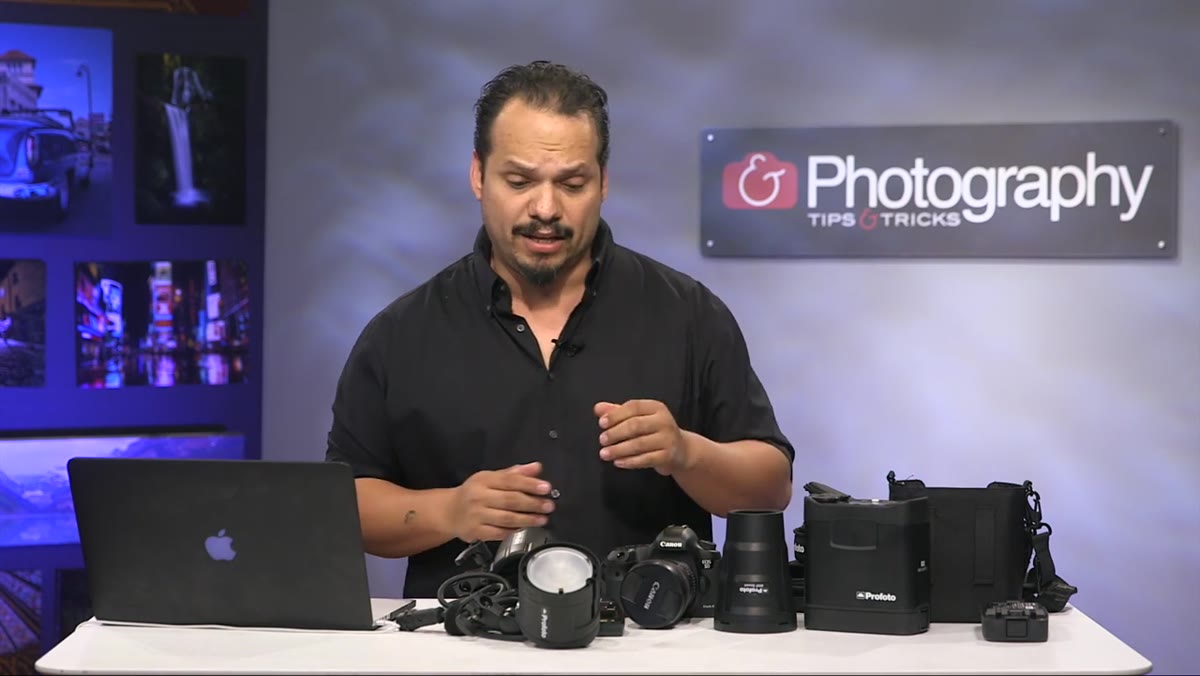 RC detaches and holds the B2 flash head separately
The head that ships with the B2 system is where a lot of the practical value lives. RC holds it up separately to make the point: at about 1.5 pounds, it’s light enough to mount on a small boom, a camera bracket, or a handheld pole. It has a built-in reflector for even light spread, which gives you a usable bare-head option without adding another accessory.
RC detaches and holds the B2 flash head separately
The head that ships with the B2 system is where a lot of the practical value lives. RC holds it up separately to make the point: at about 1.5 pounds, it’s light enough to mount on a small boom, a camera bracket, or a handheld pole. It has a built-in reflector for even light spread, which gives you a usable bare-head option without adding another accessory.
The attachment system accepts over 150 existing Profoto modifiers. If you’ve already invested in Profoto glass – softboxes, beauty dishes, grids – your existing collection works with this head immediately. The mount system itself is worth mentioning. It’s a bayonet-style connection that locks clean and releases without fuss. On a busy set, that matters more than most photographers admit until they’ve fumbled with a stubborn mount in low light.
Step 4: Learn the OCF Barn Door for Directional Control
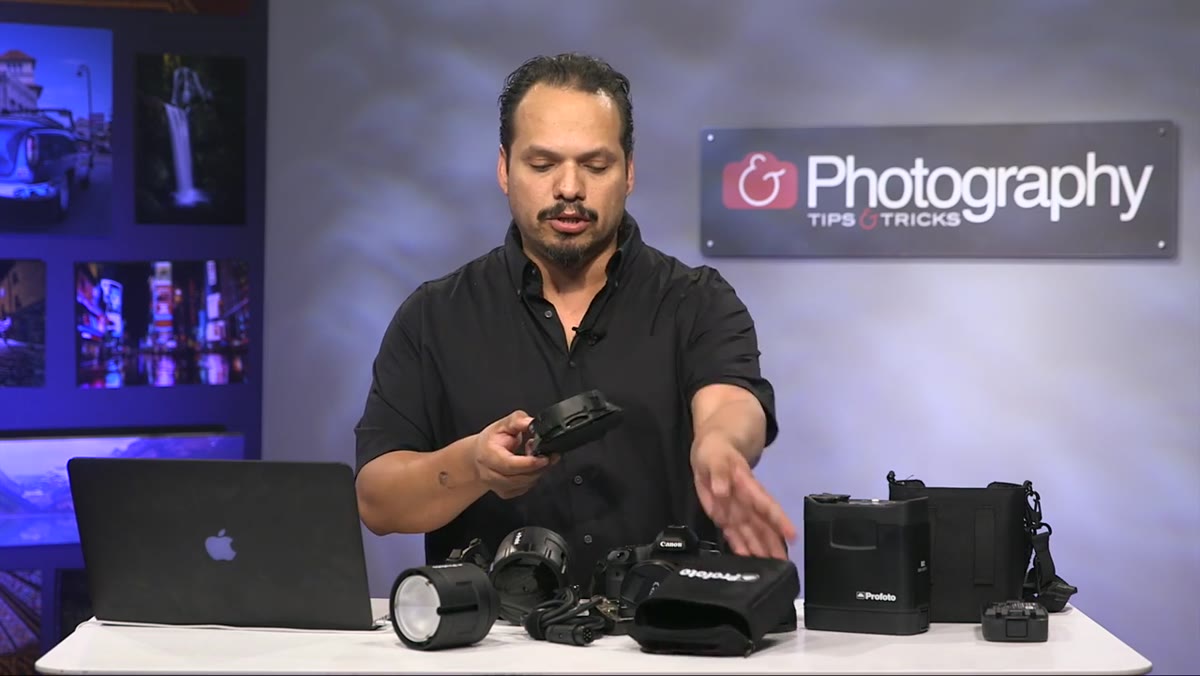 RC demonstrates the four-panel OCF barn door open and closed
The OCF modifier line is a separate product family designed specifically for portability, built with fiberglass rather than traditional materials to keep weight down while maintaining durability. The barn door is the first modifier RC covers, and it’s the one I’d reach for most often. Four individually articulated panels give you independent control over how far the light spreads in each direction. You can flag the light off a background, protect a camera lens from flare, or shape a hard edge on a subject’s face – all from the same piece of gear.
RC demonstrates the four-panel OCF barn door open and closed
The OCF modifier line is a separate product family designed specifically for portability, built with fiberglass rather than traditional materials to keep weight down while maintaining durability. The barn door is the first modifier RC covers, and it’s the one I’d reach for most often. Four individually articulated panels give you independent control over how far the light spreads in each direction. You can flag the light off a background, protect a camera lens from flare, or shape a hard edge on a subject’s face – all from the same piece of gear.
It ships in its own protective case, which tells you something about how Profoto is positioning this line. These aren’t afterthoughts. Each modifier is designed to travel.
Step 5: Use the OCF Snoot for Precise Spot Work
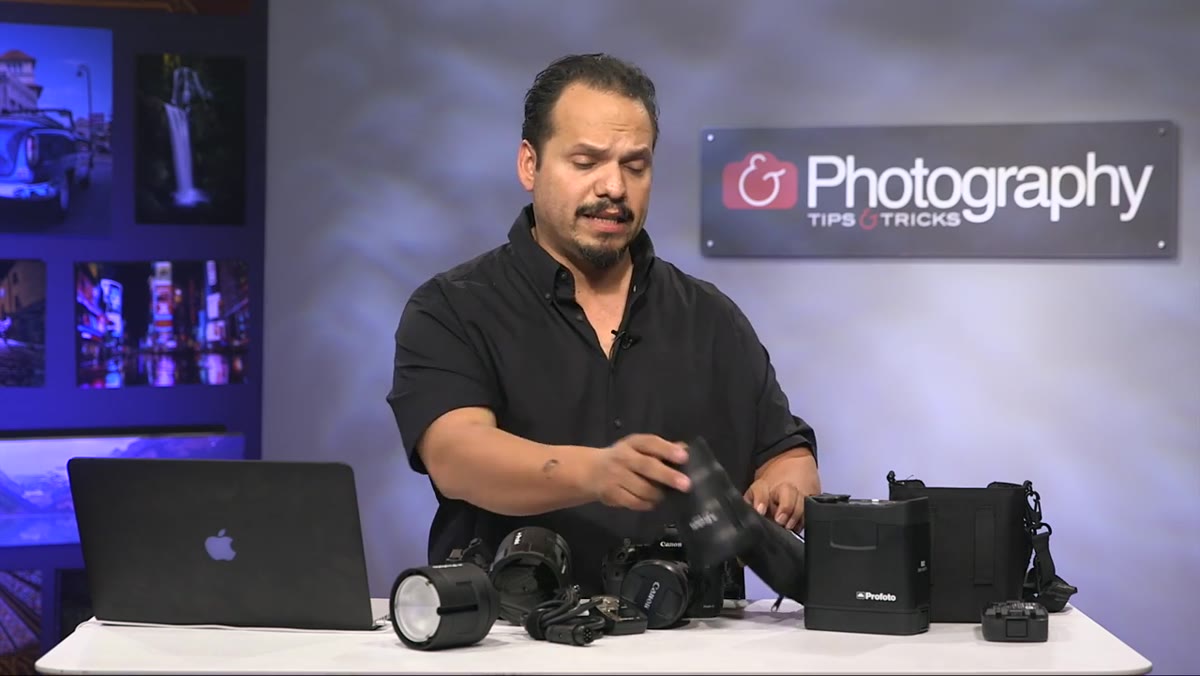 RC slides the OCF snoot onto the flash head
The OCF snoot produces a tight circular pool of light, and RC’s description is accurate – when you need something isolated and focused, this is the tool. It slides directly onto the head via the same Profoto mount. Think hair lights, product accents, or dramatic single-subject portraiture where you want light that stops exactly where you tell it to.
RC slides the OCF snoot onto the flash head
The OCF snoot produces a tight circular pool of light, and RC’s description is accurate – when you need something isolated and focused, this is the tool. It slides directly onto the head via the same Profoto mount. Think hair lights, product accents, or dramatic single-subject portraiture where you want light that stops exactly where you tell it to.
Step 6: Stack the OCF Grid System with Other Modifiers
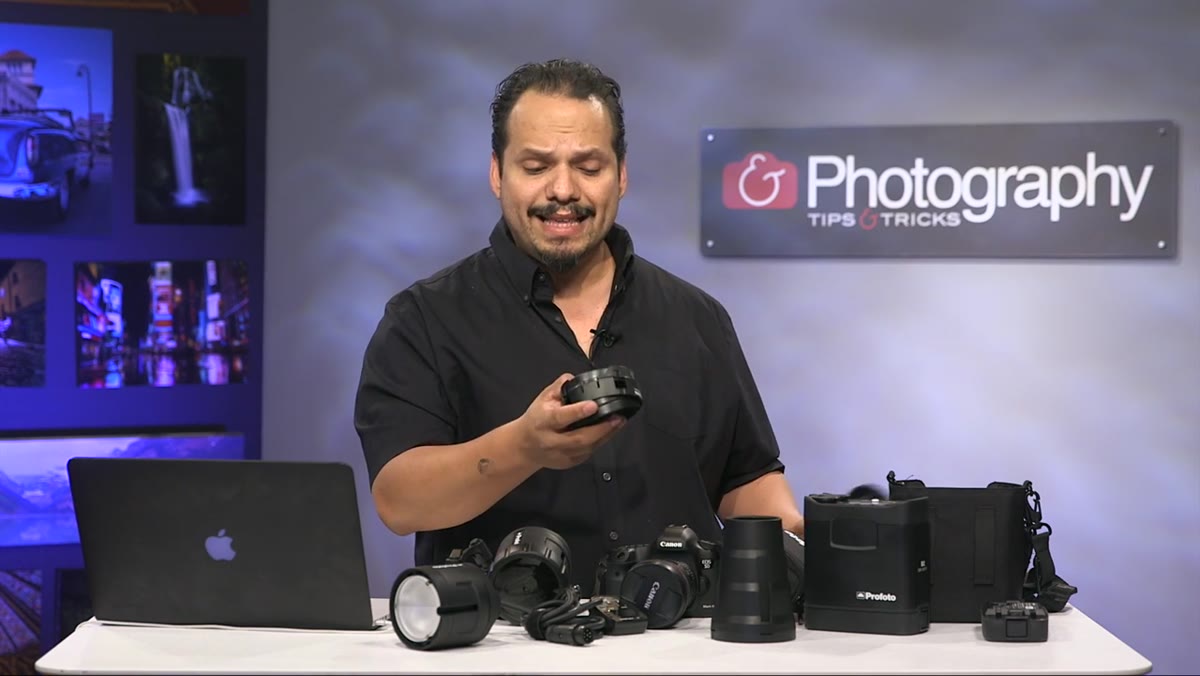 RC shows the grid holder with multiple grid options laid out
The grid kit is where the system gets genuinely flexible. Three grid options – 10, 20, and 30 degrees – control how much the light spills as it leaves the head. Tighter grids mean more controlled, directional light. The grid holder snaps onto the head and then accepts additional modifiers stacked on top. You can run a grid plus barn doors, or a grid plus a snoot, for layered light control in a single modifier position.
RC shows the grid holder with multiple grid options laid out
The grid kit is where the system gets genuinely flexible. Three grid options – 10, 20, and 30 degrees – control how much the light spills as it leaves the head. Tighter grids mean more controlled, directional light. The grid holder snaps onto the head and then accepts additional modifiers stacked on top. You can run a grid plus barn doors, or a grid plus a snoot, for layered light control in a single modifier position.
The integrated gel holder built into the grid system is a detail I’d use constantly. Drop in a CTO for warming, a CTB for cooling, or a creative color gel, all without a separate gel frame or tape situation. Anyone who has tried to hold a gel in place with gaffer tape in a hurry knows exactly why this matters.
Step 7: Pack the OCF Softboxes Without Compromising Your Bag
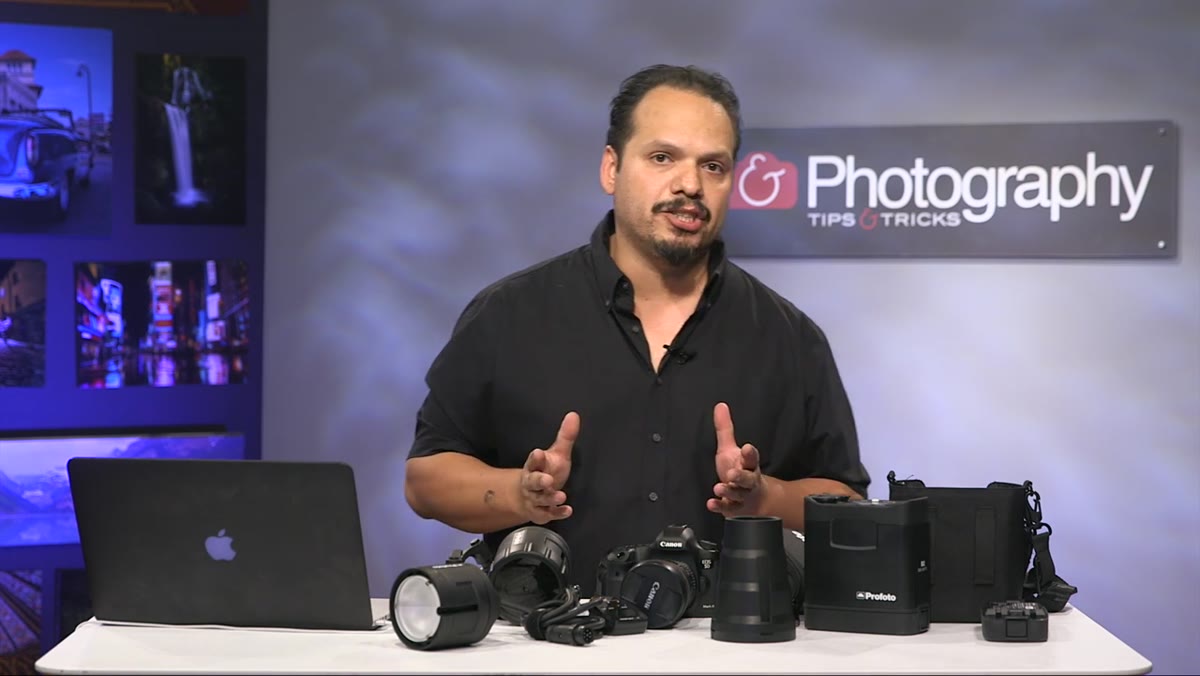 RC collapses the OCF softbox down to its packed size
Softboxes are the workhorse modifier for portrait and beauty work, and the OCF versions fold down to a fraction of their open size. RC demonstrates scrunch-packing one directly on camera. The material is engineered to be both lightweight and foldable without damaging the diffusion surface. This is the modifier I’d use as my primary key light for 80 percent of location portrait work.
RC collapses the OCF softbox down to its packed size
Softboxes are the workhorse modifier for portrait and beauty work, and the OCF versions fold down to a fraction of their open size. RC demonstrates scrunch-packing one directly on camera. The material is engineered to be both lightweight and foldable without damaging the diffusion surface. This is the modifier I’d use as my primary key light for 80 percent of location portrait work.
One Thing the Tutorial Doesn’t Cover: Color Consistency Across Power Levels
I keep a lighting journal – a physical notebook where I sketch every setup from every shoot, including which modifier was on which head and at what power level. One thing I always note now is color temperature shift. Battery-powered units can drift in color as they cycle down through power levels, and that shift can wreak havoc on skin tones in post if you’re not watching for it. The tutorial focuses on output and portability, which makes sense for a product overview. But before I committed this system to a full editorial day, I’d run my own test: shoot a gray card across the full power range, check the results in Lightroom, and see how much the Kelvin value moves. Even a 200K shift from full power to minimum power is worth knowing about ahead of time.
The single most important takeaway from this tutorial: the Profoto B2 and OCF system closes the gap between studio light quality and location portability in a way that doesn’t force you to compromise on modifier control. The fiberglass construction, the stackable OCF accessories, the gel holder, the battery life – these are professional-grade decisions, not afterthoughts. If location work is a real part of your practice, this system deserves a serious look.
Watch the full tutorial on YouTube
Comments (2)
This is the kind of content that keeps me coming back.
Bookmarked. Coming back to this one for sure.
Leave a Comment